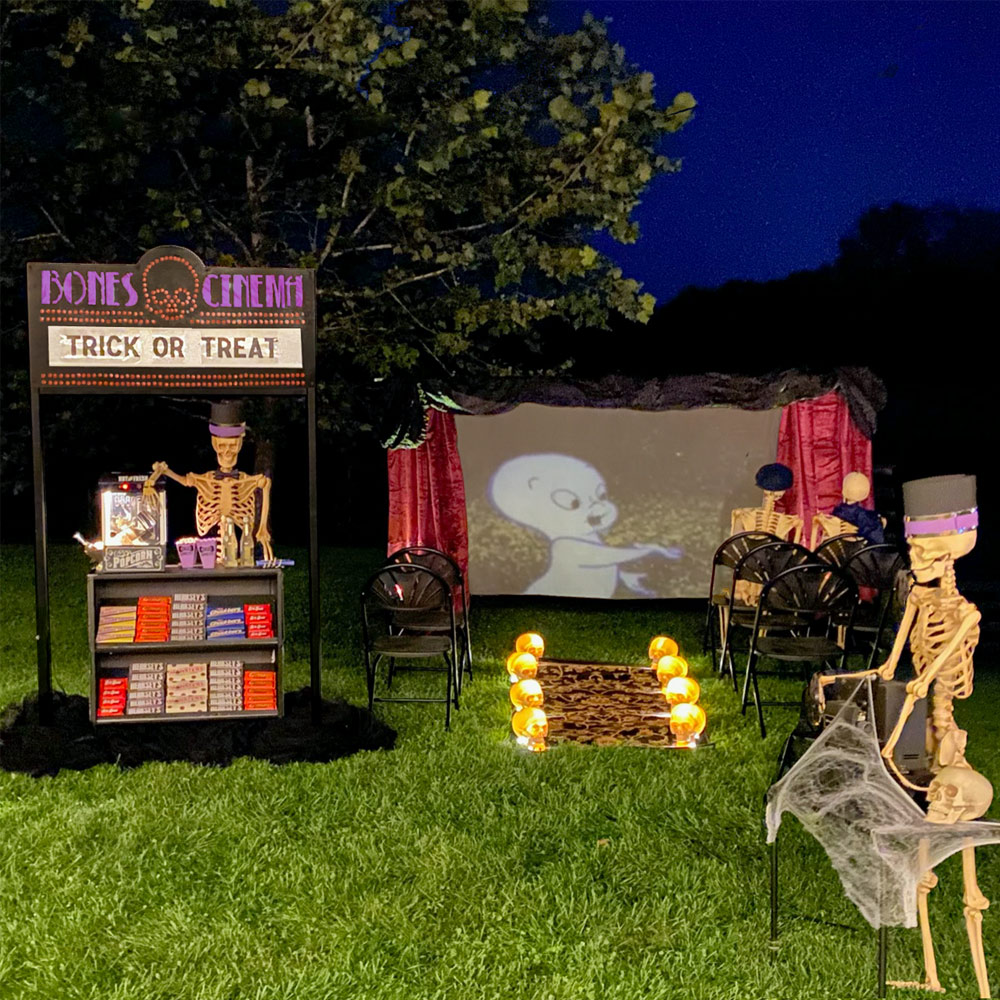
How to Assemble/Disassemble Skelly

Last updated September 18, 2026
If you’ve ever driven around looking at Halloween decorations during spooky season, you have probably seen at least one giant, 12-foot skeleton. Skelly, as this gentle giant is affectionately called, can be put together pretty easily if you’re a little bit handy and if you have a little bit of help. This guide will walk you through assembling your own Skelly to make your Halloween extra fun. Don’t forget to take it down when the holiday fun is over. We also show you how to disassemble Skelly and store it for later.
Difficulty:
Beginner
Duration:
Under 2 hours
Table of Contents
Lower Body and Rib Cage
Connect the Wires and Final Assembly
Begin Disassembly
Disassemble Rib Cage and Lower Body
Final Disassembly and Storage
Cleaning and Maintenance
Lower Body and Rib Cage


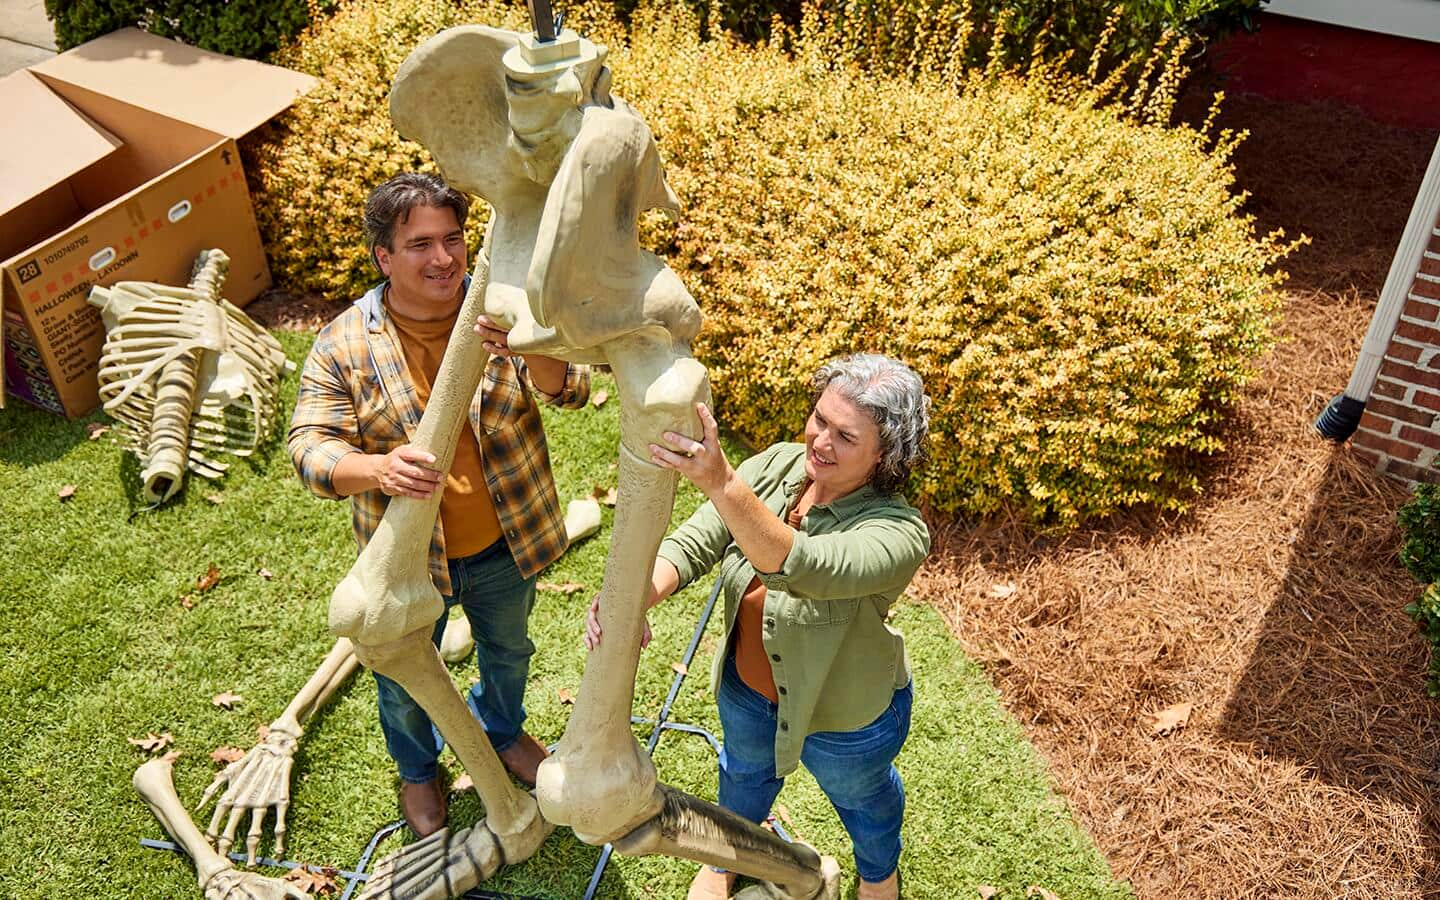
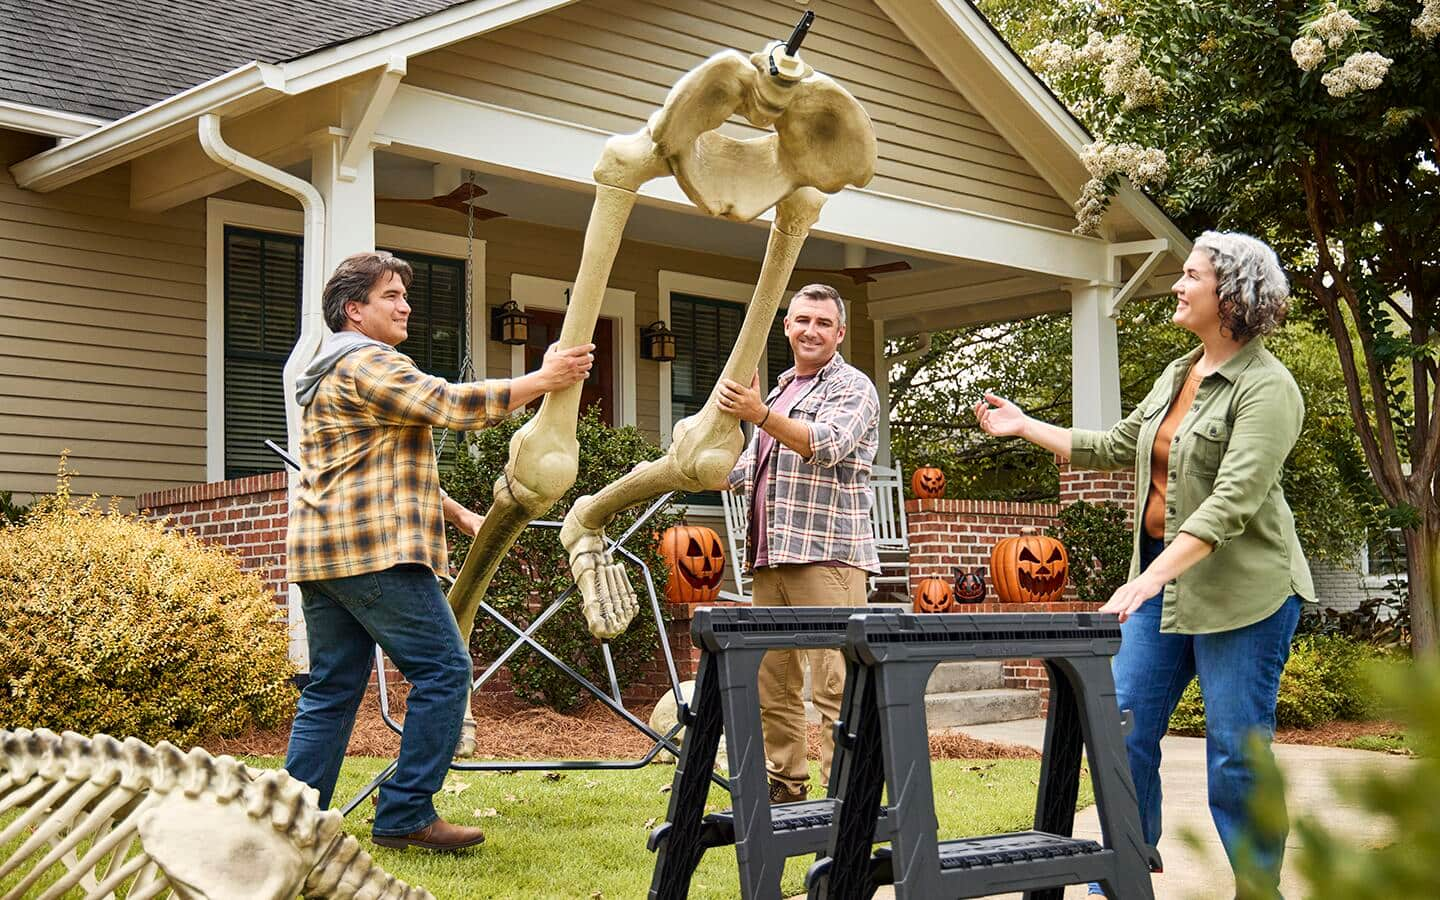
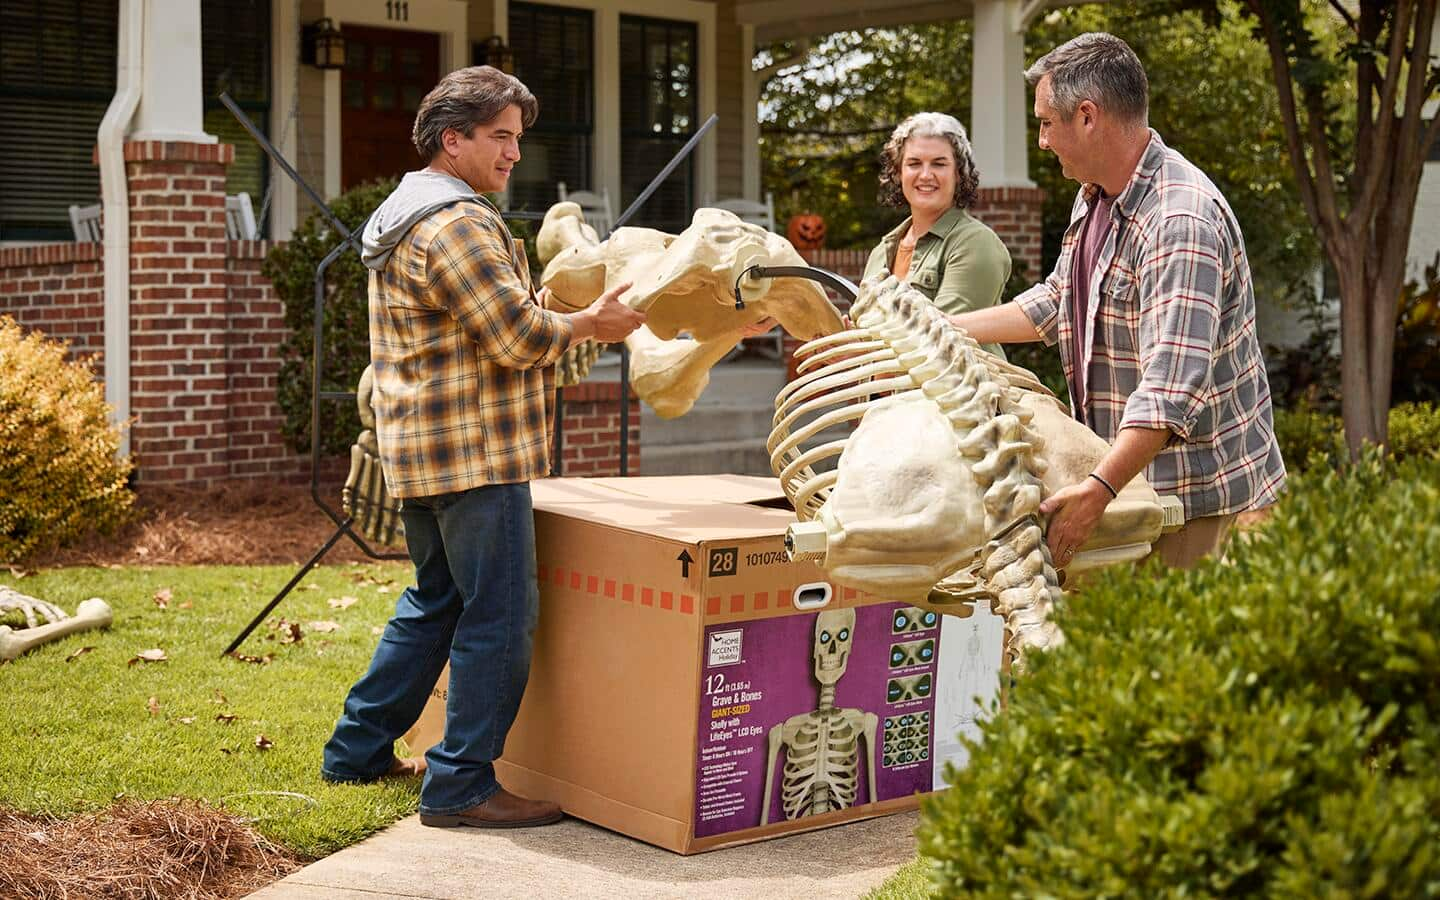
Before you get started, figure out where you want to place your Skelly. It’s much easier to build it and not have to worry about moving it later.
Once you’ve chosen the perfect spot, it’s time to start building.
Step 1:
- Place the rectangular base on the ground in your chosen location.
- Attach the feet to the base.
- Secure the metal leg supports. Attach the shin bones and thigh bones to them.
Step 2:
- Next, add the pelvis bone. This piece will snap in place.
Step 3:
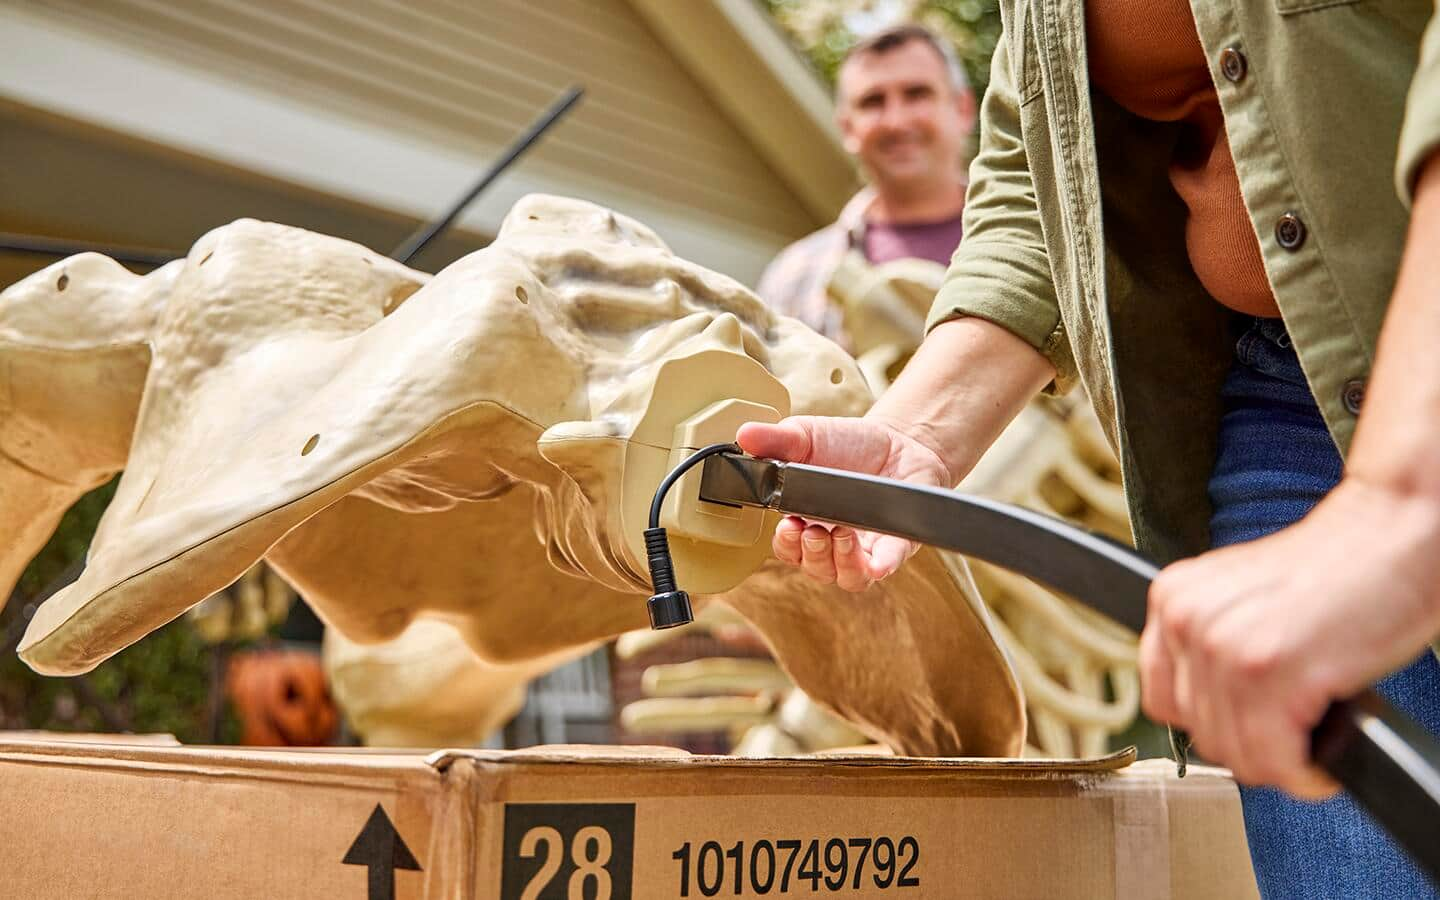
- Lean the Skelly over a box so you can reach the upper portions.
- Attach the metal piece for the backbone’s support.
- Slide the ribcage onto the structure.
Tip: You can use the box the Skelly came in or any other tall object, like a sawhorse, for Step 3.
Connect the Wires and Final Assembly
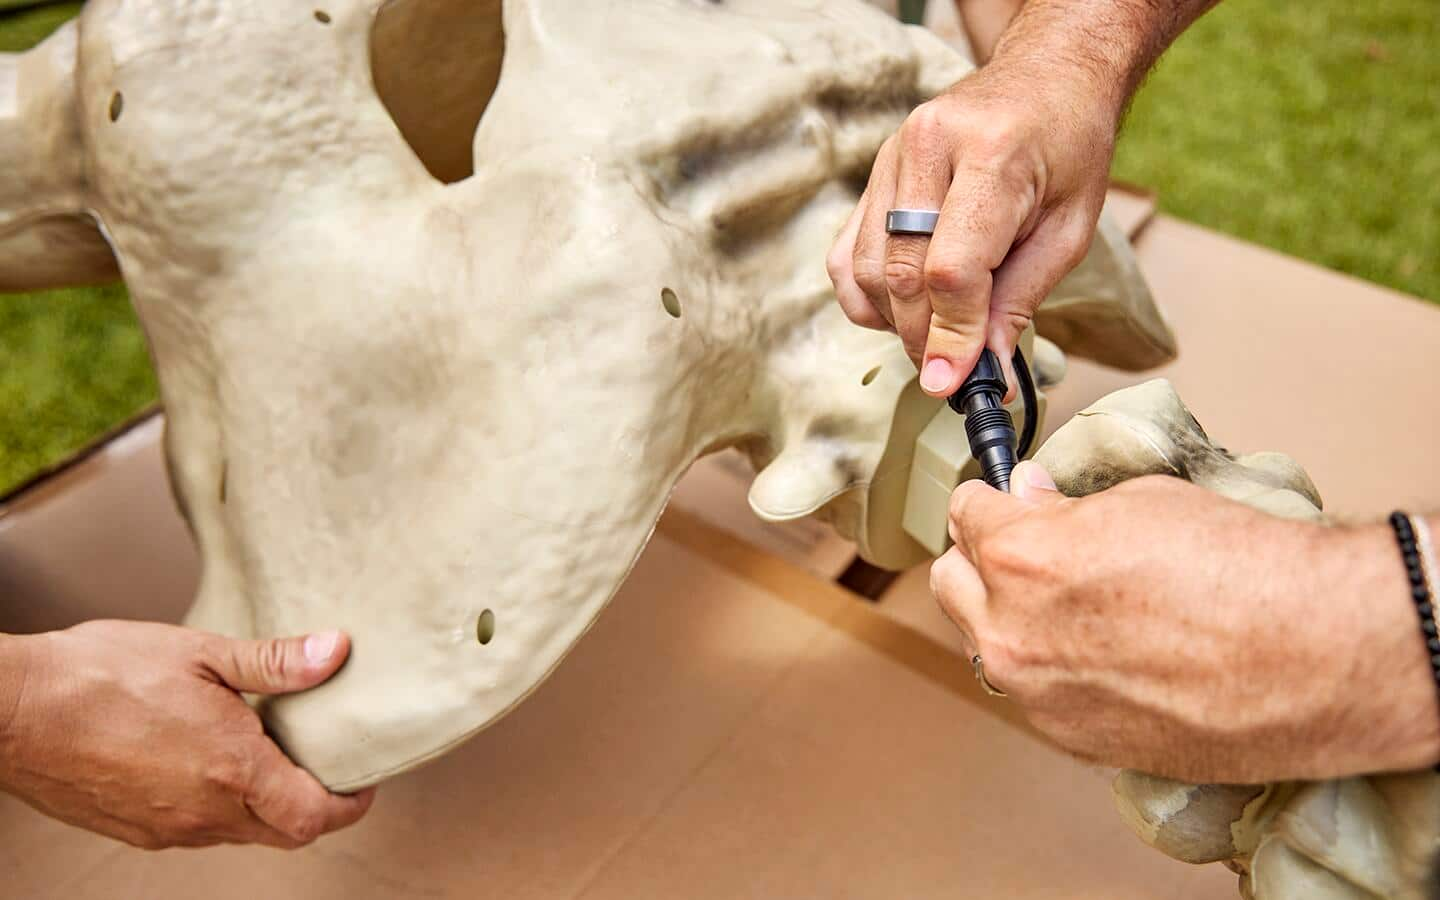
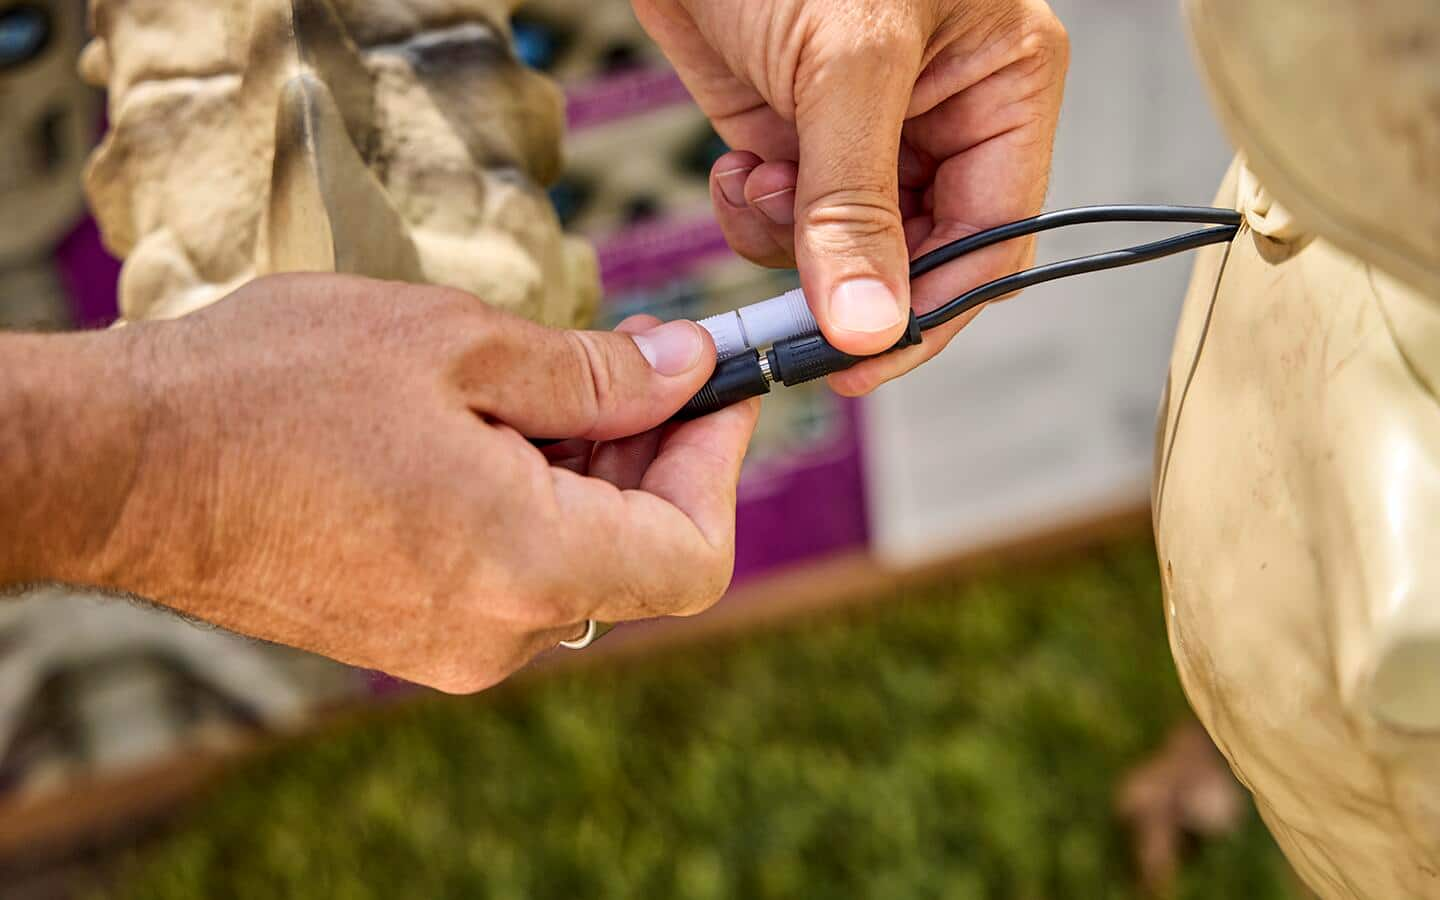

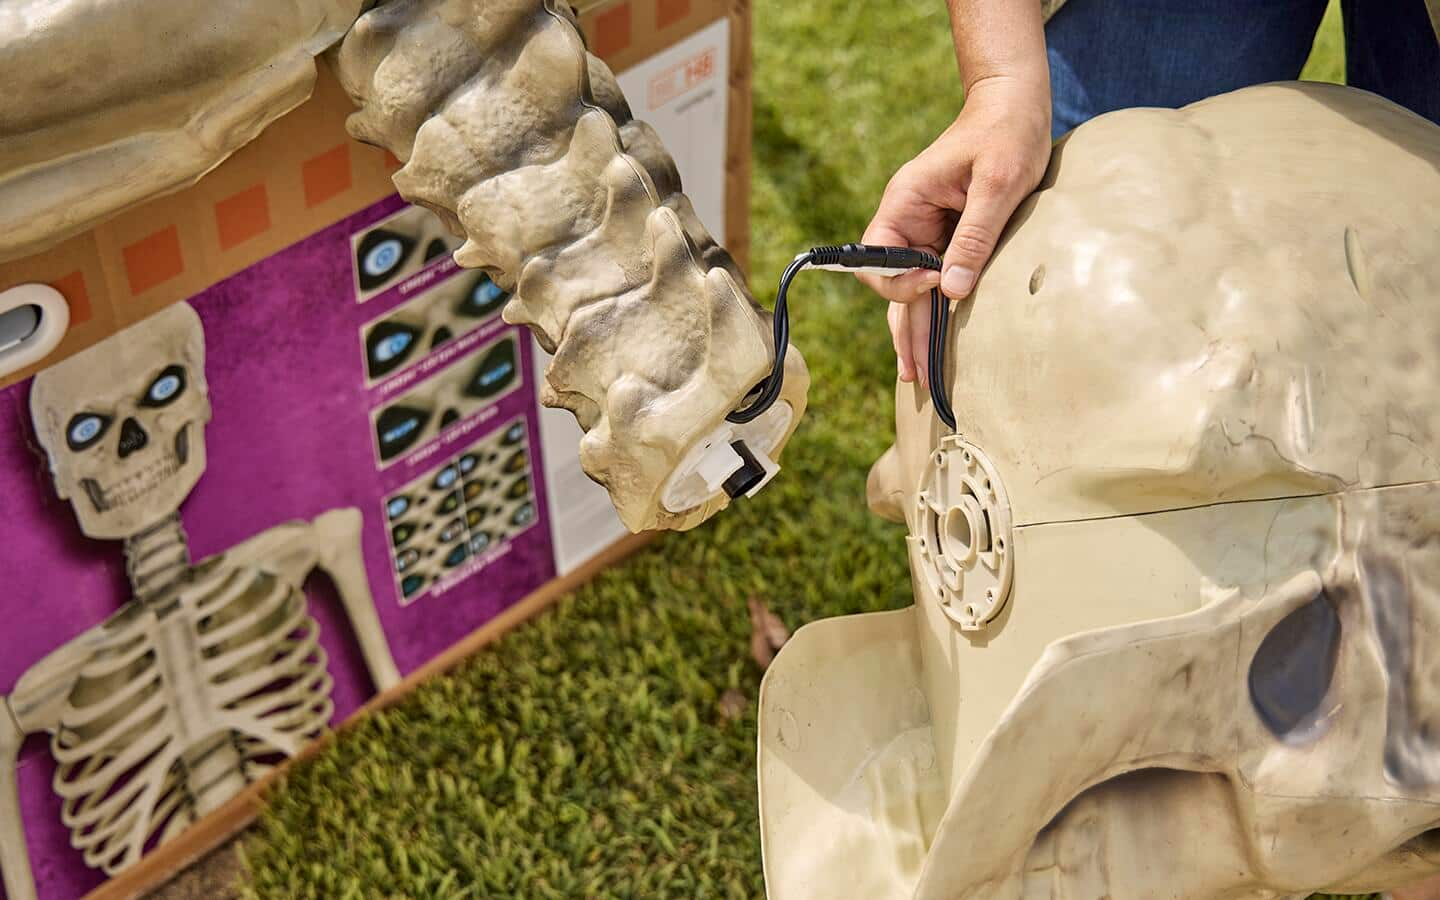

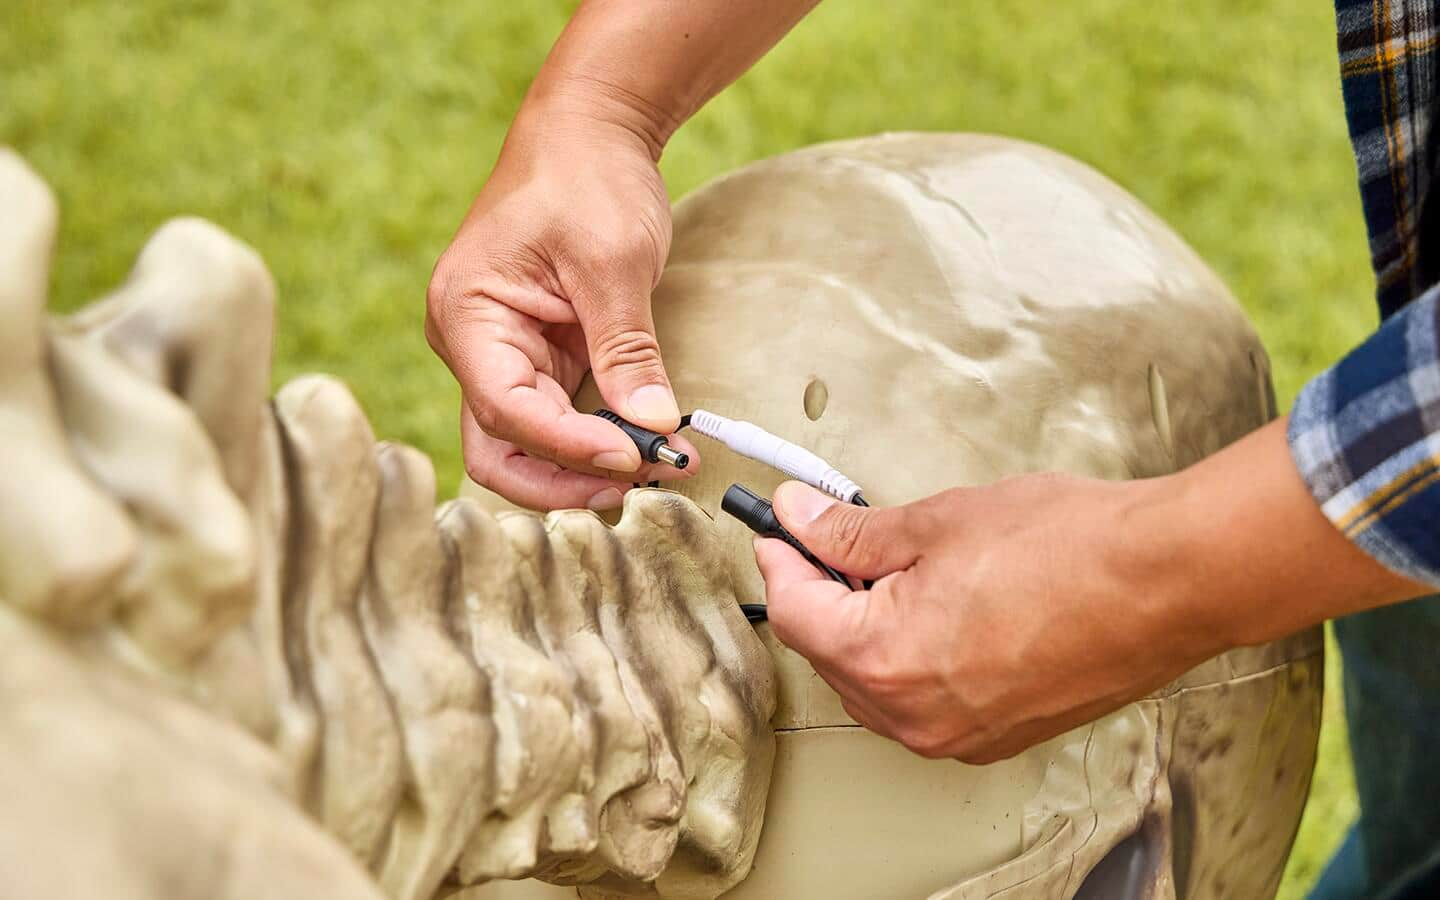
One of the fun things about Skelly is that its eyes light up for a delightfully creepy effect. In newer models, the chest cavity also lights up. You’ll need to be sure the cords and wires are all connected for this to work. Finishing the set-up of Skelly should be simple, but you may want a second person to help.
Step 4:
- Connect the cords together that will light up the eyes.
- Carefully line up the arrows on the end of each cable, push the connection’s groove and rod together, and turn the cable caps clockwise to secure them.
- Secure the loop screw in the assigned place on the skeleton spine.
Step 5:
- Use a hex screwdriver to secure the shoulder blade screws. Do not overtighten.
- The safety wire must be in place before attempting to place Skelly in a standing position. String the safety guy wires through the hoops going from the back all the way down to the feet and the base.
Step 6:
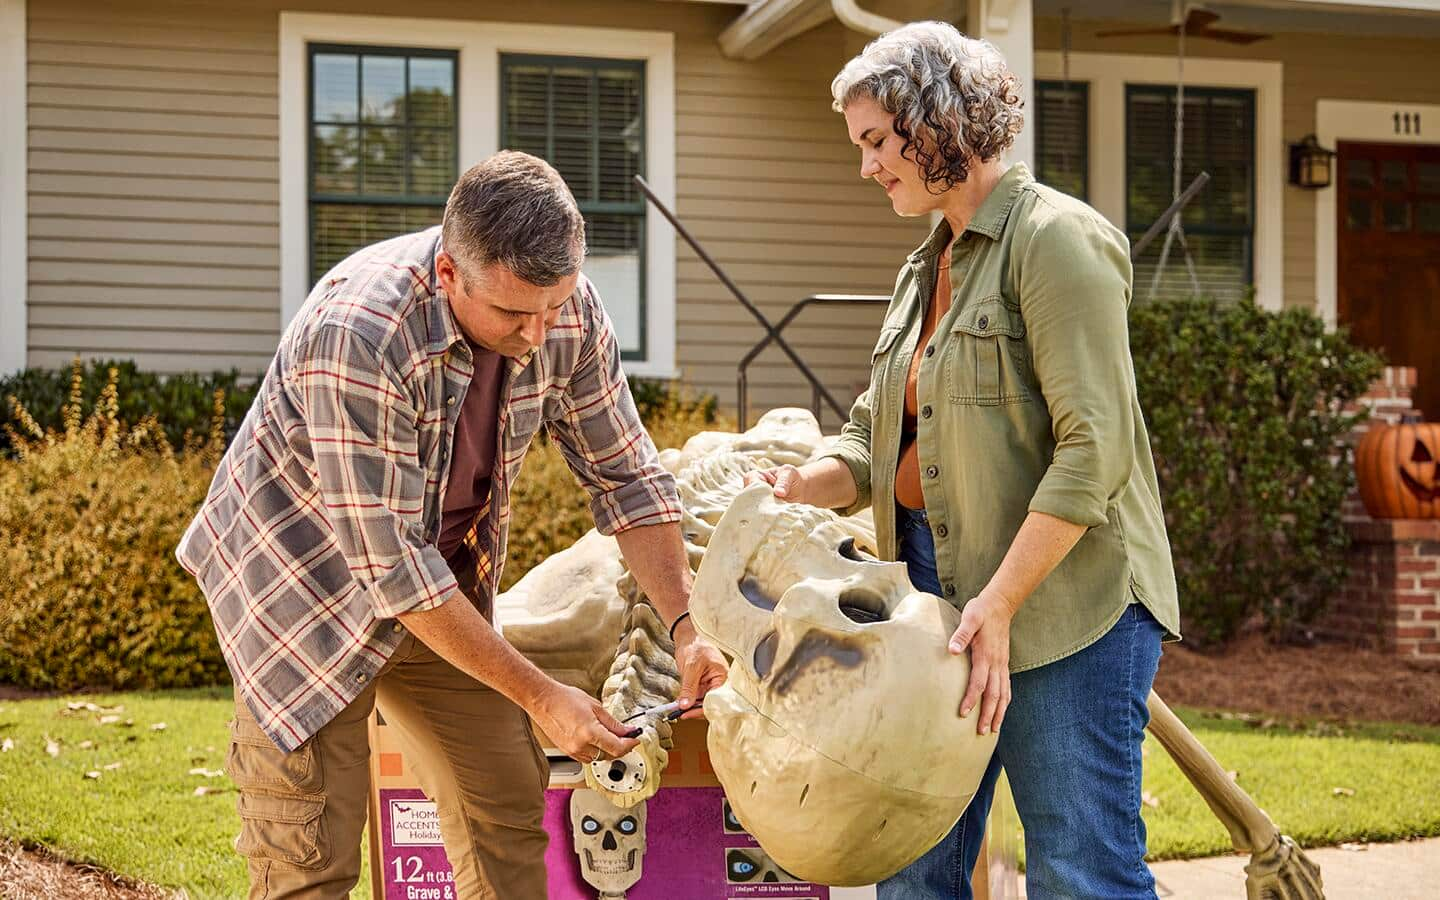
- Plug in the wires between the skull and the body.
- Carefully attach the skull and tighten the securing screw.
Step 7:
- Plug in the adapter at the base of the body. Rotate the adapter cap clockwide until it is firmly in place.
- Push the Skelly to a standing position. (For safety, this requires at least two adults.)
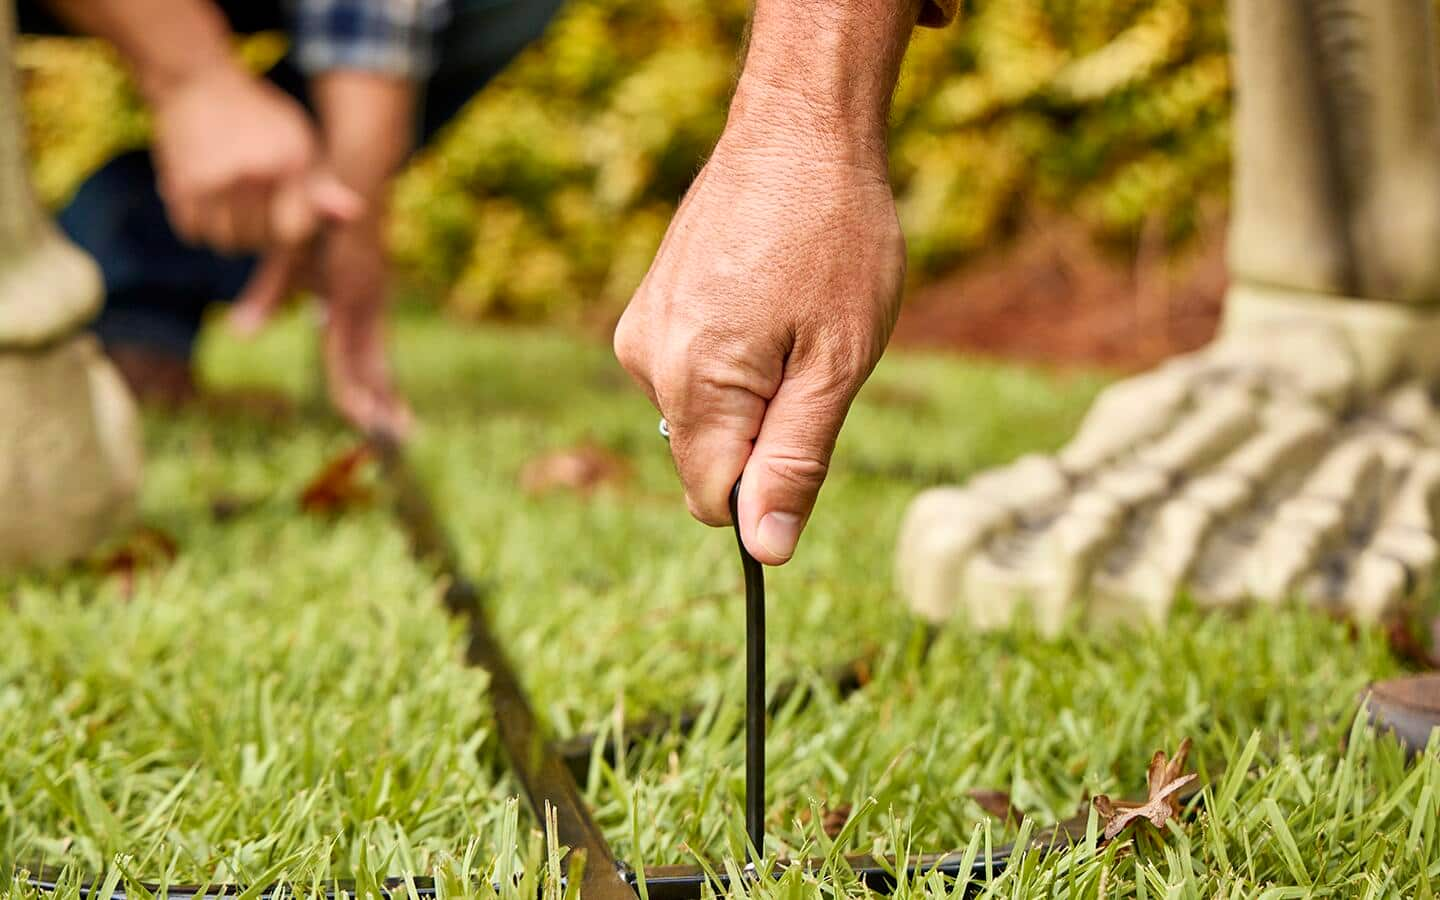
- Place support pins into the ground for stability.
- If needed, add sandbags or weights to the base for additional stabilization.
Tip: Pose arms of the skeleton before standing it up.
Begin Disassembly


When the celebration ends and it’s time to put Skelly away, disassembly is just as straightforward as building it.
Step 1:
- Remove the support/safety pins from the ground
- Lay Skelly onto a box or other horizontal item so it’s parallel to the ground without laying on the ground itself.
Step 2:
- Disconnect the wires between the head and the body.
- Disconnect the supporting guy wires that run down the back, feet and into the ground.
Step 3:
- Remove the head.
- Loosen the screws in the shoulders and remove the arms.
Disassemble Rib Cage and Lower Body


Continue taking apart Skelly by focusing on the main bones of the body.
Step 4:
- Slide the rib cage off the metal supports.
- Remove the pelvis and leg bones next.
Step 5:
- Remove the black metal support frame pieces as you go.
Step 6:
- Stand the base upright and remove any remaining support pieces.
Final Disassembly and Storage


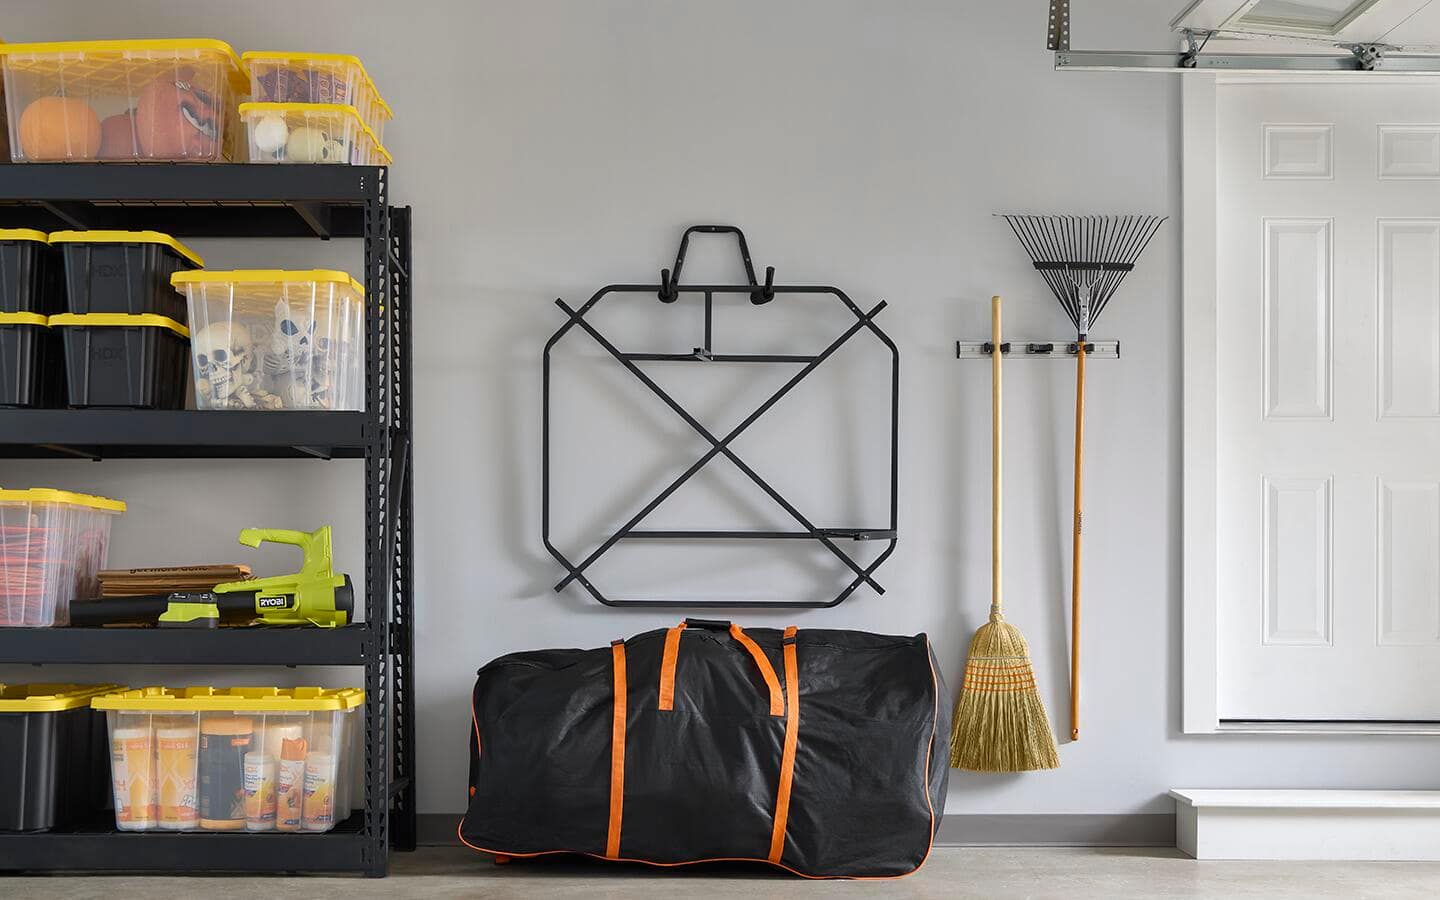
Decide whether to store your Skelly in a box, storage bag or some other storage container so everything is ready for the next season.
Step 7:
- Remove feet bones.
- Place the base in the storage container.
Step 8:
- Fill the rib cage piece with the leg bones and arm bones.
- Place the filled rib cage into the container.
- Next, put the pelvis and head into the bag or box.
Step 9:
- Add any other Halloween decor to make the most efficient use of your storage container.
- Store the container in a garage, basement or any other location you choose.
Cleaning and Maintenance
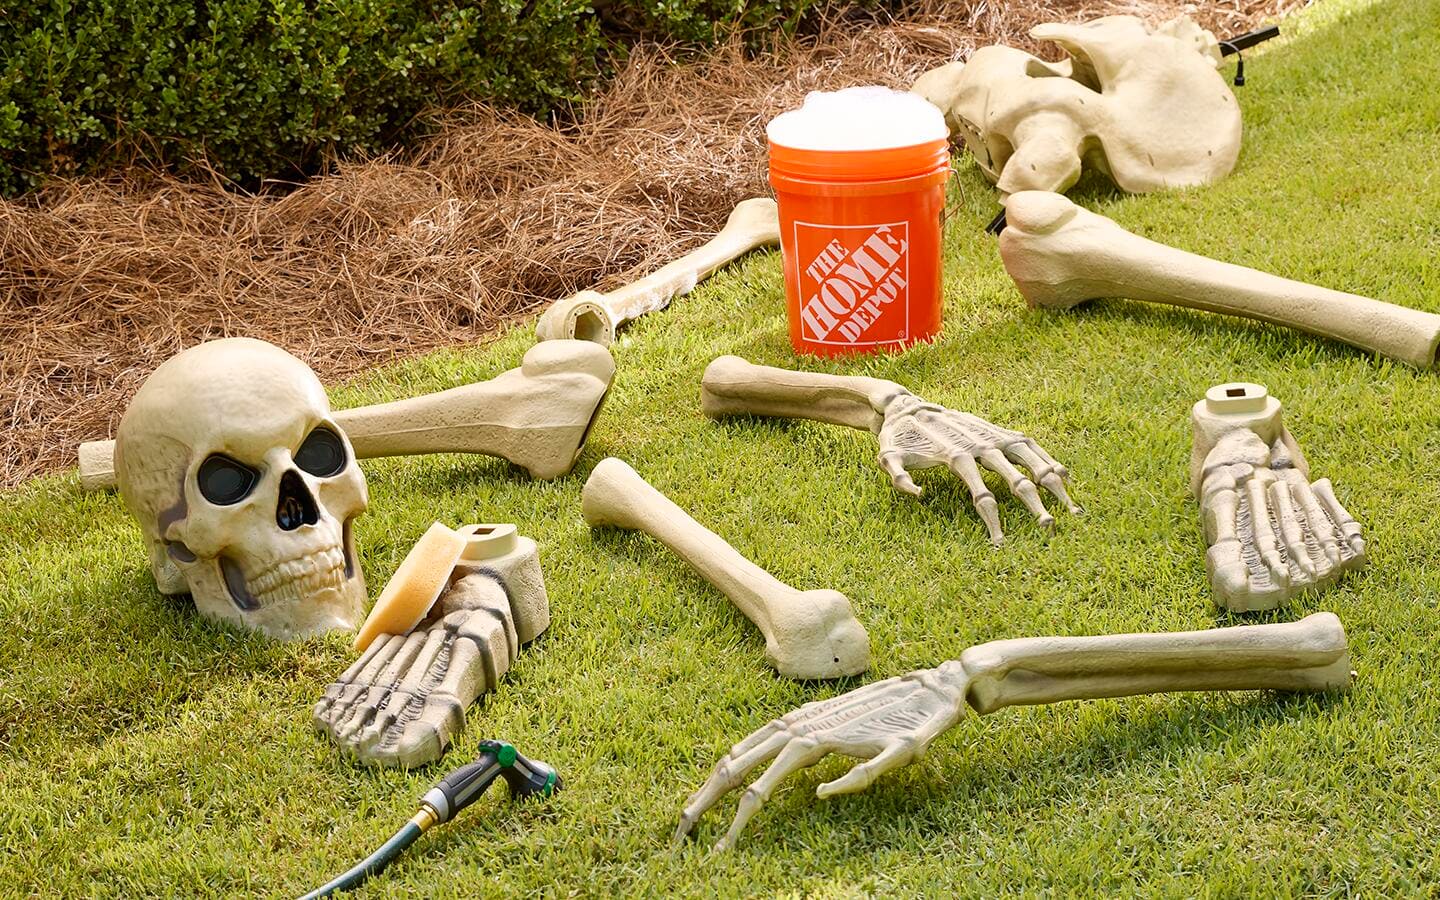
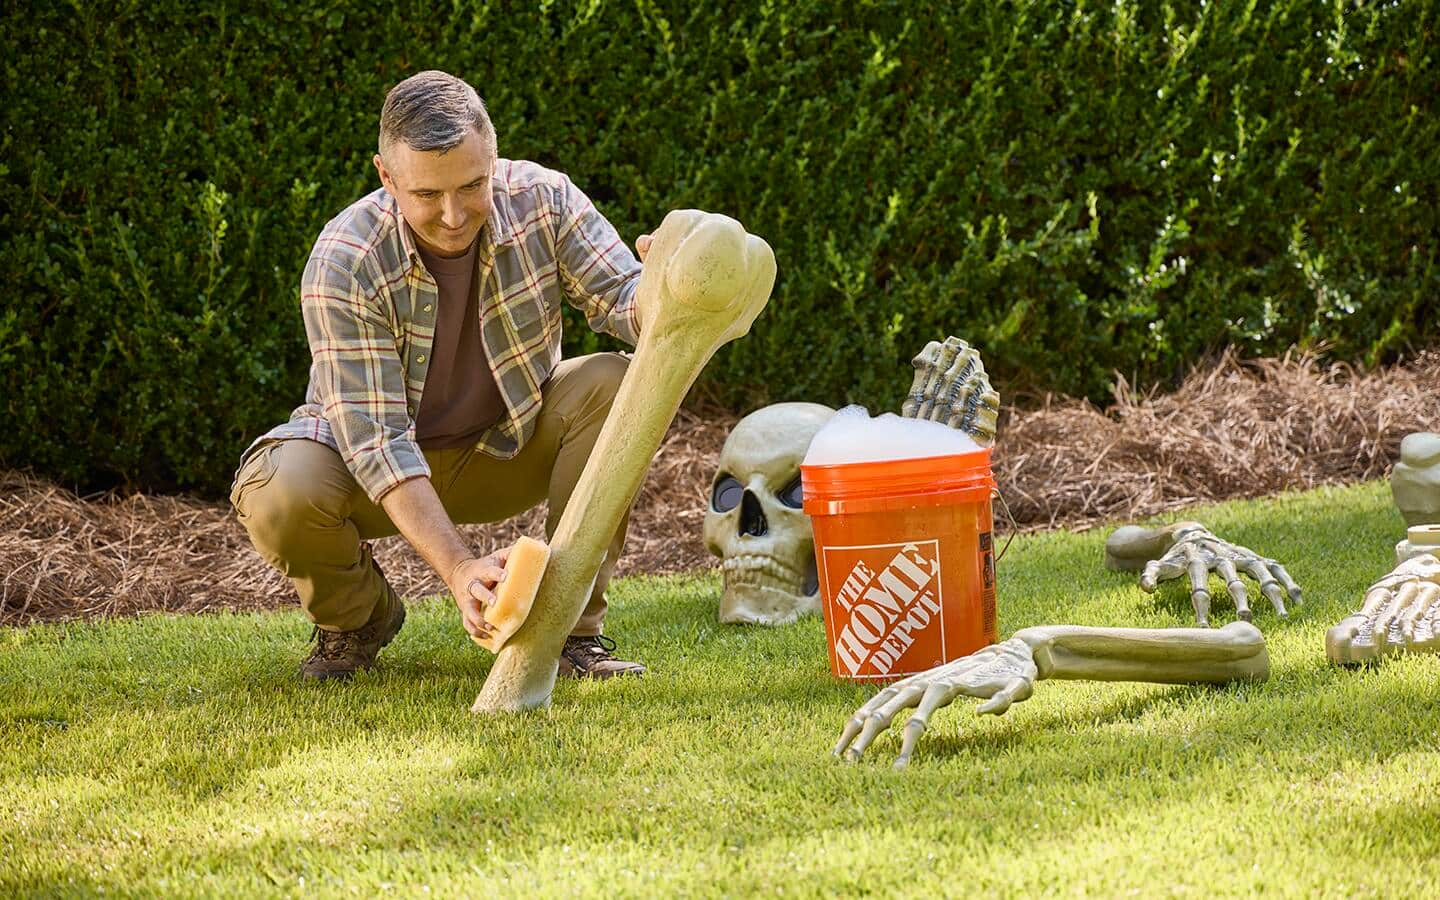


While you may not need to clean your Skelly the first time you use it, at some point it will begin to be less pristine. Follow these steps to keep it looking its best.
- Take all of the pieces out of the storage container.
- Temporarily cover cord ends with tape or a plastic bag to keep them from getting damp or debris in the connectors.
- Put water and a mild cleaning solution in a bucket.
- Use a sponge to wipe down the pieces.
- Carefully rinse the pieces with clean water. Use a low pressure garden hose, if you have an older model Skelly.
How to assemble and disassemble Skelly, the 12-foot, giant skeleton from The Home Depot, is a straightforward DIY project for some family fun. When you are ready to start your Halloween decoration, order the supplies with The Home Depot Mobile App and even have it delivered right to your home.