A Note From The Home Depot
Sometimes to achieve exactly the look you want for your home, it’s best and more cost-efficient to do it yourself! Read below to see how Sam Raimondi of DIY Huntressdid her own tile work as a part of her Kitchen Remodel, using helpful tools and materials from The Home Depot.
How To Install Kitchen Backsplash

Installing your own backsplash can save you a ton of money on your big renovation! Even better, The Home Depot has all the tools (and tile choices) you need to get the job done in just a few easy steps!
Materials:
1. Choosing Your Tile + Layout
When choosing a backsplash for your kitchen, there are tons of different options that you can choose from for your particular project! The Home Depot offers tiles in every shape, color, material, and pattern. Even cooler, you can order tile samples for your project and calculate how many tiles you would need before getting started. This helps make sure that you are staying within budget while also creating the space of your dreams!
2. Prep Your Space

The first thing you want to do before installing your backsplash is make sure you have a clean surface to apply your tile. If you are replacing old tile, you’ll want to demo the tile and make sure you have a clean, smooth surface to start on. If you are working with drywall, make sure to clean the walls with warm soap and water to remove any debris before starting.
You’ll also want to make sure you cover anything you don’t want to get dirty or damaged like floors, appliances, and countertops!
3. Starting Your First Row
There is no hard-and-fast rule for where you should start your tiling job when working on a backsplash. I often choose to make the most visible space my center line and then work my way out from there. Head over to my YouTube channel to see this process in action.
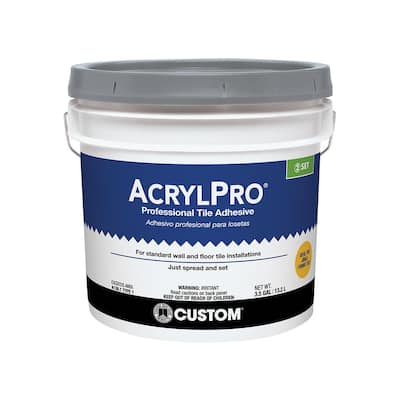
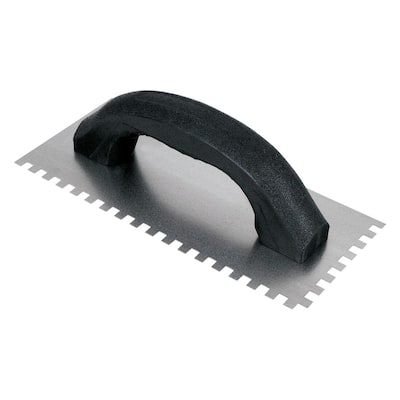
Once you have decided where you are starting your tiles, apply an even but healthy layer of tile adhesive to the wall with your trowel (you can also back-butter your tiles for extra adhesion, but this is often not necessary for smaller format tiles) before pressing your tile into the wall. Use a level to make sure your first row is level (this is so important)!


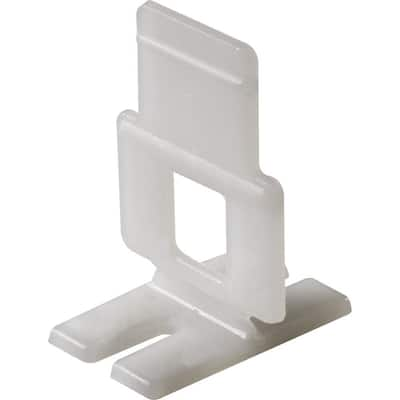
You’ll also want to add spacers in between your countertop and your tiles to leave room for expansion.

4. Continue Tiling
Once your first row is complete, continue tiling your entire backsplash the same way, making sure to add spacers in between each tile and wiping away any excess tile adhesive that squeezes out when tiling.
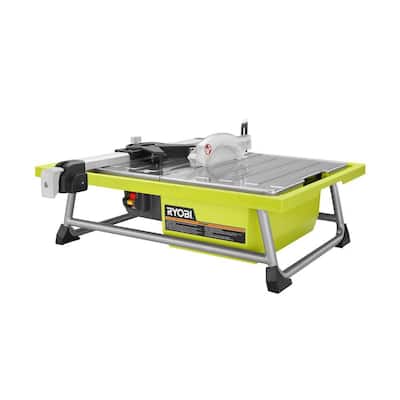
You can use a tile saw or tile cutter to cut tiles around windows, cabinets, and outlets.


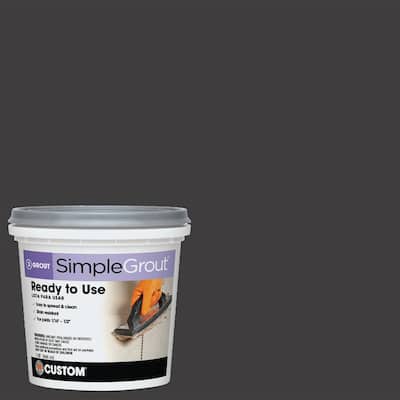
5. Grouting Your Tile
Once your tiles are installed and the adhesive has dried, it’s time to remove the spacers from in between the tiles and add grout! You can choose from several different grouting options at The Home Depot!

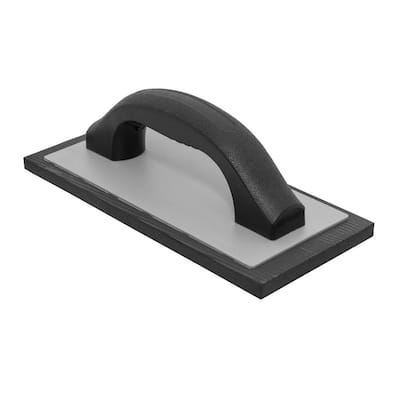
I apply my grout with a float and then wipe away the excess with a wet sponge and a microfiber cloth. It’s important to work in small sections so the grout doesn’t dry on the tiles while working.

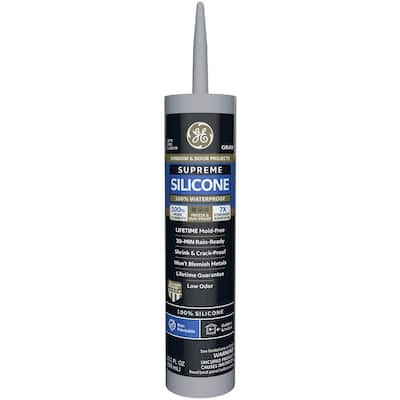
6. Finishing Touches
The last step in the process is to add those finishing touches like caulking the seam in between the counter and the tiles!


I hope these tips and tools come in handy on your next project! Be sure to follow my kitchen renovation on @DIYHuntressand stay tuned as I document my entire kitchen remodel process. You won't want to miss it!