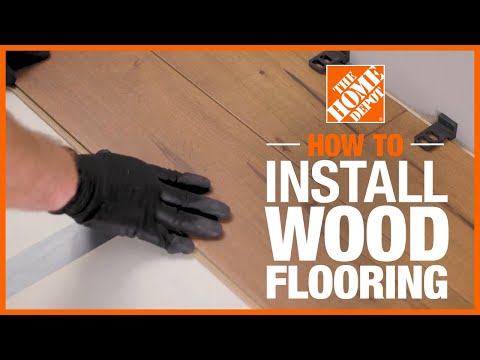
How To Install Hardwood Flooring
Last updated April 30, 2025
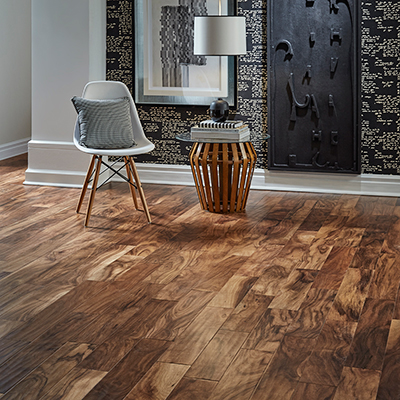
One of the most popular flooring choices for homes, hardwood flooring can add warmth, value and style to any room in your home. Hardwood flooring is durable and available in engineered and solid options, as well as a variety of colors. If you want a DIY hardwood floor, there are several install methods you can learn.
When learning how to install hardwood floors, it’s important to understand the three basic types of installation: nail-down, glue-down and click-lock. This guide will teach you how to install hardwood flooring on your own, so you can make an affordable and attractive update to your home.
Difficulty:
Intermediate
Duration:
Over 1 day
Table of Contents
Choose Your Install Method
General Tips for Installing Hardwood Floors
Prep the Space
Glue-Down Install Method
Nail-Down Install Method
Click-Lock Install Method
Choose Your Install Method

The type of install method you choose will depend on your subfloor, budget, lifestyle and the type of wood flooring you select. For example, solid hardwood flooring is typically nailed down during installation while tongue and groove engineered flooring is usually clicked together or completely glued down.
With three install methods available, it’s important to decide how to lay hardwood floors based on your skill level and budget.
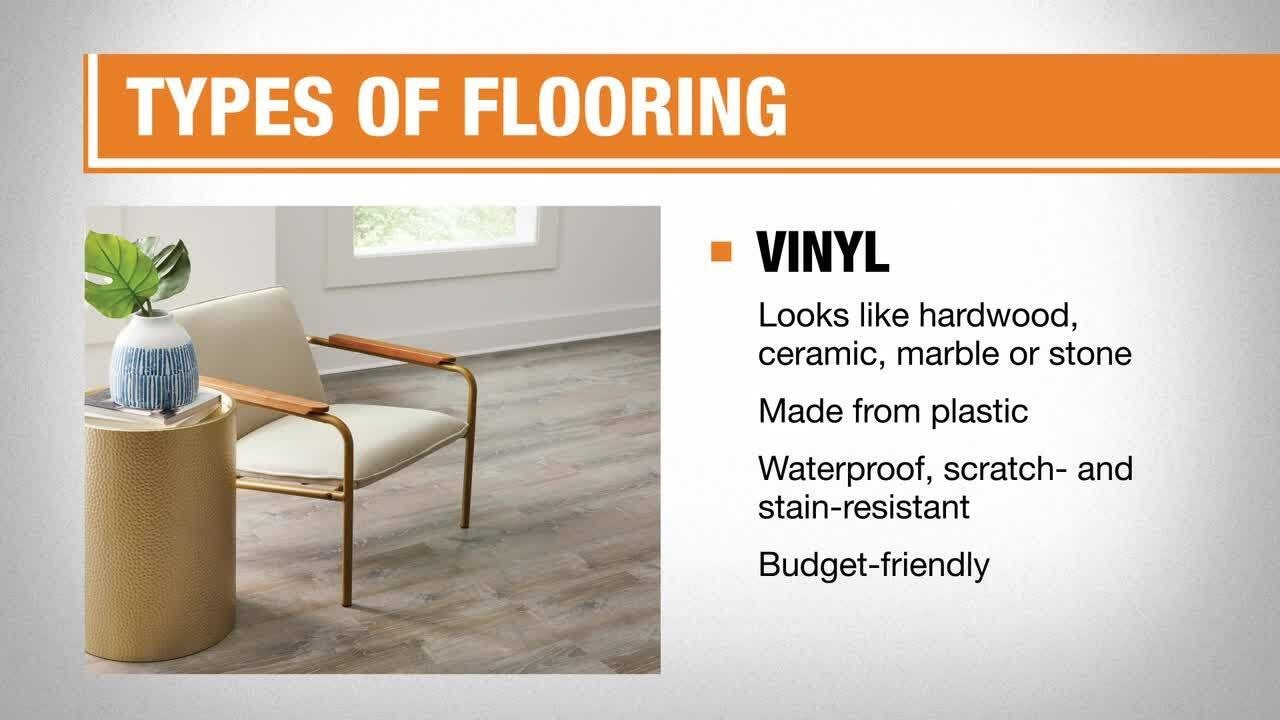
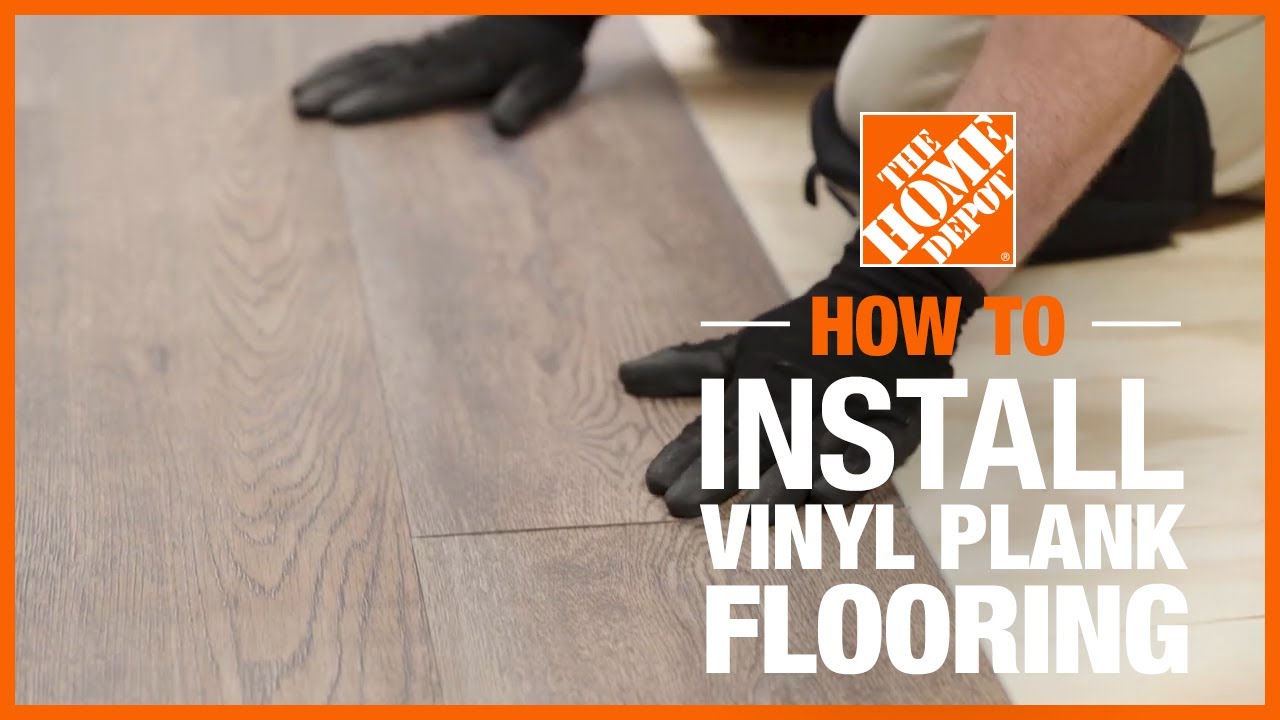
- Glue-down, or adhesive, installation is a popular option for engineered flooring. It is typically clicked together and secured with glue.
- Click-lock, or floating, installation is the most common install method for engineered wood. Click-lock involves attaching or clicking the panels together, which blocks out moisture. This install method is used when the subfloor is cement, tile or a floor with radiant heat.
- Nail-down installation of solid wood is chosen by many homeowners because of its permanence. Once the hardwood is installed, the nails are hardly visible. This method requires a wooden subfloor, so if you don’t already have one, you either must remove the existing flooring to get to the wooden subfloor or create a subfloor with plywood. This increases the overall cost of the project and may not always be practical.
General Tips for Installing Hardwood Floors

Here are a few tips to keep in mind when learning how to install hardwood floors:
- When possible, begin installing from the straightest, longest wall and install the flooring perpendicular to the floor joists.
- Make sure you’ve got the right amount of flooring for your space. Most manufacturers recommend a standard cutting/ordering allowance of 5 percent, and a culling allowance up to an additional 10 percent if installed on a diagonal surface. Hardwood is sold in full case quantities, so round up when ordering.
- Install on or above grade.
- Let hardwood acclimate in the room you’re installing it in for five days prior to installation. The recommended temperature of the room should be 65 degrees to 75 degrees Fahrenheit and recommended humidity levels should be 30 to 55 percent.
- Stack flooring log-cabin style or just spread it around the room, but not directly on concrete.
- Most 3/4-inch solid hardwood flooring can be installed using nails or staples over a wood subfloor. Most engineered flooring can be installed using staples, full spread adhesive or a floating method over an approved subfloor.
- Make sure you have a sturdy subfloor: 3/4-inch CDX plywood is preferred and 3/4-inch OSB is acceptable. Minimum 5/8-inch CDX existing wood floor or tongue and groove flooring is also acceptable.
- Often a floor will meet an obstruction such as a fireplace or counter. If so, miter boards to create a border that frames the obstruction. Position the boards so the tongue or groove mates with the rest of the floorboards. Cut off the tongue if it is on the edge that meets the obstruction. Install the rest of the floor as you normally would, fitting the pieces into the frame as you go.
- Safety is key. Be sure to use work gloves and knee pads to make installation safer and more comfortable.
- While many install methods are straightforward, some methods, such as nail-down and glue-down may require professional hardwood flooring installation, depending on your skill and comfort levels.
Prep the Space

Given the variety of subfloor types, always refer to the installation guidelines for information specific to your
hardwood flooring and subfloor type. These are the common steps to take when prepping for hardwood:
- Start by removing the baseboards in the room where your install will take place.
- Make sure your subfloor is level and smooth. Sand down raised spots if needed and fill low spots.
- Mark the walls to show the location of the floor joists.
- Cover the floor with underlayment or a moisture inhibitor such as 15 to 30 lb asphalt-saturated felt or silicone vapor shield. Even if you have waterproof hardwood, a moisture inhibitor will protect your floors and subfloors from both spills and water vapor that comes from the ground beneath the foundation. Underlayment will also help dampen noise.
- For strength, run the strip flooring perpendicular to the floor joists.
- We recommend measuring and snapping a line or using a string to guide installation of the first row. At each end of the starting wall, measure out the width of a floorboard, plus 1/2-inch for the expansion gap between the flooring and the wall, and make a mark. However, you can also use the longest, straightest wall as your guide.
- Use a nail gun to drive nails into the marks and stretch mason's line between them to create a straight guideline along your wall. Alternatively, snap a line on the floor with a chalk line. Then proceed to assemble the first three rows.
- Now, you'll need to figure out how to lay hardwood floors for your room size and
shape. Begin by spreading the boards from several cases across the room. - Lay out the boards in the order you will install them. Pros call this "racking the boards." Flooring cases tend to be uniform in color and, if you don’t rack them, you will create noticeable light and dark areas in the floor. Mix boards from different flooring packages to allow for greater shade and color variation, along with random lengths.
- Make sure you finish the process by staggering the end joints, so they are sufficiently offset from the end of the board in the previous row by a minimum of 6 inches.
Glue-Down Install Method

A good choice for concrete floors, the glue-down install method doesn't require using an extra vapor barrier, which is good for most budgets. Here's how to install hardwood flooring using the glue-down method:
- With the floor prepped, spread flooring adhesive with a trowel. Spread just enough adhesive to work on a few rows at a time so the glue doesn’t dry. Glue will typically set in about 60 minutes.
- Hold your trowel at a 45-degree angle to spread the glue in small sections.
- Next, lay the first row.
- Install row one on the starting line.
- Cut the last board of the row to fit using a table saw, leaving a 3/4-inch expansion gap.
- When adding the second row, fit the groove onto the first row’s tongue and gently tap it into place using your rubber mallet.
- Use spacers to help maintain the expansion gap.
- Tap any rows in place with your rubber mallet to make sure the rows of flooring are flush against one another.
- For engineered hardwood flooring, match the ends and push into place.
- You will probably have to cut the width of the boards in the last row to fit. Measure the space and subtract 3/4-inch for the expansion gap.
- Cut the boards to width on a table saw. Put the boards in place.
- Install the baseboard and shoe moulding to cover the expansion gap.
- Install threshold or transition strips in place where the edge of the floor is exposed.
Nail-Down Install Method

When installing solid hardwood on a wood subfloor, the nail-down install method is used because it is usually cost-effective. Here's how to install hardwood floors using the nail-down method:
- Align the first board with the layout line, with the tongue facing into the room. Put a 3/4-inch spacer against the adjoining wall and slide the end of the board against it.
- Drill pilot holes into the face of the first board. The holes should be 6 inches apart and
1/2- to 1-inch from the edge of the board that's against the wall. - Drive 6d or 8d flooring nails through the pilot holes.
- Drill additional pilot holes through the tongue at a 45-degree angle, spaced as directed by the manufacturer. Countersink all the nails.
- Seat the ends of the tongue and groove flooring into each other and push the two boards together for a tight seam.
- Nail down the board. Continue with this method,
moving down the row until you reach the side wall. - Cut the last board of the row to fit, leaving a 3/4-inch expansion gap. Nail it in place.
- Put the first board of the new row in place. Cut it, if necessary, so the end is offset from the end of the board in the previous row by a minimum of 6-inches.
- Put the end against a 3/4-inch spacer and seat the edge snugly against its neighbor.
- Drill pilot holes in the tongues and then nail and countersink through the tongues (but not the faces) to hold the boards in place.
- After installing the second or third row, you will have enough room to get a flooring nailer between the wall and the board you’re placing.
- Position the nailer so that it will drive a nail through the tongue of the board. Then hit it with a mallet to shoot the nail through the tongue.
- Work your way across the room, row by row, power-nailing the boards through the tongue. Leave a 3/4-inch expansion gap between the end board and the wall. Stagger the ends of the boards in adjoining rows by 6 inches and rack additional cases as you go.
- As you approach the wall on the far side of the room, it becomes difficult to use the flooring nailer. Once you don’t have enough room to swing the mallet, begin drilling pilot holes for face-nailing, but nail only when you have laid down all the boards.
- You will probably have to cut the width of the boards in the last row to fit.
Measure the space and subtract 3/4-inch for the expansion gap. - Cut the boards to width on a table saw. Put the boards in place.
- Pry against a piece of scrap on the wall to seat the boards and close any gaps between them. Face-nail to hold the boards in place.
- Fill any noticeable holes with wood filler as needed.
- Install the baseboard and shoe moulding to cover the expansion gap. Keep the lower edge of the baseboard even with the top of the floor and nail the baseboard into the wall.
- Nail the shoe moulding to the baseboard, not to the floor or subfloor.
- Install
threshold or transition strips in place where the edge of the floor is exposed.
Tip: When using the nail-down install method, the first and last rows of flooring must be nailed through the face of the boards. All other boards are nailed through the tongue only. To prevent splitting face-nailed boards, drill 1/32-inch diameter holes for the nails, 1/2- to 1-inch from the grooved edge.
Click-Lock Install Method

One of the most popular choices for DIYers, installing
click-lock floors, or a floating floor, is quick and easy. It
only requires nails for the first row of boards. Here's how to install click-lock hardwood flooring:
- Use 1/2-inch spacers to assist in maintaining the expansion gap between the first row of flooring planks and the wall.
- Put the first board up against the mason's line with the groove side facing away from the walls.
- Put one 1/2-inch spacer against each wall and slide the end of the board up against those spacers.
- Drill pilot holes that are spaced according to the manufacturer’s instructions. A safe bet is spacing them every 4- to 6-inches and 1/2- to 1-inch away from the edge against the wall.
- Drive flooring nails through the pilot holes. Countersink all nails.
- Place the upper drop-lock end of the second plank on the lower drop-lock end of the first plank. The ends do not click-lock. Maintain a straight edge along the row.
- Cut the last board of the row to fit using a table saw, leaving a 3/4-inch expansion gap.
- Now, it's time to install the second and remaining rows.
- Cut off a section of the first plank lengthwise to ensure joints are staggered 6 inches apart.
- Hold the plank with the tongue facing the previous row. Keep it at about 30-degree angle.
- Insert the tongue into the groove.
- Make sure the tongue is snugly and securely engaged in the groove by exerting a constant pressure in the direction of the groove.
- Maintain the pressure while pressing the plank flat to lock the edge joints.
- If there is a slight gap along the edge joints, it can be eliminated with the help of a tapping block and plastic mallet. Use caution to prevent impact damage.
- Cut the last row to width, leaving a 3/4-inch expansion gap.
- Install the baseboard and shoe moulding to cover the expansion gap.
- Install threshold or transition strips in place where the edge of the floor is exposed.
With the right tools and preparation, learning how to install hardwood flooring can be easy, and the process can be done quickly. Now that you know all the install methods, you can choose the types of hardwood floor that best fit your preferred method.
Estimate your hardwood flooring cost with our Hardwood Flooring Cost Guide. Got a small flooring project? Consider a flooring tool rental to get your project done. Use once, then bring it back - no maintenance required and you won’t need to store it either.
Related Products
Related Guides

Leave Your Next Project to Us
Professional Hardwood Flooring Installation
- Expert Hardwood Floor Installers Do It For You
We hand-select licensed and insured flooring contractors in your area who are known for their experience, knowledge, and superior service.
- How Our Hardwood Flooring Installation Works
Select your ideal wood flooring from The Home Depot’s extensive range, offering the latest styles and timeless classics to suit any room, budget, and timeline. After choosing, a certified flooring installer will visit your home to measure the spaces and note any special installation needs at a time that works for you. Within 48 hours, you’ll receive a personalized quote, which we can review and adjust as needed, either over the phone or in-store. Complete your purchase using various payment options, and we’ll schedule your installation within 24-48 hours, with our licensed flooring specialist.


