How to Install Vinyl Plank Flooring
Last updated December 8, 2025
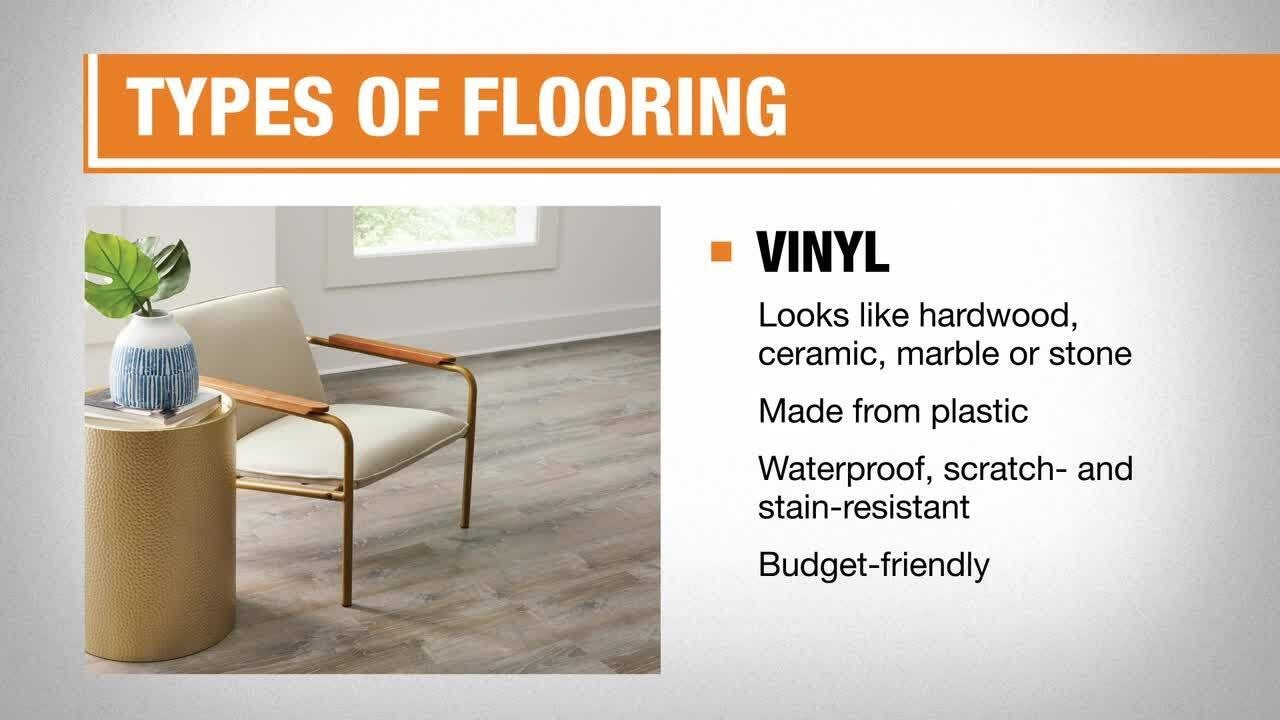
Vinyl plank flooring has all the visual appeal of solid hardwood flooring. Learning how to install vinyl flooring is something you can do yourself. Vinyl flooring costs a fraction of the price of hardwood, making it a great option for beginner home improvers. This guide will give you the basics on how to install vinyl plank flooring in any room easily and efficiently. Always refer to individual manufacturer instructions for specific installation directions.
Difficulty:
Beginner
Duration:
2-4 hours
Table of Contents
Advantages of Installing Vinyl Plank Flooring
Choose Which Type of Vinyl Plank Flooring to Use
Tools for Vinyl Flooring
Preparation for Vinyl Plank Installation
Planning Your Vinyl Plank Installation
Installing Click Lock Vinyl Plank Flooring
Advantages of Installing Vinyl Plank Flooring

Vinyl plank flooring is known for its versatility and durability. It is comfortable underfoot, while it still creates a sleek, attractive finish to your room. In addition to being moisture resistant, vinyl is also stain resistant and can dampen noise, making it a preferred flooring choice for families with children and pets.
For these same reasons, many people choose to install vinyl plank flooring in bathrooms and basements. However, you can also install vinyl plank flooring in your kitchen or bedroom. You can easily install it over any rigid and level surface, including concrete, wood or even up to one layer of other vinyl.
Choose Which Type of Vinyl Plank Flooring to Use

Before installing vinyl plank flooring, determine which type of vinyl plank best suits your renovation needs. Vinyl planks can be sorted into three main categories based on their installation method: GripStrip, click-lock and glue down.
GripStrip vinyl plank flooring has a manufacturer-applied adhesive layer that connects the planks to one another. This installation method creates a floating floor, which means GripStrip vinyl planking covers the subfloor without adhering or fastening to it in any manner. Floating floors are an easy, mess-free way to install new flooring without necessarily having to remove the existing flooring.
Interlocking vinyl plank flooring, also known as click-lock, creates a floating floor. But instead of having an adhesive connecting the planks, the planks interlock with tongue-and-groove joints that easily snap together for a reliable fit.
Glue down vinyl plank flooring adheres to the subfloor using either one of two types of adhesives: hard-set or pressure-sensitive adhesives. Hard-set adhesive is spread along the subfloor, and then the vinyl planks are laid down on top. Pressure-sensitive adhesive is already on the bottom of the plank and bonds to the subfloor when the plank is pressed into place. While both types of adhesives are durable, the pressure-sensitive adhesive can make replacing individual vinyl planks easier.
All three installation methods are suitable for novices, require little time and can be laid over any rigid and level subfloor. Which method you choose depends on personal preference and the room you are planning to renovate. When choosing between floating floor options, note that GripStrip vinyl plank flooring is often water-resistant, while click-lock vinyl plank flooring can be entirely waterproof.
Tools for Vinyl Flooring

DIY vinyl flooring requires relatively few flooring installation tools. If you're trying to figure out how to cut vinyl flooring planks, experts recommend scoring the plank with a utility knife and snapping it. Vinyl cutters are a good solution too. For more complicated cuts, consider a jigsaw or miter saw. Other tools you’ll need include measuring tape, a chalk or crayon, a straightedge and a vacuum. Some manufacturers recommend a tapping block and rubber mallet.
If you are installing glue-down vinyl planks, make sure you have vinyl floor adhesive and a notched trowel. If your room has a baseboard or moulding at the bottom of the wall, use a pry bar to temporarily remove it.
Tip: We recommend using safety goggles and work gloves during installation. Knee pads are also a good idea.
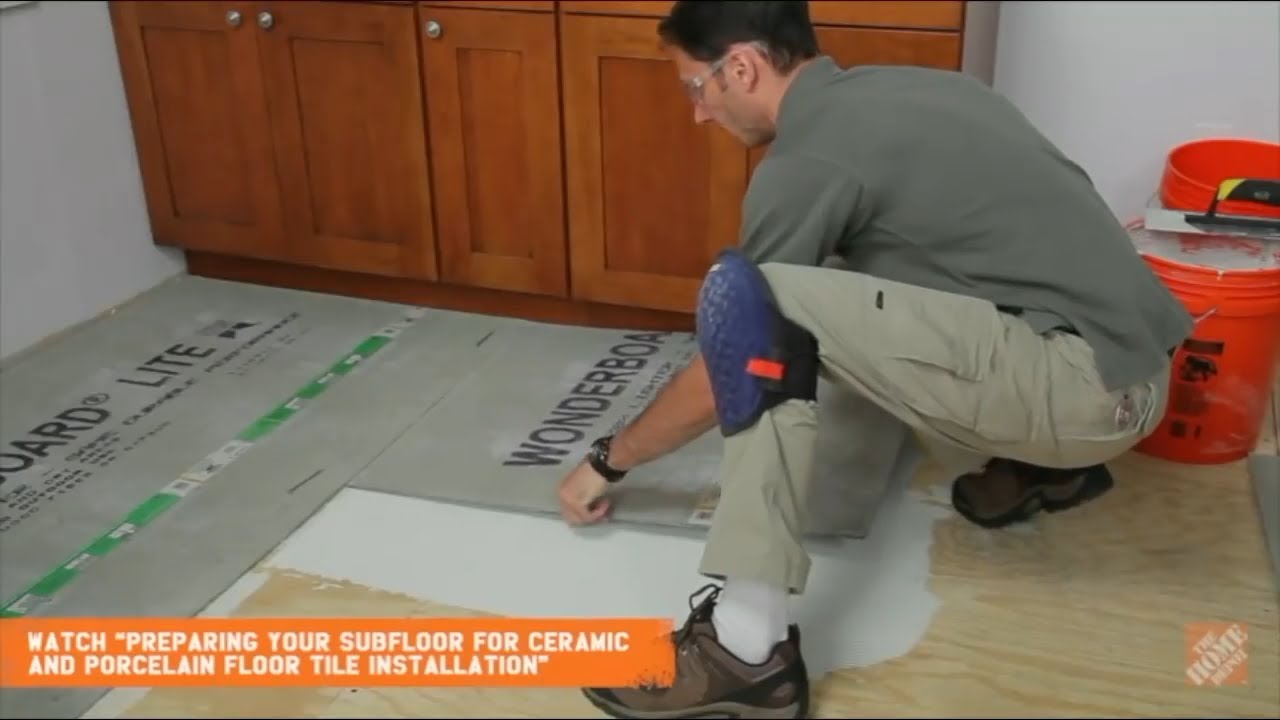
Preparation for Vinyl Plank Installation

Before you begin installation, measure and prepare the subfloor. Measure the size of the room to determine how much vinyl plank flooring to purchase. Try to ensure your measurements are as accurate as possible, then buy about 10 to 20 percent more flooring than you believe you will need. This will ensure you have enough planks to floor the entire room as well as extras for cutting or future replacements.
Your subfloor should be clean, rigid, level and free of cracks. Remove any carpeting or old vinyl flooring and temporarily remove the baseboard. If you are installing vinyl planks in a bathroom, you may need to temporarily remove the toilet, or you can install around it.
If the subfloor is not level, you can fix low spots with a self-leveling product and sand or grind down high spots.
Tip: Do not try to sand down old vinyl flooring, as it may contain asbestos. Instead, remove the pre-existing vinyl flooring entirely if it is not level.
Planning Your Vinyl Plank Installation

Once you have prepped the subfloor and have decided which type of flooring to use, plan how you will lay the planks before installation in order to make the process as quick and
easy as possible.
- Using the room measurements you found in the last step, divide the room width by the plank width to determine how wide the planks bordering the walls should be. For the best appearance, make sure the border plank widths are no less than half their initial width. For example, if the vinyl plank is 6 inches, you’ll want to cut it to no less than 3 inches wide. You may only need to trim the last row, but if the last row can only accommodate less than a plank’s half-width, trim the first row to make up the difference.
- Each package of vinyl plank flooring will have subtle differences in the plank pattern and color, so remove all the planks and shuffle them together to create a natural-looking variation.
- Undercut door jambs to allow the planks to slide easily beneath them.
- Cut the planks to accommodate the room size and shape, then plan to stagger their ends by about 6 inches between each row for the best appearance.
- Leave the manufacturer-recommended amount of expansion space between the planks and walls. Measure and mark the distance with your chalk or crayon.
- Plan to place all cut edges of the vinyl planks against the wall so the reinstalled baseboard can disguise the cuts.
- When figuring out how to install vinyl flooring planks around an unusual shape, trace the shape onto a piece of paper, then use the paper as a stencil when cutting the vinyl plank to fit.
Installing Click Lock Vinyl Plank Flooring

- Trim the short tongue edge from the first vinyl plank.
- Lay the first plank appropriately spaced from the wall. Install the second plank by holding it at an angle and inserting its tongue edge into the first plank’s groove edge. Lower the second plank to snap the planks together.
- Continue in this manner for the remainder of the row, trimming the last plank as needed.
- For the second row, use the same angle-and-snap method, attaching them side-by-side to the planks in the
first row as well as to one another. Continue for the rest of the room. - Trim the border planks as needed and leave appropriate expansion space between the planks and the wall.
- Replace the baseboard.
Installing GripStrip Vinyl Plank Flooring

- Lay the first row of vinyl plank flooring along the wall, leaving the manufacturer-recommended amount of expansion space between the plank’s edge and the wall (usually about 1/4-inch). If the planks are cut, make sure the cut edge is facing the wall.
- Butt the planks end-to-end, overlap the adhesive strips and press down firmly using a hand roller to administer even pressure over each plank.
- Continue to work across the room, making sure each plank is securely and tightly pressed together along the grip strip seams.
- For the border, trim the planks to fit and press into place, while leaving appropriate expansion room as you did with the first row.
- Replace the baseboard by nailing it to the wall, not the flooring.
- When installation is complete, remove the spacers and roll the entire floor in both directions using a 75-pound or 100-pound floor roller.
Installing Glue Down Vinyl Plank Flooring

- When learning how to install vinyl plank flooring with a glue down method, remember to start in the center of the room rather than in the corners. Find the center of the room, then using your chalk and straightedge, strike a line.
- Strike a second line at a right angle from the first line, dividing your room into four equal quadrants.
- Measure the distance from the center point to the wall, parallel to the direction of the plank. Divide the measurement by the width of the plank. If the last plank needs to be shorter than half its width, move the center point as needed so the plank should be trimmed no more than half its original width.
- Apply the manufacturer-recommended adhesive to the subfloor with a trowel, starting at the center point and working outward into the desired area.
- Allow the adhesive to set somewhat until it is tacky but still cloudy/hazy in color. Do not allow the adhesive to rest so long that it becomes clear.
- If the adhesive gets on the top surface of a vinyl plank, immediately wipe it away with a dry cloth before it can dry.
- Place the first plank with its short edge at the junction of the two chalk lines.
- Continue to lay the planks row by row, working along the parallel chalk line and ensuring the edges of each plank fit tightly against the neighboring plank.
- Trim the border planks as needed, leaving manufacturer-recommended expansion space.
- Most glue down vinyl plank flooring needs to be rolled with a floor roller after installation to firmly and evenly seat the vinyl planks into the adhesive. Wipe away or use a knife to peel away any adhesive that gets into the seams between planks.
- Replace the baseboard.
Prepping and Treating Your New Vinyl Floor

After installing your new vinyl floor, the next step helps keep it maintained for years to come. New flooring usually comes with a factory seal. This isn’t always strong enough, so consider taking steps to remove it and prepare the flooring for use. These steps also work well for restoring the vinyl after it’s been used.
- Use a floor stripper to remove the factory seal, if it’s new, or any acrylic finishes and product buildup. This step gets the flooring prepared for applying better sealants and protectants.
- Once the floor is stripped, apply a high-traffic floor polish to prevent heel marks, scuffs and slips.
- Finally, use a neutral pH floor cleaner to give it a high-gloss shine.
Tip: You may need to strip and protect your floor every six to nine months for regular maintenance.
Now that you know how to lay vinyl flooring planks, you can easily refresh your home's floors with an entirely new look and feel. Need tools for your project? Consider a rental of well-maintained tools and equipment. Rent the tools for as long as you need them, then bring the tools back – no maintenance required. If you'd rather have someone do it for you, we can connect you with vinyl flooring installation services.
Related Products
Related Guides
Leave Your Next Project to Us
Professional Vinyl Flooring Installation
- Vinyl Plank Flooring Installers Do It For You
We hand-select licensed and insured flooring contractors in your area who are known for their experience, knowledge, and superior service.
- How Our Vinyl Plank Flooring Installation Works
Explore The Home Depot’s extensive selection of vinyl plank flooring, designed to meet diverse needs in terms of style, budget, and functionality. After choosing your flooring, we’ll arrange for a certified flooring specialist to visit your home at your convenience, take detailed measurements, and assess any special installation needs. You will receive a tailored quote within 48 hours, which we can review together either over the phone or in-store. Once you approve the quote, we’ll arrange your installation within 24-48 hours, and our experienced flooring installers will typically complete the job in a single day.


