How to Pack Dishes and Glasses

Last updated September 7, 2023
One of the most monumental tasks of moving can be packing up the many fragile items in your kitchen. Between delicate dinnerware and expensive small appliances – not to mention the large number of small items there are to corral –
packing kitchenware can seem overwhelming, especially since the kitchen is often one of the last rooms to be packed.
This guide will teach you how to pack dishes and other kitchen items for a move so that they arrive safely, with many helpful hints to make the packing process as painless as possible.
Difficulty:
Beginner
Duration:
2-4 hours
Table of Contents
Materials for Packing Dishes
How to Pack Dishes For Moving
How to Pack Glasses
How to Pack Wine Glasses
How to Pack Plates, Bowls and Platters
How to Pack Pots and Pans
Materials for Packing Dishes

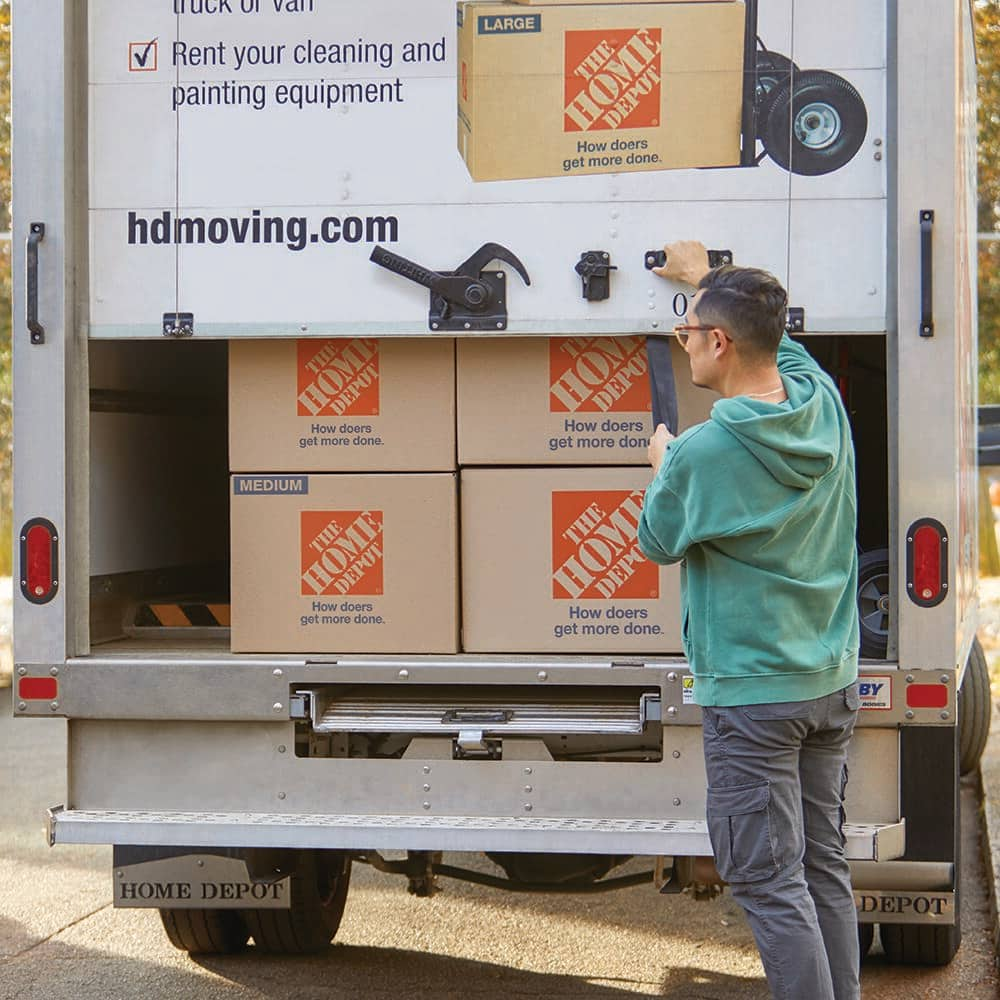
The best way to pack dishes for moving is to gather all the moving supplies you will need upfront. One of the most important items for packing dishware is a dish box. A dish box is a type of moving box for fragile items. The box is designed with a double layer of cardboard in the walls and base, as opposed to the single layer from which most regular moving boxes are made. This makes a dish box slightly more expensive than an average moving box, but it is worth the extra investment to prevent items from being broken during the move. Cell packs that fit inside the dish box are also a useful accessory to have when you are going to be packing a lot of drinkware or stemware.
In addition to dish boxes, several medium-sized packing boxes, bubble wrap, packing tape, labels and markers will also be needed to complete packing the kitchen, along with a large supply of packing paper for dishesor newspaper for wrapping items.
While newspaper is often used, packing paper is the more desirable medium for packing. The ink on newspaper smudges easily and can transfer onto items that have been wrapped in it. Most of the time, the ink does not leave a permanent stain, but there is no guarantee that a porous item wouldn’t absorb the ink. At the very least, having to clean off newspaper ink after unpacking adds time to the chore that most would rather not spend.
Fine china, in particular, should always be packed using sheets of clean packing paper as antique glazes can react unpredictably with newsprint ink.
How to Pack Dishes For Moving

Bring out the dishes you want to pack and organize them on a flat, open surface. Assemble your boxes, use heavy-duty packing tape and reinforce the bottom and seams.
- Fill the bottom of the box with a six-inch layer of crumpled packing paper.
- Wrap each item individually. Lay out a sheet of packing paper, place the item near one corner and roll it diagonally in the paper, tucking in the ends as you roll.
- Place items in rows, grouping like items together to save space.
- Place heavier items at the bottom of the box, lighter items on the top.
- Do not make the box too heavy; if it is difficult to lift and carry, it is more prone to being dropped or mishandled.
- Fill all the empty space in the box. Use additional crumpled paper, bubble wrap or rolled kitchen textiles such as dish towels or napkins.
- Seal the box, then label it and mark “FRAGILE” on the top and side of the box.
Tip: Mark boxes of dishes and kitchen items that may need to be unpacked right away, such as the coffee pot and cups.
How to Pack Glasses

Before you consider how to pack glasses, consider first the glasses themselves. This is a good time to assess your collection and sort out any pieces you might want to donate, recycle or discard, including plastic cups or any glassware that is chipped or pitted. If you are using dish boxes with cell pack inserts, assemble them before you begin wrapping your drinkware. Otherwise, line the base of the box with clean dish towels and crumpled packing paper. Group drinkware of similar sizes and shapes together.
- Stuff interiors of cups and glasses with crumpled packing paper. Lightly crumple paper and wrap it around the handles of the mugs and cups to create light padding.
- Wrap each piece individually with double sheets of packing paper or bubble wrap.
- Pack the glasses upright in rows, placing like items together to save space.
- If the box has sufficient space, you can stack a second layer of items on top of the first, but be sure to place another layer of cushioning and fill any empty space in the box with more paper or a soft cloth.
- Seal the boxes with tape, then label them all as "Fragile”
on the top and sides. Include a large arrow to indicate the right side up on the box.
How to Pack Wine Glasses

Stemware is usually more delicate than everyday glasses. In addition to following the same techniques as with regular glassware, wrap paper around the stems of fine wine glasses to create additional padding.
Consider double-boxing any stemware that is especially fragile or expensive. Once the box of stemware is packed, place that box into a larger box and surround it on all sides with lots of additional packing materials.
How to Pack Plates, Bowls and Platters

When learning how to pack dishes, plates and bowls are often the easiest items to begin with. They are uniform, have no edges and are easy to nest. They also tend to be among the heaviest items, so packing them first makes sense. The methods for how to pack bowls for moving and how to pack plates are about the same. Wrap each dish individually to prevent breakage.
- Group all the plates of the same size together.
- Lay one to two sheets of packing paper out on a flat surface.
- Place the first plate in the center.
- Bring one corner of the paper up and wrap it over the dish, tucking it in on the other side.
- Repeat the fold with the other three corners until the dish is completely covered.
- Secure the bundle with one piece of tape.
- Place the wrapped dish on its side into your prepared moving box. Think of loading the box as you would a dishwasher.
- Repeat this for all plates and bowls, being sure to group wrapped items of the same size together to save space.
Platters and serving bowls should be wrapped in a similar fashion as above, but will take more paper, since they are larger. Pack these items into separate boxes from the dinnerware.
Tip: Do not overload boxes. Use lighter kitchen items and towels to fill in empty space rather than trying to fill each box to the top with dishes.
How to Pack Pots and Pans

Remove glass lids from pots and pans and wrap them separately in packing paper and bubble wrap. Place them all together in a small, well-padded box. Stand them on end in the box as you would plates, and cushion around and between each lid with additional packing paper or towels.
Nest pots and pans together by size. Place a cushion of paper or bubble wrap between each pan to keep surfaces from scratching, then load the stacks into a medium or large box that will accommodate them.
When looking at how to pack pots and pans, always remember that cast iron cookware and nonstick items require a little more protection than other cookware. Due to its weight, cast iron cookware should be distributed among the boxes of pots and pans you are packing, rather than being concentrated in one box. Protect the inner surface of the cast iron cookware with a towel or bubble wrap and place it at the bottom of your box, stacking other items on top it it.
Nontstick pans should be individually wrapped with paper and bubble wrap before being placed in a box. Try to pack these items with the surface side facing down and at the top of the box to prevent the surface getting scraped by other items in the box.
As with all of the moving boxes, try to fill in gaps with additional paper or dishcloths to keep the pots and pans from moving around too much.
How to Pack Small Appliances

Ideally, small kitchen appliances should be packed back into their original boxes. If the box has been discarded, pack the item in the smallest size box you have, and fill in the empty space with crumpled paper. If you have box space and can do so safely, pack complementary accessories along with the appliance they belong to. For example, place toaster oven trays or food processor inserts in the same box with their respective appliances.
How to Pack Other Kitchenware

Plastic storage containers tend to accumulate, so it may be a good time to cull your collection and discard, donate or recycle some or all of your pieces. Be sure all remaining pieces have a matching lid. Group and nest similar containers together to save space. Bundle the lids together and secure with a rubber band, or wrap with packing paper. Since these items are lighter, they can be packed in with heavier dishes to take up space in boxes.
Teapots and teakettles should have their handles and spouts protected with rolled packing paper, then wrap the entire pot with several more sheets. Place the bundle in a corner of the moving box, upside down. Wrap the lid separately and place it in the same box with the teapot.
Flatware and kitchen utensils, except knives, can be placed in plastic storage bins for easier packing into your moving boxes. For the sake of organization, try to pack similar items together; for example, all the tools used for baking can be packed into one bin, all the wooden tools into another.
Kitchen knives should be placed in individual protective knife sleeves or a specially made heavy-duty knife roll, if your collection is professional or expensive. Alternatively, you can roll each individual knife in several sheets of packing paper, and a single sheet of bubble wrap. Then, bundle the collection together with rubber bands. For added safety, this bundle can be placed into a plastic bin and then packed into a moving box. Knives should only be packed laying horizontally, never upright.
Safety Tip: Clearly label any box containing kitchen knives, metal skewers or any other sharp kitchen tools.
Additional Packing Tips for Dishes

- Do not pack in haste. Leave enough time to be able to do the job carefully.
- Sort out all the essential kitchen items you’ll need up to the last minute before the move and leave them out of the initial packing. For example, a place setting for each family member and cleaning supplies will be necessary even as you pack the rest of the kitchen and home. These can be placed together in one essentials box on the day you leave. This will also save time when you unpack at your new home.
- Fill in all empty spaces in boxes. Use as much packing paper as possible. You can also make use of towels, throws and even socks to cushion items and fill in gaps.
- Fill boxes up to the top. Lighter items like plastic or melamine can be used to take up space in boxes where you’ve packed heavier breakables in a single layer.
- Try to keep box weights under 40 pounds. Boxes that are too heavy are more likely to be dropped.
- Carefully load dish boxes into the moving truck. Make sure heavier boxes are at the bottom. Secure box stacks and try to make sure that larger items placed near them will not shift in transport and crush the dish boxes.
Figuring out how to pack
dishes can be a little easier when you have a great plan. Start early enough in the packing process to learn the best way to pack dishes. Gather the right moving supplies for the job and carefully pack up your dishes, pots and pans. Not sure of the right amount of moving supplies? Check out our handy moving calculator to get an idea of how much you'll need and the estimated cost. Plus, get the equipment to move your dishes and everything else without the upfront investment. The Home Depot offers moving and lifting equipment rentals.