DIY Wood Tray

Last updated September 7, 2023
Every workspace should have a functional storage solution. Whether you need a central place to keep screws and safety gear or an easy way to sort craft items, a homemade wooden storage caddy can fill the need. Read on for step-by-step instructions on how to build a DIY wood tray with just a few tools.
Difficulty:
Beginner
Duration:
Under 2 hours
Table of Contents
Cut List and Diagram Needed for Wood Tray
Measure and Mark Wood
Cut Wood
Stain or Paint Boards
Build the Frame
Attach the Bottom of the Tray
Cut List and Diagram Needed for Wood Tray
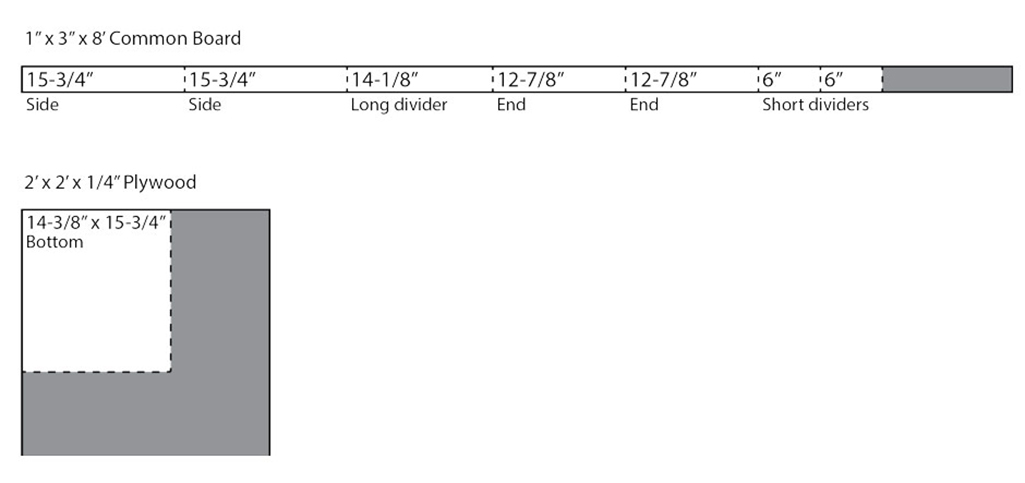
- (Two) 15 3/4-inch pieces from the 1- x 3-inch sides
- (One) 14 1/8-inch piece from the 1- x 3-inch long divider
- (Two) 12 7/8-inch pieces from the 1- x 3-inch ends
- (Two) 6-inch pieces from the 1- x 3-inch short dividers
- (One) 14 3/8- x 15 3/4-inch piece from the plywood bottom
Measure and Mark Wood
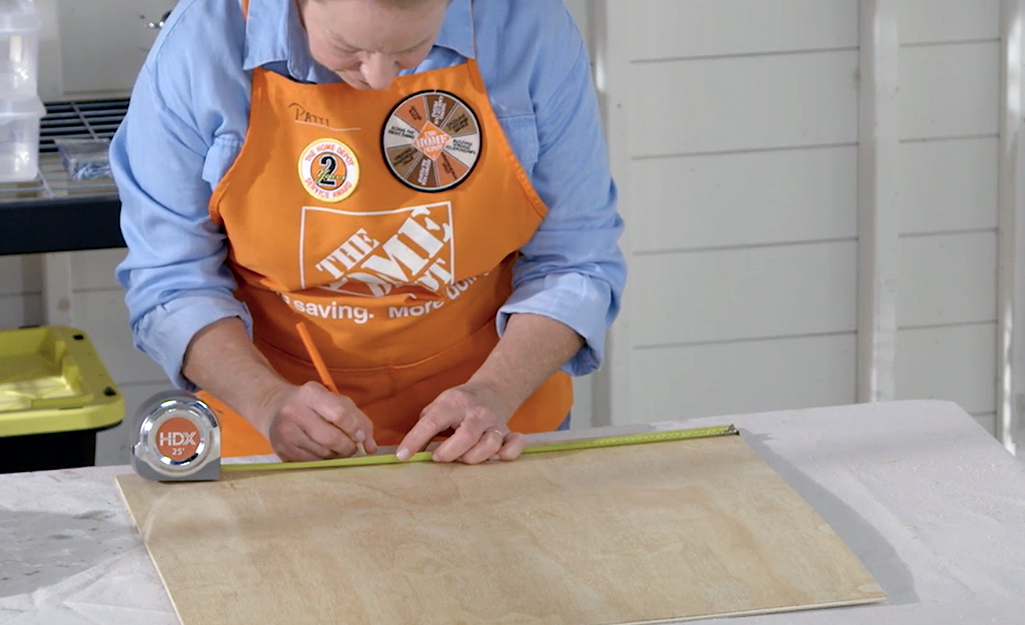
Use a tape measure to meaure softwood boards. Mark with a pencil according to cut list.
Cut Wood
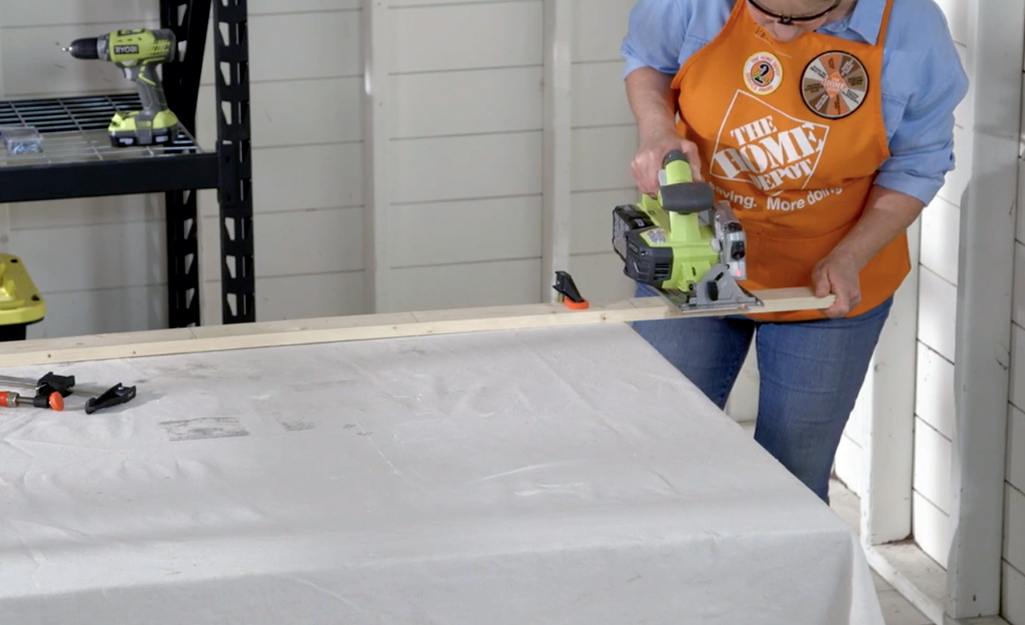
Use a circular saw to make straight cuts on the board.
Use a sanding block to smooth any rough edges.Use a sanding block to smooth any rough edges.
Stain or Paint Boards
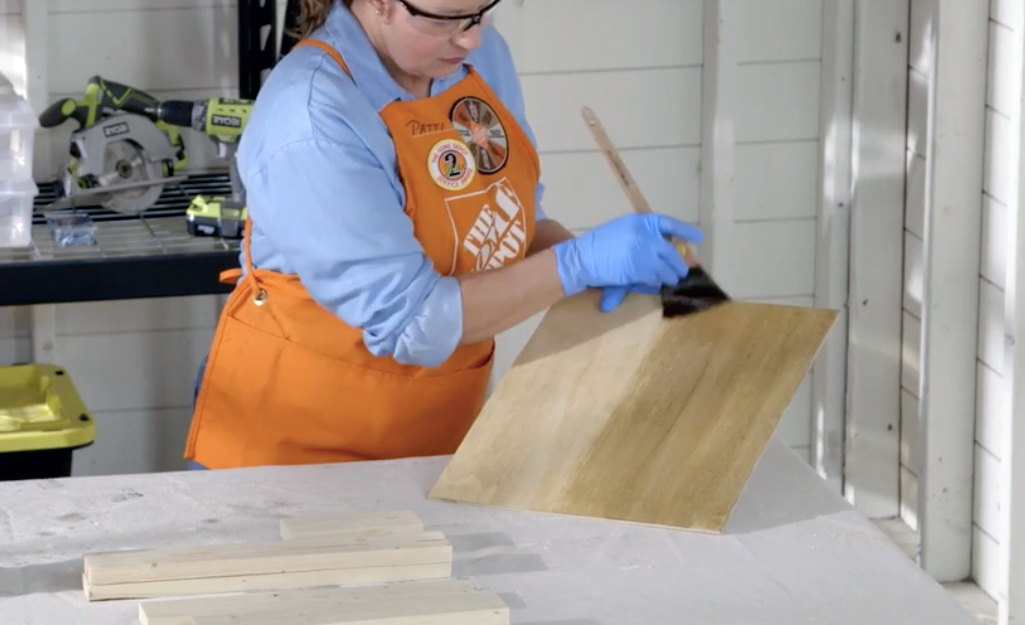
Stain or paint boards prior to assembly. Allow to dry before proceeding.
Build the Frame
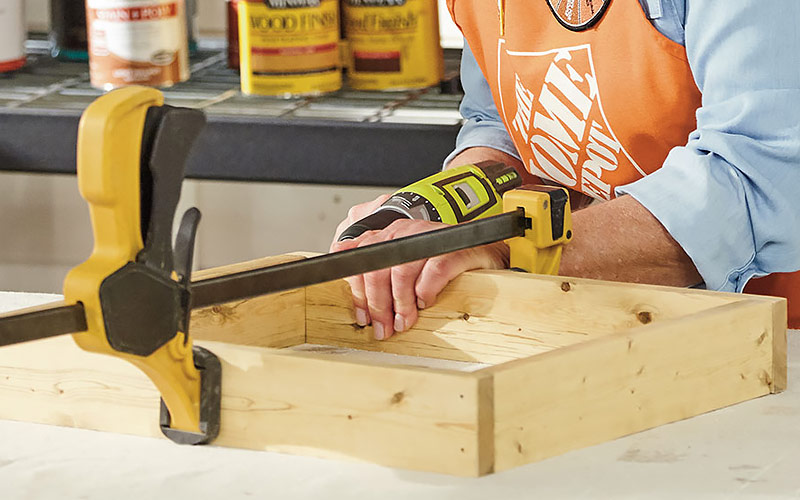
To create the wood frame, place the two 15 3/4-inch side boards on the long end. Place the two 12 7/8-inch pieces between them to create a rectangle. use a drill to attach the pieces with wood screws.
Use a drill bit slightly smaller than the screw (1/8-inch) to pre-drill holes in the wood. This will prevent the wood from splitting.
Attach the Bottom of the Tray
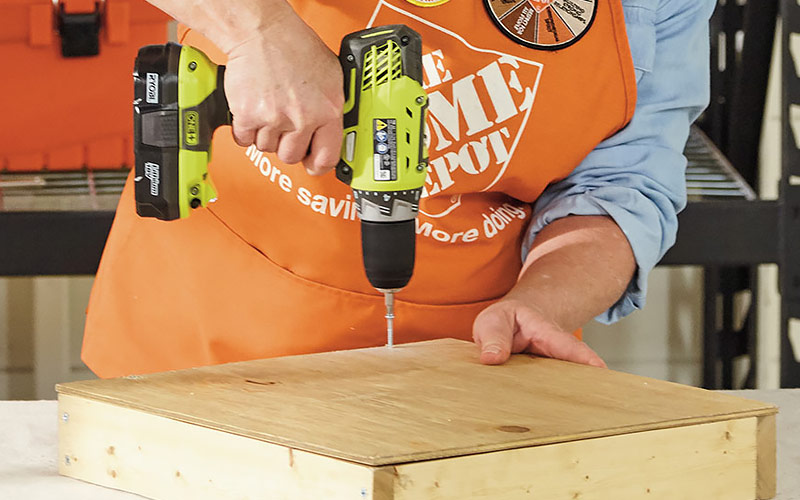
Place the cut piece of plywood atop the frame.
Screw through the plywood and into the frame to secure the pieces.
Attach the Tray Dividers
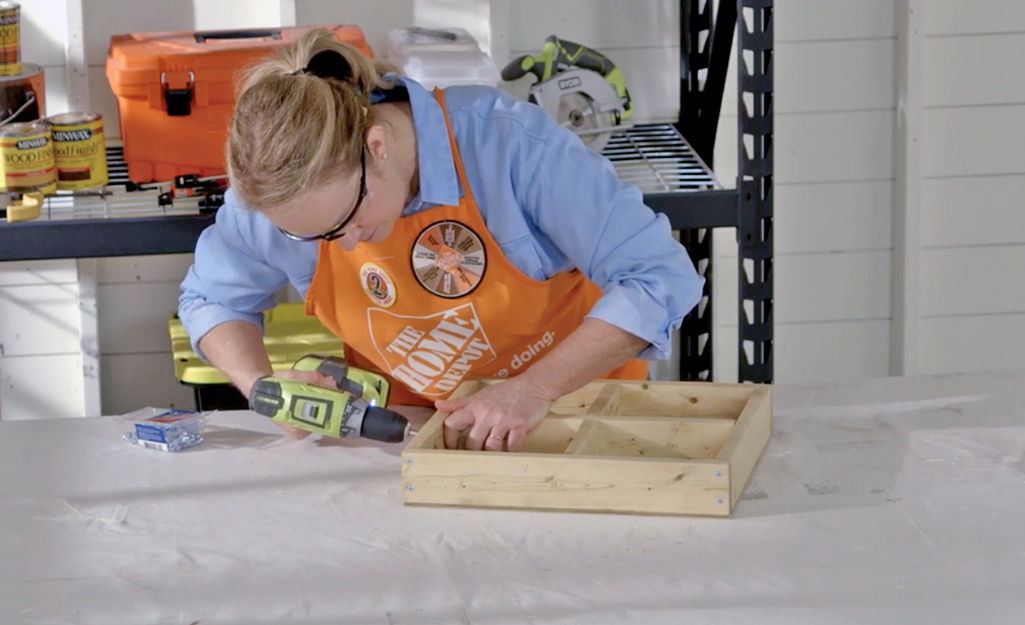
Add the dividers into your frame. Center the long divider inside of the frame, running perpendicular to the ends.
Secure with wood screws through the bottom and ends.
Place both short dividers on each side of the long divider, making sure it’s centered.
Secure with wood screws through the bottom and sides.
Attach Tray Handles
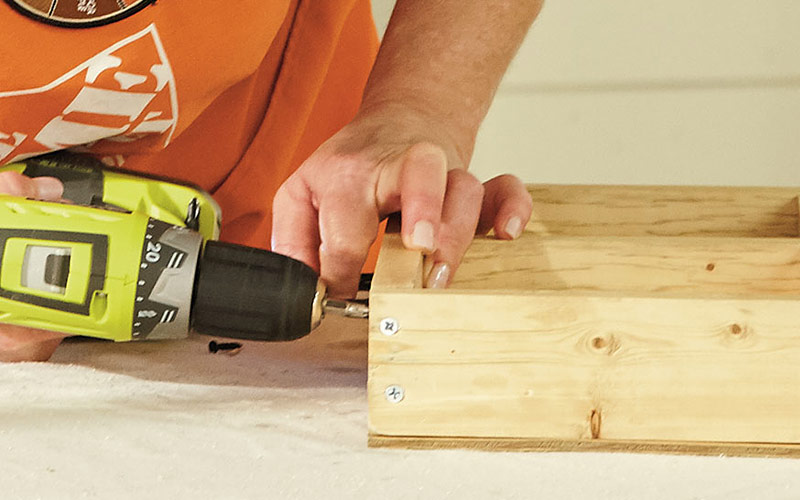
Use screws to secure handles to each end of the tray. Check that the handles are centered on each end before screwing in place. When complete, place containers in tray to use.
Everything you need to complete this project can be found at The Home Depot. You can also shop an assortment of ready-made trays using The Home Depot Mobile App.
