How to Fix a Noisy Ceiling Fan
Last updated September 7, 2023
Correctly installed ceiling fans are typically very quiet, and in most spaces, you won’t notice them over the sounds of day-to-day life. However, ceiling fan noise can become more noticeable over time. As the problem gets worse, you might avoid turning your ceiling fan on at all.
Use this guide to learn how to fix a noisy ceiling fan in your home.
Difficulty:
Beginner
Duration:
Under 2 hours
Table of Contents
Clean Your Ceiling Fan
Tighten the Fan Blade Screws
Check Attached Lighting for Loose Screws
Examine the Fan Canopy
Add Oil to Your Fan
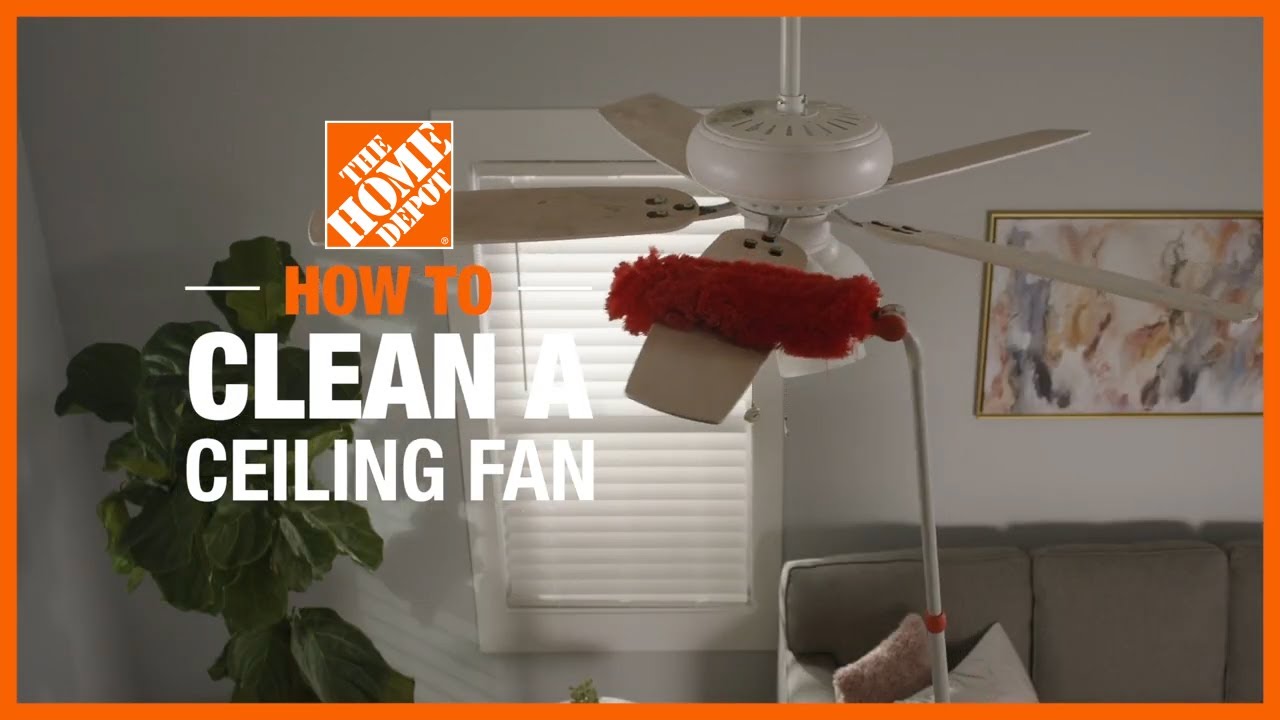
Clean Your Ceiling Fan

- Dirty blades can become unbalanced, making them noisy over time. Use a step stool or ladder to access the highest point of your ceiling fan and quickly clean your fan blades and housing.
- With a lightly damp rag, clean dirt and debris off the ceiling fan housing and canopy. The fan housing is the body or main part of the fan. The canopy is the part of the fan that connects to the ceiling.
- Start at the highest point and work downward to remove dirt and grime. Wipe any exposed part of your fan beneath the blades.
- When finished, test the ceiling fan for noise. Sometimes, a thorough cleaning is all you need to solve the problem. If not, continue to the next step.
Tip: If you last cleaned your fan a few months ago or longer, you may need to use several damp cloths.
Tighten the Fan Blade Screws

A ceiling fan making clicking noise may be caused by fan blades that aren’t firmly attached to the fan assembly. This problem is easy to correct and generally only requires a set of screwdrivers. Here’s how you tighten fan blade screws:
- Position a ladder or step stool so you have access to one or two fan blades. You’ll need to move it as you go to access the others.
- Locate the screws that attach your fan blades to the fan housing. These are located on the end of each blade, closest to the fan assembly.
- Use a screwdriver to tighten the screws. Avoid tightening screws too much, as this may cause damage.
- Repeat this procedure on the remaining fan blades, moving your ladder or step stool so you’re in a safe position. Test your fan for noise after tightening these screws.
Check Attached Lighting for Loose Screws

Many ceiling fans come with lighting kits that attach to the fan housing or body. Over time, the lighting can become loose and rattle when the fan moves. To solve this problem, use a step ladder or step stool to reach the light kit. Find the screws or fasteners that attach the light to the fan.
Remove the globe or shade. For screws, you'll need a screwdriver. Other fasteners may be able to be removed with just your hands.
Check the shade or shades for damage because the lighting may not fit properly if worn. Contact the ceiling fan manufacturer to order replacement parts if you see any damage. Otherwise, put the shade or shades back on and tighten the hardware. Test the fan and go on to the next step if you continue to hear any noise.
Tip: While the shade or globe is off, wipe off the light bulbs with a damp rag and replace any that no longer work.
Examine the Fan Canopy

A loose canopy can cause a fan to rattle. If other steps failed to stop the noise, check this out. Stand on a step stool or step ladder, grab hold of the canopy and wiggle it gently. If it moves, try tightening it.
Look for fasteners around the fan canopy and tighten them with a screwdriver. If you don't see fasteners, the fan likely has a threaded interior. In this case, you can tighten it by hand turning. Once you've adjusted the canopy, turn on the fan and listen. Go to the next step if you still hear noise.
Add Oil to Your Fan

If the other methods didn't work, you might need to add oil and lubricate the interior ceiling fan parts. First, find the oil hole on the fan. Usually, it is near the rod that connects the canopy to the fan body. Slip a pipe cleaner or plumbing fitting brush about 0.5 inches into the oil hole and then pull it back out.
The fan likely needs oil if the brush or pipe cleaner is dry. Some fans need oiling yearly, while others should be oiled on a different schedule. Check the manufacturer's instructions for more information.
Add 1 to 2 ounces of fan oil to the oil hole. How much you'll need depends on the ceiling fan's design. Use a rag to remove excess oil and test the fan.
Tip: Different fans use different types of fan oils. Use only the type that the manufacturer suggests to prevent problems.
Learning how to fix a loud ceiling fan is easy. To get the job done, you just need the right fan hardware, tools and accessories. The Home Depot can help you find what you need to troubleshoot a noisy fan and gives you the freedom to shop online and in stores. The Home Depot delivers online orders when and where you need them.