How to Test a Light Socket
Last updated September 7, 2023
It’s light's out, and you've already determined that a burned-out bulb isn't the culprit. And just to be thorough, you've also checked the main service panel for a tripped breaker or a blown fuse. What do you do next? Well, first you need to find out if power is actually getting to the light socket. Assuming it is, your next step is to verify that the light socket itself is at fault. Here's how to do both.
This guide shows how to test a light socket and the steps for checking to see if power is getting to the socket and that it is in good working order.
Difficulty:
Beginner
Duration:
Under 2 hours
Table of Contents
Remove Mounting Screws and Test for Current
Turn Off Power to the Light at the Breaker Panel Box and Remove the Socket
Continue Testing the Socket
Remove Mounting Screws and Test for Current
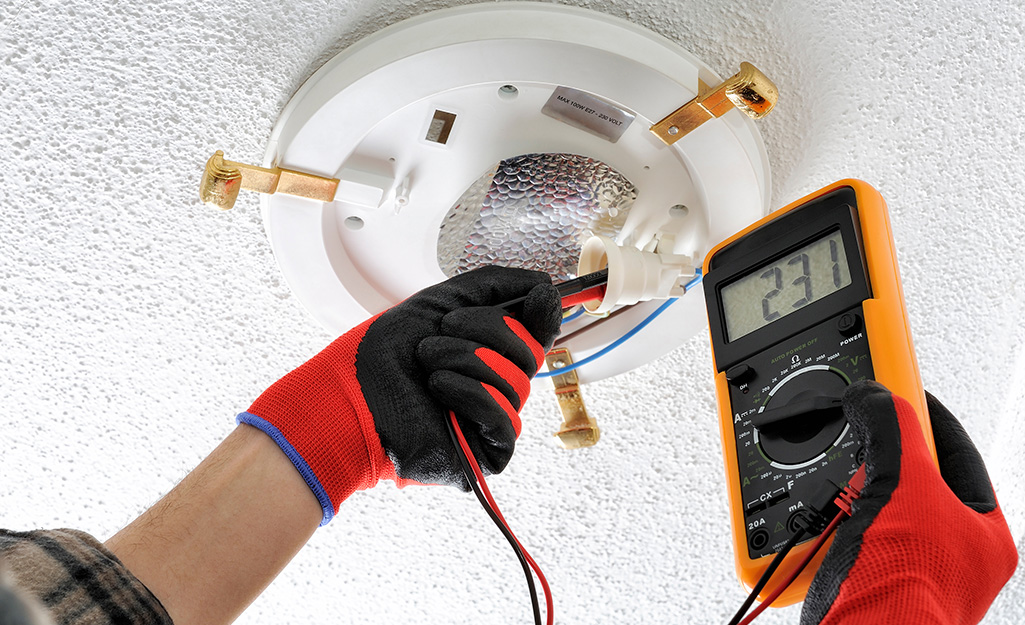
Remove the mounting screws, and carefully lower the socket. To test for current, touch one probe of the circuit tester to the hot screw terminal that's attached to a black wire. Touch the other probe to the ground screw, the bare copper wire or the metal electrical box. Repeat this test with each of the other screw terminals. If the tester doesn't glow in any position, there's no power coming to the box.
Turn Off Power to the Light at the Breaker Panel Box and Remove the Socket
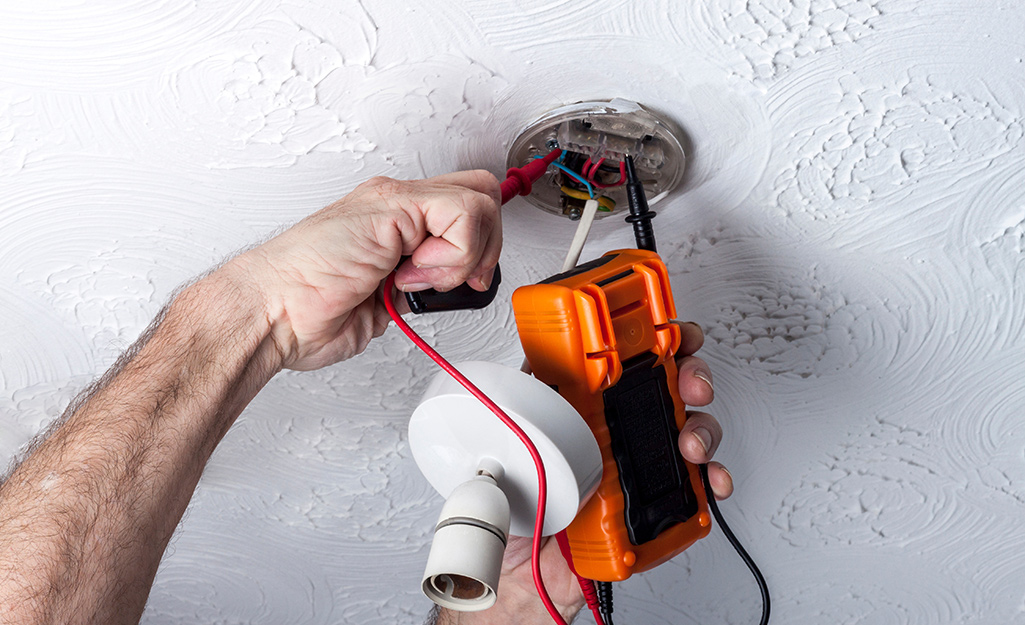
Turn the power off to the socket. Test the socket by attaching the clip of the continuity tester to the hot screw terminal, the black wire lead. Then, touch the probe to the metal tab in the bottom of the socket.
The tester should glow. If it doesn’t, the socket is faulty and needs to be replaced.
Continue Testing the Socket
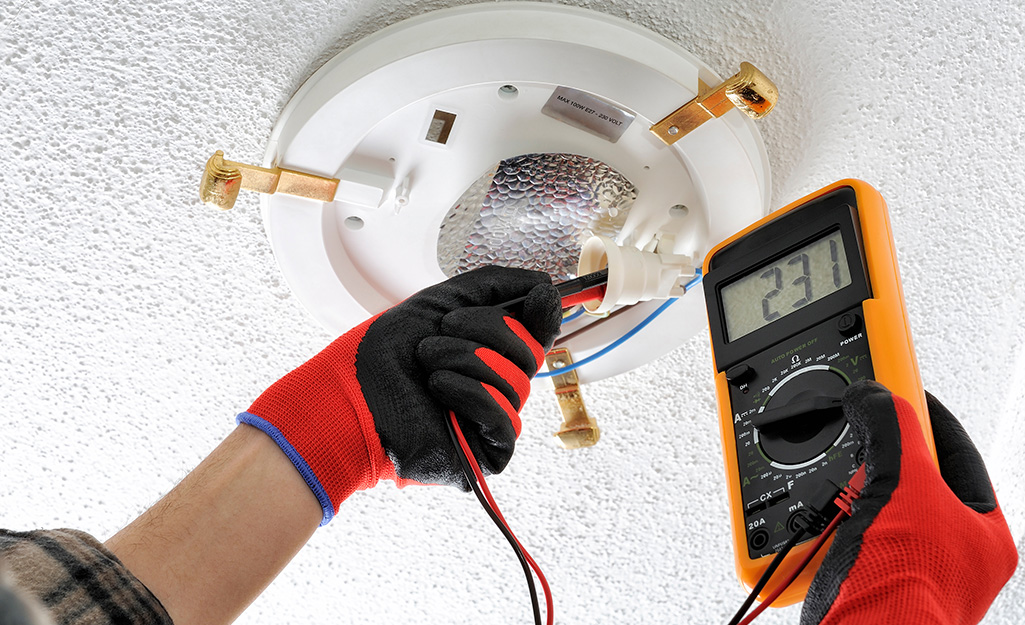
Continue testing the socket by attaching the clip of the continuity tester to the neutral metal screw terminal, the white wire lead. Then, touch the probe to the threaded portion of the socket.
Again, the tester should glow. If it doesn’t, the socket is faulty and needs to be replaced.
When the lights go out, it can be hard to determine what the problem is after you've replaced the light bulb. This guide teaches you step by step how to test a light socket safely. You can pick up a voltage tester at your local Home Depot or use The Home Depot Mobile App to find what you need.
