How to Use a Router

Last updated September 7, 2023
Learn how to use a router to widen your DIY horizons. Using a wood router to shape and cut wood lets you finish edges for a professional look. You can use a router to create patterns and grooves in wood.
This guide will outline how to use a router. There are two main types of routers: table routers and handheld routers. These steps will apply primarily to how to use a table router. It’ll cover safe usage, router mounting and operation. You’ll also learn how to tighten, loosen and remove a router bit.
Safety Tip: Always read the manufacturer’s instructions prior to operating any tools.
Difficulty:
Intermediate
Duration:
Under 2 hours
Table of Contents
Router Basics and Safety
Router Mounting and Router Types
How to Use a Router
How to Cut Grooves and Rout Edges
How to Change Router Bits
Minimize Splintering When Routing
Router Basics and Safety
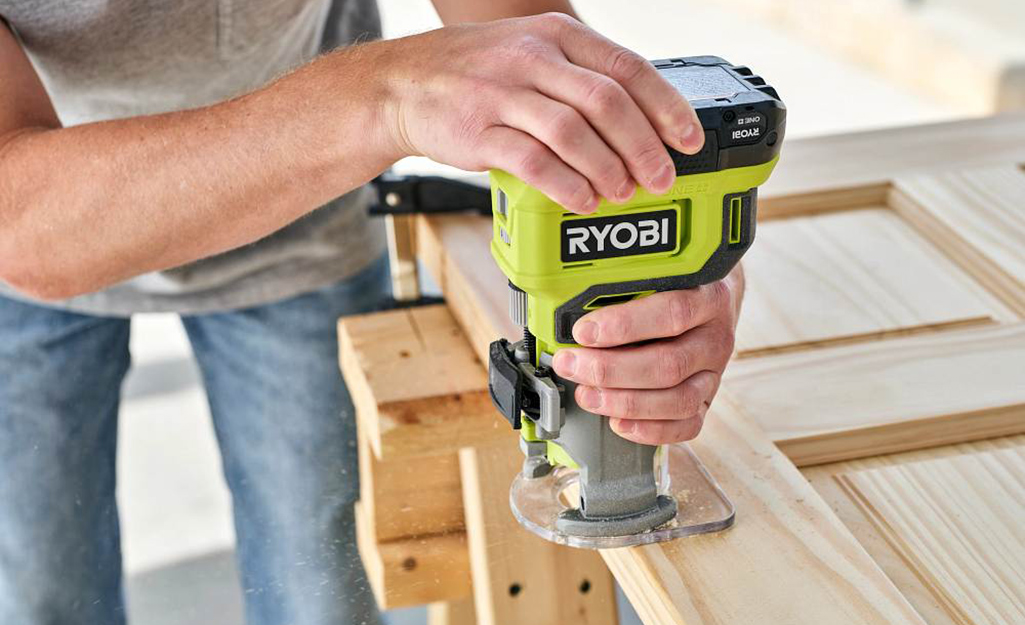
What does a router do? It allows you to make:
- Customized cuts to shape the edges of a board
- Finished laminate edges
- Tongue-and-groove or other special joints in woodworking
- Detailed mouldings and trimwork
A handheld router or table router is a good choice for small-scale DIY woodworking projects. It helps you get used to the motions and methods of the tool.
First and foremost, consider safety. This includes both protective gear and best practices for router use:
- Always wear safety glasses and ear protection. Routers are loud and splinters and sawdust will fly.
- Cut-resistant work gloves are also a good idea when you’re learning how to use a router.
- Remove jewelry.
- Avoid wearing loose clothing.
- Securely pull back long hair.
When you’re geared up, know how to use a table router safely:
- Hold onto both handles when operating it. This helps you maintain control of the tool.
- Plan your cuts. You want to be out of the way when the router leaves the wood or starts cutting.
- Make several shallow passes instead of a single deep pass. Each pass is one run of the wood through the router. It’ll protect you, your project and your router.
Follow the same tips when learning how to use a trim router. Trim routers are smaller versions of wood routers. They’re used for trimming laminate.
Router Mounting and Router Types
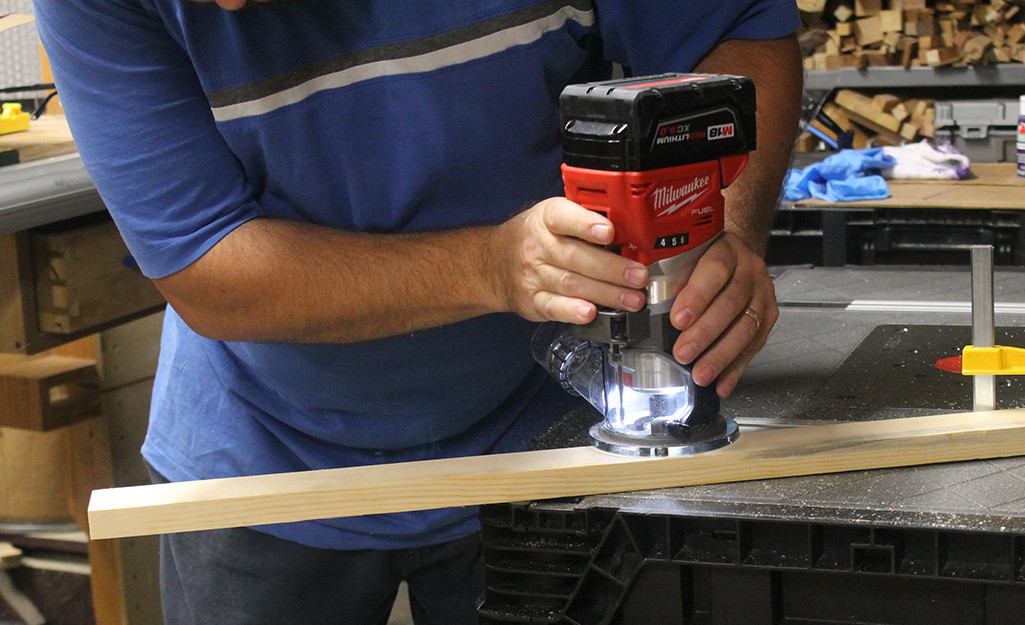
You can mount a router to a workbench or a router table. Attach a router to a workbench with a shop-made jig. If you have a router but need to purchase a table, make sure they’re compatible with each other.
Router tables have a hole for the bit. They allow for adjustments to the bit height. Tables also have a router fence and a dust port. The dust port can connect to a shop vacuum or dust collector.
Router Mounts and Routers Vs. Shapers
Mounting a router upside down underneath a table turns the router into a small shaper. This is a versatile tool to make moulding for a custom trim work piece.
Shapers and routers are quite similar. One difference is shapers have larger bits, called cutters. These cutters are strong enough that a single cut may be enough. A shaper is more powerful than a router. It can make it through huge projects without faltering. Some may consider the shaper to be an upgrade from a table router. Shapers are sometimes another name for huge industrial routers.
Table Routers Vs. Handheld Routers
The router on a router table is upside-down compared to a handheld router. Feed stock from right to left along the fence. Stock is a board or piece of wood.
Always feed the wood the opposite direction of how the bit is turning. In general, this means:
- Feed counterclockwise on a router table with the bit facing downward. This is an uncommon setup.
- Feed clockwise on a router table where the bit sticks up from the table. Most table routers are like this.
- Feed counterclockwise when using a handheld router.
Sometimes you may guide a stock against a piloted bit instead of a fence. In that case, feed the stock so that it travels clockwise around the bit while cutting.
How to Use a Router
Understanding the answer to “What does a router do?” means properly using the tool. You could run a router quickly along a board to get done faster. However, if you take your time, the project will turn out much better.
As with many power tools, practice makes perfect:
- Try your technique on scrap wood to get used to the router. If possible, use the same wood and bit you’ll be using on your project.
- Always make shallow test cuts to determine a safe feed rate.
- Figure out the cut-speed and amount of wood to remove with each pass.
- Once you’re comfortable with the tool, use it to finish your woodworking.
- Use a push stick when your wood is nearly through. It will protect your fingers from the bit.
Safety Tip: Recklessly running wood through the router could injury you, the project or the tool. Always carefully run the wood against the spin of the blade. Slow and shallow cuts are key.
Feed a table router slowly from right to left for best results. The wood goes in against the direction the blade is spinning. You should feel light to moderate resistance as you work. The resistance means the router is doing the work. Feed speed is determined by the wood and the type of cut you’re making.
If you push the material with the spin of the blade, it’s called climb cutting. This is dangerous and should be avoided. The blade might pull the material from your hands. It could even pull your hands or fingers into the blade.
If you’re working too fast, you’re force-feeding the router. Force-feeding stock means the bit touches the wood fewer times per cutting pass. Avoid doing this. It often bogs down the machine. Put another way, it slows down your router in a way that you can hear it struggling.
Force-feeding gives a rough surface. It also leaves wavy lines called chatter marks. They’re unattractive and you’d need to sand them off for a smooth finish. Working slowly means you’ll have less to polish up when you’re done.
Feeding wood too fast could give you these unwanted results:
- Snap the bit off at the shank
- Damage your router
- Overheat the bit and char the wood
- Give you an uneven cut and chatter marks
- Damage your project
- Injure you
Make shallow passes for smoothest results. Try to resist the urge to make a cut in a single pass. The larger the bit, the deeper the cut. Work even slower on harder materials. For a successful deep cut, you’ll need to make more shallow passes.
Read on for specifics on using a router to smooth edges or cut grooves in wood. These are two common uses for a table router or handheld router.
How to Cut Grooves and Rout Edges
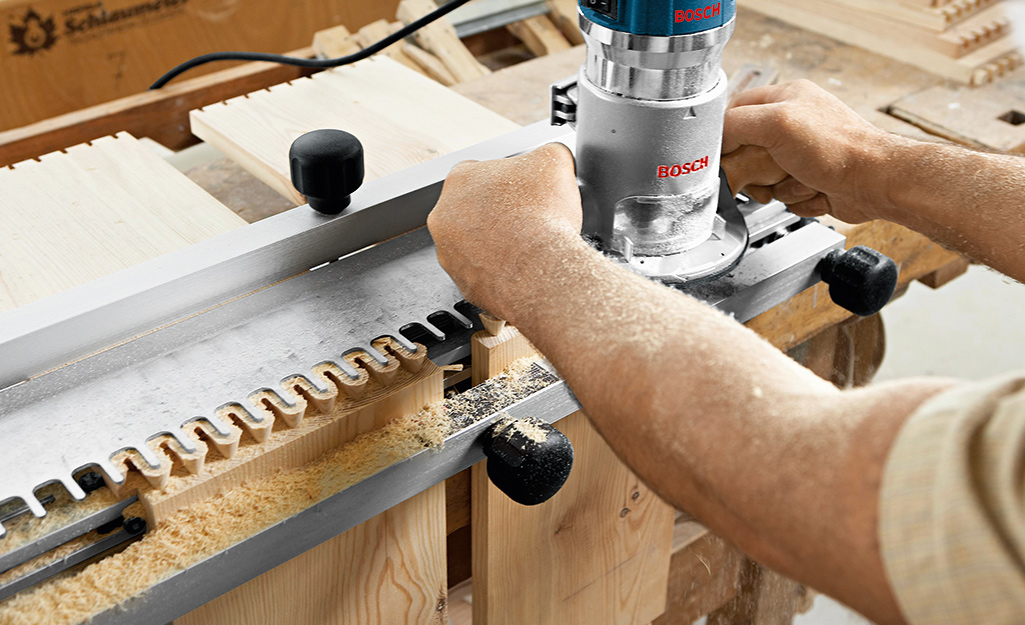
To cut a groove with a router, follow these steps:
- Set up the cut. Use a guide fence if needed.
- Adjust the bit so it's cutting somewhere around 1/4-inch deep.
- Run the wood through the router to make the cut.
- Raise or lower the bit and repeat until you've cut a groove to the depth you want.
A handheld router needs the bit lowered. Raise the bit on a table router where the bit faces upward.
Tip: Listen to the machine. Any change in sound gives you clues. The pitch changes when you're working the machine too hard by feeding too fast. The router may also sound different when your bit is dull and needs replacing. Over time, your ears can help guide your router technique.
Follow these steps to rout the edge of a board with a bit that has a bearing:
- Set the bit to the final depth of cut and leave it there.
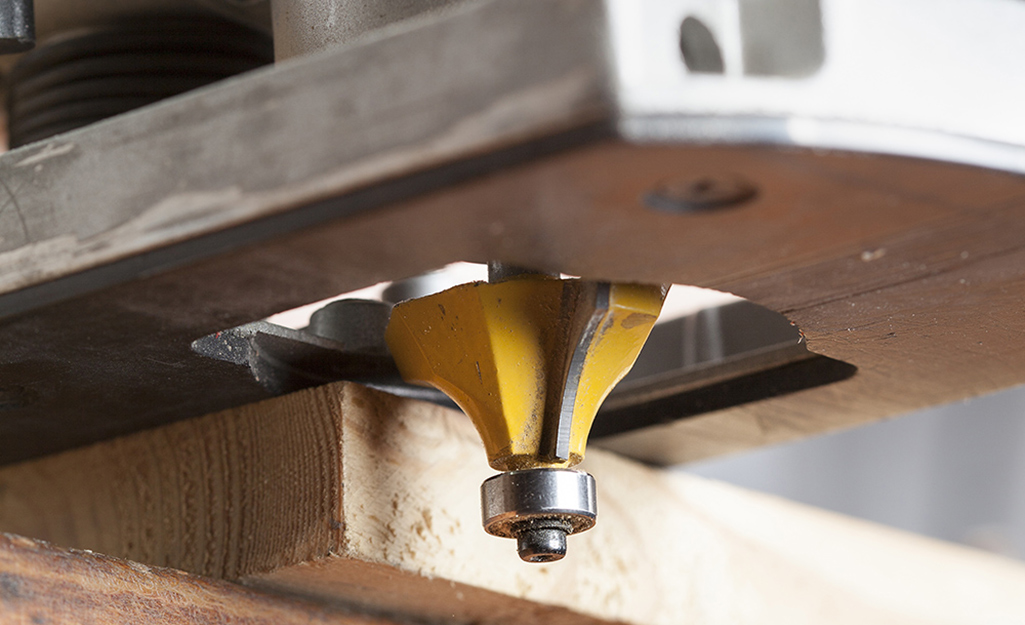
- Start routing. Hold the router bearing near the edge. The bit should only cut 1/3 or 1/4 of its final width.
- Rout the edge. Gently run the board through.
- Move the bearing in so it’s half the distance to the edge and repeat.
- Don’t worry about a wavy edge for the first few passes. It’s not possible to make a straight line as you cut a base.
- Clean up the edge in the final pass. Guide the pilot along the edge of the board to smooth it.
How to Change Router Bits
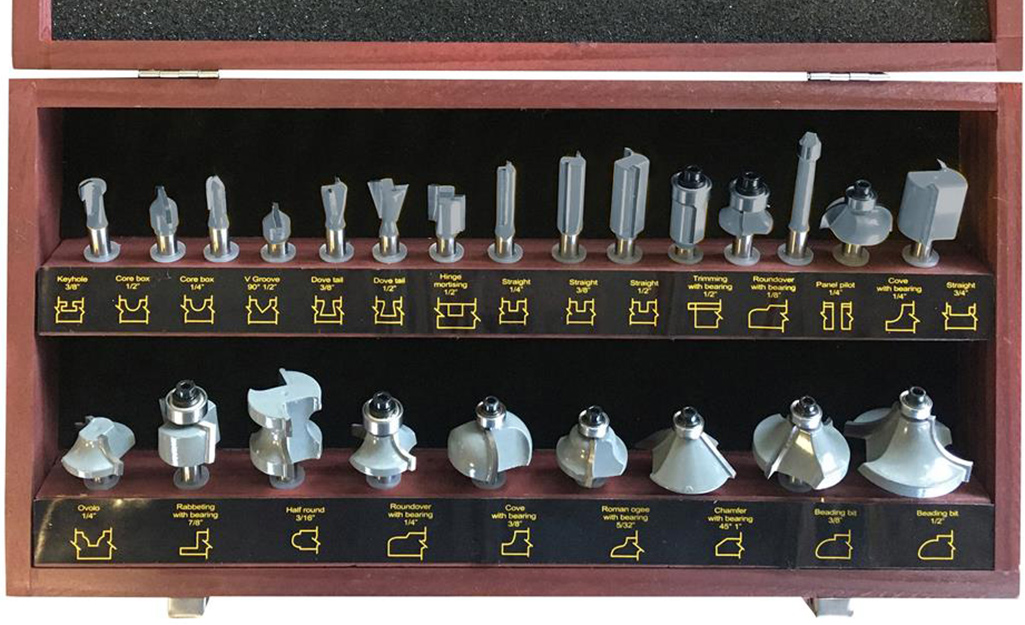
Tightening or loosening the router bit depends on the individual router. Routers have either a dual-wrench collet or a pin lock collet. The collet is the nut that holds the bit to the router. Some routers require two wrenches to tighten or loosen the bit. Others need only one wrench.
On a router without a locking shaft, you’ll need two wrenches. One wrench holds the base plate steady or arbor shaft. The other loosens the collet itself. Most dual-wrench collets are on large routers, such as table routers.
Before changing bits or rotary tool attachments, unplug your router. Double-check that the router is off and unplugged. Do this before doing any maintenance or changing out router parts.
To loosen the router bit on a dual-wrench collet, follow these steps:
- Unplug the router.
- Put the router on the bench with the bit pointing to the right.
- Put the left wrench on the arbor nut.
- Place the other wrench on the collet nut.
- The wrench holding the collet should be slightly higher than the wrench on the arbor nut.
- Grip the two handles together like a pair of scissors.
- Squeeze to loosen the arbor nut.
- Once the torque has lessened, use the collet wrench to loosen the nut.
- Pull the bit from the collet. Take care not to cut yourself. The bit is sharp.
To tighten the bit on a dual-wrench collet, follow these instructions:
- Unplug the router.
- Make sure you’ve got the correct shank and collet combination. Not all bits fit all collets.
- Turn the router so the bit points left.
- Repeat the steps above for loosening the bit, but tighten the nut instead.
- Put the right wrench on the arbor nut.
- Place the other wrench on the collet nut.
- The wrench securing the collet should be a little lower than the wrench on the arbor nut.
- Using one hand, squeeze the two handles together like a pair of scissors.
- Tighten the nut to hold the bit in place.
If your router has a shaft that locks in place, you’ll only need one wrench. These are often seen on smaller routers, like trim routers. They’re called lock pin or pin lock collets.
To loosen the bit on a lock pin collet, follow these steps:
- Unplug the router.
- Put the router on the bench. Make sure the bit points to the right.
- Lock the collet in place following the manufacturer's directions. Consult your router manual.
- Put a wrench on the nut with the handle pointing toward you.
- Push down on the wrench, toward the table, to loosen the bit.
To tighten the bit, turn the router so the bit points left. Follow the same steps as above.
Tips on Changing Router Bits:
Most router bits have 1/4-inch or 1/2-inch collets. Almost all routers have collets that fit both shank sizes. Trim routers lack this option.
When inserting the bit, don’t push the shank all the way into the collet. Instead, leave a 1/16-inch to 1/8-inch gap. The space between the bit collet and the base of the mounting hole reduces vibration from the bit to the machine. It also allows room for the shank to seat properly as the nuts are tightened.
Tighten the bit firmly. Avoid overtightening.
Minimize Splintering When Routing
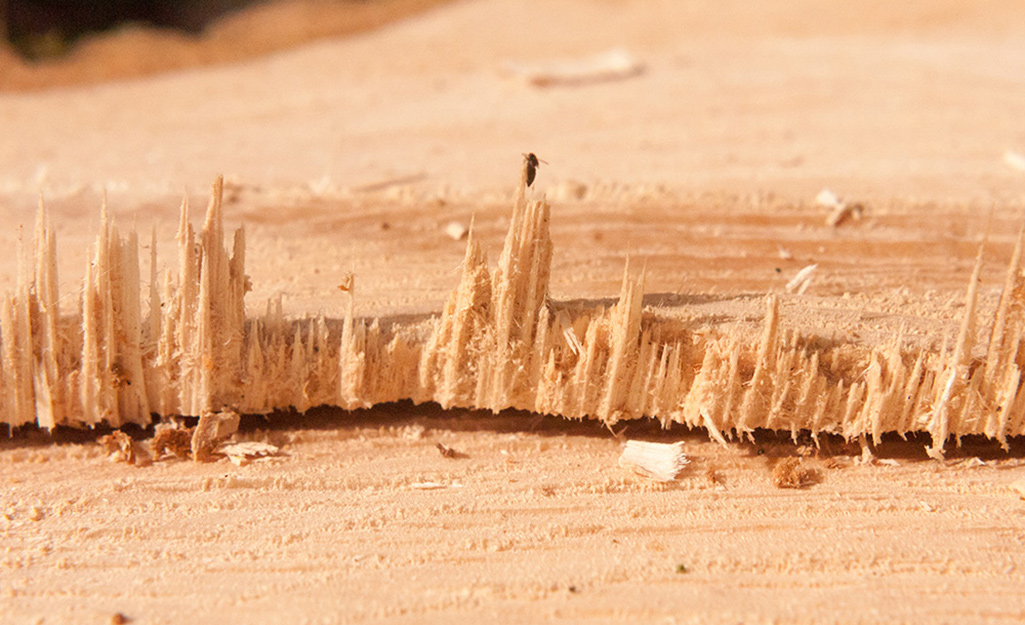
When you’re routing a board, you do all four sides. The end of a board often splinters when you rout it. The culprit is the transition from routing end grain to routing side grain.
One of the challenges of learning how to use a table router is getting a smooth and unsplintered edge.
Minimize splinters while cutting by trying one of these methods:
- Using light passes, start cutting on the end of the board. Then work your way around it.
- Rout the side of board next.
- Rout the other end, then the last side.
- You’ll rout away damage from the end grain when you rout the side grain.
More advanced users can try this to eliminate splintering entirely:
- Clamp a piece of scrap wood along the edge of the stock you're routing.
- The side grain on your woodworking project is protected by the scrap wood.
- The scrap board will splinter instead of your project.
- This gives the wood the support it needs at the base. In many cases, it keeps piece from splintering.
When you’re doing other finishing work and know how to use a trim router, it’s important to go slowly. Splintered laminate won’t give the same finished look. By carefully guiding your router along the edge, you can get a smooth finish on your work.
How to Use a Router Fence
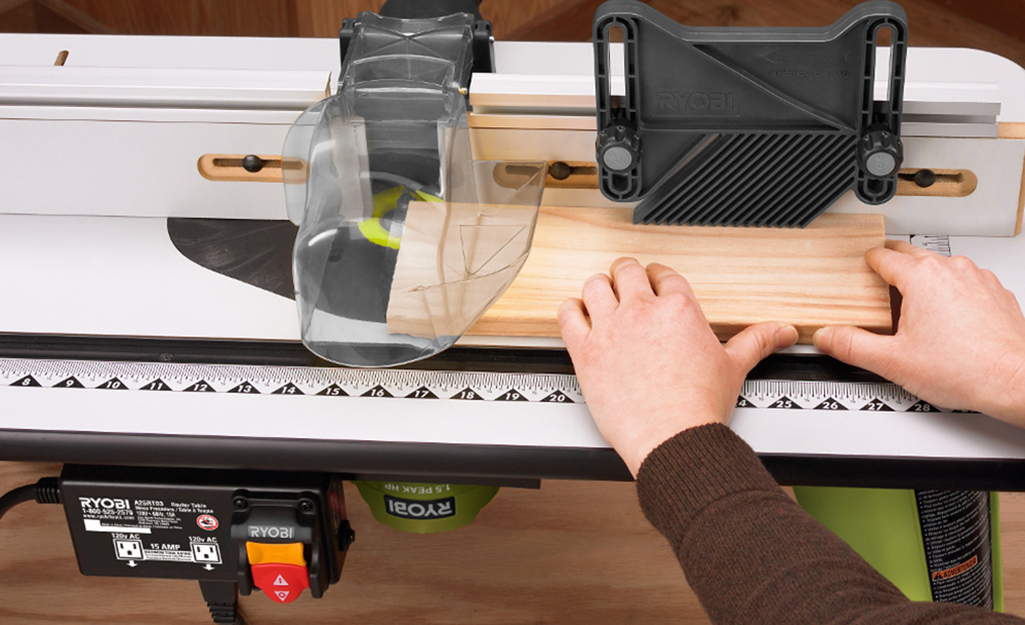
Learn how to use a router guide to get straight lines with unpiloted bits. Straight bits, also called unpiloted bits, have no guide bearings on the end. They’ll only cut in a straight line when you guide the router against a fence. Always use a router guide, or fence, when using unpiloted bits.
Router bits that have bearings are called pilot bits. Pilot bits work in handheld or table mounted routers. You can use them with or without a fence to guide the workpiece.
Before using a router fence, make sure there is no wood waste on the work surface. Debris could interfere with the wood from laying flat and flush against the fence.
Run test cuts before routing your final piece. Use the same scrap wood and bit that you plan to use on your project. Feed the router from right to left if the fence is between you and the router. Feed in the opposite direction if the router is between you and the fence.
Follow these steps to use a router fence:
- Set up the fence so the amount of exposed bit along the cutting edge is small.
- Push the material flat against the fence and down to the work surface as you run it through the router.
- Always use consistent pressure and speed. Work at a slow and steady pace. Patience is key.
- Control the cut depth by changing your bit height. Make sure it only cuts a little at a time.
- The rotation of the bit pulls the router tight against the fence.
- Adjust the bit to cut a little deeper after each pass.
- Stop when you’re reached the depth of cut or groove you want.
Tips for Router Use
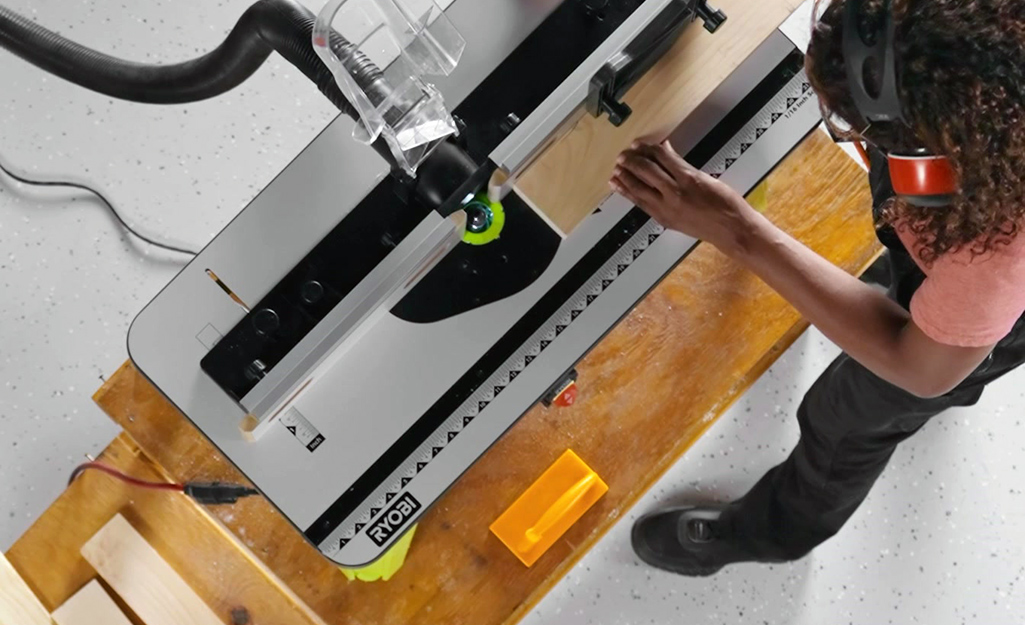
Always set up your router and table per the manufacturer’s guidelines. If you're working on a router table, check your router and mounting plate. Make sure that both are tightly fastened before cutting.
Test cuts are important for router users of all skill levels. Use the same bit and wood type as your project to find what speed works best.
Make as many passes as you need for the bit, material, and your comfort level:
- Once you've got a smooth profile for a template, make a light final pass routing the opposite direction. This smooths out minor blemishes. It also helps give you a mirror-smooth finish.
- The bit will still want to push the stock along at a fast pace, but don’t let it. You can control the speed because you're removing such a small amount of wood.
For a handheld router:
- Always rout counterclockwise when using a handheld router for cutting.
- Run a final pass clockwise.
Some wood splinters or chips at the edge. In those case, stop routing normally when you've got 1/16 inch of wood to remove. Make the final pass working clockwise.
Use sharp bits. Sharpened bits let your router work most efficiently. Discard damaged or broken bits. Sharpen or replace dull bits.
Dull bits can cause many problems, including:
- Bogging down the motor
- Burning your project
- Kicking the wood back out of your hands
To see if your bit is sharp, look at the edge in the light:
- On a sharp bit, you’ll see two surfaces coming to a point for the edge.
- If you see a white line, get the bits sharpened.
When you’re buying a router, choose one with lots of horsepower. The greater the horsepower, the less noise a router makes. Table mounted routers typically have more horsepower than handheld routers. If possible, get one with a speed control and adjustable base.
Learning how to use a router may take a bit of practice, but it's worth it. Knowing the answer to “What does a router do?” is a valuable skill for any DIY enthusiast. Enjoy professional results on your woodworking projects by routing the edges.
Find the router bits or lumber you need to get started today. The Home Depot delivers online orders when and where you need them. For special projects and one-time jobs, consider our tool rental options for all your woodworking needs.


