How to Use a Table Saw

Published September 5, 2023
A table saw is a versatile woodworking tool and is popular among woodworkers. Different types of table saws are best suited for different jobs. This guide will show you how to use a table saw and explain the types of table saws, along with operational and safety tips.
Difficulty:
Beginner
Duration:
Under 2 hours
Table of Contents
Types of Table Saws
Portable Table Saws
Stationary Table Saws
Parts of a Table Saw
Inserts and Blades
Table Saw Safety
Types of Table Saws
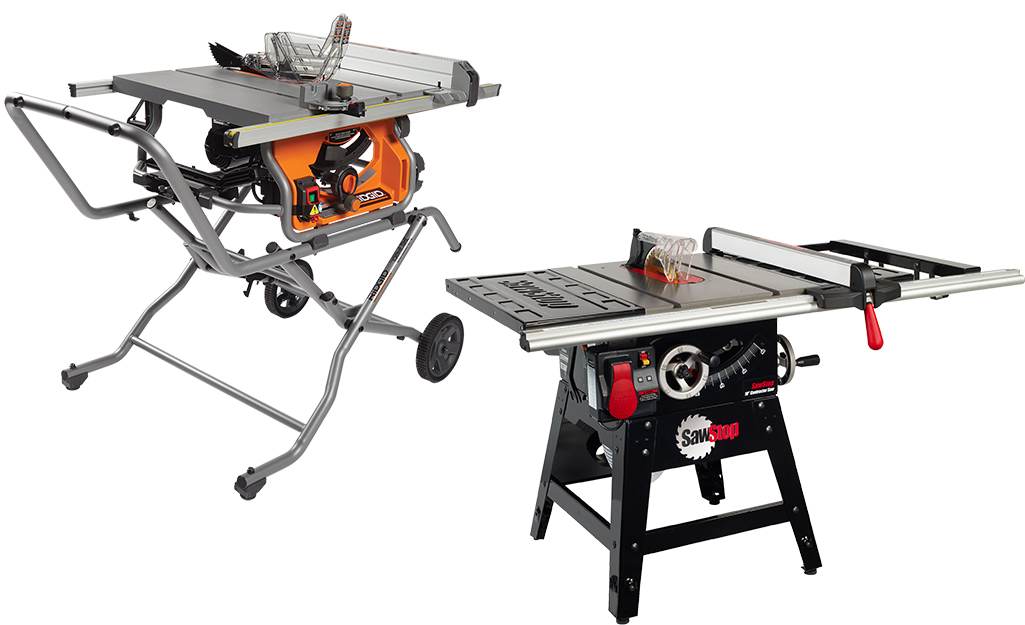
Table saws cut straighter lines and make smoother cuts on small and long boards. DIY projects that require a table saw usually require a more precise cut than handheld or machine saws. Serious woodworkers and crafters alike can make use of this versatile power tool.
Portable Table Saws
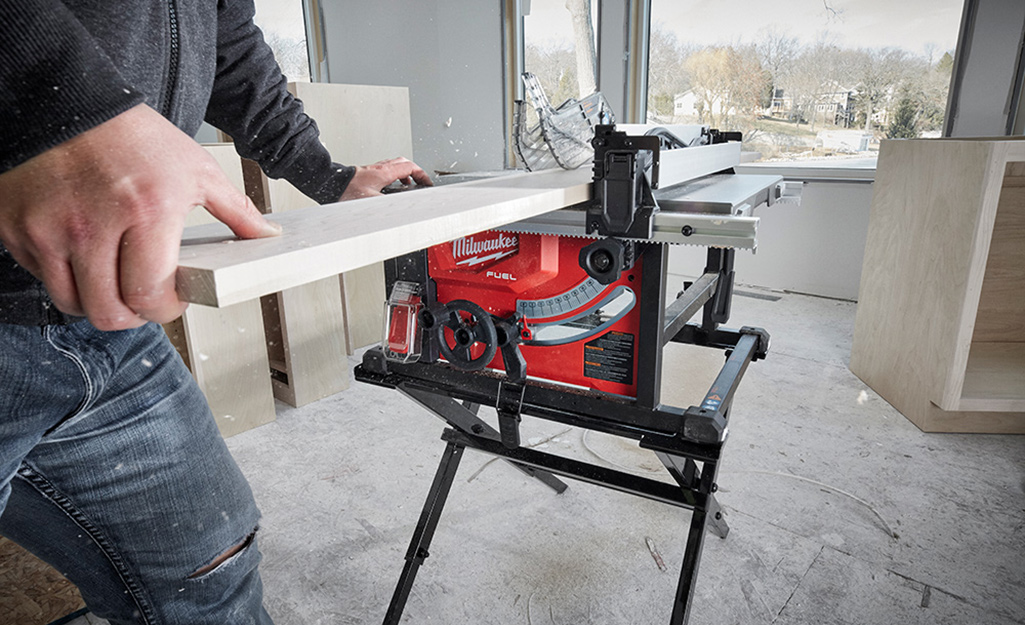
A portable table saw is an option to consider if you do not work out of a shop or need flexibility in storing your tools. There are three types of portable saws: benchtop, compact and jobsite table saws.
- Benchtop table saws are perfect for the hobbyist and DIYer. They’re lightweight in construction, and affordable.
- Compact saws are larger than benchtop saws and they come with a stand to allow for stability when making a rip cut.
- Job site saws, also known as contractor saws, are for carpenters or tradesmen who need durability and stability in a tool. They feature rolling stands on site for added mobility.
Stationary Table Saws
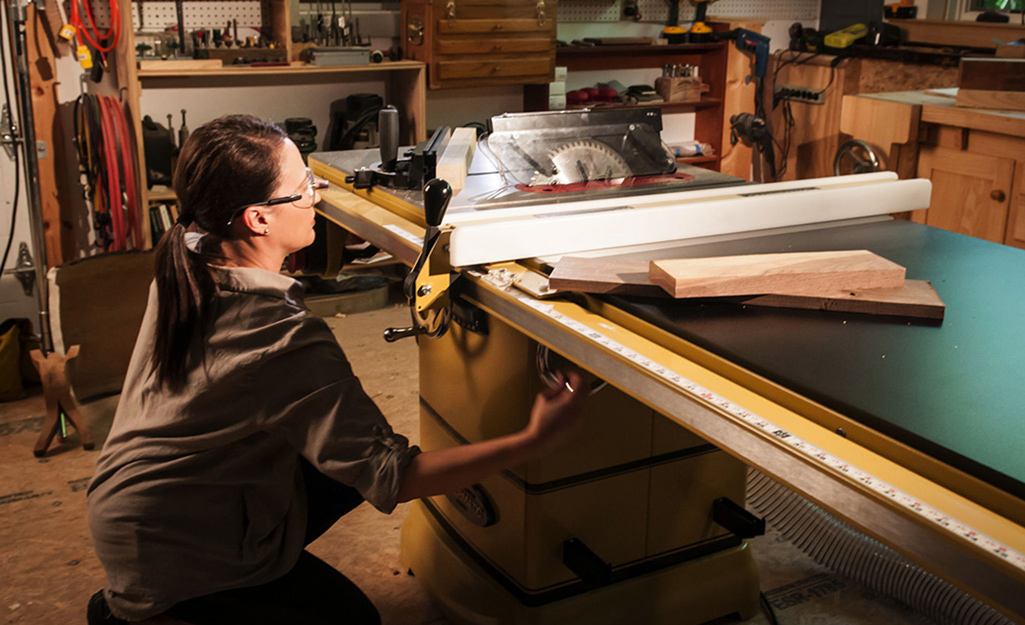
Stationary saws are much heavier than portable saws and are designed for stability and durability. There are three stationary saw types: contractor, hybrid and cabinet table saws.
- Contractor table saws are open-stand saws that are much heavier than job site saws. Contractor saws are a kind of a cut-down version of the cabinet saw, and a go-to saw for the everyday professional.
- Hybrid table saws are a mix between the contractor and cabinet models.
- Cabinet saws are found in most professional workshops and factories. They offer solid construction and are built from cast iron and steel. They are durable, robust and made to last.
Parts of a Table Saw
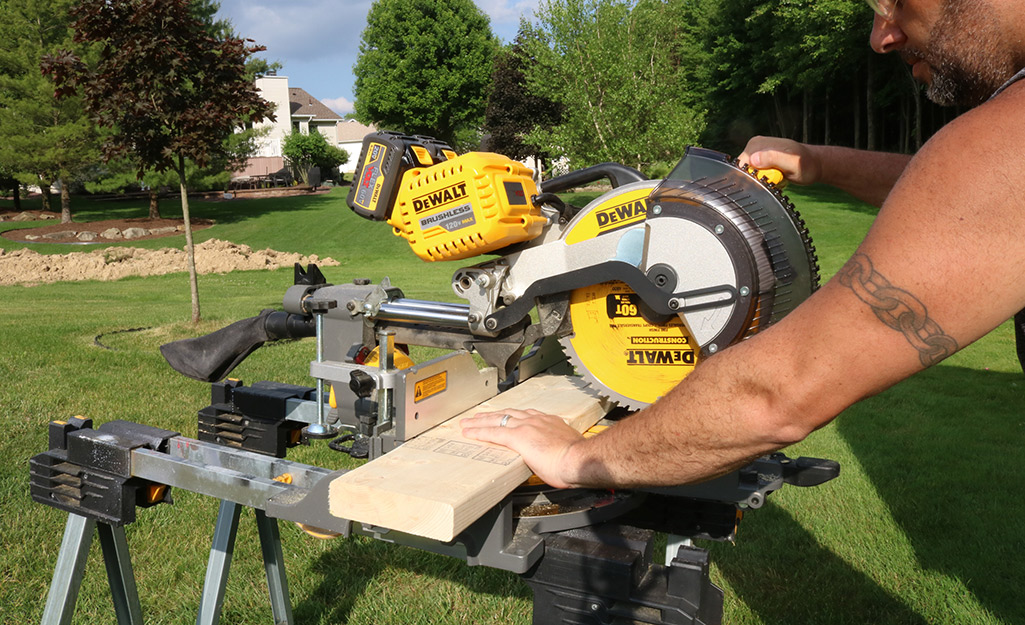
Both portable and stationary table saws have the following parts:
- Table: The flat top portion that sits on top of the base.
- Fence: The long guide that is parallel to the blade.
- Fence dog: The lever that locks the fence in place.
- Blade insert: A narrow insert on the table where the blade goes.
- Blade height adjustment wheel: Allows you to raise or lower the blade.
- Blade angle adjustment wheel: Allows you to change the wheel’s angle.
- Power button: Turns the saw on and off.
Inserts and Blades
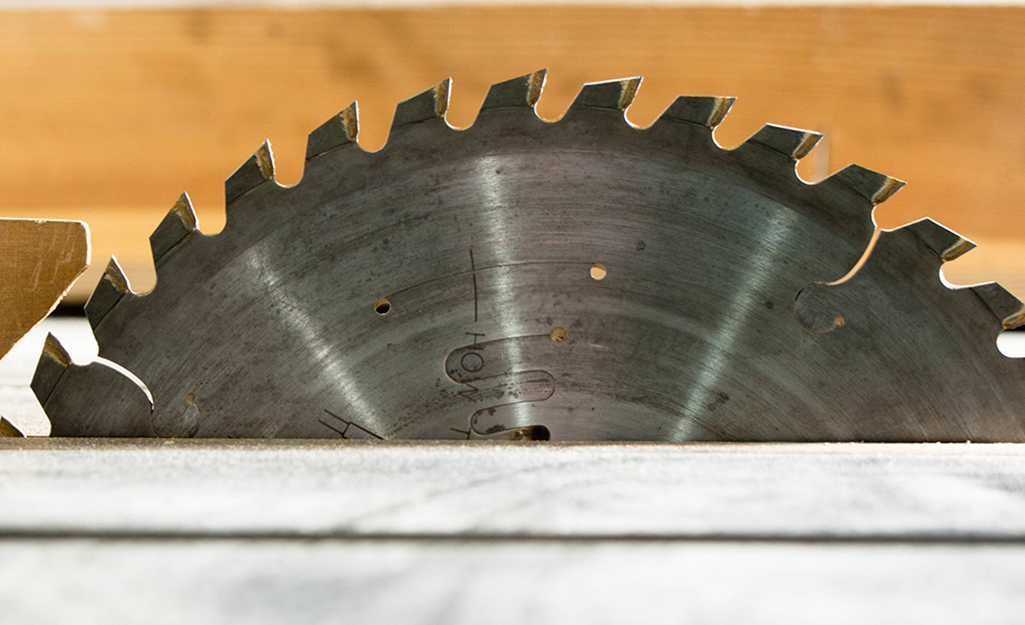
Inserts and blades go hand in hand. The insert is a piece of stock or plastic that covers the saw on the table. It has a thin opening that allows the blade through, protecting the rest of the saw from sawdust and debris. Table saw blades come in a variety of sizes and number of teeth.
Types of inserts:
- Standard: Typically comes with the table saw. It’s good for ripping cuts and cross cuts.
- Zero Clearance: Used for the ripping cuts and the vertical cross cuts.
- Wide Gap: Only for trenching/dado cuts. Only use this insert with a dado blade.
Types of blades:
- Standard: Between 8 to 10 inches in diameter and 1/8 inch wide.
- Dado: Used for smooth and precise trenches and notches.
- Wobble: A blade that’s slanted-relative to the table’s plane.
Table Saw Safety

Table saws are power tools that can be dangerous when used improperly. Working with a table saw requires focus and mindfulness to get the work piece cut safely without any injuries.
- Be sure to wear safety glasses, hearing protection and a dust mask. Do not wear rings, other jewelry or loose clothing when operating your table saw.
- Do not wear work gloves when operating a table saw.
- Never cut a piece of wood on a table saw without using a guide. Use the rip fence when ripping and the miter gauge when crosscutting. Pushing wood into the blade without the support of a guide can cause serious injury.
- Stand to one side of the saw blade when cutting; do not allow others to stand in direct line with the saw blade while the saw is operating.
- Use the blade guard that comes with the saw.
- Never reach over the saw blade to remove or hold down the piece of wood.
- Always use a push stick when ripping wood on your saw. This tool keeps your fingers away from the blade and help prevents kickback of the wood.
Cutting Wood with a Table Saw
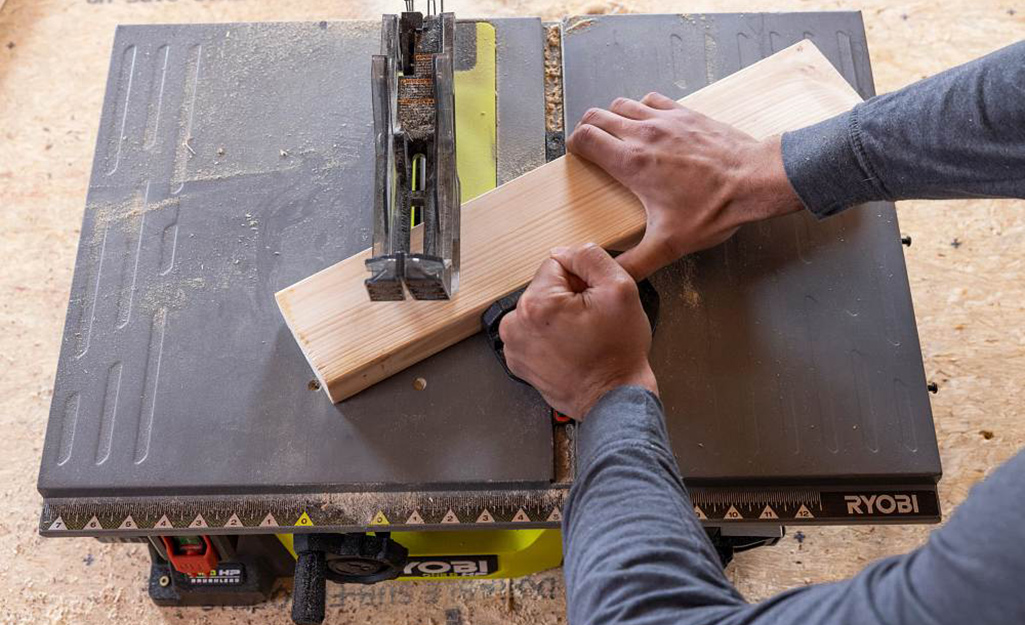
A table saw will help you make accurate and precise cuts on wood. They make three types of cuts: cross cut, ripping cut and a dado cut.
- Crosscut: A cut that is made against the grain or narrow grain of a board.
- Ripping cut: A cut along the length of a board.
- Dado cut: A slot or square-walled, flat-bottom channel cut across the grain of wood. It is a groove cut into one piece of wood into which another piece of wood will fit snugly, allowing for seamless box joints.
Ripping Wood
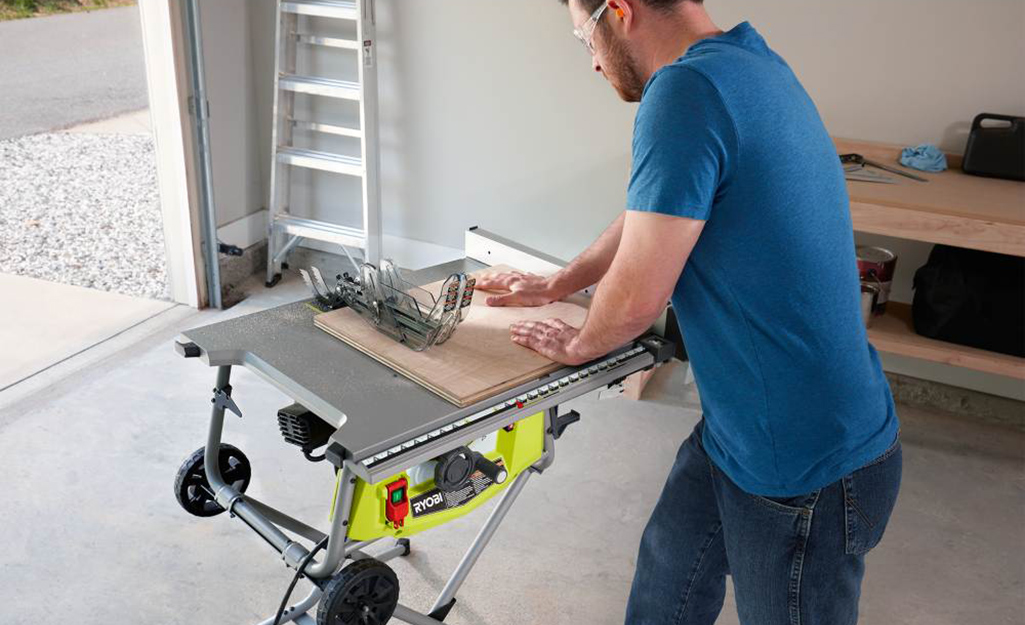
- Put on eye and ear protection.
- Adjust the blade so it's about 1/8 to1/4-inch higher than the thickness of the wood.
- Use a tape measure to measure the distance from the saw blade to the fence, then adjust the width of the fence to the size you need to rip.
- Hold the piece of wood against the fence.
- Put your thumb and hand behind the piece of wood, keeping them between the fence and saw blade.
- Set the wood firmly against the table saw and the side fence, as this will prevent kickback.
- Lower the blade guard and turn on the table saw.
- Push the board through the blade at a slow and steady rate, keeping the board flush with the fence.
- When you get near the end of the board, use a push stick to push the rest of the board through. Keep at least 6 inches between your hand and the saw blade.
- Turn off the saw.
Crosscutting
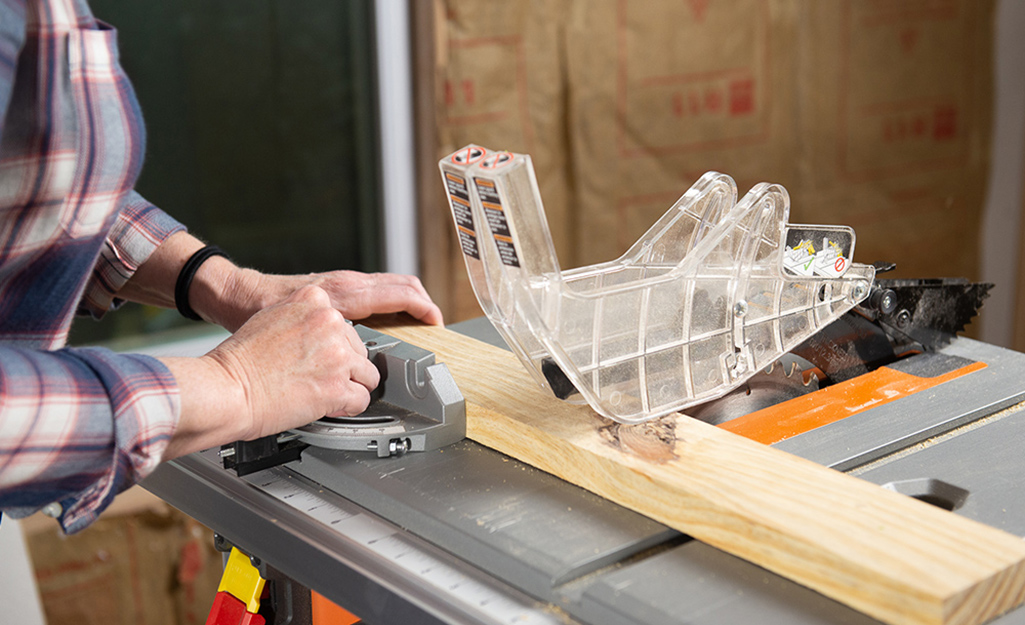
- Put on eye and ear protection.
- Adjust the blade so it's about 1/8 to 1/4-inch higher than the thickness of the wood.
- Set the miter gauge into its slot. The miter gauge should be located to the left of your saw blade.
- Square the miter to the blade. Place a 45-degree drafting triangle along the length of the blade, then adjust the blade until both sides of the triangle are at a 90-degree angle.
- Remove the drafting triangle.
- Hold your board against the miter gauge fence edge; it should be sitting at a 90-degree angle from the blade.
- Keep your fingers away from the blade cover (at least 6 inches).
- Push the board slowly through the blade, keeping your right hand on the miter gauge handle and a firm grip on the board with your left hand.
- Turn off the saw.
Dado Cutting
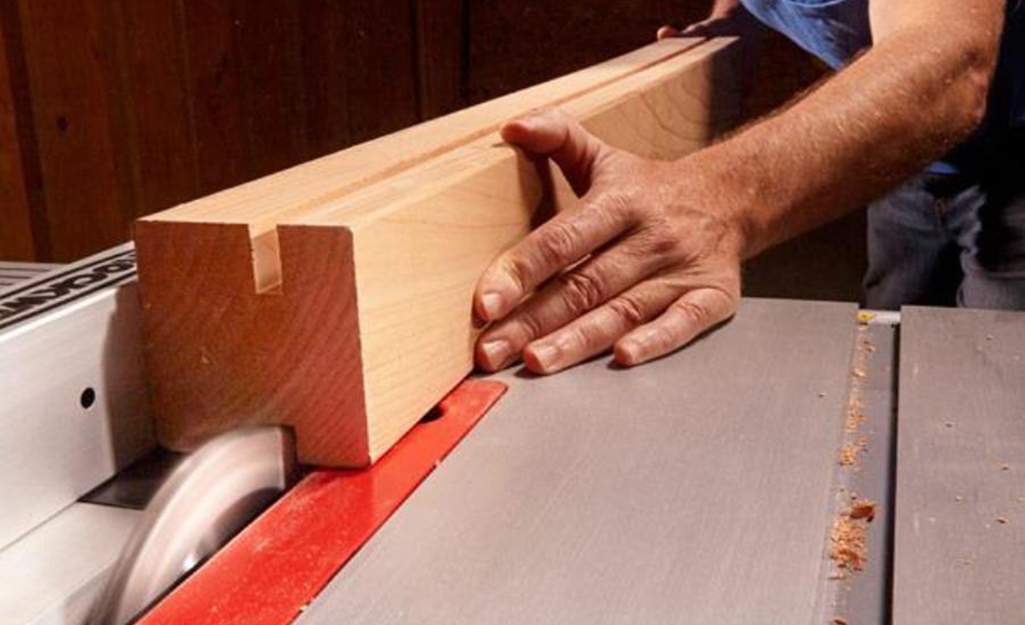
- Put on eye and ear protection.
- Install a dado blade on your table saw.
- Use a table insert which fits the dado cut being made.
- Set your rip fence the correct distance from the blade.
- Make your first pass to create your dado. Use push sticks to move your board through the table saw.
- Move the rip fence over approximately 1/4 inch from the first cut. Make the second pass through the table saw.
- Continue until you have the desired width of the dado cut.
- Turn off the saw.
Knowing how to use a table saw will help you accomplish many DIY woodworking projects. Ready to find the right table saw and other tools for your next project? The Home Depot delivers
online orders
when and where you need them.


