Fairy Garden Ideas

Last updated September 7, 2023
Fairy gardens are fun, miniature gardens you can create inside or outdoors. They’re great projects for kids and adults alike, who can share in the magical idea of luring fairies to visit.
All you need for an indoor fairy garden is a pot or planter, some small plants, garden or potting soil and whimsical accessories. Fairy gardens are also ideal for outdoor nooks, flower beds and borders, outdoor containers and even children’s wagons, carts or wheelbarrows.
Explore this magical world with these fairy garden ideas.
Table of Contents
How to Make a Basic Fairy Garden
Fairy Garden Ideas for Pots and Planters
Fairy Garden Ideas For Shady Areas
Fairy Garden Ideas for Campers
Terrarium Fairy Gardens
Indoor Fairy Gardens
How to Make a Basic Fairy Garden
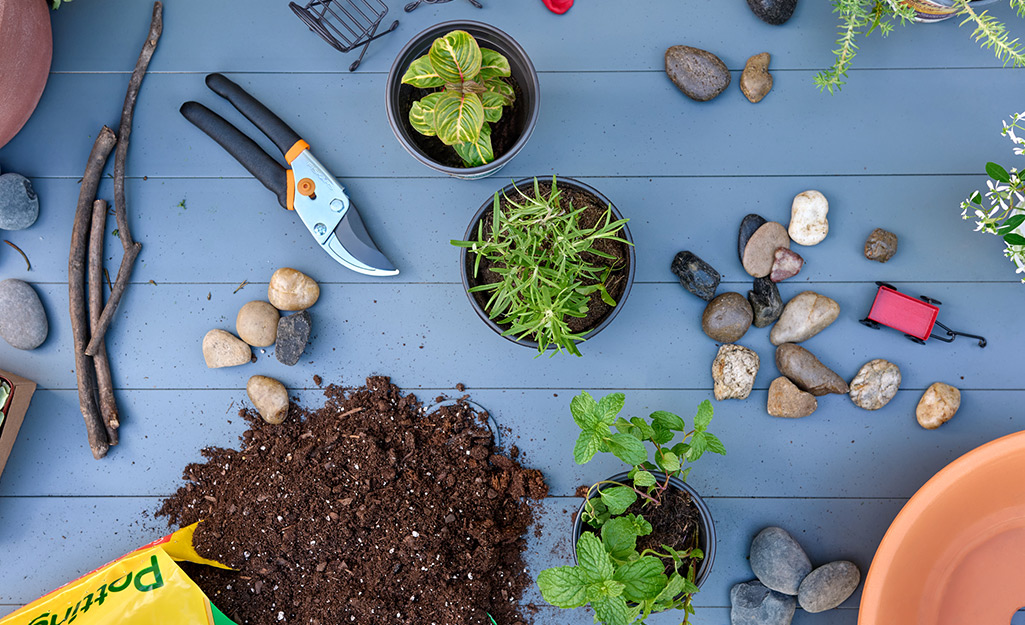
Use a decorative basket, bowl or planter of any size, or find a spot beside a tree, a stump or in a corner of your yard. If you want more space for your garden, try a raised garden bed and fill it with soil for an excellent canvas.
Choose a weatherproof planter if you’re going to keep your garden outside, and make sure it has a few holes for drainage. Add small holes if there aren’t any. If your garden will be indoors, protect indoor surfaces from drips with a saucer or tray.
If you’re going to plant your DIY fairy garden in the ground, loosen the soil and remove any rocks, sticks and other debris. If your ground has a lot of clay or sand, work in a little organic matter to improve the texture and drainage.
Then choose your favorite small flowers and foliage plants. Think about how large they’ll eventually grow, and plant them so that taller ones won’t shade shorter ones. For best results, use plants with the same needs for sun and water.
Arrange your plants any way you like and add small fairy figurines and accessories as desired. Top the soil with moss for a grass-like effect, or use pretty pebbles, gravel chips or other small, decorative landscape rocks, glass chips, seashells and other materials to help hold a little moisture in the soil and give the garden a finished look.
Water as needed for the kind of plants you’re growing and prune them gently to control the size. Replace any that grow too large and transplant them to your garden or repot them as houseplants.
Fairy Garden Ideas for Pots and Planters
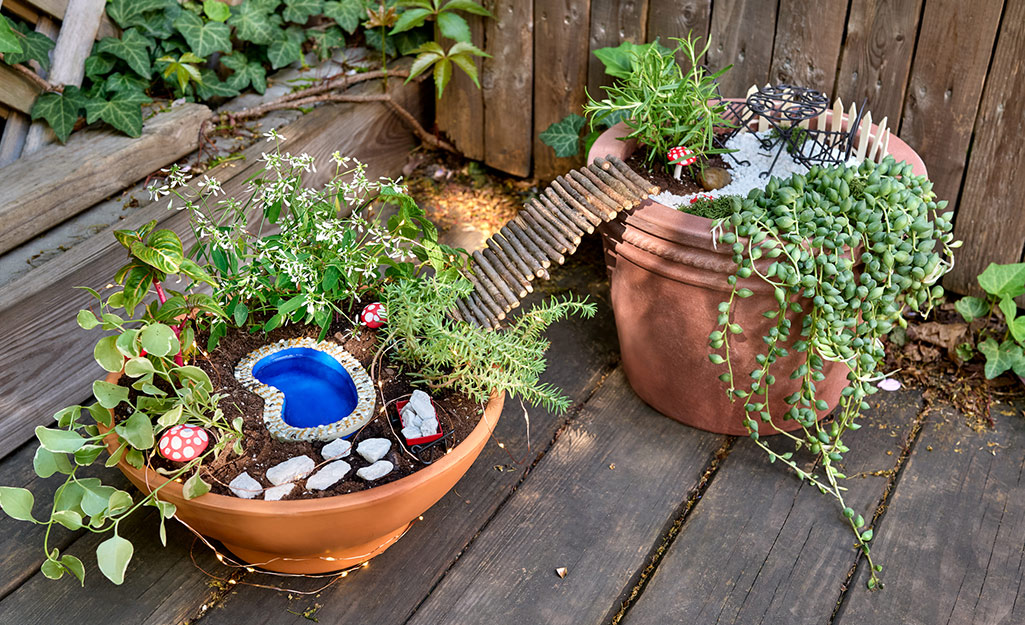
Fill different-sized terra cotta pots with potting soil. Place them outside, a few inches apart, and put bridges made of twigs and string between them. You can use these same items to make ladders. Grow some of the same plants or repeat the colors in each pot for a unified effect, but don’t make each planter exactly the same.
If you prefer, use pots in staggered sizes, such as a 16-inch pot, a 14-inch pot and a 12-inch pot. Fill them with good quality potting soil and stack them on top of each other, with the largest pot on the bottom. You can also find pre-stacked planters with a three-tier design. Plant in the soil between the two lower pots and in the top of the uppermost pot. Add decorative items, fairies or other garden figurines painted in your favorite colors.
If you want to create easy access to this new haven, use flat rocks or pavers as stepping stones to lead visitors to the garden (unless you want to keep its magic to yourself).
Fairy Garden Ideas For Shady Areas
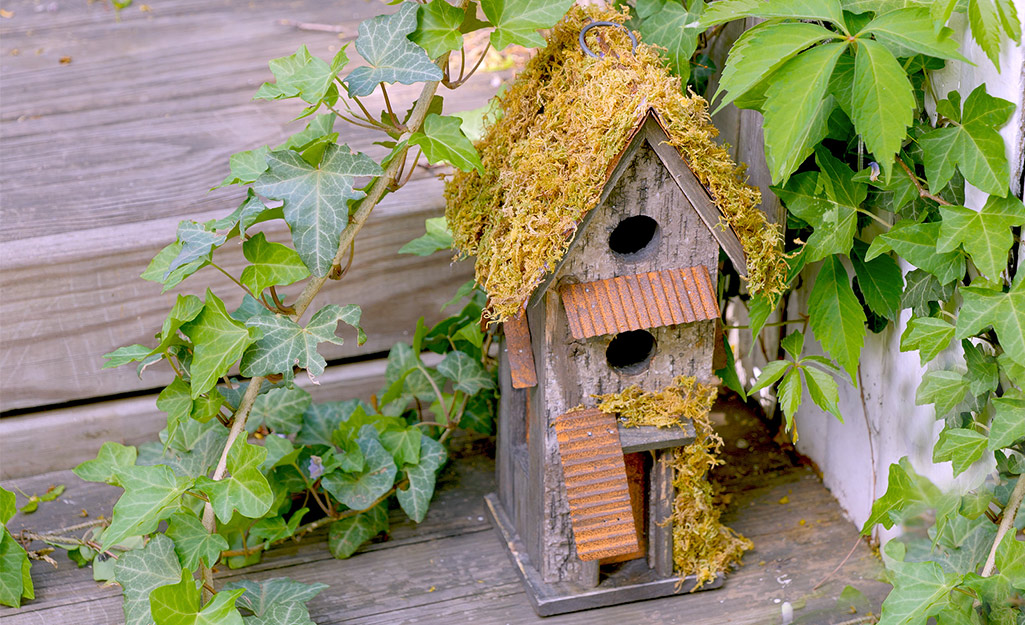
Fairies like to appear in tucked-away spots, so make a fairy garden on the ground under a tree, shrub or lacy fern. Put it under low-hanging branches or fronds for a secret, hidden look. Add a premade cottage and fairies from a kit, or make a small house with glue and cardboard. Or try starting with a birdhouse, which might be the perfect size for a fairy family.
Cover your DIY house with natural items like leaves, acorn caps, flower petals, dried grasses and moss, or use pebbles and seashells; pieces of bark make nice roofs. Keep in mind that you’ll probably need to bring your cardboard-based house inside or cover it up to protect it from rain.
Fairy Garden Ideas for Campers
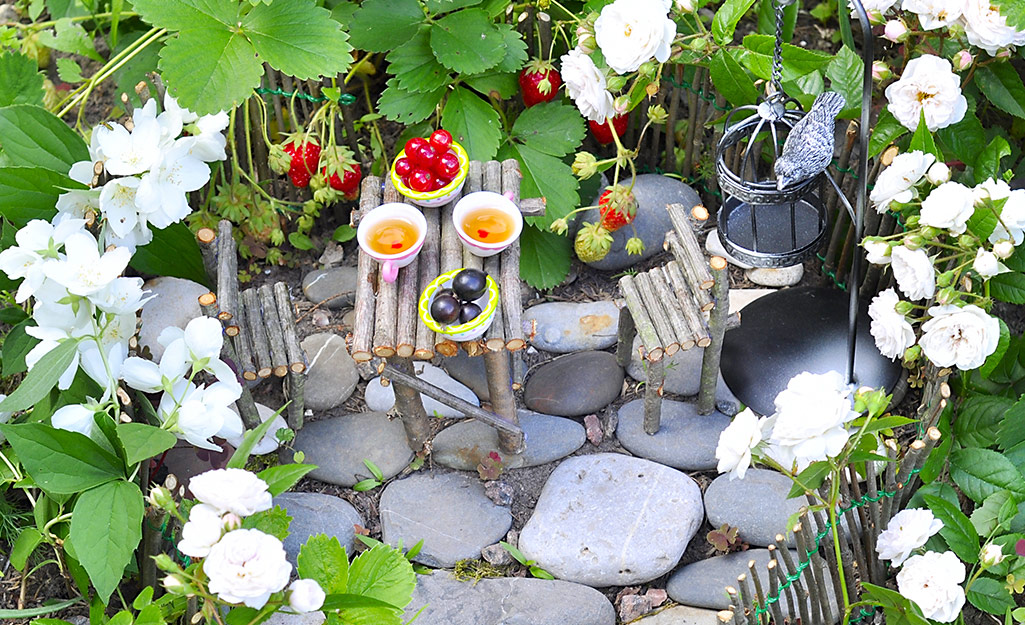
A great fairy garden idea for a sunny spot is to set up a campground or picnic area for fairies passing through in their toy camper or RV. In a raised garden bed, provide fairies with a bistro table or a picnic table made from a small, wooden round cut from a fallen branch, and prop it up on short sticks.
Balance a rectangular piece of bark on four corks to make a bench. More modern fairies might like a table made from popsicle sticks and craft glue.
Arrange pebbles in a circle to make a fire ring for a campsite, and add small twigs for firewood. A tuft of bright yellow-orange yarn can stand in for flames. Leaves make fine sleeping bags.
Since fairies who are traveling might need to do some washing, knot a piece of twine between two sticks to serve as a clothing line where their tiny garments can dry. If you have scraps of fabric that look like fairy dresses, attach them to the line with mini clothespins, or just sew them on.
A small clump of thin straw that’s about 1-inch long can easily be bundled together and tied on one end; stick a toothpick into the cinched end to make a mini broom.
If the fairies might like to sleep outside, cut wooden barbecue skewers to fit, then tie them together to create a tent frame and drape a piece of fabric over top.
Terrarium Fairy Gardens
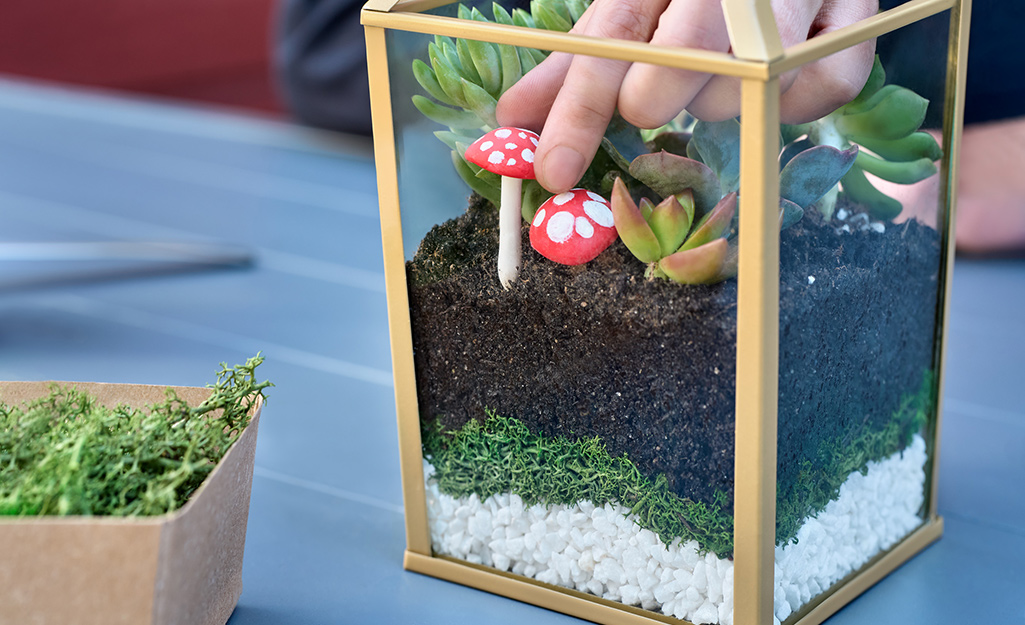
Short on outdoor space, or living in an apartment, but still want to accommodate the fairies? Make your own terrarium for indoor use. You can even add fairy figurines and decorative accessories to one you already have.
If you’re using a closed terrarium, be sure to use items that won’t be damaged when the water inside evaporates and falls back down into the bottom. You can also buy an empty glass, plastic or metal terrarium—or one that comes with a seed-starter kit, to make the landscaping process a bit easier.
Indoor Fairy Gardens
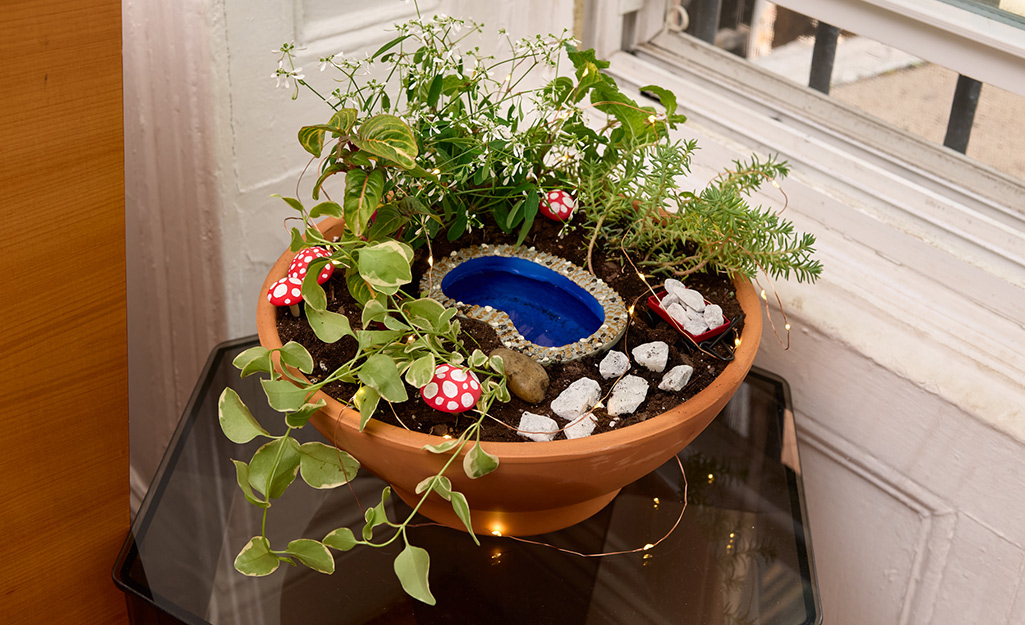
If you discover that your home is blessed with indoor fairies, try creating a fairy door on a wall in your home. A spot surrounded by houseplants would be a good hideaway.
A handful of popsicle sticks glued to a backing can make for a welcoming entrance.
If you're short on green space outside, you can invite the fairies inside by setting up an inviting garden near a window.
Fairy Streams and Babbling Brooks
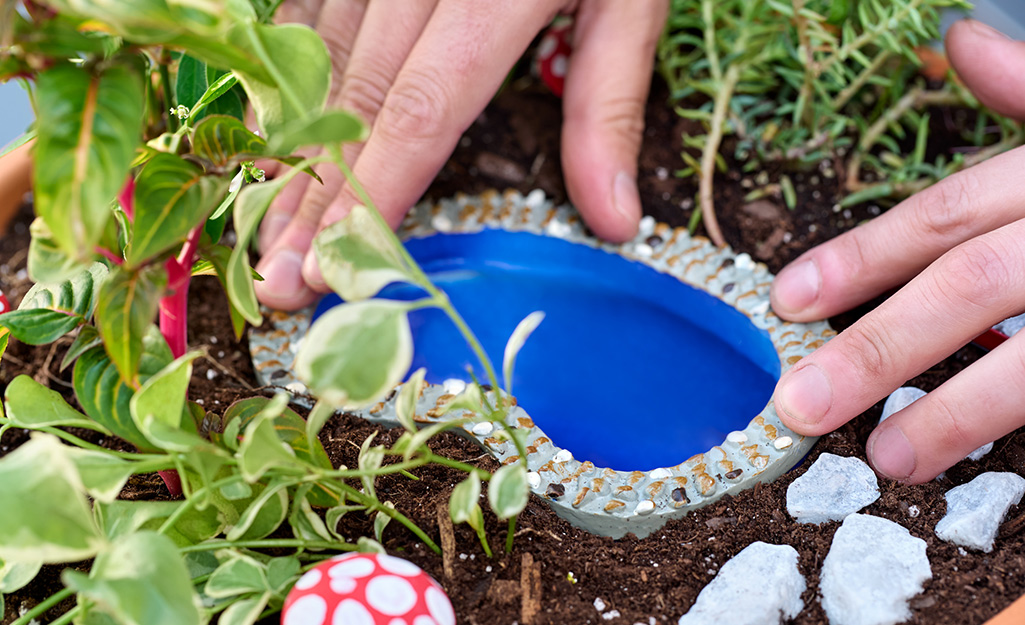
Fairies are attracted to water, so create a stream, creek or pond using blue crushed glass or clear blue glass stones, bordered by natural-colored stones and pebbles. (You can also use blue-tinted sand, depending on the look you’re going for.) Add a miniature bench or bistro set to invite fairies to stay and visit by the water’s edge.
Fairy Garden Lighting Tips
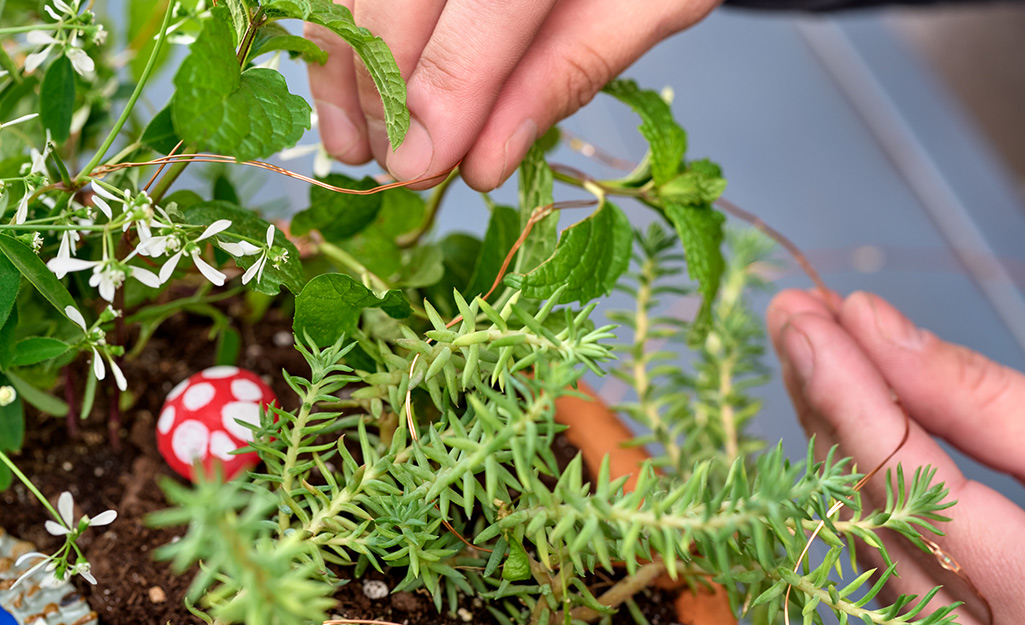
Lighting is hugely important when it comes to fairy gardens. They’re fans of twinkly fairy lights, so strands of those—whether they’re human-size or of the mini variety—nearby will make a space feel extra-enchanted.
How to Landscape a Magical Fairy Garden
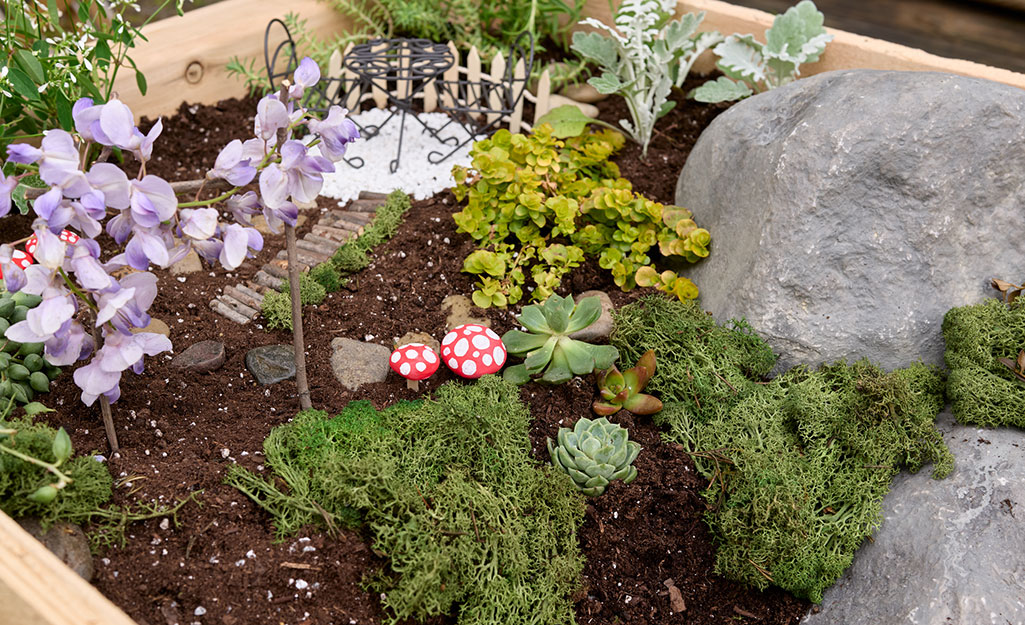
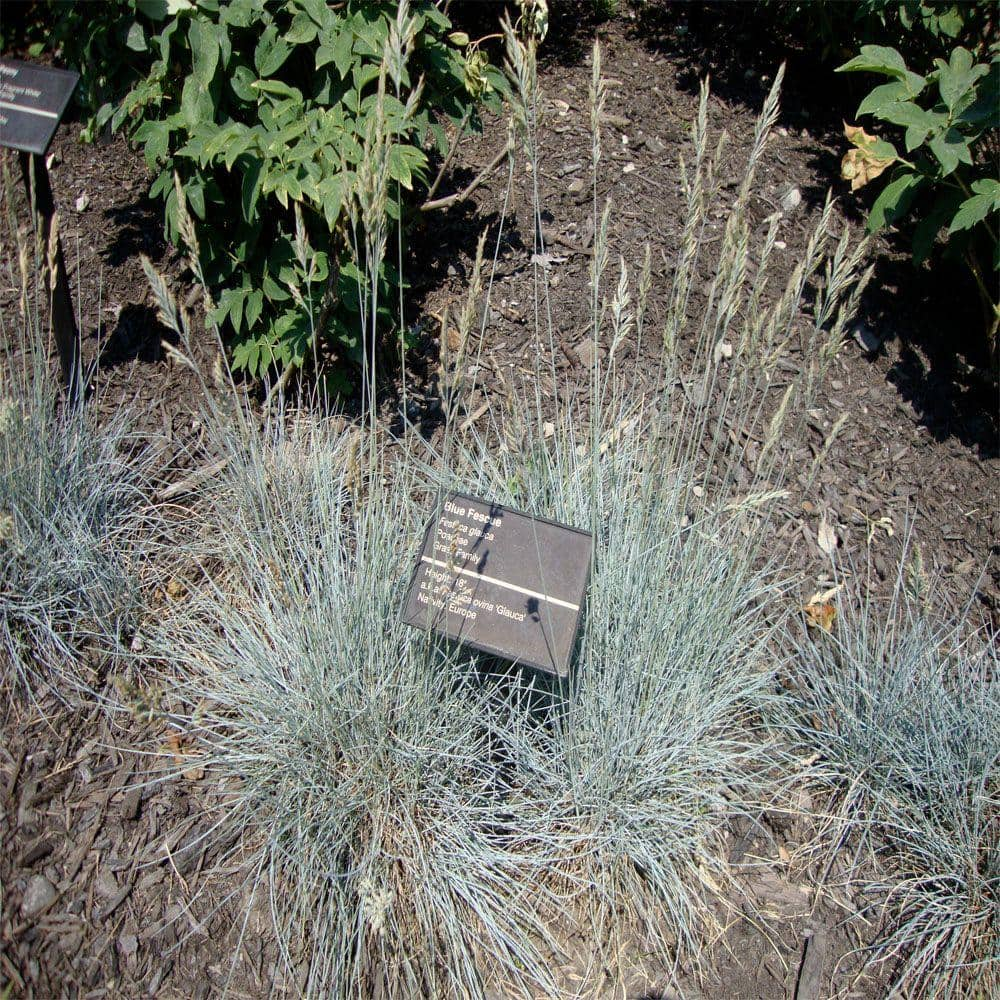
Keep your plantings in scale with your fairy garden by growing small-foliage plants like peperomia, small-leaved ivies, weeping fig, dwarf Mondo grass, clubmoss dwarf ferns, succulents and dwarf grasses.
A string of pearls plant also feels extra fantastical, with its endless clusters of tiny green globes. For fragrance and texture, try herbs like creeping thyme, watercress and orange, peppermint, spearmint or chocolate mints. Let a few mini-mushrooms made of modeling clay pop up between the greenery.
Colorful flowers for fairy landscapes include miniature roses, mini-violets, dwarf fuchsias, pansies, violas and lavender.
If your fairy garden is in a large container, grow asparagus fern, ageratum, miniature daisies and other small blooms or dwarf trees and shrubs. Again, keep an eye on your plants and prune them as needed to maintain their size and scale.
More Fairy Garden Theme Ideas
Let your imagination go wild and create a fairy tea party or fairy farm, or create a castle surrounded by toys like knights and dragons for a medieval look. You could even put your own miniature spin on a scene from a favorite children’s book or fairy tale.
Make a winter-themed indoor fairy garden with small evergreen sprigs and an ice-skating pond that’s filled with white sand or a curvy piece of cut foil. Stack peppermint candies for the fairies to use as stools.
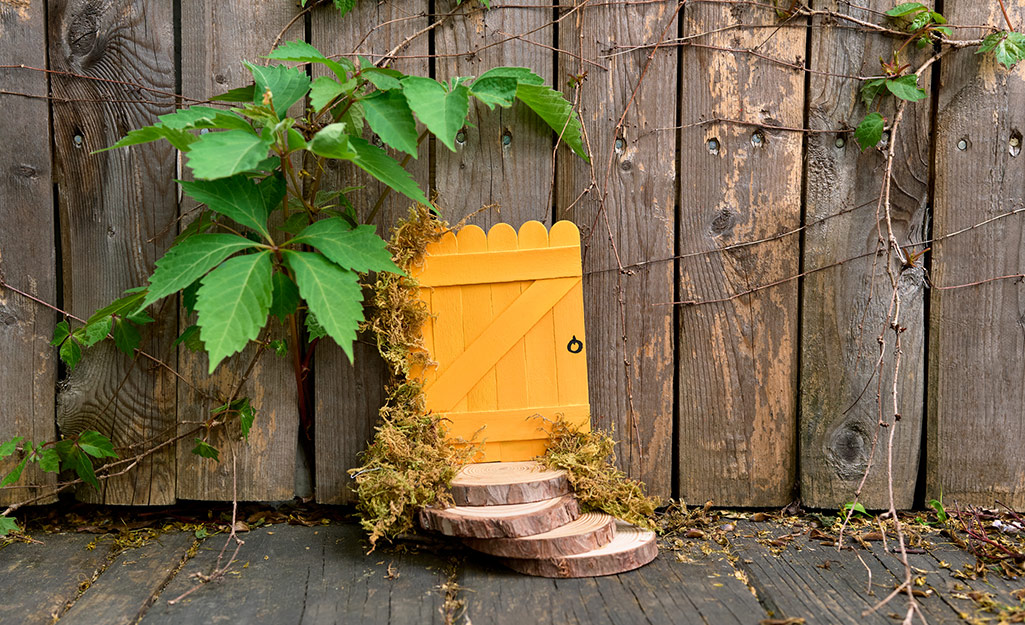
If you don’t want an entire fairy house, attach a fairy door to the base of a tree. Plant small vining plants around the door and let them twine up the tree for an enchanted look.
DIY Ideas for Fairy Furnishings and Accessories
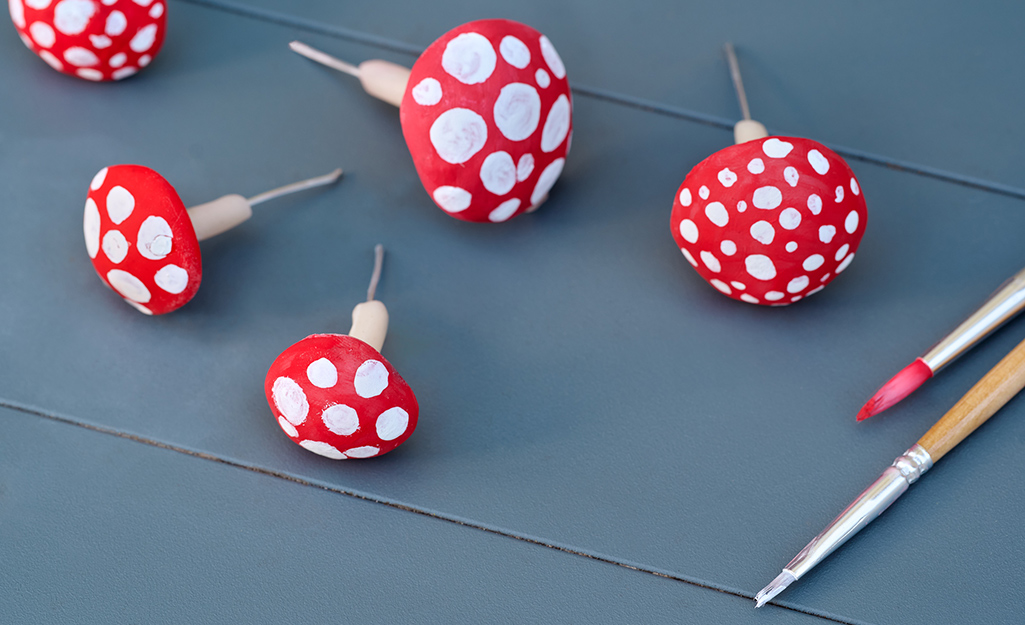
Use polymer clay to make fairy furniture and paint it, if desired. Use more clay to shape tiny birds, ladybugs and little mushrooms. Painted pebbles make cute ladybugs.
- Wrap one end of a piece of wire around a marble to hold it in place. Stick the other end of the wire in the ground for a gazing ball.
- Cut the pictures of flowers off plant tags or seed packages and frame them with glued-on twigs. Hang them as a fairy art gallery.
- Shape pieces of wire into trellises and run small vines through them, for an arbor.
- Use a thimble as a fairy-sized wash bucket or planter.
- Invert a tiny seashell to use as a serving bowl.
- Glue vertical stacks of different-sized buttons, to serve as stools, side tables or cafe tables.
Make A Fairy Garden from Broken Flower Pots
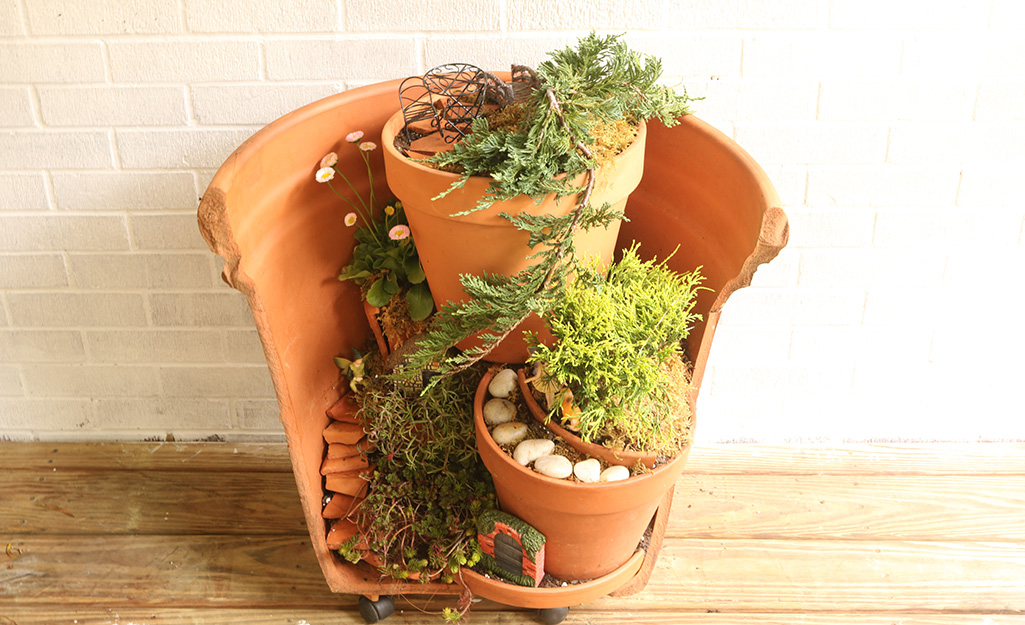
Don’t throw away your broken flowerpots. Instead, reuse them to create a beautiful blooming fairy garden. Just add flowers, ground covers such as sedum succulents, small bushes and fairies for this unusual container. This project uses a broken terra cotta flowerpot with a clean break and several broken saucer pieces. It incorporates three other unbroken flowerpots.
Firstly, scrub the surface of your broken flowerpot inside and out using soap and water and a scrub brush or scouring pad to remove moss and dirt. If needed, sand down any sharp edges of your flowerpot and let dry.
Experiment with the pots and broken pot pieces like a puzzle to create multiple layers for your fairy garden. Don’t worry if some pots are shorter than others. You can always prop up the inner flowerpots with broken pieces.
Place your main broken flowerpot on a planter caddy. To start creating the layers, consider using a broken plant saucer inside the larger broken flowerpot to hold your design in place at the bottom. We combined two broken pieces on the bottom, making sure to keep the drainage hole open. Pour a small layer of river pebbles into the saucer to help weigh them down on the bottom. Use larger stones or broken pot pieces near the drainage hole so water can escape. Add dirt on top of the pebbles. Experiment as you go along to find the best fit.
Slip on your gardening gloves and, using your soil scoop or hand trowel, add potting soil into the bottom layer of pots and also in the flowerpots on top. Fill in with additional potting soil around the pot and pat it down.
Start to plant flowers and small bushes in places where they will fit. On the bottom layer, we planted hardy ground covers sedum (we used a small portion of a sedum tile available at select The Home Depot stores) and portulaca in the small flowerpot. To plant the English daisies, we created another flowerpot out of broken pieces. In the larger flowerpots, break apart the roots of the small bushes and plant them inside. We used low-growing blue rug juniper and false cypress ‘Lemon Thread.’
To finish up your fairy garden landscape, add moss, a patio and other stepping stones. Gently break apart the sheet moss and soak it in water for about five minutes. Next, tuck the moss underneath plants around the fairy garden. Now use small broken flowerpot pieces to create a patio. Add river stones to create additional garden paths in the fairy garden.
You can also add fairy accessories like mushrooms or any other small trinkets of your choosing.
Get creative when you explore the world of fairy gardens. When you use The Home Depot Mobile App, you can have all the craft, gardening and DIY supplies delivered when and where you need them.


