DIY Miniature Skeleton

Last updated August 21, 2024

Natalie is a crafty, DIY mom who does everyday mom stuff with just a little glitter in her hair and paint on her jeans. And she blogs about it along the way. She's a firm believer that no matter the project, with the right tools, good instructions, and a little bravery, you can do anything.
A Note From The Home Depot
The Creative Mom Natalie Dalpias has taken inspiration from Home Depot’s 12-foot skeleton and created miniature skeletons with her kids! Read this blog to see how you can channel your inner child with your children this Halloween Season!
Table of Contents
DIY Miniature Skeleton
Step 1
Step 2
Step 3
Step 4
Step 5
DIY Miniature Skeleton
Hey there! I’m Natalie, from TheCreativeMom.com. I’m so excited to show you how my kids and I made these DIY Miniature Skeletons for Halloween.

We love doing projects together and we absolutely love Halloween! The amazing 12-foot skeletons so inspired us at The Home Depot. Have you seen them? They are fantastic in the absolute best way. We love those skeletons so much that we decided we would come up with a miniature skeleton of our own, modeled after those awesome 12-foot skeletons.

To make this miniature skeleton, you’ll need a few things you can find in your local Home Depot store, and around your home.

Step 1
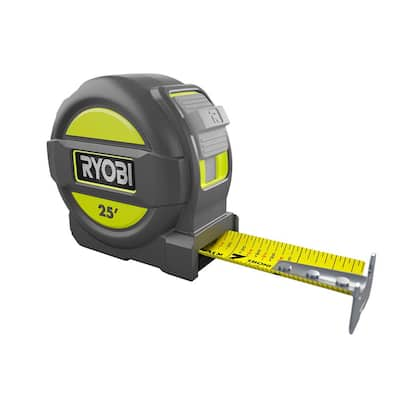
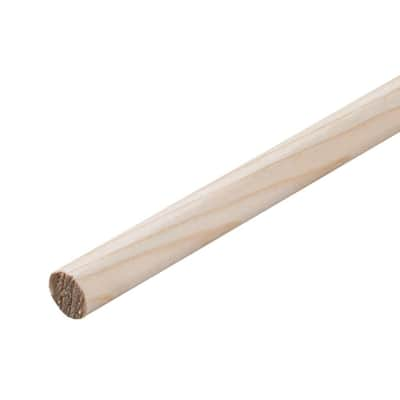
The first thing we are going to do is cut our skeleton’s arms and legs. We picked up some dowels from The Home Depot, and this is what we are going to use for our skeleton’s arms and legs. You can cut these to whatever size you want, but if you want to cut them the same size we did, you can use this diagram as a reference.

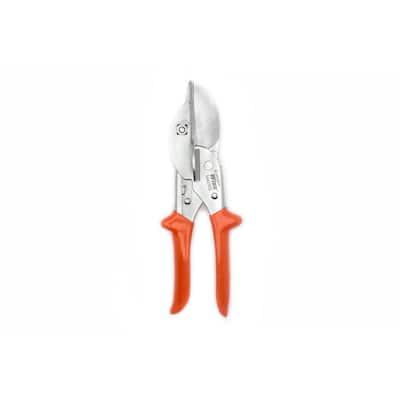
Because my kids aren’t quite old enough to use a saw, we used miter snips to cut our dowels, and it worked perfectly! Cutting the dowels with these snips was their favorite part of this project.

Step 2
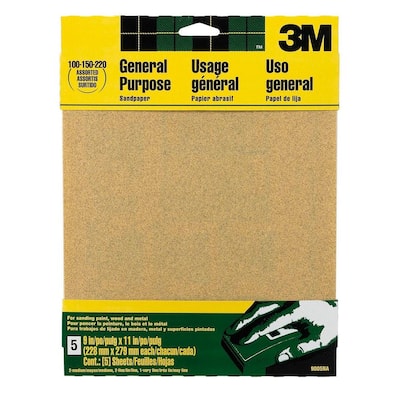
After you’ve got your dowels cut, you are going to sand the ends to make sure they are smooth, without any splinters. We used a 200-grit sandpaper for this.

Step 3
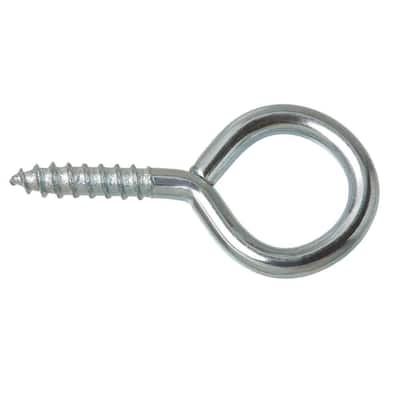
Now that we’ve got our dowels cut and sanded, we are ready to start assembling our miniature skeleton. We will need to add some knees and elbows. For this, we are going to use some small screw eyes.
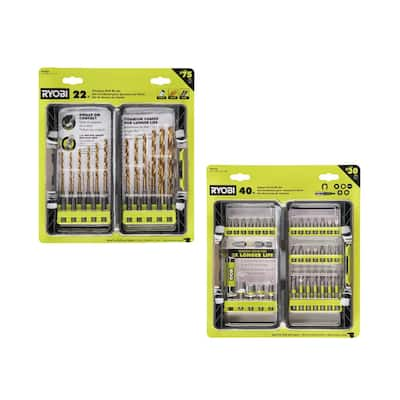
Go ahead and screw an eye hook into just one end of each dowel. We will be doing something a little different for the other end of the dowels. You can predrill the ends of your dowels with a 1/16” drill bit to make it a little easier to screw in the eye hooks.

Step 4
You should have an eye hook at one end of each dowel. For the other end of the dowels, we will need to open up our hooks before we screw them into our dowels.
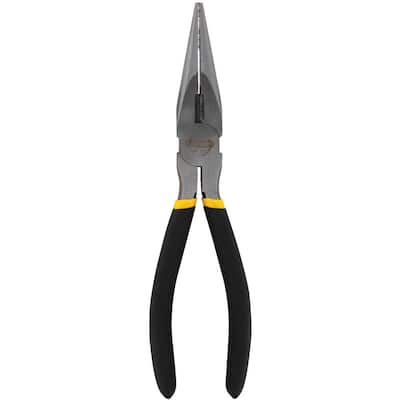
To open up the hooks, use two pairs of needle nose pliers. Hold on to the hook with one pair of pliers, while you bend the hook open with the other pair of pliers. You’ll need to open up 8 eye hooks for each miniature skeleton.

Once your eye hooks are open, you’ll screw the open eye hooks into the other end of each dowel. Please note that we did not put feet on our little skeleton, so you will not need an open-eye hook on the lower leg dowel.
You’ll end up with 2 legs with closed eyes on one side and nothing on the other side, 2 legs with closed eyes on one side and opened eyes on the other, and 4 arms with closed eyes on one side and opened eyes on the other.

Step 5
Now we are going to attach our arms and legs. You’ll take the opened-eye hooks, and connect them to the closed-eye hooks. Once they are connected, squeeze the opened eyes shut with your needle nose pliers. You will leave an open hook for the hand that we will use later.

You should have two sets of arms and two sets of legs. Once assembled, the legs should each have a closed hook on one end, where it will attach to an open hook at the hip; and each leg should have nothing on the other end, where the foot would be.
Once assembled, the arms should each have a closed hook on one end, where it will attach to an open hook at the shoulder; and each arm should have an open hook on the other end, where the hand will be.
Step 6
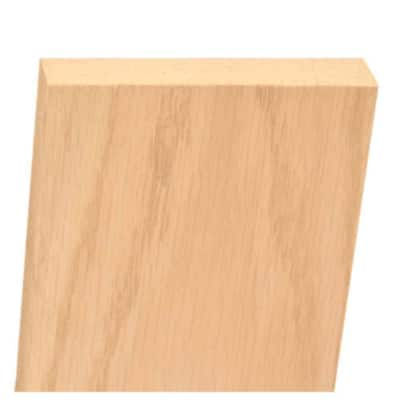
Now that we have the arms and legs, we are ready to attach them to our bodies. You’ll need a 3-inch scrap piece of wood. I used a 1x2 that I had in my garage. Mine was primed, but just use whatever you have, or pick up a 1x2 board at The Home Depot.
Using a 1/16” drill bit, drill holes where the shoulders and hips would be on the 1x2. We measured in ¾” from each side to drill for our shoulders and hips. But you can just eyeball this, and put the holes where you think the shoulders and hips should be.
Then you’ll use a ¼” drill bit and drill a pilot hole for the head on the top of the 1x2.

After the holes are drilled, screw in open eye hooks for the shoulders and hips.

Then attach the closed eyes on the ends of the arms and legs to the opened eyes on the shoulders and hips. Use needle nose pliers to close the eye hooks.
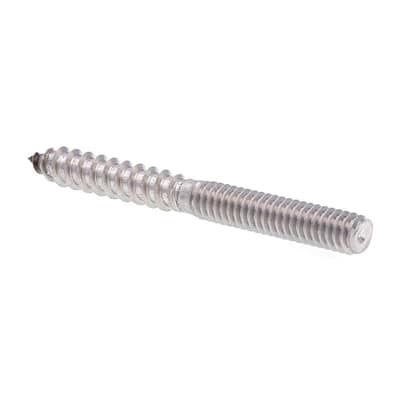
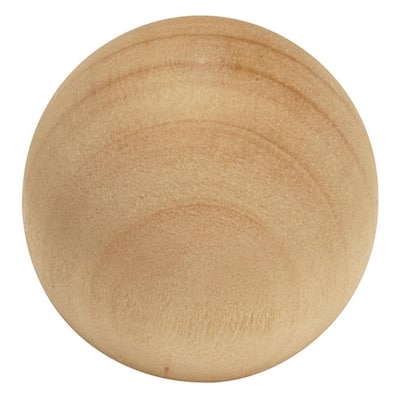
Our arms and legs are attached to our bodies, but now we need a head for our skeleton! I found these cute cabinet knobs on HomeDepot.com, and that is what we are going to use for a head. You may need to drill the hole in the bottom of the head a little bit bigger- use a ¼” drill bit for this. Then screw a ¼” dowel screw into the hole at the bottom of the head. You can use pliers to make this easier.

Once your head is attached to the dowel screw, screw it into the hole that we pre-drilled in the body. Be careful to leave enough screws out so your miniature skeleton still has a neck.

Step 7
Our miniature skeletons are looking so cute, but now we need to give them fingers. You should have an opened-eye hook at the end of your arm, for a hand. Thread 5 little eye hooks onto that opened eye hook to create a hand with fingers. Then once they are all on, close the eye hook with pliers.

Step 8
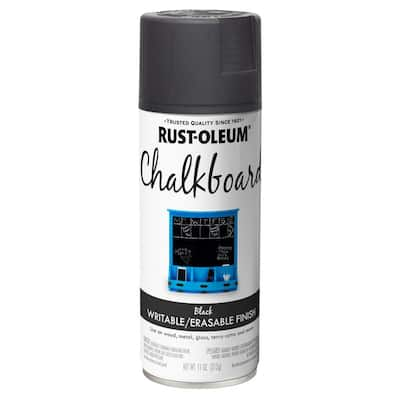
You can be finished at this point because your miniature skeletons are functional. But we decided to spray paint ours. We chose black chalkboard spray paint because we thought it would be fun to draw on our skeletons later.
Make sure when you spray paint, that you use caution and have proper ventilation. We spray-painted our miniature skeletons outside.

Step 9
Once your paint has dried, you can draw on your miniature skeletons. My boys drew ribs and scary skeleton faces. The best part about using chalk is that if you mess up, or if you want to change your skeleton’s face, you can always erase it and start again.

Now you can play with your skeletons! We had so much fun making these little guys dance around, and setting them up in different poses. They aren’t 12 feet tall like the giant skeletons that inspired us, but they are the perfect little toy for our kids this Halloween.

Thanks so much for following along with this tutorial. My family loves doing projects like these. If you do this project, I would love to see it! You can find me at my website, The Creative Mom, or on Instagram.


This post was created in partnership with The Home Depot. The author may have received compensation for this article and associated images or video, potentially in the form of products and/or services. All expressed opinions and experiences are the author’s own words.