How to Create a Nutcracker Themed Christmas Dinner

Last updated August 21, 2024

Leslie is an avid DIY-er and two-time Home Remodeler. Her blog, 100-Year-Old Home, is inspired by her remodeling adventures in her 1915 family home. On her blog, Leslie shares her passion for entertaining, home décor, remodeling, crafts, and cooking.
A Note From The Home Depot
There’s nothing like the holiday season, and it’s even better when you can enjoy it outside. Leslie Saeta of My 100 Year Old
Home shared how she transformed her patio into a holiday paradise even a nutcracker would love, with some help from The Home Depot!
Table of Contents
The Nutcracker Themed Tree
Wooden Centerpiece with Hanging Votives
How to Make a Wooden Centerpiece with Hanging Votives
Look at the difference!
Creating the Nutcracker Themed Table
Decorating The Outdoor Fireplace
I am so excited to share with you my Christmas Nutcracker Dinner that I created on our back porch for The Home Depot Holiday Style Challenge. We live in Southern California and entertaining outside is something we love to do all year long. With our large fireplace and heaters in the ceiling of the porch, we dine outdoors — even in December!

I
created a Nutcracker themed dining room with the items I found online on The Home Depot's website. I love the gorgeous tree, the beautiful table items, and the Nutcracker accents.

I made a very special wooden centerpiece that holds lots of candles and I can't wait for you to see how I made this. This evening will truly be an amazing dinner for our family.
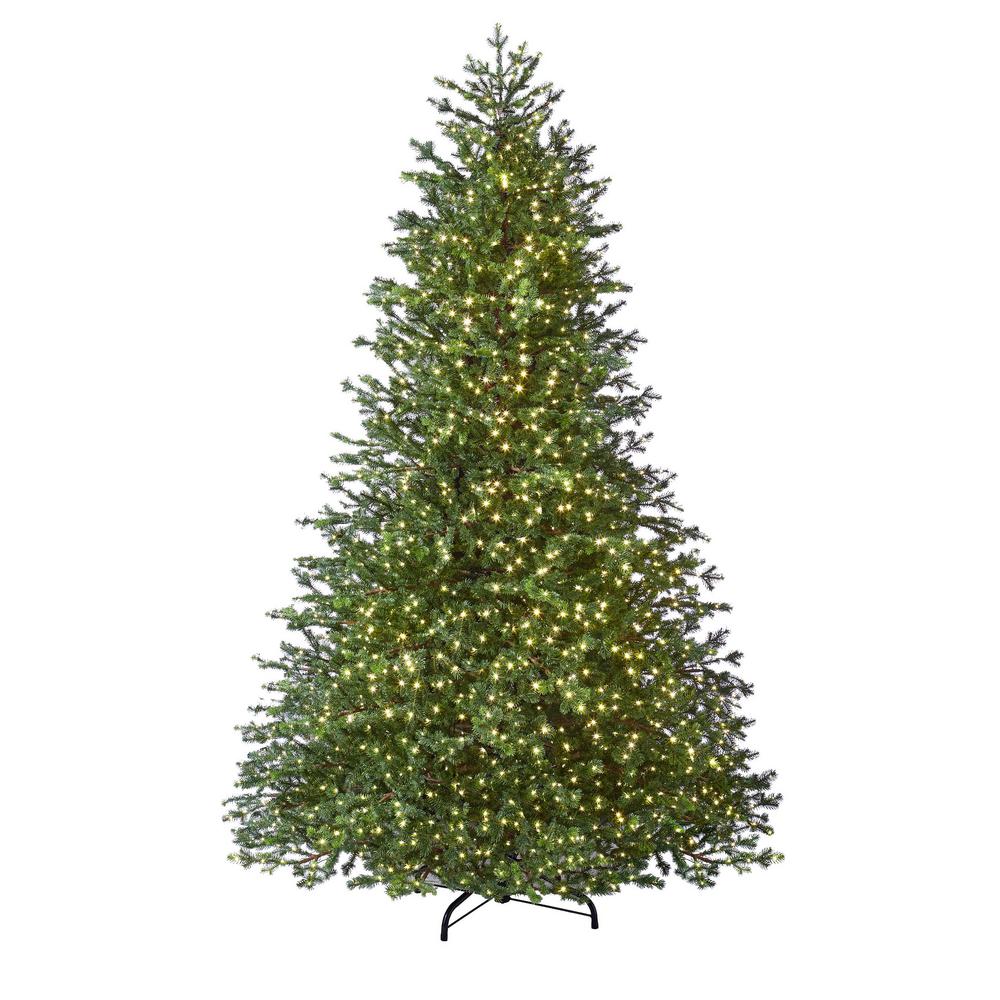
The Nutcracker Themed Tree

The Home Depot sent me this amazing Christmas tree. It was so easy to assemble and took me less than half an hour. The tree came in three parts and everything was pre-wired. I love that it comes with a remote control and a timer.

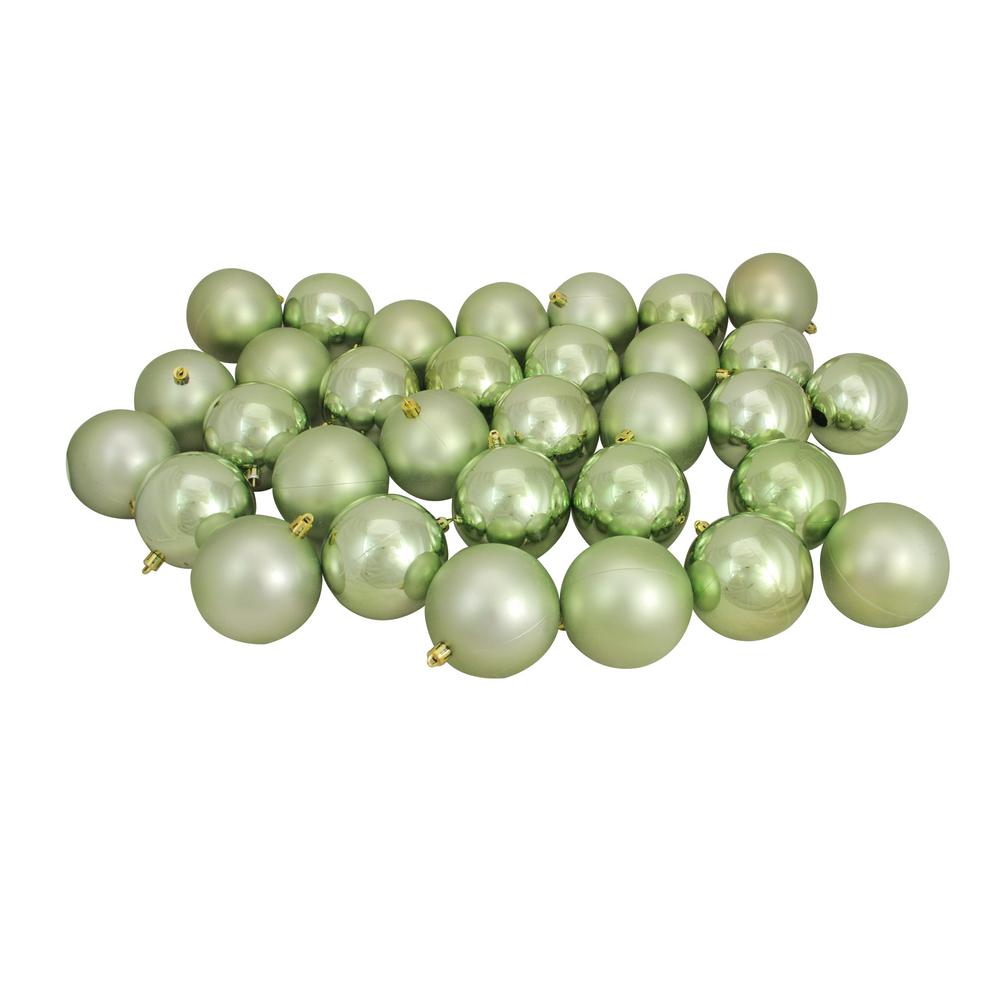
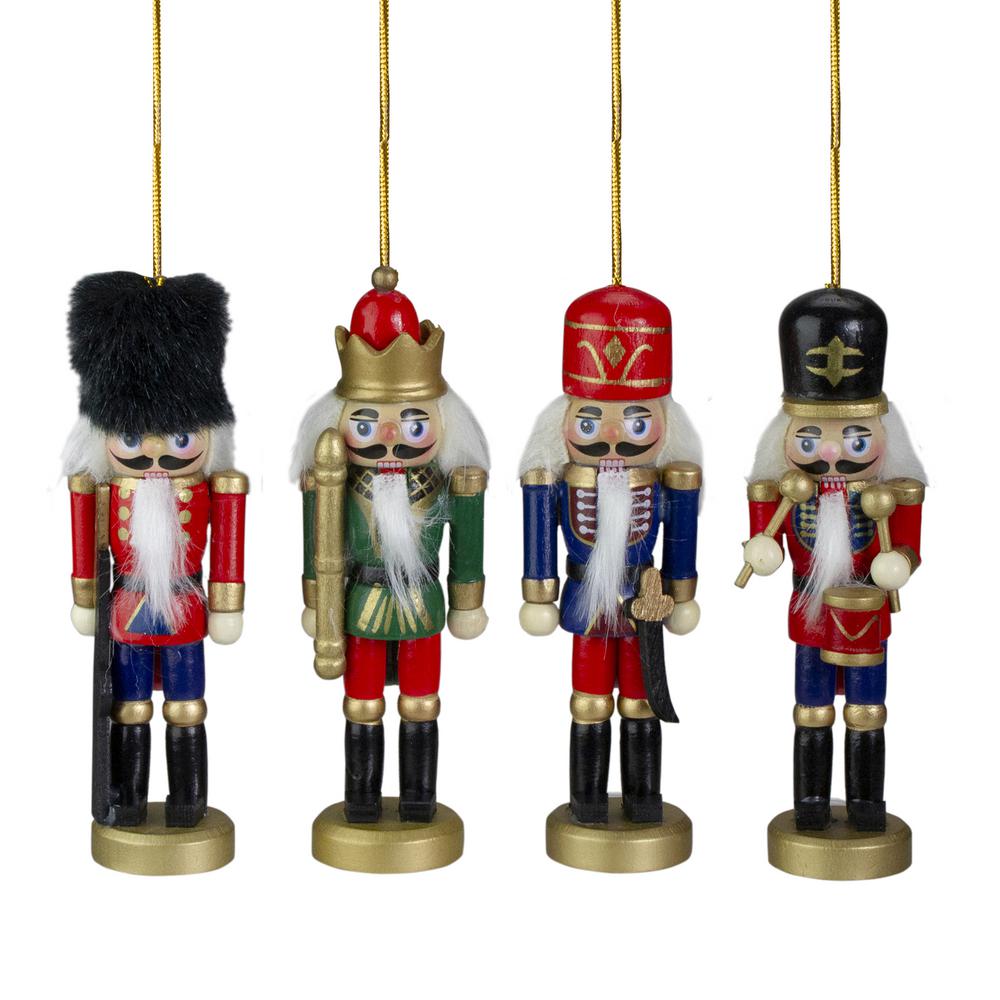
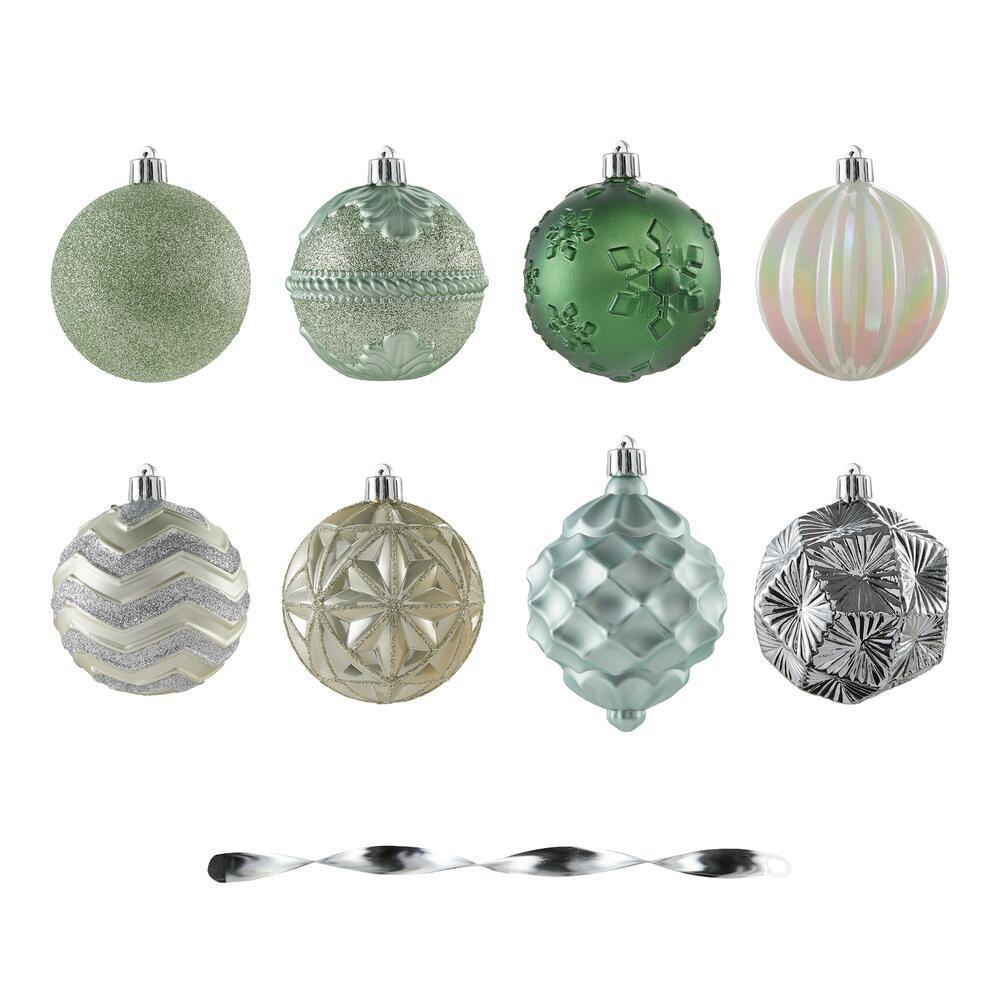
I decorated the tree with three types of ornaments. They are the Home Accents Holiday
80 mm Shatterproof Ornaments, the Northlight 5.25 in. Assorted Classic Nutcracker Ornaments and the 3.25 in. (80 mm) Celadon Green Shatterproof Christmas Ball Ornaments. The tree collar is a
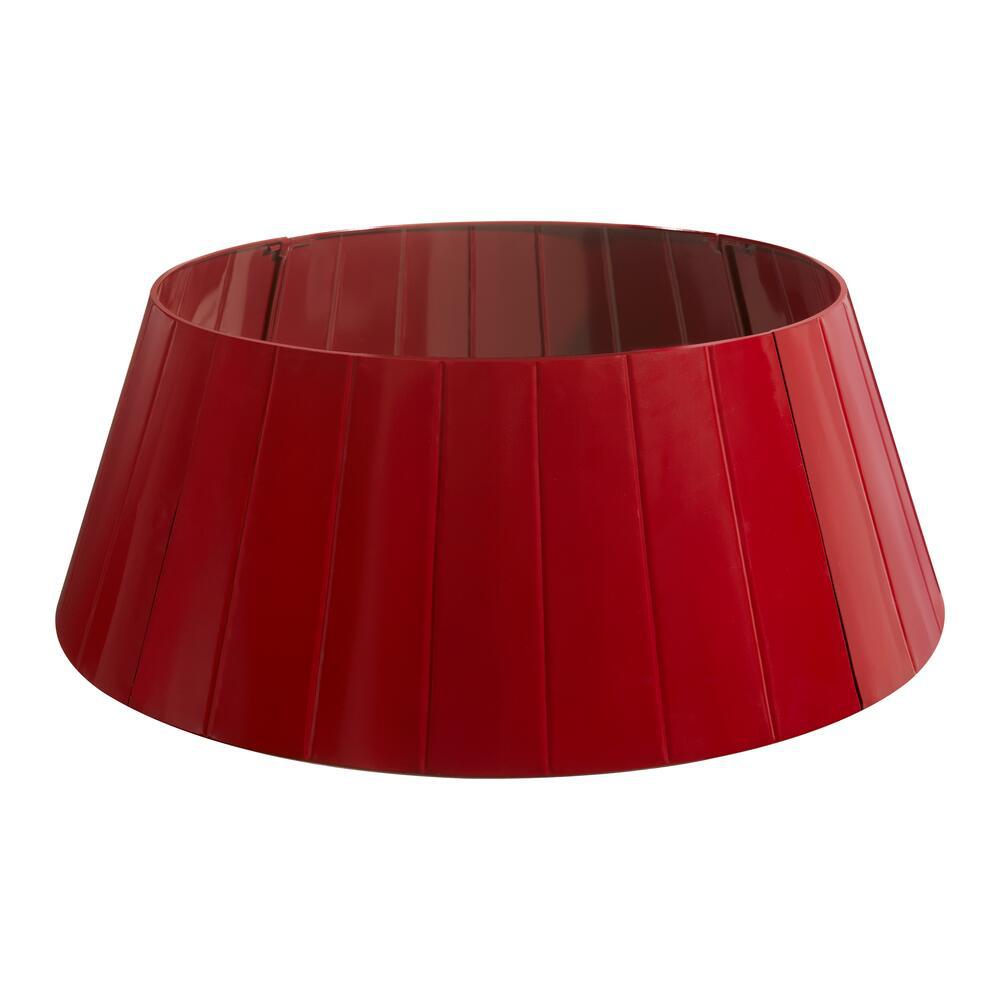
Home Accents Holiday 27 in. D Red Metal Christmas Tree Collar.

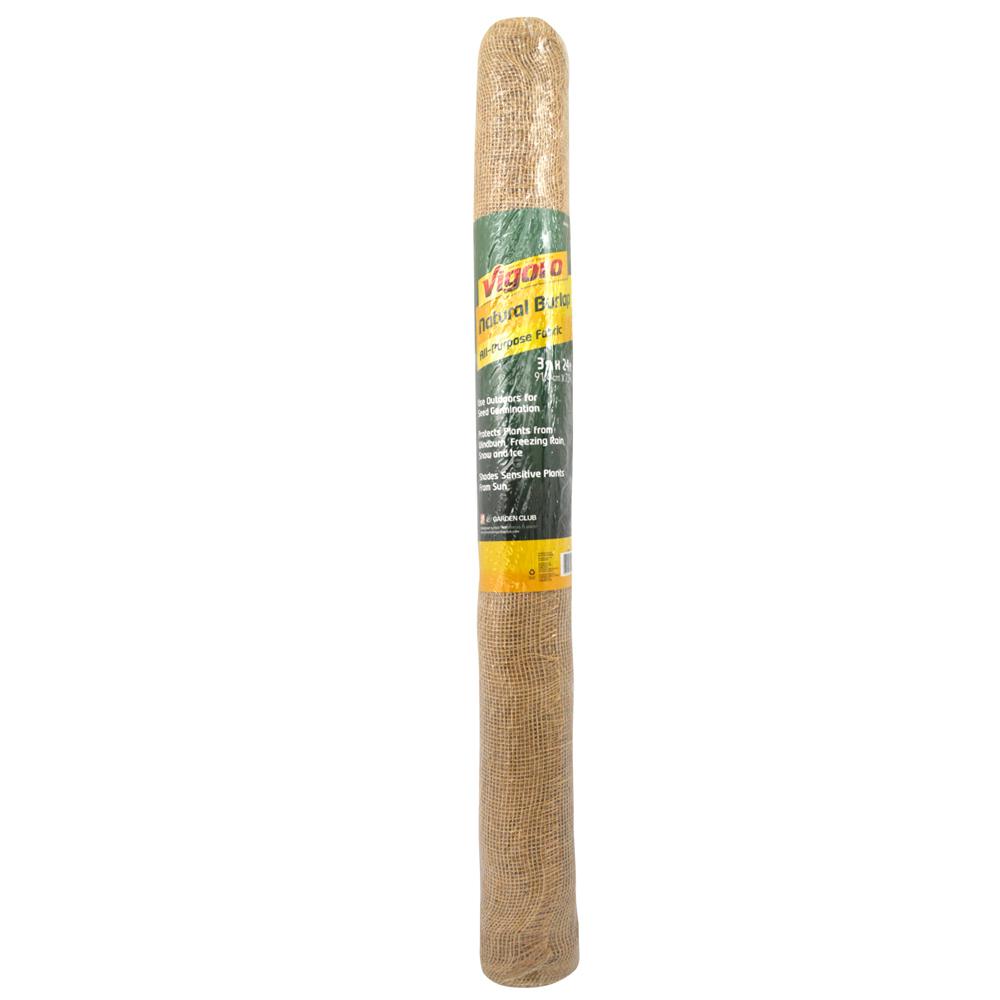
I made my own burlap ribbon because it's really hard to find it in 8" and 11" widths. I bought one roll of burlap fabric and made all of the 8" wide burlap ribbons for the tree and the two 11" wide tie backs for our outdoor curtains. The total cost was $11. (An easy way to cut burlap is to measure the width you need, and pull out one string of the burlap fabric along the width line. By pulling the thread, you will have an obvious line to use as a cut guideline.)
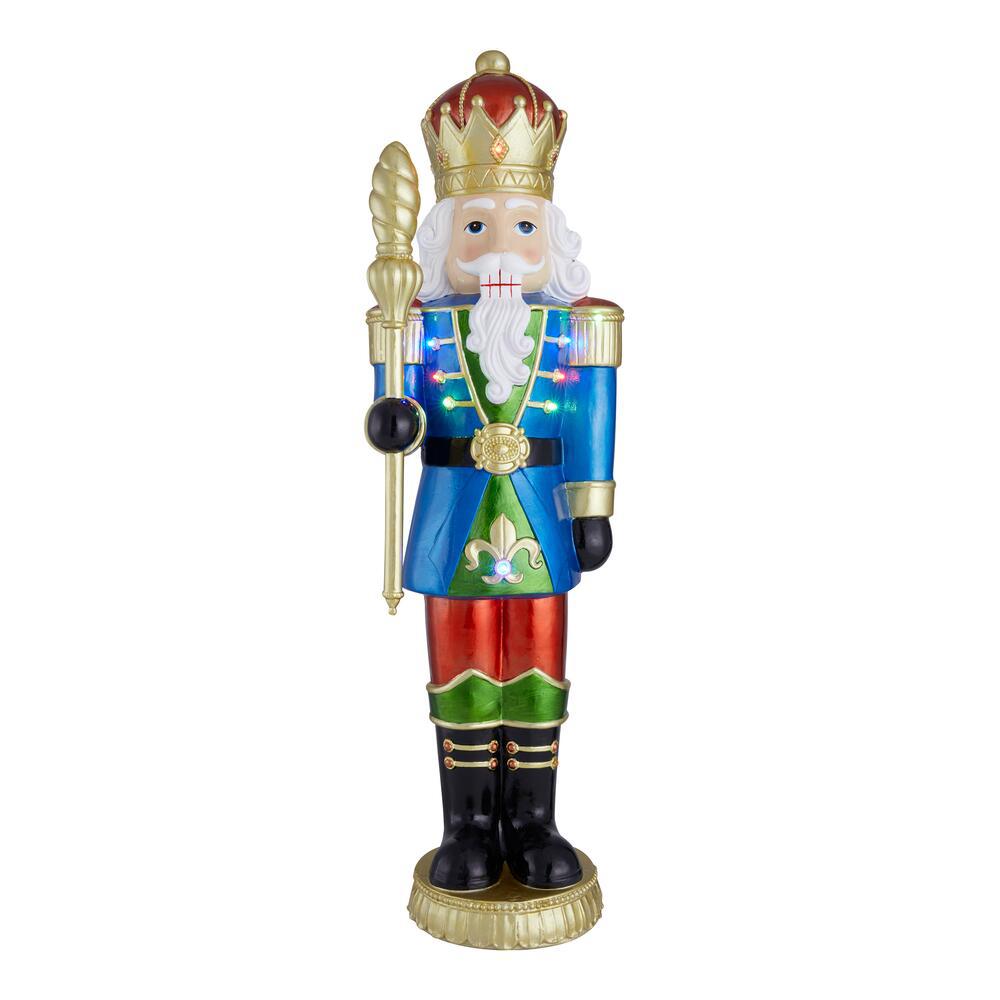
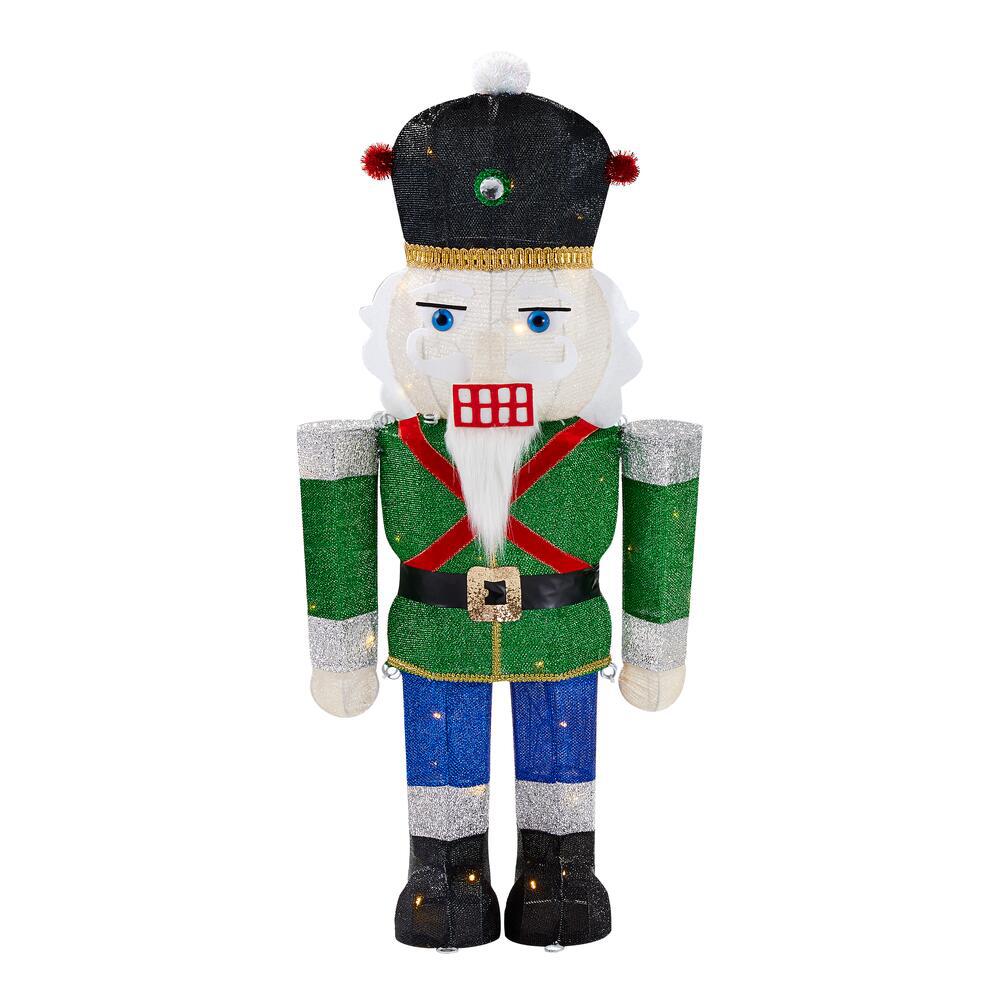
When it is lit, the tree looks absolutely gorgeous. I added this fun, LED Nutcracker as well for additional flair!

Wooden Centerpiece with Hanging Votives
I think the most dramatic element of my Nutcracker themed dining room is the wooden centerpiece I made with the hanging votives.

This centerpiece can be used in the dining room, on a patio table, and just about anywhere.
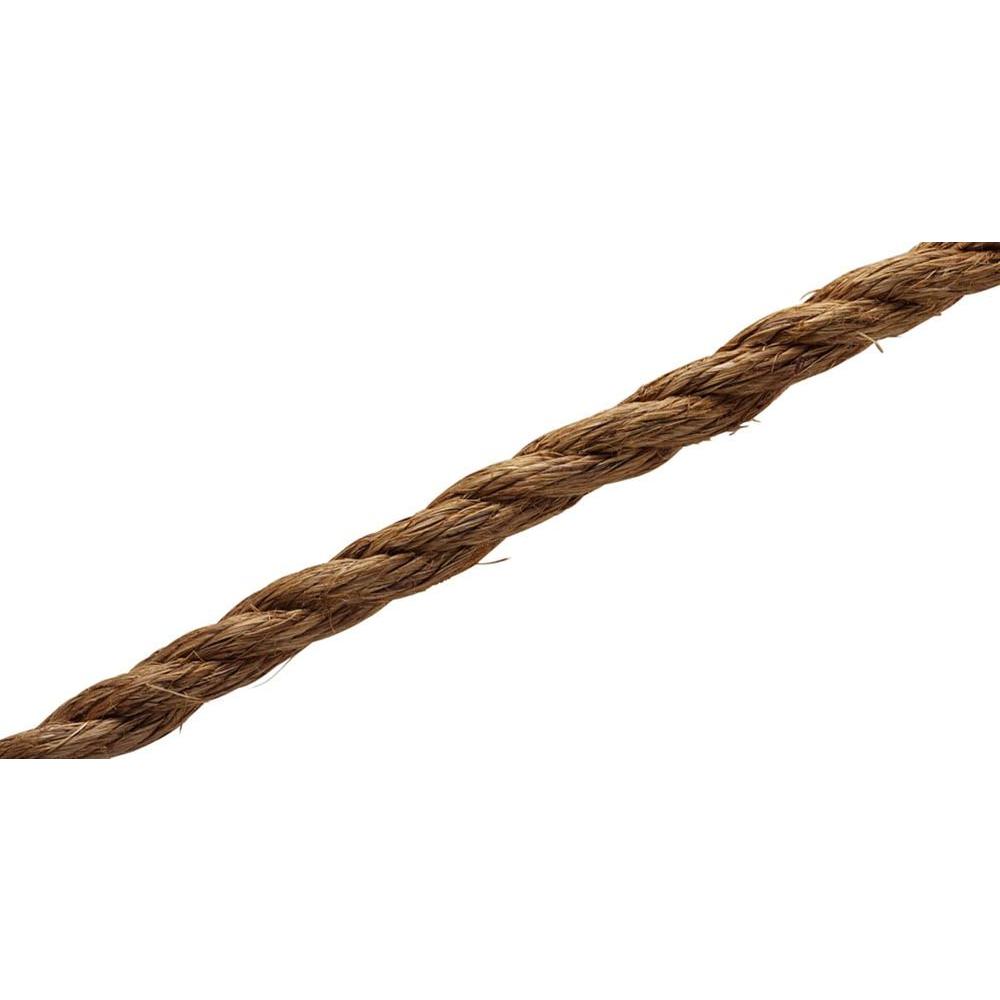
You can adjust the height of the votives in the jars and also hang anything from the rope. The bottom trough of the wooden centerpiece can hold appetizers or in this case, dried eucalyptus with Christmas ornaments.
How to Make a Wooden Centerpiece with Hanging Votives


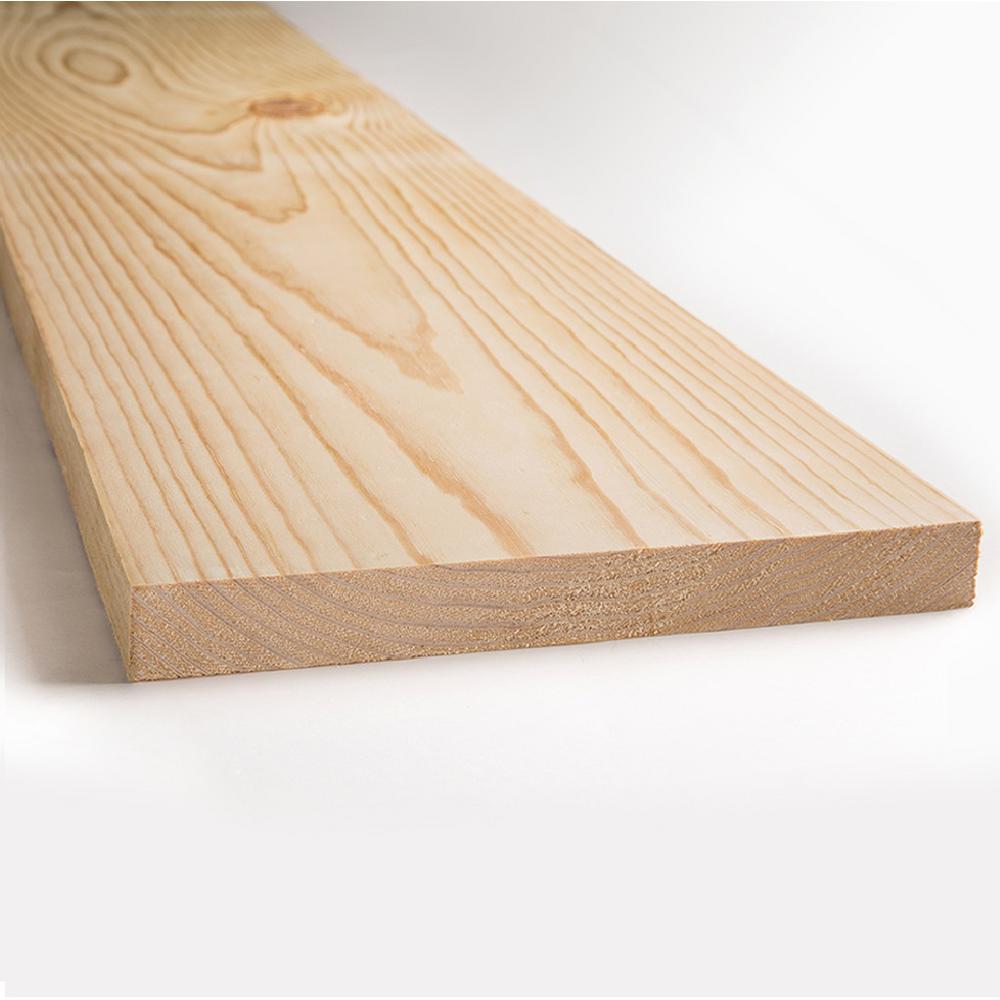
Cut the boards in these sizes:
Sides: Cut two boards - 4"
x 72"
Bottom: Cut one board - 72" x 7"
Vertical Pieces: Cut two boards - 48" x 5 1/2"
End pieces: Cut two boards - 7" x 4"
Pieces to support vertical boards: Cut two boards - 3 7/8" x 5 3/4"
I
built this wooden centerpiece to specifically fit our outdoor table.
You can adjust the size to meet your needs.

Once the boards are cut, attach the sides to the bottom with a nail gun. Nail the end pieces on each side.

Cut the vertical boards so that they are in the shape of a paddle. I made the cuts 10" from the bottom and cut the paddle width down to 3" across.

Place the vertical boards into the trough and add the pieces that support the vertical boards on each end. You want the vertical boards to fit snugly but still be able to remove the vertical boards for storage. Drill a hole in the top end of each board to thread the rope through.

Lightly sand the edges of your wooden centerpiece and stain the color of your preference. I love the Behr Classic Gray water-based stain.

Look at the difference!

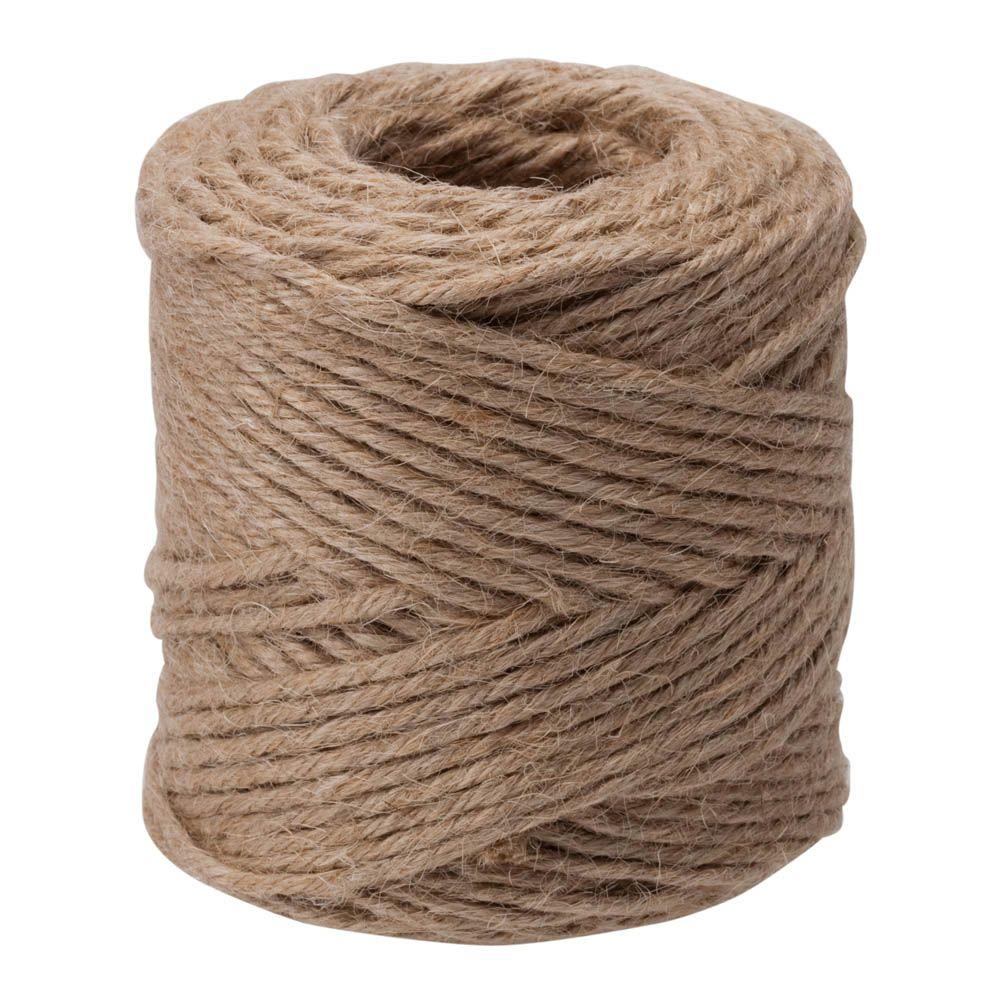
Set up the wooden centerpiece on your table. Add the vertical boards and thread the rope through the holes and tie a knot in each end to secure the rope. I tied jute twine to the top edge of mason jars, filled them with votive candles, and tied them to the rope.

Creating the Nutcracker Themed Table

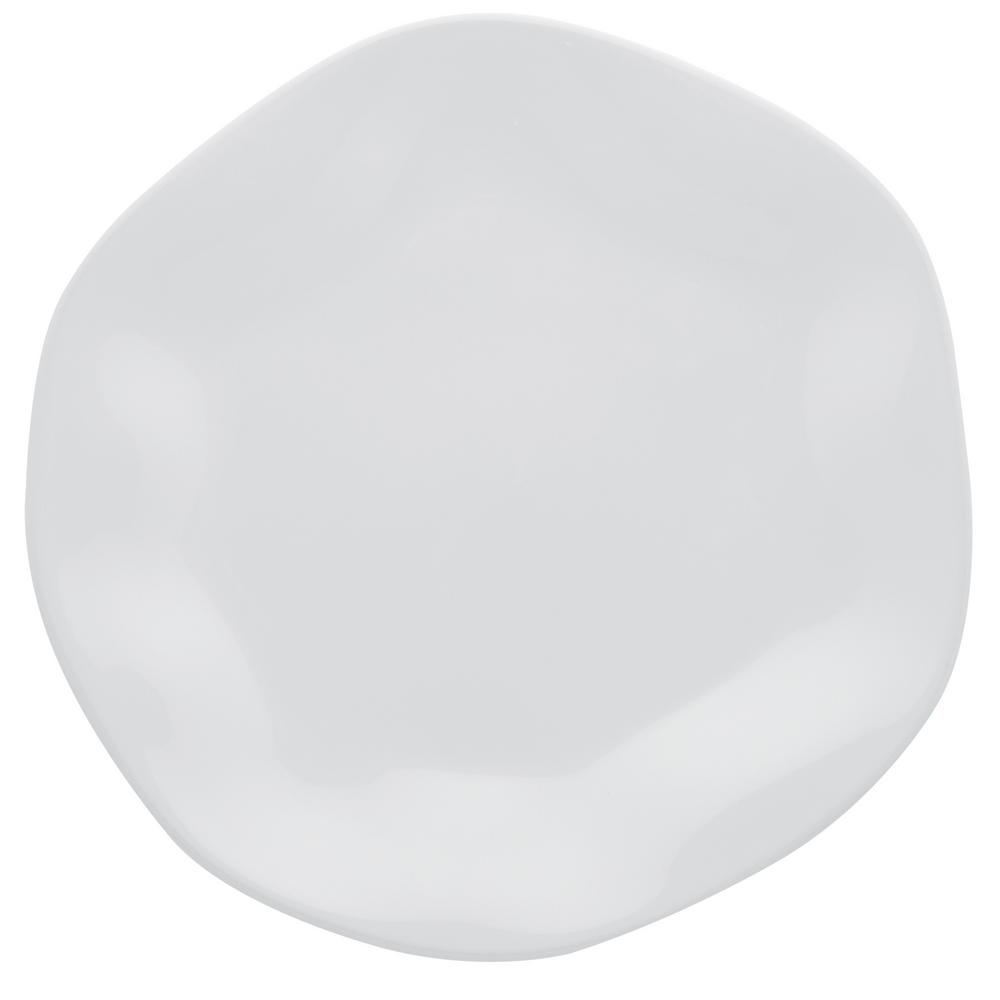
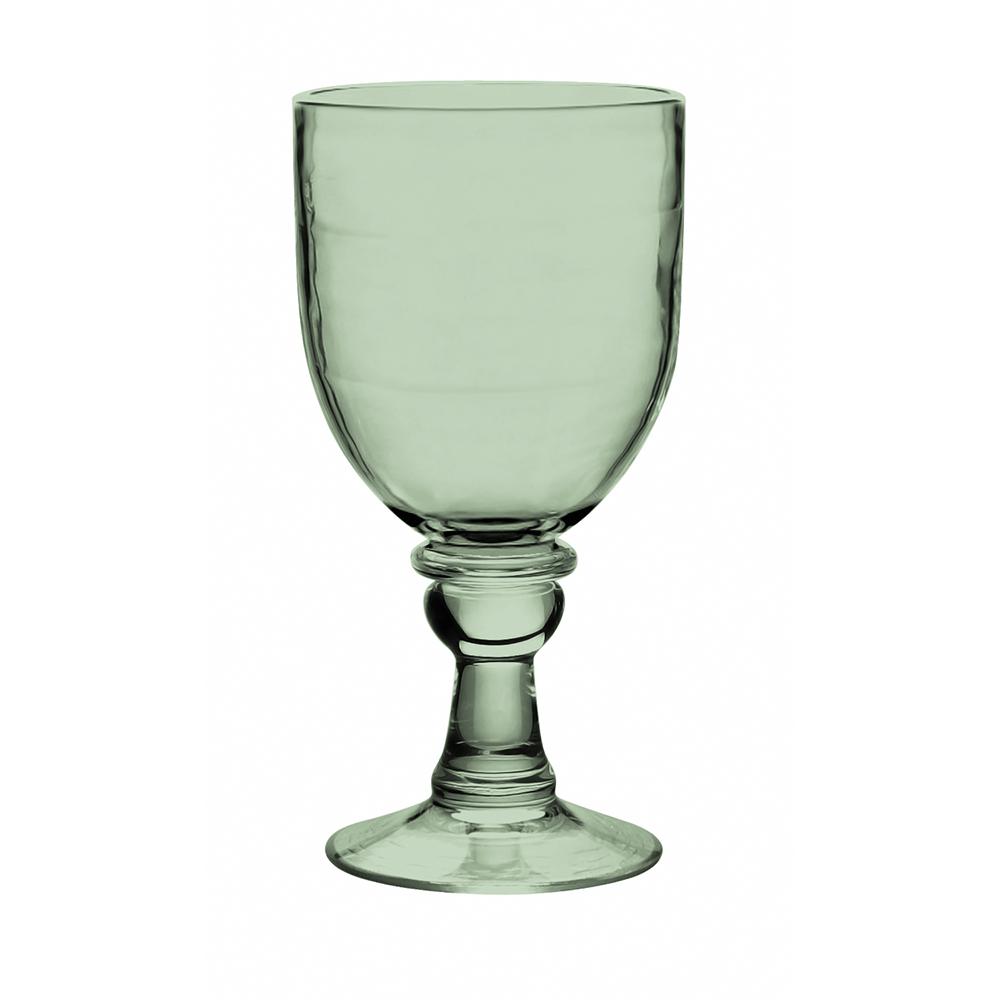
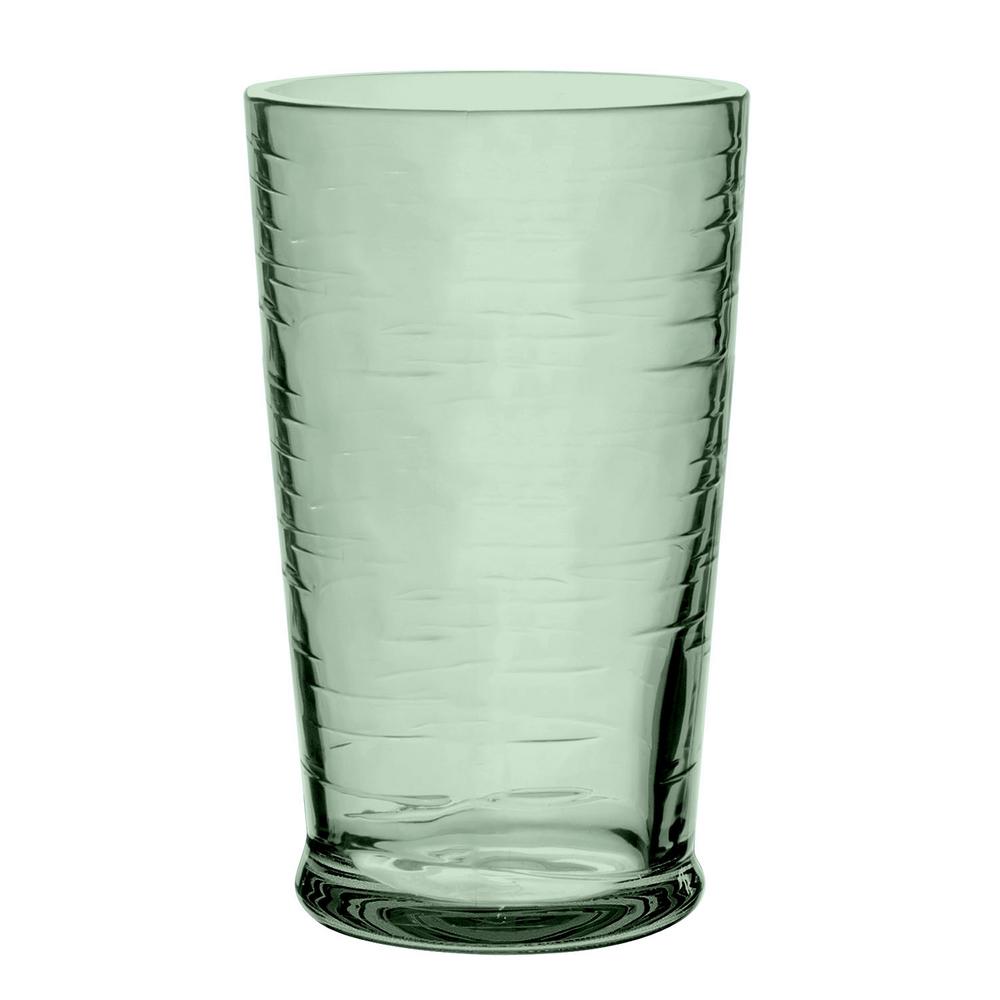
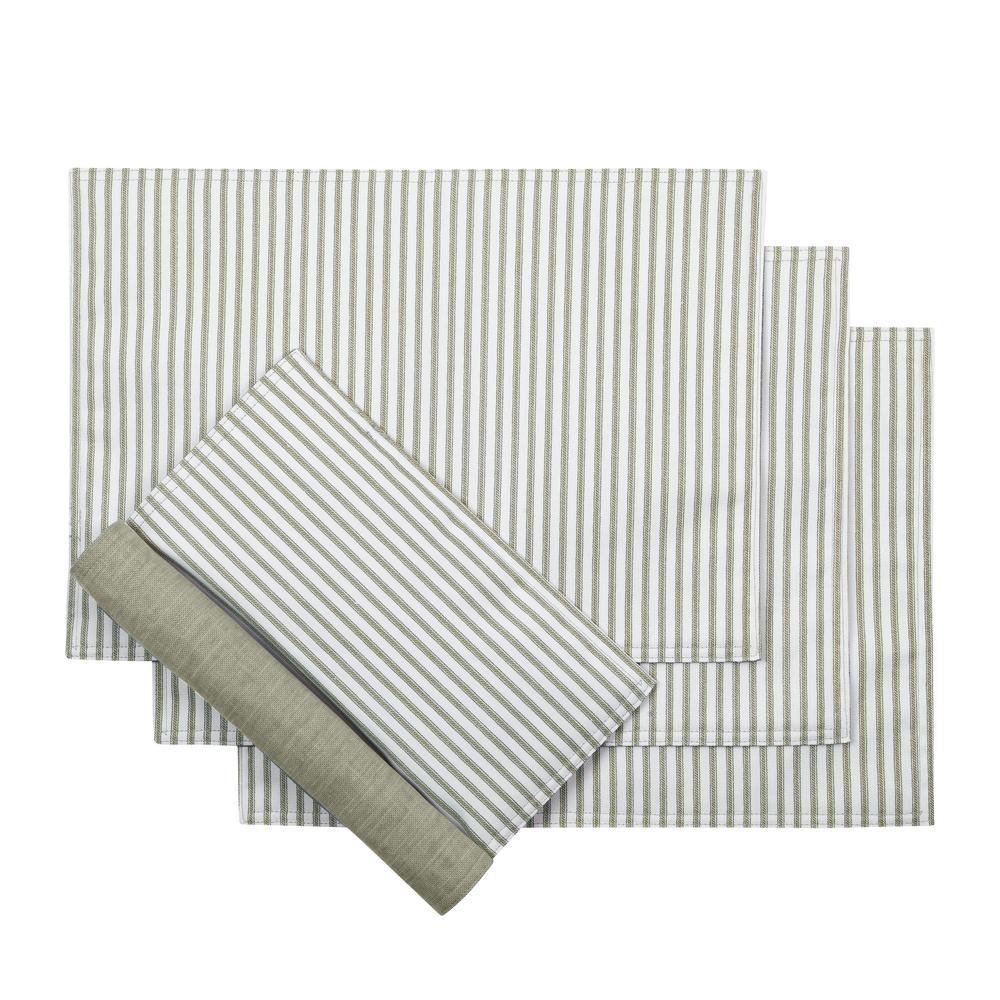
For the table, I shopped most of the items on The Home Depot's website online. I selected the green and white ticking placemats and added these glasses. I also found these wine goblets online. Even though they look like exquisite glass, they are made of recycled plastic. How amazing is that? Lastly, I selected the 11.02 in. RYO White Dinner Plates (Set of 6) by Manhattan Comfortto finish the settings. I am so happy with these items and can't wait to use them indoors and out, all year long.

I made nutcracker cut-outs to decorate the top of the plates and placed a wooden nutcracker on top of each. Then I made nutcracker snowflakes and hung them to the ceiling of our porch.
Decorating The Outdoor Fireplace

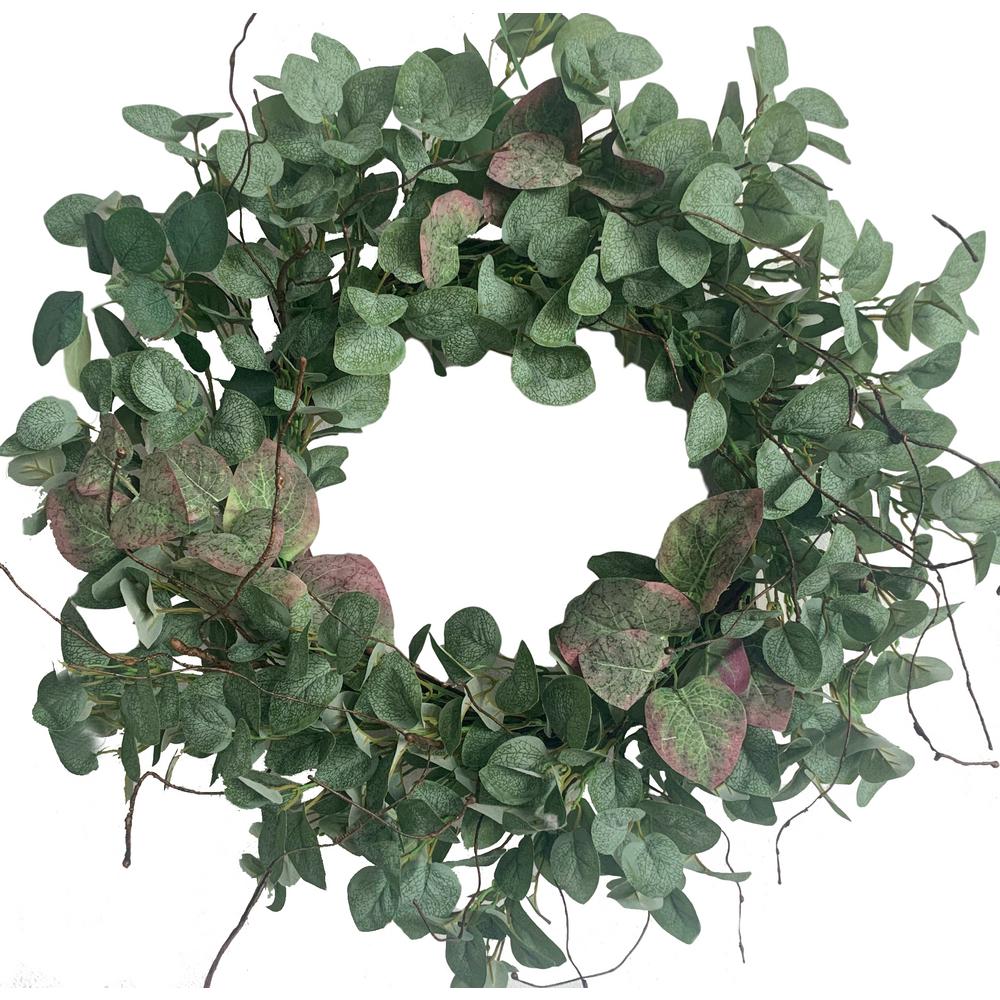
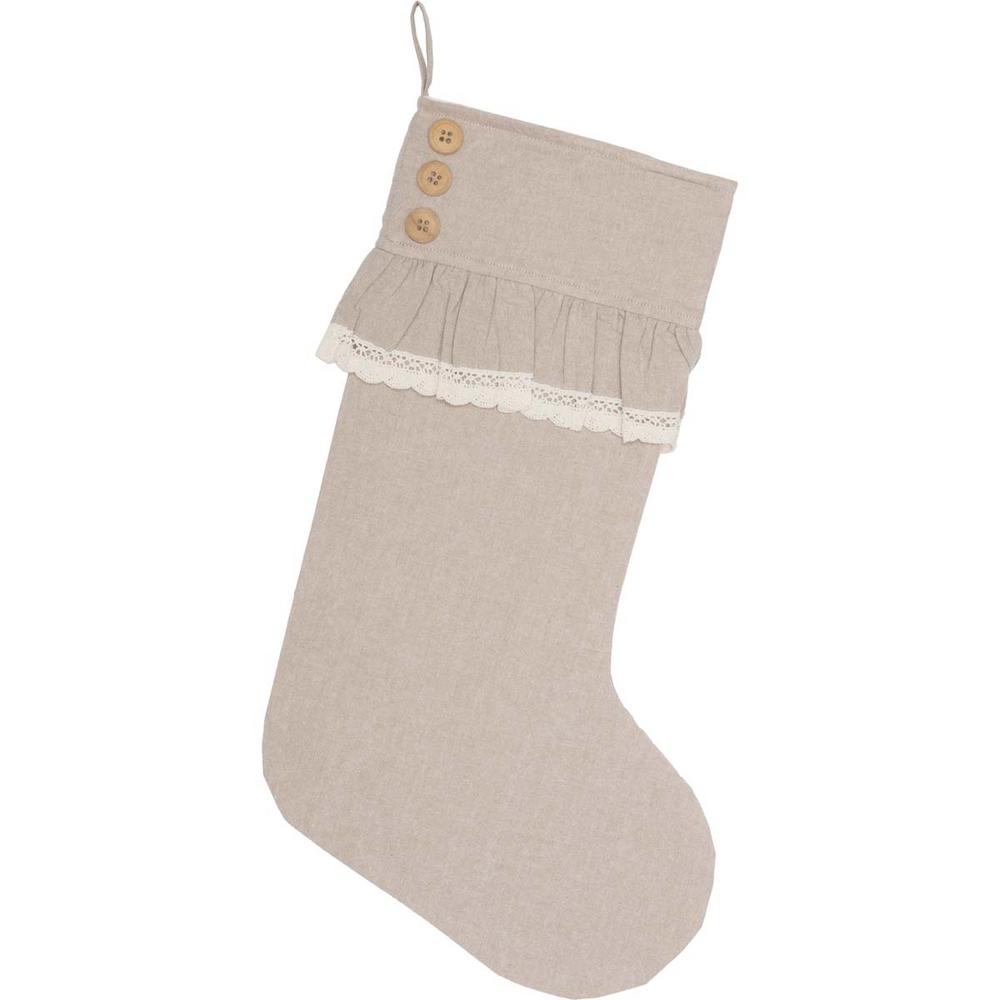
I also decorated our outdoor fireplace. On one side I hung stockings, and added three nutcracker ornaments from my personal collection. I also hung this artificial eucalyptus wreath (with wire strung from the trellis on each side).
On the other side of the fireplace, I placed another Nutcracker with LED lights.

This was a magical experience and I cannot wait to host this Nutcracker themed Christmas dinner with our family.
This post was created in partnership with The Home Depot. The author may have received compensation for this article and associated images or video, potentially in the form of products and/or services. All expressed opinions and experiences are the author’s own words.