How to Make a Back-to-School Chalkboard

Last updated August 21, 2024

Natalie is a crafty, DIY mom who does everyday mom stuff with just a little glitter in her hair and paint on her jeans. And she blogs about it along the way. She's a firm believer that no matter the project, with the right tools, good instructions, and a little bravery, you can do anything.
A Note From The Home Depot
Join along with Natalie Dalpias from The Creative Mom and her kids as they craft
back-to-school chalkboards, perfect for this school season.
Table of Contents
How to Make a Back to School Chalkboard
Step 1
Step 2
Step 3
Step 4
How to Make a Back to School Chalkboard
I’m Natalie Dalpias, from TheCreativeMom.com. I’m so excited to show you how my kids and I made these cute back-to-school Chalkboards.

We love doing The Home Depot kids workshops in the store on the first Saturday of every month, and doing those workshops together has made us want to do more projects in our own homes. We loved thinking up our own ideas and had the best time making this project come to life.
With Summer ending, we knew we wanted to work together on a project that would help us get into the back-to-school spirit. These chalkboards seriously turned out so cute!

We thought that these chalkboards would make a great teacher gift, or they can be used in your own home. I love the idea of using these chalkboards every year for a first-day-of-school photo.

To make these chalkboard signs, you’ll need a few things you can find in your local Home Depot store, and around your home.
- Chalkboard
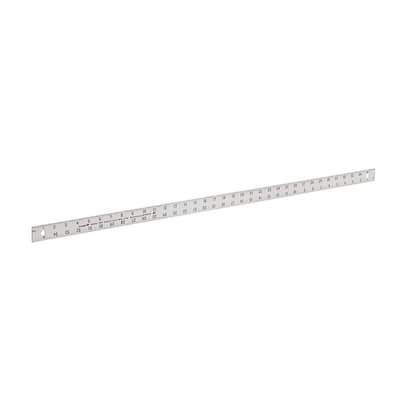
- 2 Yard Sticks
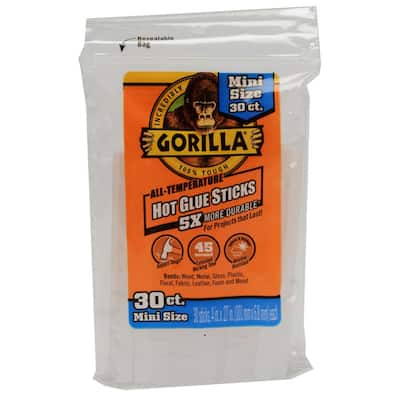
- Hot Glue Gun
- Hot Glue Sticks
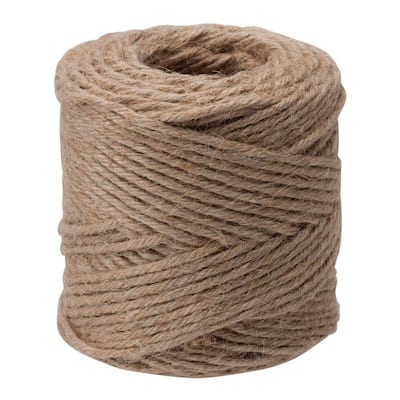
- String or Ribbon (we used this Jute Twine)
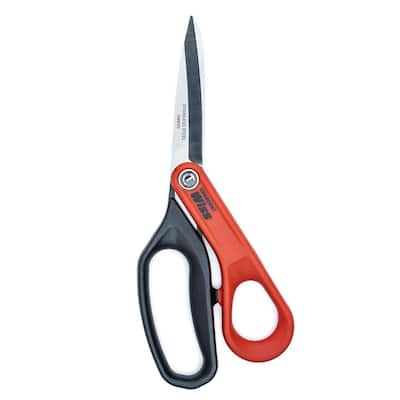
- Scissors
We found this really great chalkboard at The Home Depot. We loved that it had a chalkboard on one side and a dry-erase board on the other side. So you could choose which side you wanted to put out.
Step 1
The first step is to cut the chalkboard to size. You can choose what size to cut the chalkboard. We cut ours at 10”x12”, so the inside opening is about 8”x10” which we thought was about right. We were able to get 8 chalkboards out of one sheet.

Step 2
We found these yardsticks in the paint department at The Home Depot. These were perfect for the frame of our chalkboard. Paint sticks would work too, but since we were going for a school theme, we stuck with the yardsticks.
If you are making the chalkboards the same dimensions as mine, you can follow this cut list.

We mitered each end of the yardstick at 45 degrees. This will help us keep the frame nice and square, and will look really nice. You’ll need two sticks cut at 13 ½” and two sticks cut at 11 ½” (measurements are taken on the long side of the angle).
.")
Step 3
Now that you’ve got your chalkboard cut and we have our yardstick pieces all cut, we are ready to assemble. Each of your frame pieces should sit about ½” inside your chalkboard.
Run a bead of hot glue around the edge of the chalkboard, then glue your pieces on top of that. Make sure you keep your frame pieces straight and even.

Once you have your first side on and straight, the rest of the pieces fit together pretty easily. Just work your way around the frame, attaching each piece. When you get to the third side of your frame, you’ll want to make sure you have it all square. Hold the last piece into place while you glue on your third piece, and you should be able to keep it pretty square. Then glue the last piece into place.

Step 4
Now that the frame is assembled, we are ready to attach a ribbon or string to hang the frame with. You want it to be about 12 inches. Use hot glue to attach the ribbon to the back of the frame. We found that the chalkboard hung nicer if you glued the ribbon closer to the edge of the frame.

Now that you’re done building your chalkboard frame, they are ready to go! You can decorate them for yourself, or write your teacher’s name on it for a cute gift.
If you had fun doing this project, you would definitely enjoy The Home Depot Kids Workshops. Make sure to check them out every first Saturday of the month, from 9:00 am to noon. You can also pick up those kits online and work on them together in your own home.

This post was created in partnership with The Home Depot. The author may have received compensation for this article and associated images or video, potentially in the form of products and/or services. All expressed opinions and experiences are the author’s own words.