- For use with all low to medium sheen paints and stains
- For use on smooth to semi-smooth surfaces
- High-density polyester knit fabric holds a lot of paint
- View More Details
Free & Easy Returns In Store or Online
Return this item within 90 days of purchase.
Ask about this product
Get an answer now with AI
Magic Apron Assistant is an AI virtual assistant. By proceeding, you consent to the recording and use of your information by The Home Depot (and authorized third parties). More information
Product Details
About This Product
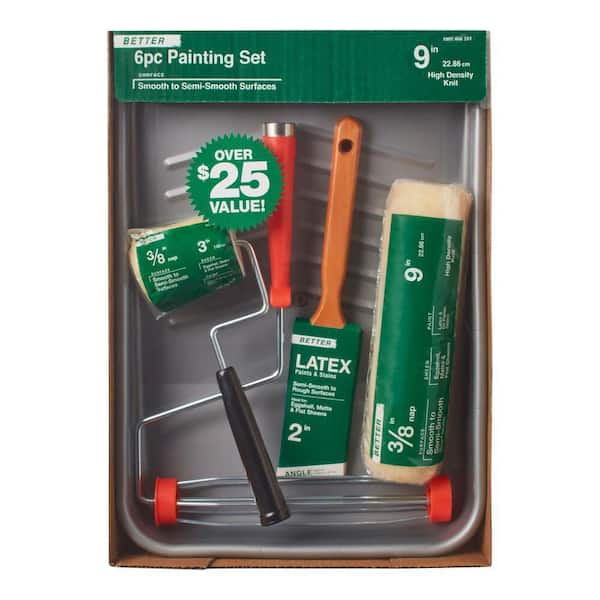
Whether your painting inside or out the 6-piece professional tray set is the best value. Everything you need to complete your entire paint project for one low price. The set includes a 9 in. plastic paint tray, a 9 in. x 3/8 in. high density knit roller cover for smooth surface painting, a 9 in. professional quality roller frame, a 2 in. paint brush for all paints, a 3 in. trim roller cover and 3 in. roller frame.
Highlights
- For use with all paints and stains
- For interior and exterior use
- 3/8 in. nap roller cover
- 9 in. 5-wire cage frame with threaded handle that fits all standard poles
- Return Policy
Product Information
Additional Resources
From the Manufacturer
Specifications
Nap Size/Thickness (in.): 3/8
Dimensions
Nap Size/Thickness (in.) | 3/8 |
|---|
Details
Applicator/Tool Type | Tray/Applicator Kit |
|---|---|
Features | Cleans with Soap/Water, Durable Construction, Reusable |
For Use On | Wall, Wood |
For Use With | All Paint Types |
Handle Material | Plastic |
Included | Brush, Frame, Roller Cover, Tray |
Package Quantity | 1 |
Piece Count | 6 |
Returnable | 90-Day |
Warranty / Certifications
Manufacturer Warranty | Guaranteed against defects is workmanship and materials |
|---|
Questions & Answers
Can I use paint kit to stain a deck
This is not the best choice for exterior staining as the rollers are designed for smoother surfaces and higher sheen paints. A better choice would be a medium to higher mapped roller cover that can handle rougher surfaces. Thanks,
Can you replace the small 3in roller or is it attached to the frame?
You can replace the 3in roller cover. A 2 pack of the replacement roller covers is sold in stores. Thanks,
What are the rollers made of?
As stated in the description the rollers are made of polyester.
How Much paint do I need to paint a small bathroom
You will need to measure the square footage of your room and then refer to the paint can for the manufacturer’s estimated coverage per gallon. Thanks,
How do I apply chalk paint
Please check the liquid manufacturer's recommendations, but generally a good quality brush is the best option. Thanks,
Can you match a paint chip
Sorry but this is not a question we can answer. Please contact your local Home Depot for assistance. Thanks,
Can this kit be used with chalk paint?
This should be fine but please refer to the applicator guidelines on the chalk paint can to verify. Thanks,
What is the best way to secure a fence post
There are several ways to secure a fence post, and the best method depends on the type of fence, the soil conditions, and your budget. Here are a few common methods: **1. Setting Posts in Concrete:** This is the most common and generally strongest method for securing fence posts, especially in areas with unstable soil or high winds. * **Dig the hole:** The hole should be about three times the diameter of the post and deep enough to bury one-third to one-half of the post's length. Deeper is generally better for stability. * **Place gravel:** Add a layer of gravel to the bottom of the hole for drainage. This helps prevent water from collecting around the base of the post and causing rot. * **Position the post:** Place the post in the hole, ensuring it's plumb (perfectly vertical) and aligned correctly with your fence line. Use temporary bracing to hold it in place. * **Pour concrete:** Mix concrete according to the package instructions and pour it into the hole around the post. Ensure the concrete fills the hole completely and slopes away from the post to facilitate water runoff. * **Cure the concrete:** Allow the concrete to cure completely according to the manufacturer's instructions before attaching fencing materials. **2. Using Post Anchors (Metal Brackets):** Post anchors are metal brackets that are secured to the ground with concrete or driven directly into the ground. The post is then attached to the bracket. This method is generally faster than setting posts in concrete and can be a good option for lighter fences or in areas with stable soil. * **Choose the right anchor:** Select an anchor appropriate for the size and weight of your fence post and the type of soil. * **Install the anchor:** Follow the manufacturer's instructions for installing the anchor. This may involve digging a hole and setting the anchor in concrete or driving the anchor directly into the ground. * **Attach the post:** Secure the fence post to the anchor using appropriate fasteners. **3. Tamping with Gravel:** This method involves setting the post in a hole and filling the hole with gravel, which is then tamped down tightly around the post. This is a less expensive option than concrete but may not be as strong, especially in loose or wet soil. * **Dig the hole:** The hole should be the same size as for concrete installation. * **
Viewing 1-8 of 28
Customer Reviews
4.6 out of 5
Loading Recommendations
Compare Key Features
Product Snapshot | |||
|---|---|---|---|
Great for homeowners looking for a complete kit, making painting easier and more efficient. | Great for DIYers or professionals seeking a reusable, all-in-one paint applicator kit for a flawless finish. | Great for homeowners looking for a complete kit, making painting easier and more efficient. | Great for homeowners looking for a complete roller set, making painting easier and more efficient. |
Number of pieces | |||
6 | 6 | 8 | 8 |
Brush variety | |||
2 in. and 3 in. brushes | 2 in. angle sash brush, microfiber roller covers | 2 in. angled sash brush, mini roller | 2 in. thin angle sash brush |
Clean-up tools included | |||

Related Products
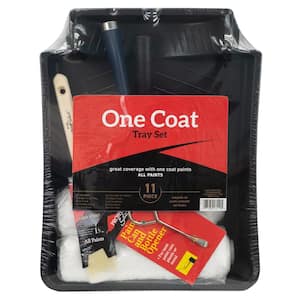
One Coat 11-Piece Microfiber Plastic Handled Paint Tray Set
The 11-piece Linzer 1 Coat Microfiber Tray Kit is the perfect choice for all of your paint projects. It includes a deep well plastic tray, plastic handled roller frame, two 9 in. x3/8 in. paint rollers, 1.5 in. trim brush, two 4.5 in. x 3/8 in. mini paint rollers, plastic handled mini roller frame, paint can opener, 2 in. foam brush and a paint stir stick. These 1 Coat microfiber roller cover holds 2 times as much paint as a standard roller cover, allowing you to complete your painting in less time.
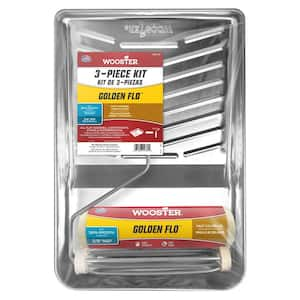
3-Piece Golden Flo Roller Tray Set
Wooster Golden Flo Kit includes a 9 in. roller frame, a 3/8 in. nap knit roller cover and a metal tray. The 9 in. roller frame has a 5-wire cage to support the roller cover and a threaded plastic handle. A 9 in. knit roller cover for faster coverage. The sturdy deluxe metal tray has a 1-qt. working capacity. Convenience, value and savings in the kit.
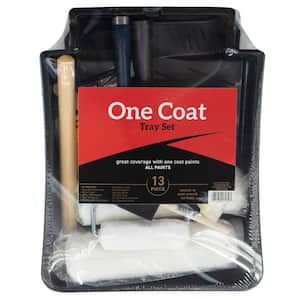
One Coat 13-Piece Microfiber Plastic Handled Paint Tray Set
The 13-piece Linzer 1 Coat Microfiber Tray Kit is the perfect choice for all of your paint projects. It includes a deep well plastic tray, plastic handled roller frame, two 9 in. x3/8 in. paint rollers, 1.5 in. trim brush, two 4.5 in. x 3/8 in. mini paint rollers, plastic handled mini roller frame, paint can opener, 2 in. foam brush, paint stir stick, 9 ft. x 12 ft. plastic drop cloth and 12 in. extension handle. These 1 Coat microfiber roller cover holds 2-times as much paint as a standard roller cover, allowing you to complete your painting in less time.
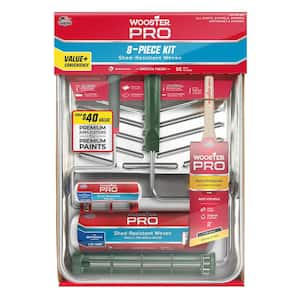
8-Piece Pro Roller Tray Set
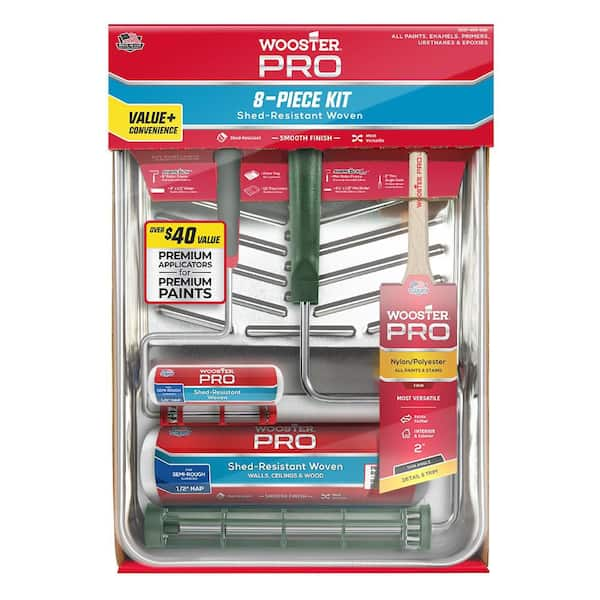
Wooster Pro Woven Roller Tray Kit includes a total of 8 pieces. The contents include a 9 in. Sherlock roller frame, Sherlock Mini roller frame, Wooster Pro Woven 9 in. x 1/2 in. nap roller cover, Wooster Pro Woven Mini 4½ in x 1/2 in. nap roller cover, 2 in. Wooster Pro Firm Nylon/Polyester thin angle sash brush, Deluxe Metal Tray and (2) Deluxe Tray Liners. Cutting-in is a breeze with the 2 in thin angle sash brush. Matching fabrics in both the standard and mini size covers ensures you consistently match finish. The Wooster Sherlock Roller Frames with quick-release spring prevent roller slippage and allow for hands-free removal of the roller covers. Sherlock frames paired with the woven 1/2 in. covers are sure to provide smooth/lint-free results. Form-fitting paint tray liners resist cracking and extend the life of the tray. Convenience, savings and value are offered by this kit to professionally complete your project.