Yes, the screen is included. I was very pleased with this window.
Just the open side
Pantry Sun window for a plants.
I believe you can go to the store and order a custom size windows
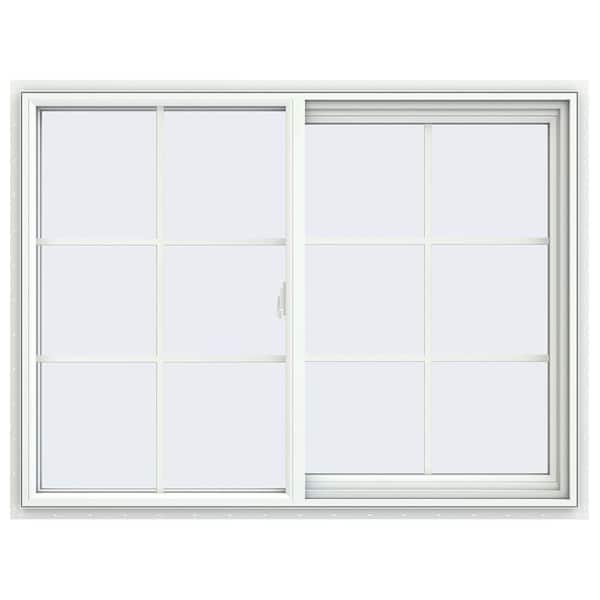
Yes, this V-2500 Series Right-Hand Sliding Vinyl Window opens by sliding side to side.
No, I used some 1x4 lumber, painted it and caulked.
Thanks for a good question. According to our egress calculator located at: http://www.jeld-wen.com/en-us/professional/tools-education/egress-openings-calculator , this window does not meet the IRC Egress Requirements for 1st or 2nd floor applications. This means that the clear opening width, clear opening height, and/or over-all clear opening square footage do not meet the established limits required. An additional stipulation assumes the installed sill height of the window is not more than 44” above the floor. For basements, additional other rules and specifications may apply. Please consult your local building code, architect, and/or contractor for interpretation in your area to determine what other window may meet your needs installed in a basement application.
There are a number of ways to use a nail on flanged window to replace an existing window. The typical "Replacement" windows are flangeless and designed to slide into an existing opening after an old window has been cut out. Usually the old flange is left attached to the framing. The rest of the old window is cut away form the flange leaving a clean rough opening to fill... The window is designed to slip into the opening and be fastened using a removable flange/lip, or simply screwed through the sides into the framing with the appropriate shims/spacers. If the replacement window has a permanent nail flange, you can either cut back the exterior wall surface to expose the old flange for removal and replacement, or you can trim the flange away from the new window. Keep in mind the vinyl windows are thermally welded together, sometimes at or near the flange... trimming the flange too closely could break through to the inside of the channel. I recommend leaving about 1/16" remaining of the flange. It should still slip into the old rough opening (assuming the rough opening was a "typical" size to begin with. I like to cut the exterior wall surface back to expose the old flange, then simply remove the old nails/screws holding the window in, and replace with the new window. This requires new top flashing and some special care to seal the sides and bottom with weather paper or tape. Consider how water will flow around the window if it runs down inside the wall... make sure everything is lapped downward to shed water away from the window sill... Then after the window is replaced, you have an opportunity to put in new trim, etc... or just patch the stucco as needed. If you want to remove the new window flange, additional care will have to be taken to ensure you get a good seal between the old flange, and the new window... Exterior grade caulking can be applied liberally all the way around the window... Be sure to use a flexible type (windows and doors caulk) as the building will expand and contract more than the window... Simply shim the sides of the window to fit within the opening. (not too tight as the window frame will flex easily, we want the frame straight and square) then screw through the frame, through the shims, and into the framing. Check for window function and squareness/straightness, then caulk in the new window... Once the caulking is dry (24-48 hours) spray test the exterior of the window (closed) to ensure no water ingress... plug any leaks and trim out the inside as needed. Good luck
The bars can not be removed because they are between the layers of glass
This particular window comes standard with glass unit configuration including: 1 lite of Low-E 366, 1 lite of clear glass, argon gas fill, and with internal grid. The grid is located inside the sealed insulated unit of glass and not removable.