Ceiling Fan Troubleshooting

Last updated December 22, 2023
When it’s warm outside, ceiling fans help keep your home comfortable by circulating the air indoors. Depending on the style you choose, they can also help you save money on cooling bills while adding an element of decor to any room. Over time, you may find that your ceiling fan isn’t performing the way it used to. In most cases, a few common fixes may solve the problem.
Keep reading to learn more about ceiling fan troubleshooting around your home.
Table of Contents
If Your Ceiling Fan Won’t Come On
Complex Motor Issues
Replacing a Ceiling Fan Motor
If the Ceiling Fan Lights Don’t Work
If the Ceiling Fan Speed Control isn’t Working Properly
Replacing a Ceiling Fan Capacitor
If Your Ceiling Fan Won’t Come On
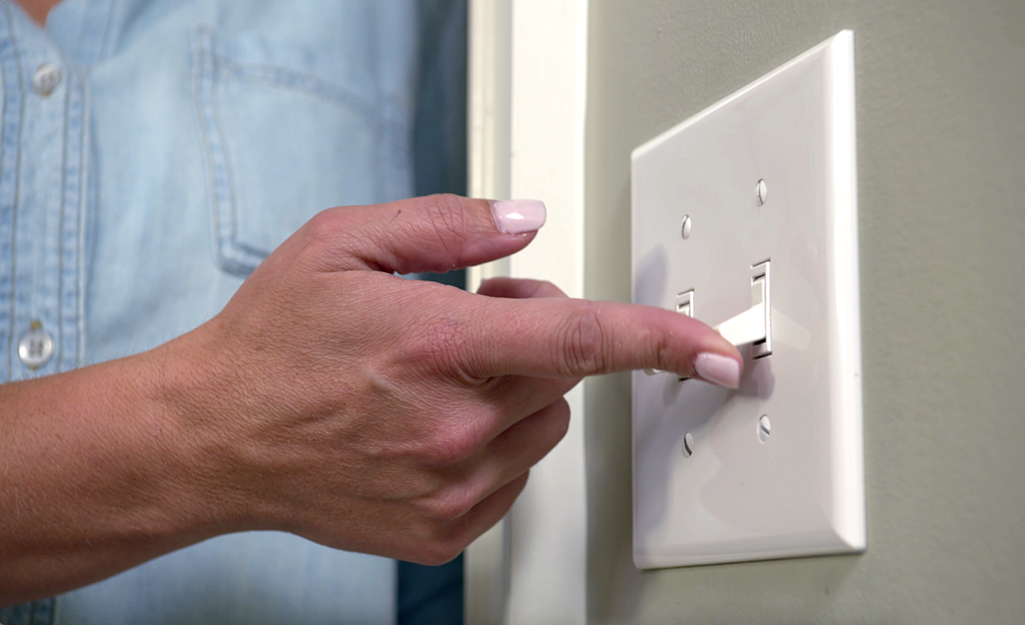
If your ceiling fan stopped working, start with the easy fixes first.
- Step 1: Check that your light switch is in the proper position if your fan is wired to the wall. In some spaces, you’ll need to make sure the switch is in the “ON” position before turning the fan on via the pull cord.
- Step 2: Ensure that the power is working properly in your room. You may need to check the fuse or breaker box and reset them if no power is available.
- Step 3: If you are getting power to the room, use a circuit tester to make sure the switch is working. Replace the switch if it is not working properly.
Complex Motor Issues
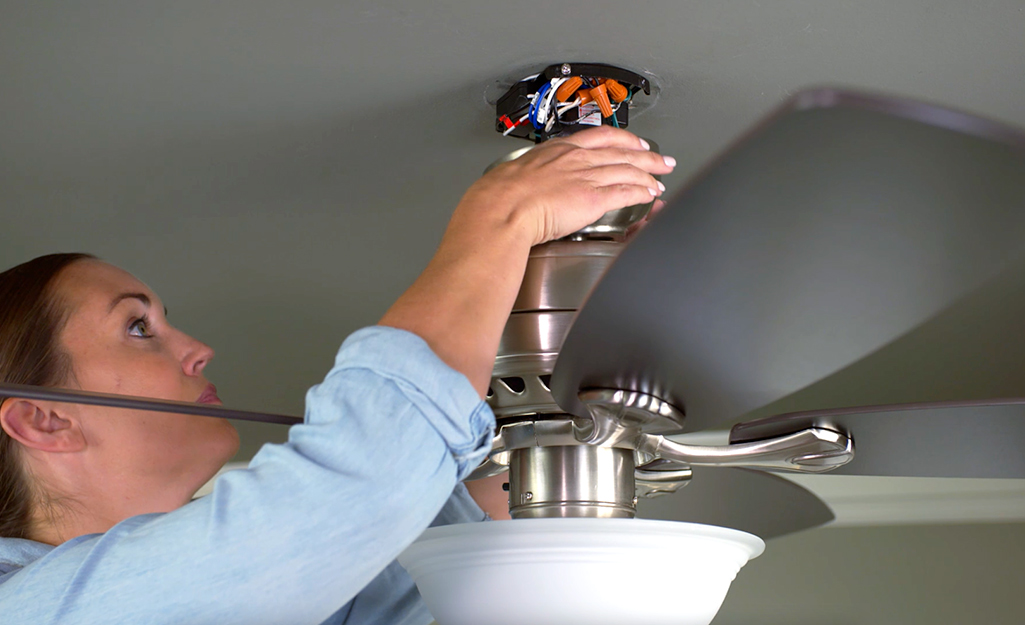
If those steps did not solve your issue, try these more complex fan troubleshooting procedures. When performing these next steps, make sure the fan is off. Cut the power to the fan as well.
If you’re not comfortable working with electricity, call in a trusted professional for assistance.
Here’s how you can see if your fan’s motor is causing the problem:
- Step 1: Use a screwdriver to remove the housing cover on the ceiling fan so you can see the electrical wiring inside.
- Step 2: Make sure there are no loose wires keeping your fan from operating. While it might seem like a simple fix, loose wires are relatively common, especially in older ceiling fans.
- Step 3: Use a circuit tester to make sure the fan’s motor is getting power. If your fan is not getting power, you have a wiring issue that must be repaired. Wiring between the switch or power source and fan has likely gone bad. Skip to step 5 if your fan’s motor is getting power.
- Step 4: Inspect nearby wires for damage. Frayed wiring may be temporarily fixed with electrical tape. However, you’ll need to replace any damaged wiring for a long-term solution.
- Step 5: Check the fan’s motor shaft and make sure there is no wiring keeping it from moving. This can happen over time. If you see anything out of place, move it away from the motor shaft before attempting to turn your fan on.
If your fan is still non-operational at this stage, there’s a good chance the motor has gone bad and needs to be replaced. This is common with older ceiling fans or fans that are used often such as interior ceiling fans.
Replacing a Ceiling Fan Motor
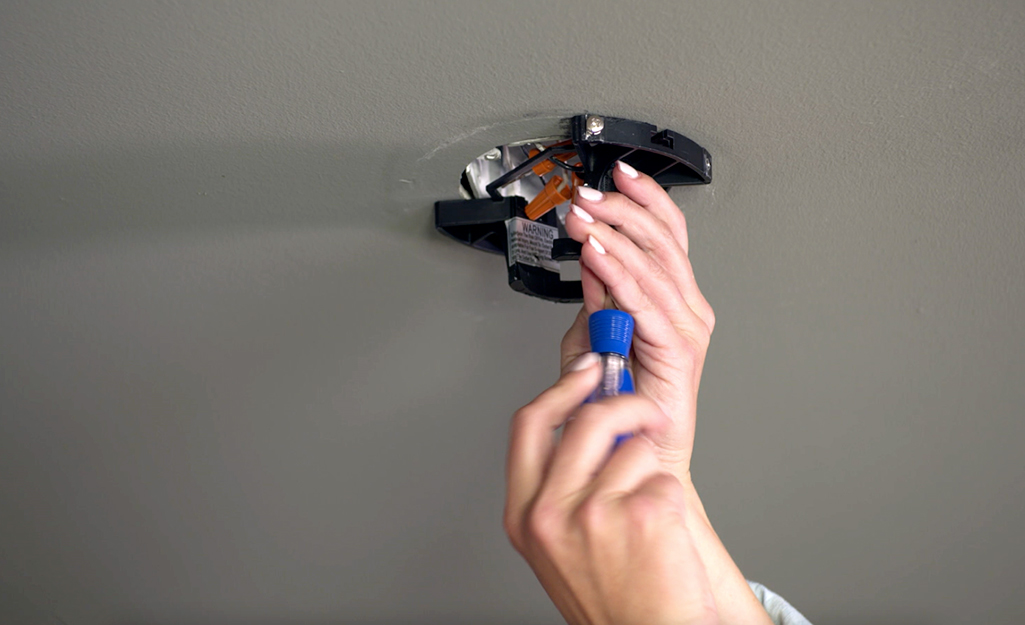
Replacing a ceiling fan motor requires the correct ceiling fan parts. Before you begin, consider the type of fan you have.
Some ceiling fans have motors that quickly and easily plug in and out. Other fans require you to match the colored wiring from the fan to your new motor. When removing an old fan, make note of the connections so you can be sure of how to install your replacement.
Tip: A replacement motor for a ceiling fan is a relatively affordable fix. However, if you’re working with an older fan, now could be a good time to shop for a whole new fixture.
If the Ceiling Fan Lights Don’t Work
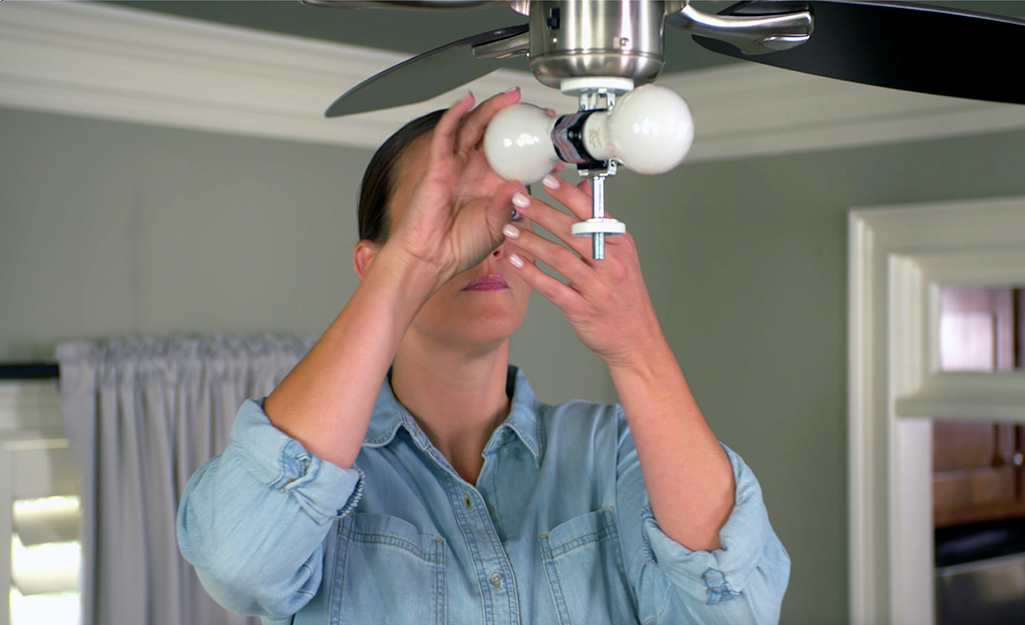
Ceiling fans with built-in lights can be tremendously helpful in living rooms, small bedrooms and kitchens. Ceiling fan light kits may even be able to provide all of your overhead lighting in a small space.
If your ceiling fan and light stopped working, there are a few ways to troubleshoot this problem:
- Step 1: Test your fan to make sure that it turns. If the fan and lights don’t work, check that you are getting power to your room. You can do this by checking a nearby outlet or seeing if other appliances are on.
- Step 2: Check the breaker for your room to make sure your ceiling fan is getting power. Reset the breaker and test your fan and ceiling fan lights.
- Step 3: Replace one or all of the bulbs. Most ceiling fan lights with a multi-bulb configuration will work when one bulb is burned out, but ceiling fans that use a single bulb won’t provide light if the bulb has gone bad. If your ceiling fan lights are still not working, proceed to the next step for more complex troubleshooting.
- Step 4: Make sure the bulb or bulbs you are using don’t exceed the wattage rating of the ceiling fan light kit. Some ceiling fan light kits come with a limiting device that can keep the light from working if you’re using the wrong bulb. If you suspect that your bulb may be the issue, turn the power off and remove it. Use a correct wattage bulb before testing your ceiling fan light.
- Step 5: Check the inside of the light bulb socket to make sure there are no burn marks or charred spots. If you see black or burned areas, this may be a sign that your ceiling fan or attached light kit has a wiring issue.
- Step 6: Inspect the internal wiring in the canopy and switch housing to make sure nothing has come loose. Connections in this area should be secured with wire nuts. On most fans, the blue wire controls the ceiling fan light kit.
If the Ceiling Fan Speed Control isn’t Working Properly
Most ceiling fans such as smart ceiling fans have adjustable speeds, and some fans also have a reverse option. If your fan isn’t turning properly, or one or more of your speed control settings isn’t working, use these ceiling fan troubleshooting tips:
- Step 1: Locate the ball bearings and give them a good cleaning. Add lubricant to ensure proper rotation.
- Step 2: Replace the ceiling fan capacitor. When a ceiling fan capacitor goes bad, the fan may not work at all. Multi-speed operation may also be erratic.
- Step 3: Check to make sure your ceiling fan’s motor isn’t getting too hot. To do this, allow your fan to run for about 10 minutes, then turn the fan off. Once safe to do so, feel the motor housing with your hand.
- Step 4: Replace the ceiling fan motor if it feels hot during this test. A hot motor means the internal bearings and components are damaged. Internal parts are typically not user-serviceable, so a replacement motor is your best bet.
Replacing a Ceiling Fan Capacitor
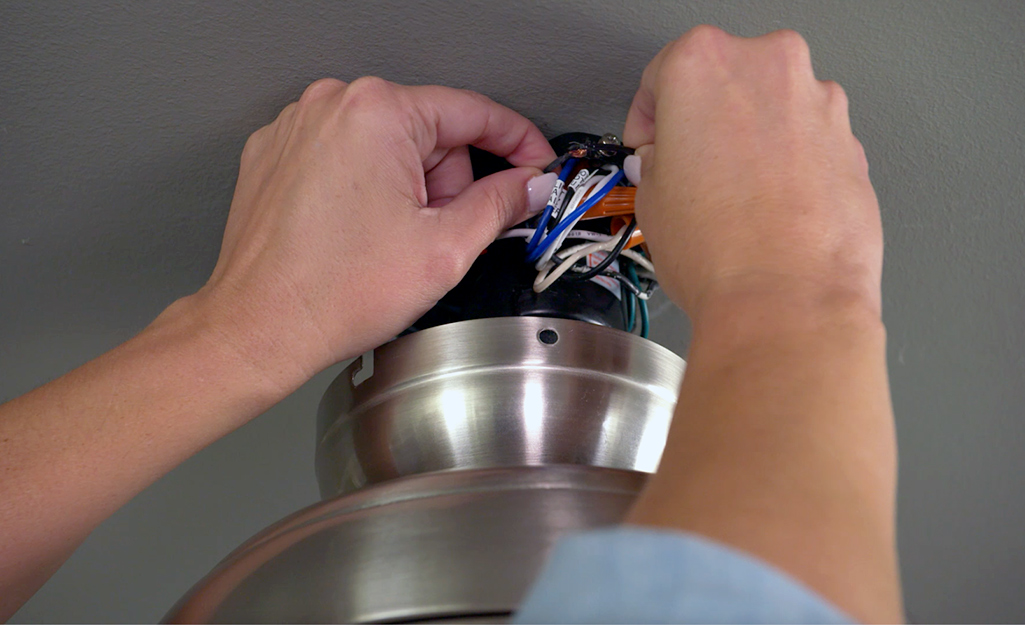
Replacing a ceiling fan capacitor is relatively simple. Match up the correct wires from the fan to the capacitor and take note of how your existing capacitor is wired. When working with capacitors and internal components, make sure the power to your fan is turned off.
Taking photos can be extremely helpful when shopping for ceiling fan parts.
A ceiling fan capacitor can be partially damaged or completely blown. In many cases, you’ll notice that a damaged capacitor is obvious to the naked eye due to swelling plastic or discoloration. In other cases, you may need to use an ohmmeter to check the capacitor. If you do this, make sure you properly discharge the capacitor before testing using rubber gloves and a screwdriver, or metal tool with an insulated handle.
If Your Ceiling Fan Wobbles and Shakes
Over time, a wobbly ceiling fan can become dangerous, but fixing a shaky or wobbly ceiling fan is a simple process.
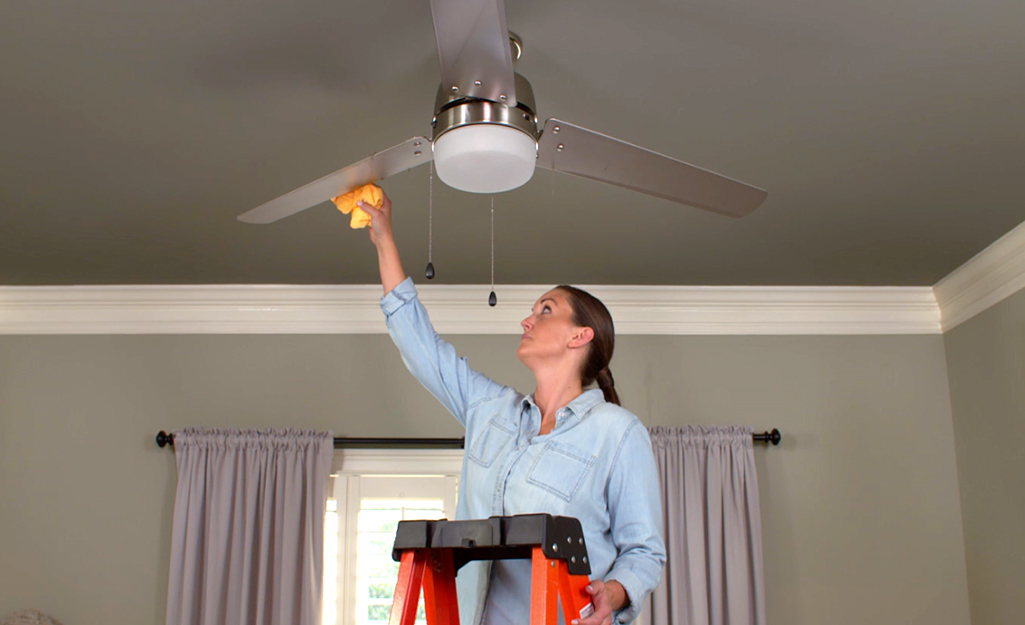
- Step 1: Take a few minutes to clean the dirt from your ceiling fan blades. While this likely isn’t a major issue, ceiling fan blades that are heavy with dirt and grime do weigh more, putting extra stress on your fan. You’ll also want to start with a clean fan for the next troubleshooting steps.
- Step 2: Look for loose screws on the fan blades. Loose screws connecting your fan blades to the fan housing are a common problem with older fans.
- Step 3: Check the light kit, motor, mounting hardware and downrod for loose screws. Tighten them as needed.
If tightening the screws on your fan didn’t fix the problem, continue to these more complex troubleshooting fixes. - Step 4: Check the mounting bracket to make sure the hanger ball is firmly seated in place, if applicable to your fan. Adjust, if necessary, to create a secure fit.
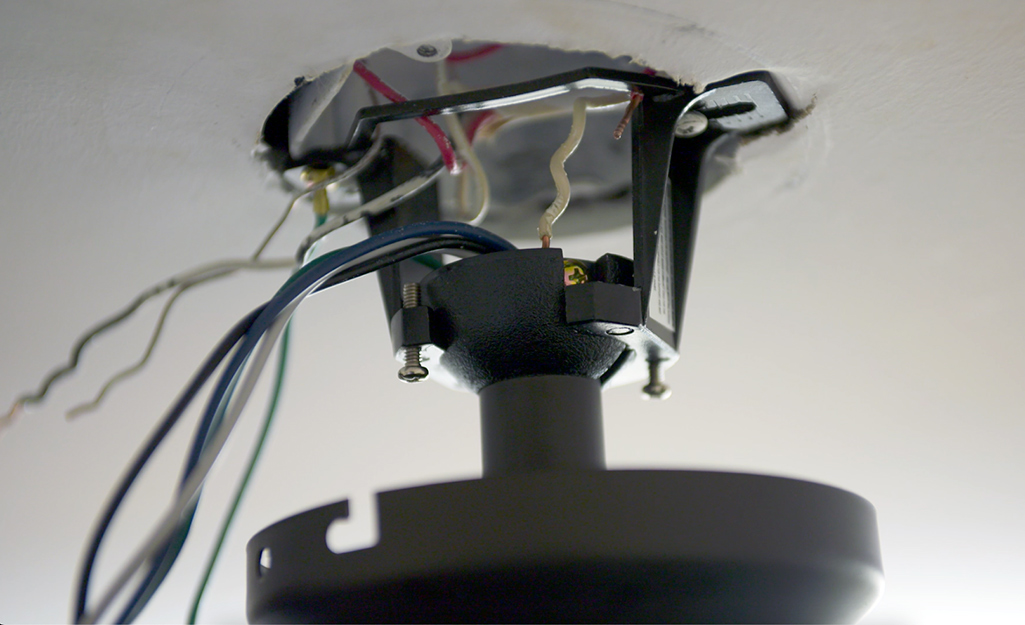
- Step 5: Check the outlet box and ensure that it is properly rated for a ceiling fan. You’ll also want to make sure the outlet box can hold the weight of your particular ceiling fan.
- Step 6: Confirm that the outlet box is properly attached to a support beam or brace on at least one side of the ceiling fan. In some cases, a ceiling fan may be mounted directly to the ceiling, causing it to wobble. This will also cause damage to the ceiling.
If Your Ceiling Fan is Noisy
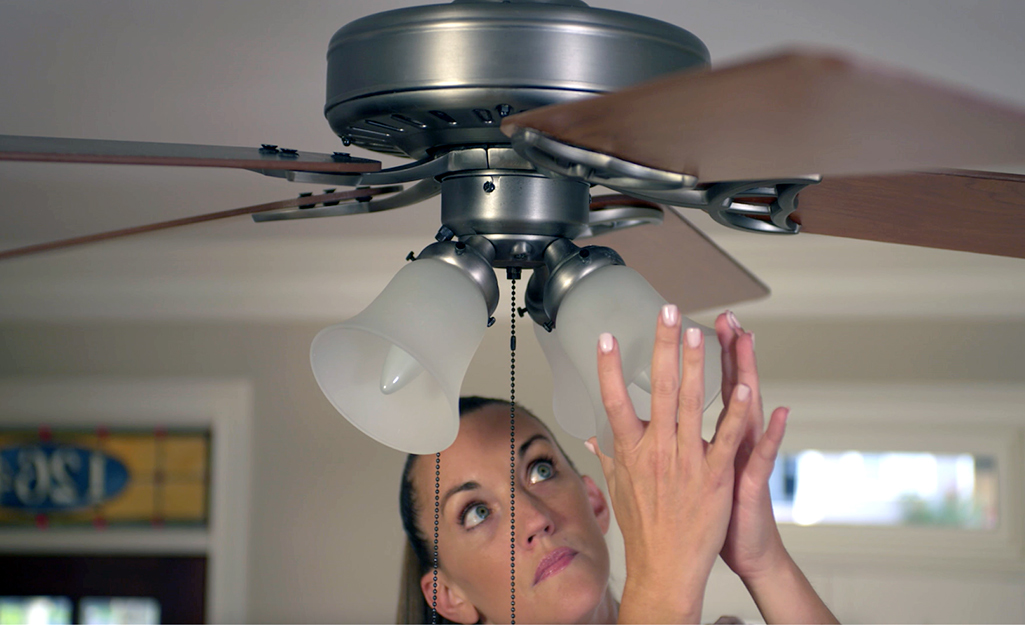
Here are a few fan troubleshooting tips to help you deal with a noisy ceiling fan:
- Give your fan one or two days to settle after installation. In the first few days, a ceiling fan may be noisy even if you did everything correctly, and the fan is working as intended.
- Tighten screws on the ceiling fan. Start with the fan blades and light kit since these are the most likely culprit.
When the Ceiling Fan Remote Won’t Work
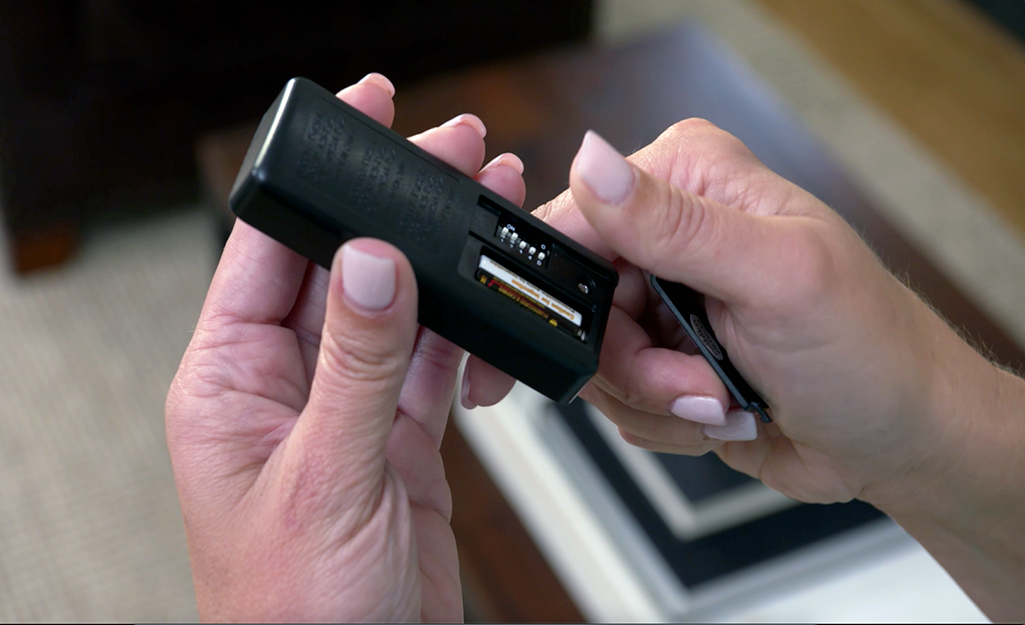
Many modern ceiling fans come with a remote control for easy control. Here’s how to troubleshoot a remote control that isn’t working:
- Step 1: Check the batteries in your ceiling fan’s remote.
- Step 2: Turn the power off to the fan at the circuit breaker box.
- Step 3: Locate the receiver for the remote - usually housed in your fan’s mounting bracket - and find the switches or settings. Make sure that the settings, often notched dip switches, are the same on both your remote control and your receiver. Re-install the receiver and check your fan.
- Step 4: Create a new combination or use a different frequency to allow your remote to communicate with the receiver if step two didn’t work. Make sure your power is off at the circuit breaker for this step as well. Check your fan after creating your new combination or setting both devices to a new frequency.
- Step 5: Replace your ceiling fan remote. If fresh batteries and altering the settings on your fan receiver and remote did not work, you may have a damaged remote control. Replace it with a universal model or get a replacement recommended by the fan’s manufacturer.
When to Buy a New Ceiling Fan
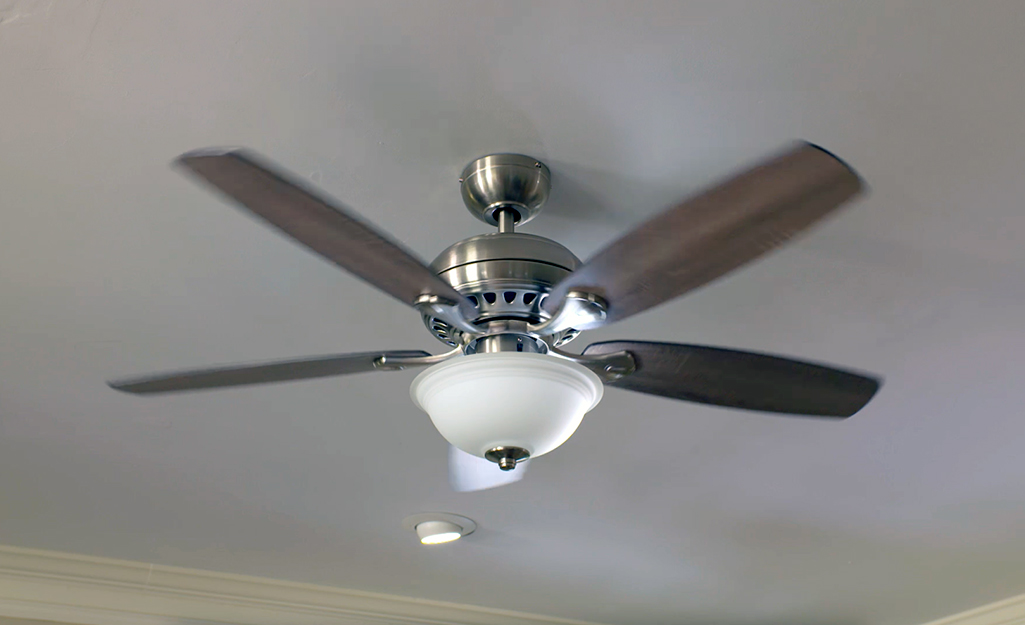
A quality ceiling fan can help keep you comfortable in any room for years, but even premium ceiling fans can’t last forever. Here are some tips to help you decide when it’s time to start shopping for a new ceiling fan:
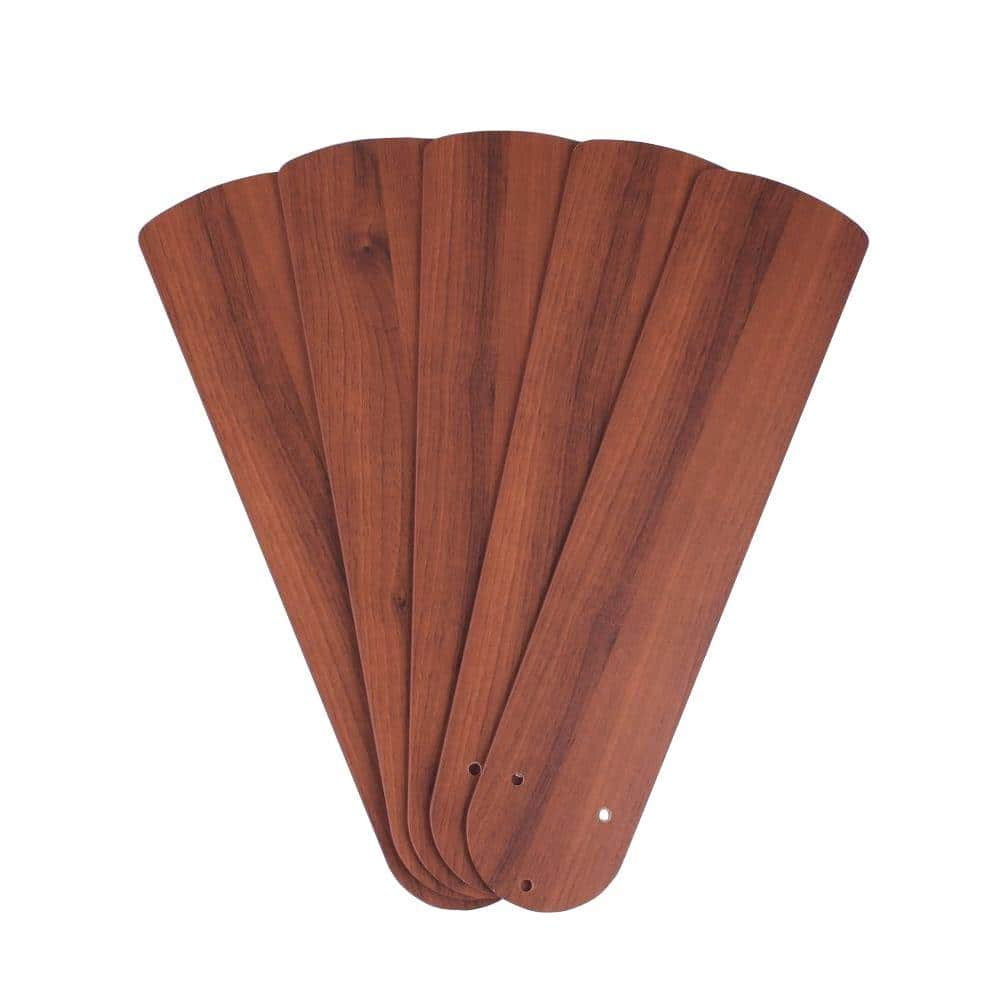
- Your ceiling fan is damaged. Internal and external damage can be difficult to address with some fans. Replacement blades are easy to install, but a worn or tarnished fan assembly is unsightly.
- You want to add a light, but your ceiling can’t support a light kit that matches your needs. In this case, replacing your fan with a model that features a light, or one that has an optional light kit, may be more functional.
- You can’t fix some problems with your ceiling fan. Many fans respond well to troubleshooting, but some issues can be difficult to diagnose. With an older fan, it may be wise to simply shop for a replacement instead of hiring a professional to make repairs.
- Your fan looks old or out-of-date and no longer matches the design of your room. Aesthetics can be a big reason to replace a ceiling fan, particularly if the fan is aging or has mechanical problems as well.
A ceiling fan is the best way to circulate air and make a room feel cooler. Shop The Home Depot Mobile App to get an idea of what ceiling fan will work best in your space. If you need more advice, visit The Home Depotand talk with someone about exactly what you need for your room.

