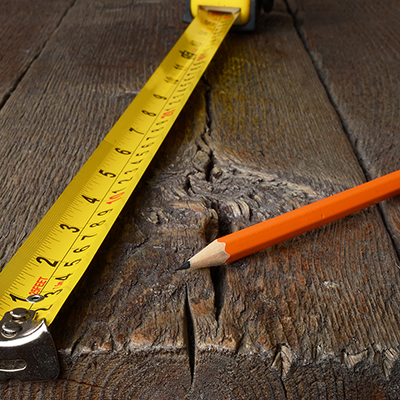
How to Read a Tape Measure

Published September 25, 2023
Reading a tape measure correctly
is a necessary skill when taking on DIY projects. Tape measures are available in both standard or imperial units and in metric units. Standard tapes measure inches and feet. Metric tapes capture centimeters and meters. Some tapes have both. This guide will show you how to read a tape measure.
Plus, you'll learn some tips and tricks for using this tool to get precise measurements.
Table of Contents
Anatomy of a Tape Measure
How to Read a Tape Measure in Inches
How to Read a Tape Measure in Millimeters
Special Notes for How to Read Measuring Tape
How to Measure
Tape Measure Tips
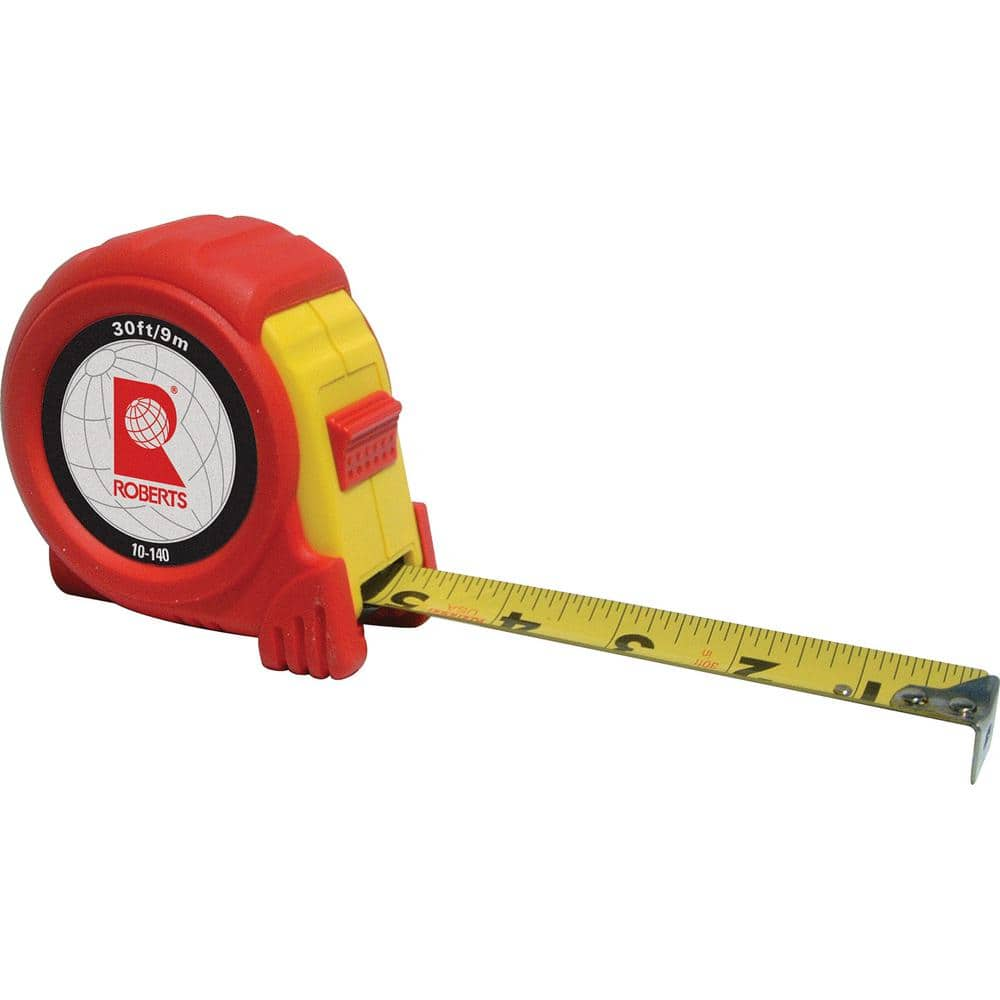
Anatomy of a Tape Measure
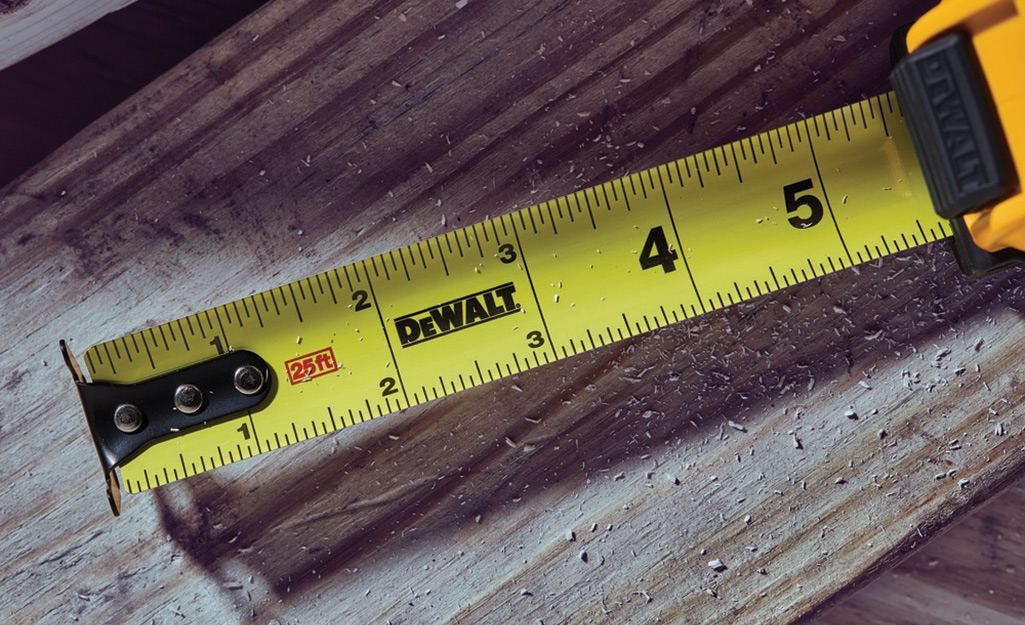
Learning how to read a tape measure begins with understanding its different parts.
- The case is the square-shaped housing for the tape. It is usually plastic or metal and about 3 inches in length.
- The hook is a bent piece of metal that hooks over the edge of a board or counter. It aids in extending the tape from the case and holding the tape in place for measuring.
- The hook slot is the hole at the end of the tape. It allows you to latch onto an anchor point such as a protruding nail or screw head.
- The actual tape or blade is usually yellow or white. It’s the extendable and retractable length of the tool. Most often the blade is made of metal coated in plastic.
- The thumb lock is a button on the case. When pressed, the thumb lock will hold the extended tape measure to a needed length. Releasing the thumb lock will allow the tape to retract into the case.
- The belt clip is the fastener on the side of the case. It allows you to hook your tape measure conveniently onto a belt,
tool belt
or pocket.
How to Read a Tape Measure in Inches
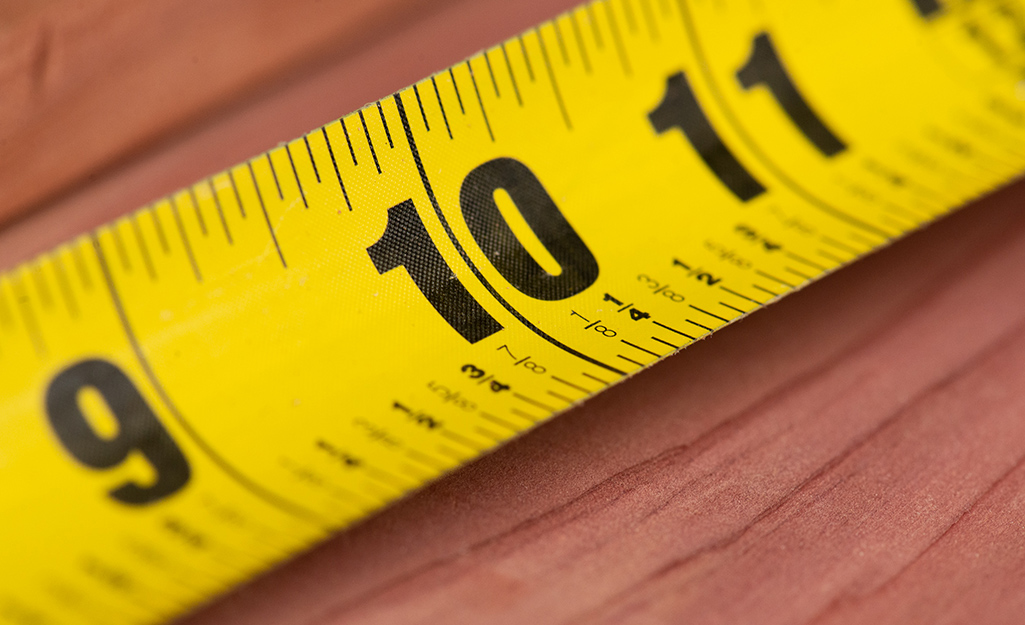
Standard or SAE tape measures clearly show feet, inches and fractions of inches. The measurements on a tape measure are generally 16 marks to the inch. This means you can measure up to 1/16 of an inch. Some tapes measure from 32 to 64 marks to the inch. Laser distance measurers can often measure accurately within 1/16 inch.
- When reading a tape measure, find the closest whole inch to the end point. Then examine leftover indicator lines to see what fractions of an inch remain. Add those to the whole inches for your total measurement.
- To read an inch, look for the large numbers. That number is usually in bold, black type. It's easy to see and refers to the longest of the markings along the edge. The number of lines between inch marks indicate how precise you can get with your tool.
- To read 1/2-inch measurements, locate the second-longest mark between the longer inch marks.
For 1/4-inch marks, look halfway between the 1/2-inch marks. You can read smaller fractions of an inch the same way. Most tapes will label the fractions to make finding them easier.
How to Read a Tape Measure in Millimeters
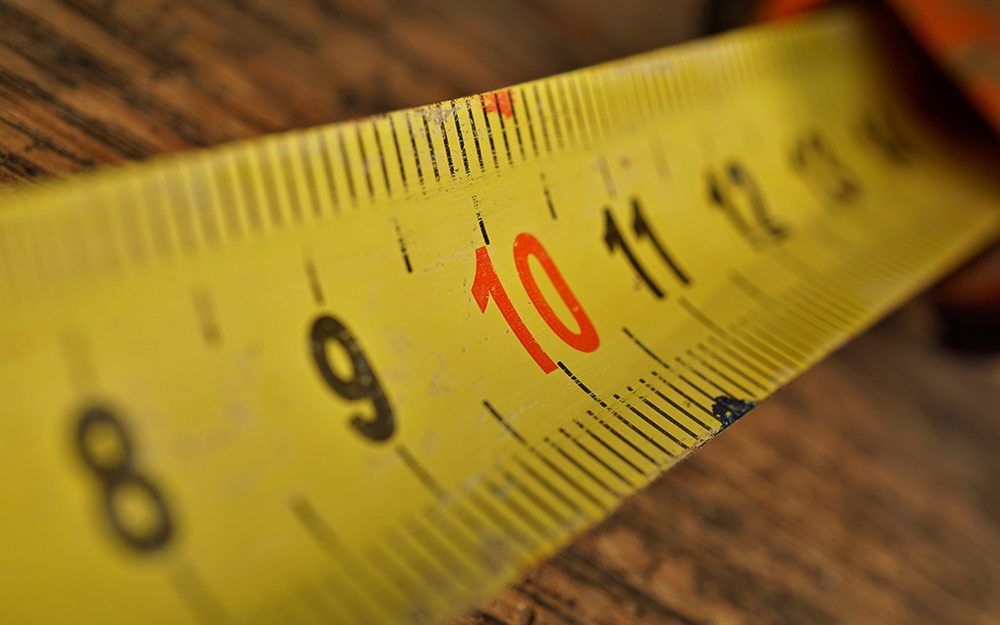
Metric tape measures feature 10 marks to the centimeter. The smallest marks on a tape indicate one millimeter or 1/10th of a centimeter.
The large, bold markings on a metric tape measure indicate centimeters. The long mark in the center indicates a half-centimeter.
- To read a metric measuring tape, find the nearest whole centimeter to the end point. Examine the remaining indicator lines to see how many millimeters are left over.
- Add those to the whole centimeters, using a decimal. For example, say you measure 20 whole centimeters and there are 6 millimeter marks left over. Your total measurement will be 20.6 centimeters.
Special Notes for How to Read Measuring Tape
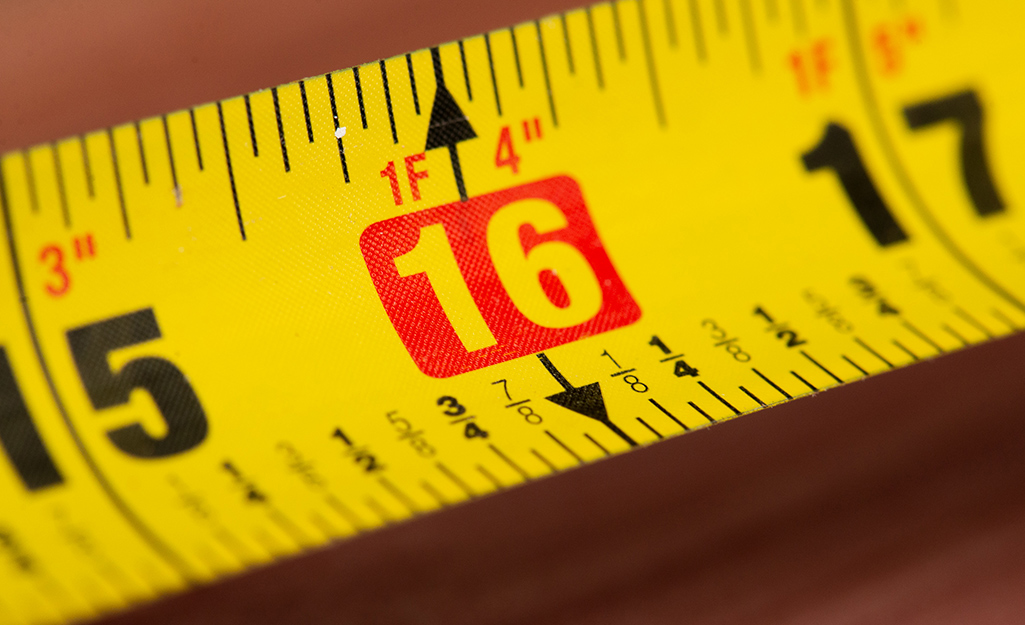
- The typical length between studs in a wall is 16 inches on center. This is marked in red on many tape measures.
- Many tape measures will have 1 foot marks every 12 inches. This eliminates the need to convert inches to feet yourself.
Some have special markings every 3 feet as well. - Tape measures often use small, black diamond or triangle shapes called black truss marks. They indicate truss layouts of every 19 3/16 inches. This spacing is often used by some engineered joist manufacturers.
There are 5 of these marks for every 8 feet.
How to Measure
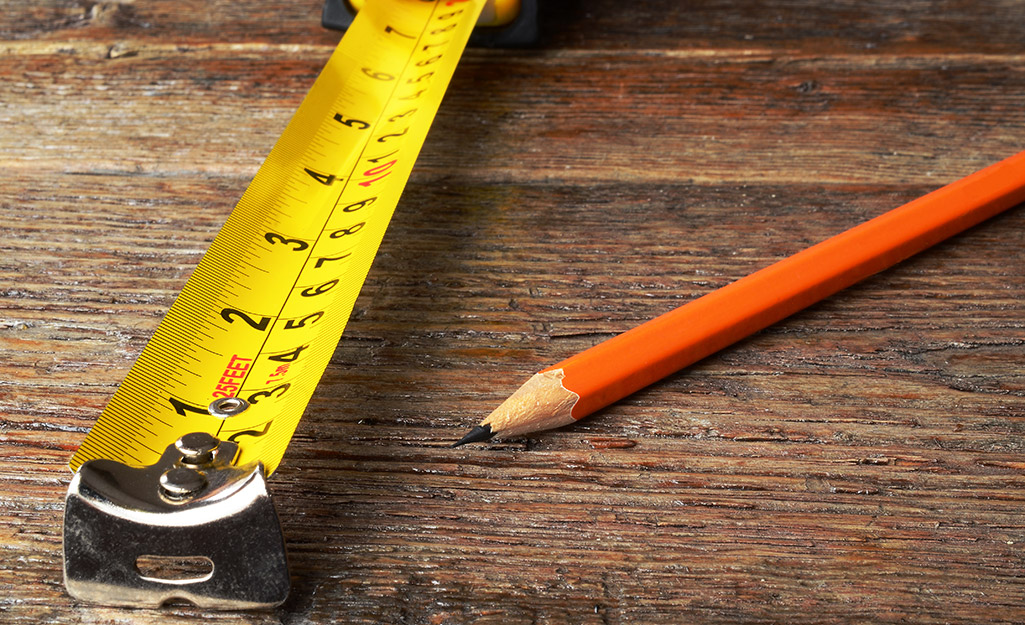
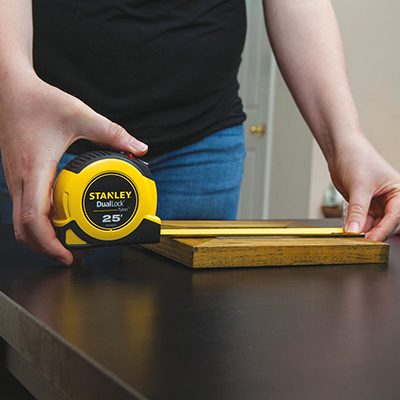
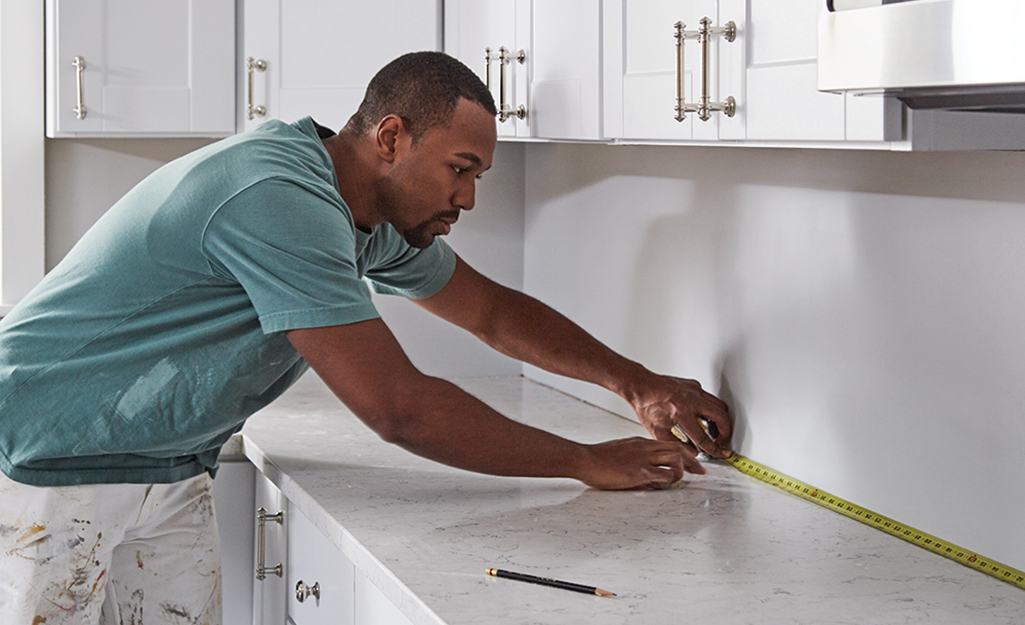
- When measuring with a retractable tape measure, lay the tape along the length you’re measuring, and mark the spot where the tape lines up with the edge. Make sure the tape measure is evenly aligned for an exact measurement.
- When measuring a length that backs the tape measure into a corner, fit the case into the available space and add its length to the tape measure’s reading. For example, a 3 3/8-inch case added to a 15-inch measurement on the tape combines to an 18 3/8-inch total.
The tape case’s size is often printed on the back of the case. - If extra accuracy is needed, “burn an inch.” Start your measurement at the 1-inch mark instead of using the hook. Just remember to subtract an inch from your measurement.
- If you’re measuring the length of a board and hook over the end to pull the tape out of the case, the hook slides away from the case – this is an “outside measurement.” If you push the hook against the inside of a door jamb, the hook is pushed towards the case, this is called an “inside measurement.”
Tip: Stay accurate by measuring the indicator lines themselves, not the numerals on the tape.
Tape Measure Tips
- A properly functioning hook will move slightly. It is designed to slide based on the thickness of the metal, usually about 1/16-inch. This allows the tape to give an accurate inside and outside measurement.
- Standard tape measures usually go from 15 to 50 feet. Long tape measures come in greater lengths of 100 feet or more. They are often made of flat steel or fiberglass and retract with a hand crank. Self-retracting tape measures are flexible and can be bent to measure into tight spaces or around corners.
- Use a screw or nail as an anchor point to fix the end of your tape measure in place.
- To draw a perfect circle, anchor the tape measure’s hook slot onto an anchor point. Engage the thumb lock. Hold a
pencil
or other writing utensil down flush with your tape measure. Turn it in a circle around the anchor point. - Be careful when retracting a tape measure. Allowing it to snap back can damage the tape and possibly give you a cut. Instead, retract the tape back in slowly.
- If the hook on your tape measure is bent or damaged, you’ll get inaccurate measurements. A bent hook can often be adjusted with two pair of pliers. Or tap it with a hammer against a hard surface.
- If you're using multiple tapes on the same job, calibrate them to any one of several good rulers and yardsticks available. Tapes can be brought into agreement by slightly bending the hooks until measurements match.
Reading a tape measure is a skill you can easily master. Using this small, sturdy hand tool can improve the accuracy of your project measurements. Learning how to use a tape measure properly means to always "measure twice, cut once." You can use a standard tape measure or opt for a metric one. Ready to start your project? Get measuring tapes and other measuring tools.
The Home Depot delivers online orders when and where you need them.
