How to Use a Sander
Last updated September 7, 2023
Random orbital sanders can be used for a variety of sanding and smoothing needs. These units are lightweight, easy to use and offer a swirl-free finish on surfaces like wood, metal and plastic.
A random orbital sander derives its name from the action of the sanding pad. It rotates and shifts its position in a random elliptical manner. This produces a smooth surface in a short period of time while not requiring the user to follow the grain of the wood.
This guide will show you how to use a sander for your projects.
Table of Contents
Learn the Anatomy
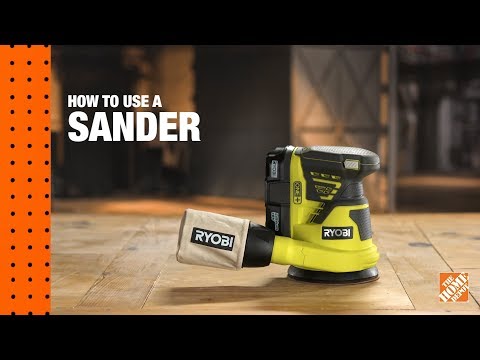
Parts of a Random Orbital Sander
Choose the Sandpaper
Load the Sandpaper
Turn On the Sander and Test It
Sand the Surface
Learn the Anatomy

Random orbital sanders are ideal for quick sanding needs. You can use them to smooth surfaces such as rough metal, wood or plastic. They can be used to remove paint or rust.
These sanders are best used on flat surfaces and should be held with even pressure across the face of the pad. Leaning on the sander or putting weight on one edge of the pad can result in divots and swirl marks on the surface.
For bigger jobs that cover larger surfaces, try a belt sander. For more delicate tasks, consider using a sheet or detail sander instead.
As you learn how to use a sander, remember that:
- Safety is key. Make sure to wear protective safety glasses and a dust mask when using a power sander.
- Most sanders incorporate a dust bag which needs to be emptied during use.
- Many sanders have options for attaching to a vacuum or dust collection system.
Parts of a Random Orbital Sander

As you figure out how to use a sander, get to know its parts:
- Power Switch: Turns the unit on and off.
- Housing Motor: Powers the sander.
- Battery: Provides power for the motor.
- Sanding Pad: Used to smooth or buff a surface. Sandpaper is attached here.
- Dust Bag: Catches the excess debris and dust created during sanding.
- Palm Grip: Offers easy operation and allows the sander to be controlled with one hand.
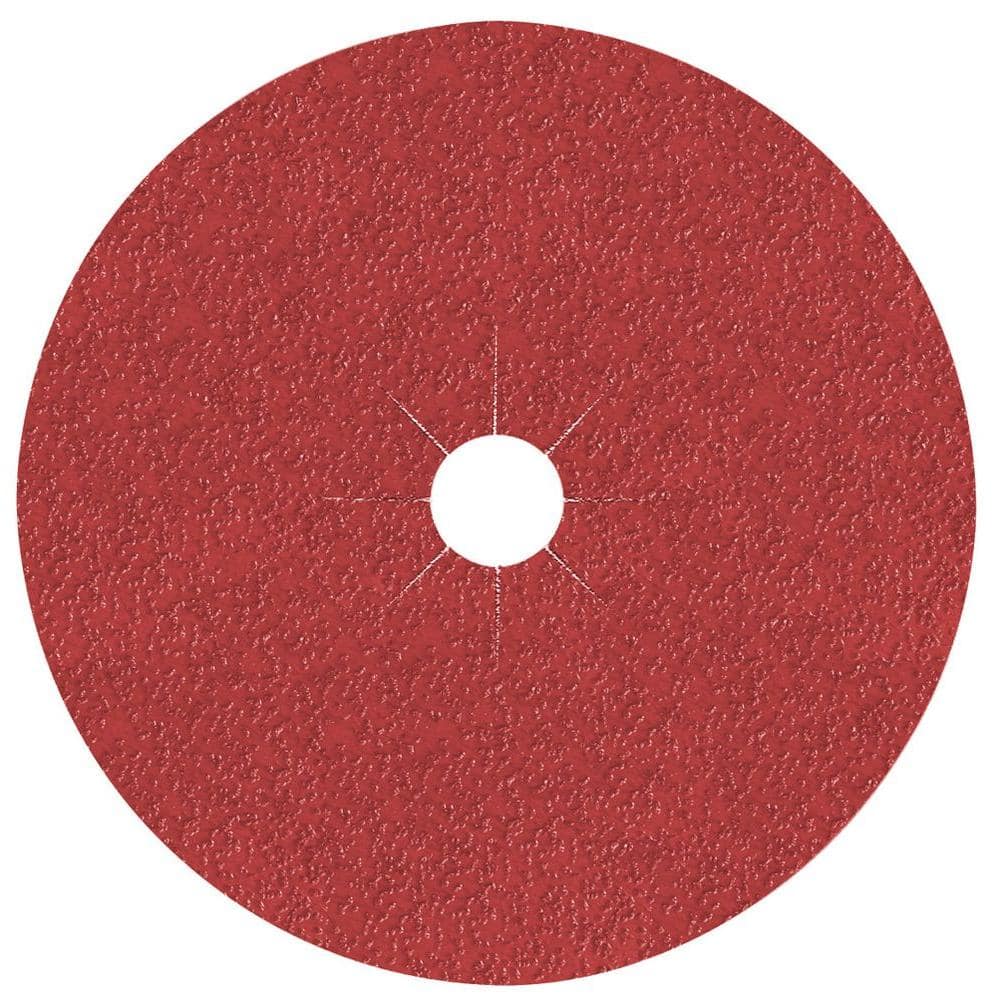
Choose the Sandpaper

Before you begin a sanding project, decide which sandpaper will work best. Sandpaper grits come in different varieties. The higher the number, the finer the grain particles. Sandpaper with a lower grit number will be more coarse than those with a higher value.
- Extra Fine: 320-400.
Best for sanding between coats of finish. - Fine: 180-220. Can be used to sand a surface to prepare for applying stain, paint or other finish.
- Medium: 120-150. Can be used to remove paint or stain from various surfaces.
- Coarse: 60-80. Best used for smoothing a rough surface.
Note: These grit ranges are for sanding wood. Sandpaper for use with other materials, such as plastic or metal, have different ranges.
Load the Sandpaper

- After you’ve chosen the right grit level for your needs, load the sandpaper onto the base of the sander.
- Some sanders use the fast hook and loop system to peel off and replace new pieces of sandpaper.
- Others use pressure sensitive adhesive. These sanders can be easily retrofitted to use hook and loop.
- Make sure the new pad is properly aligned with the base and the dust removal holes.
Turn On the Sander and Test It

- Switch the unit on and perform a quick test.
- Move the sander in a circular motion along a piece of scrap board to make sure it’s working as expected for the job at hand.
Sand the Surface

- Since orbital sanders can be used with any kind of motion, sand the surface in the direction that works best with the material.
- Check the paper periodically, or if unusual scratches are seen, to ensure bits of dust or old finish aren’t forming clumps on the surface.
- The result will be a consistent, swirl-free finish.
Tip: Parallel sanding works best for belt and sheet sanders.
Ready to get tools and materials for your sanding project? The Home Depot delivers online orders when and where you need them.