101 Guide to House Framing
Last updated August 12, 2024
From the subfloor to the roof rafters, house framing provides a home with crucial support. A sturdy frame ensures that the house will withstand weather, require fewer repairs and provide better resale value.
This guide reviews the basics of how to frame a house as well as the types of residential framing and the costs.
Difficulty:
Advanced
Duration:
Over 1 day
Table of Contents
How to Frame the Floor of a House
How to Frame Exterior Walls
How to Frame a Ceiling and Roof
How to Frame Doors and Windows
Types of House Framing
How Much Does It Cost to Frame a House?
How to Frame the Floor of a House
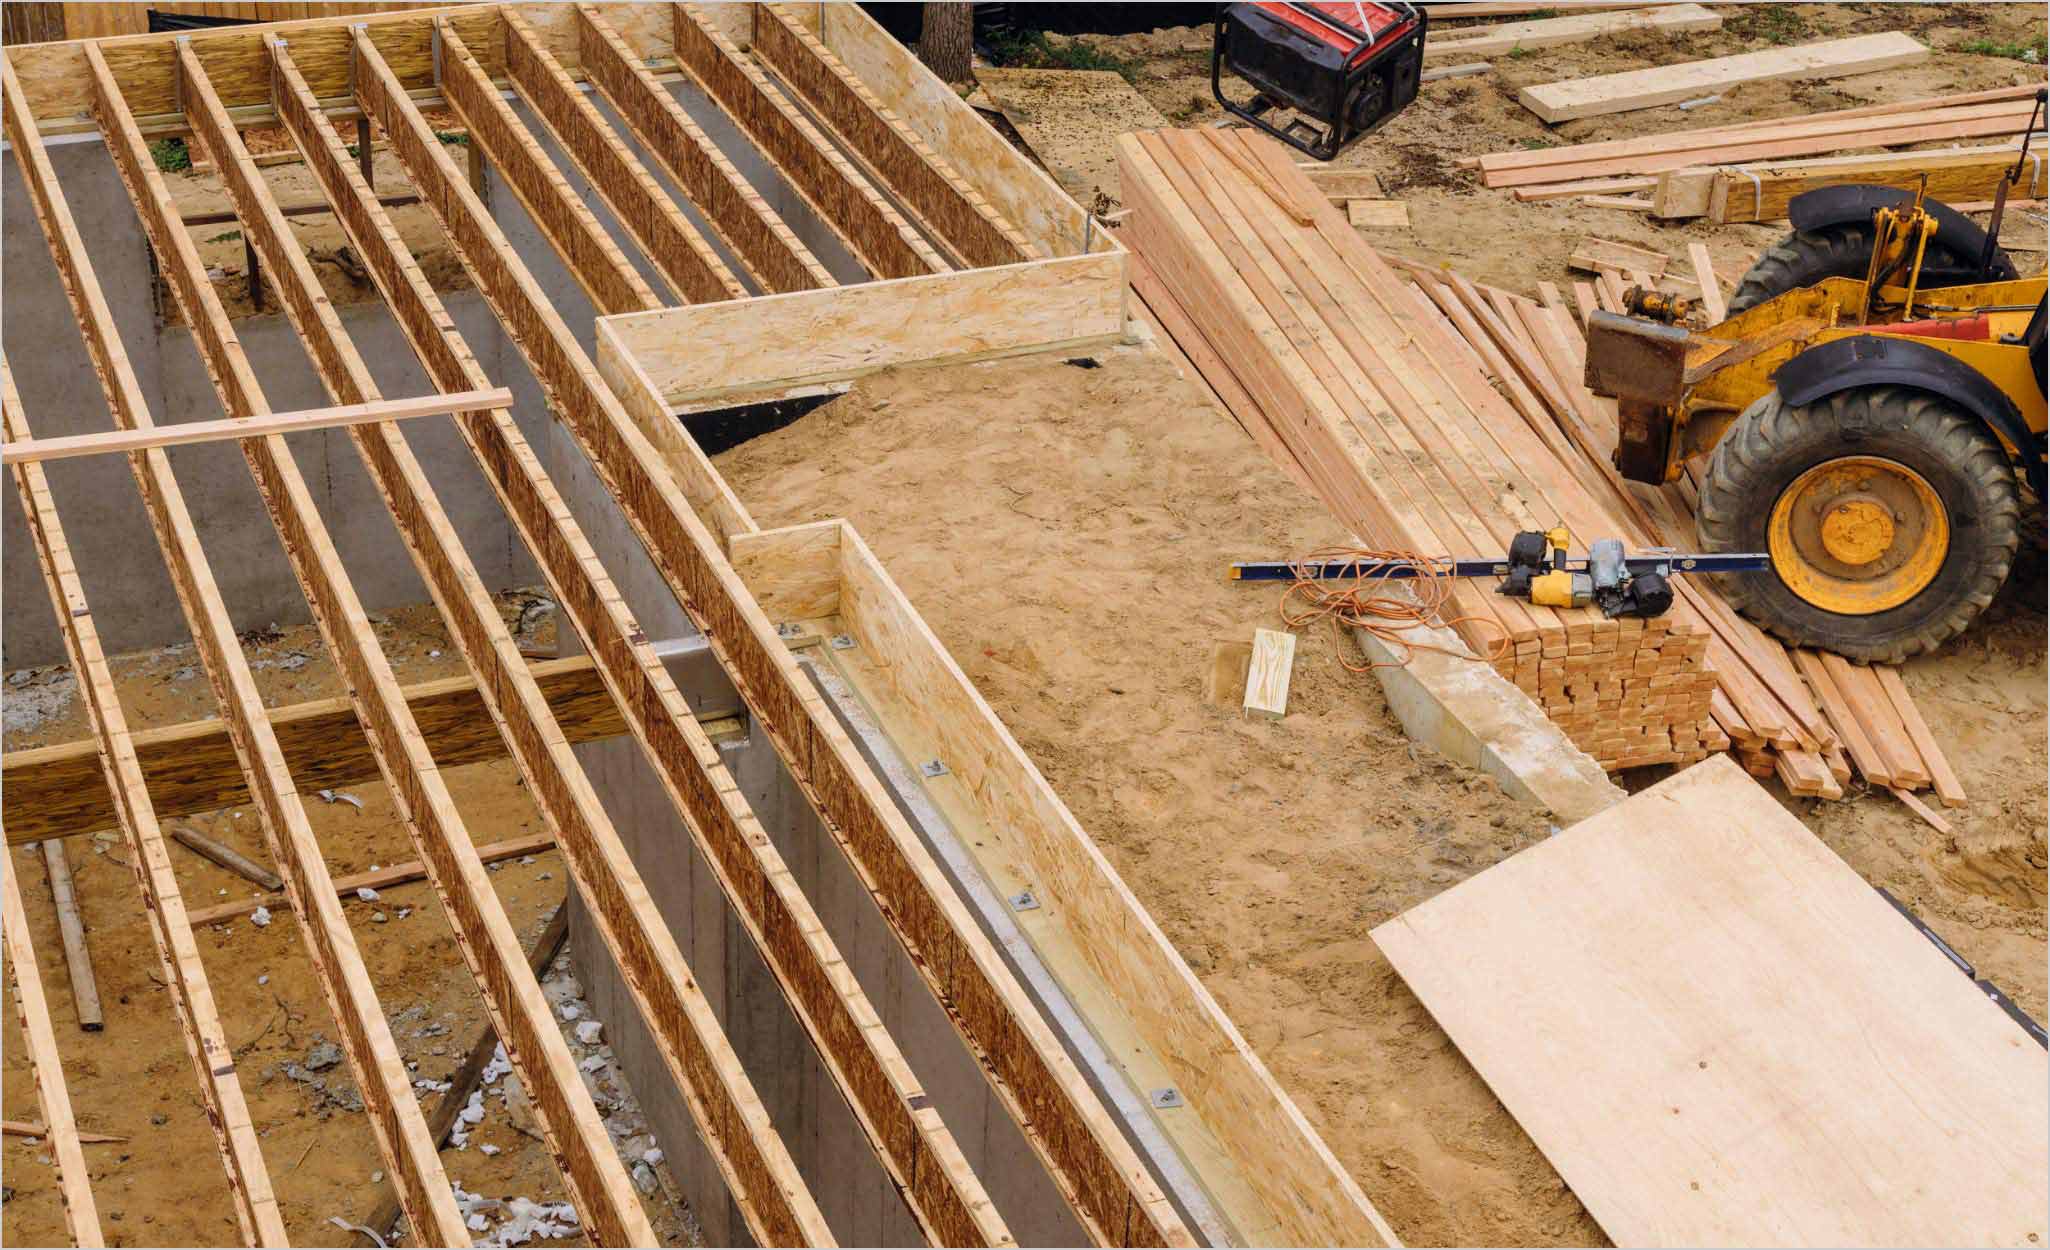
Residential framing begins with the floor. Do not frame the flooring until the house’s concrete foundation has set.
- Begin by checking local building codes and pulling any necessary permits for residential framing.
- Measure the desired location of the floor and snap layout lines to ensure the sill plates will be square with the foundation.
- Fasten sill plates of dimensional boards with anchor bolts. Use water resistant, pressure treated lumber for any plates that contact concrete.
- Measure the floor joists 16 inches apart.
- Attach the rim joists on end to the sill plates.
- Nail the floor joists perpendicular to the rim joists.
- Cover the joists with the subfloor, usually sheets of 3/4-in. or 5/8-in. plywood or OSB (oriented strand board). Attach the sheets to the joists with wood screws.
Pro Tip: When attaching the subfloor, apply wood glue between the plywood panels and joists to prevent the floor from squeaking. This is nicknamed the “glue and screw” method.
How to Frame Exterior Walls
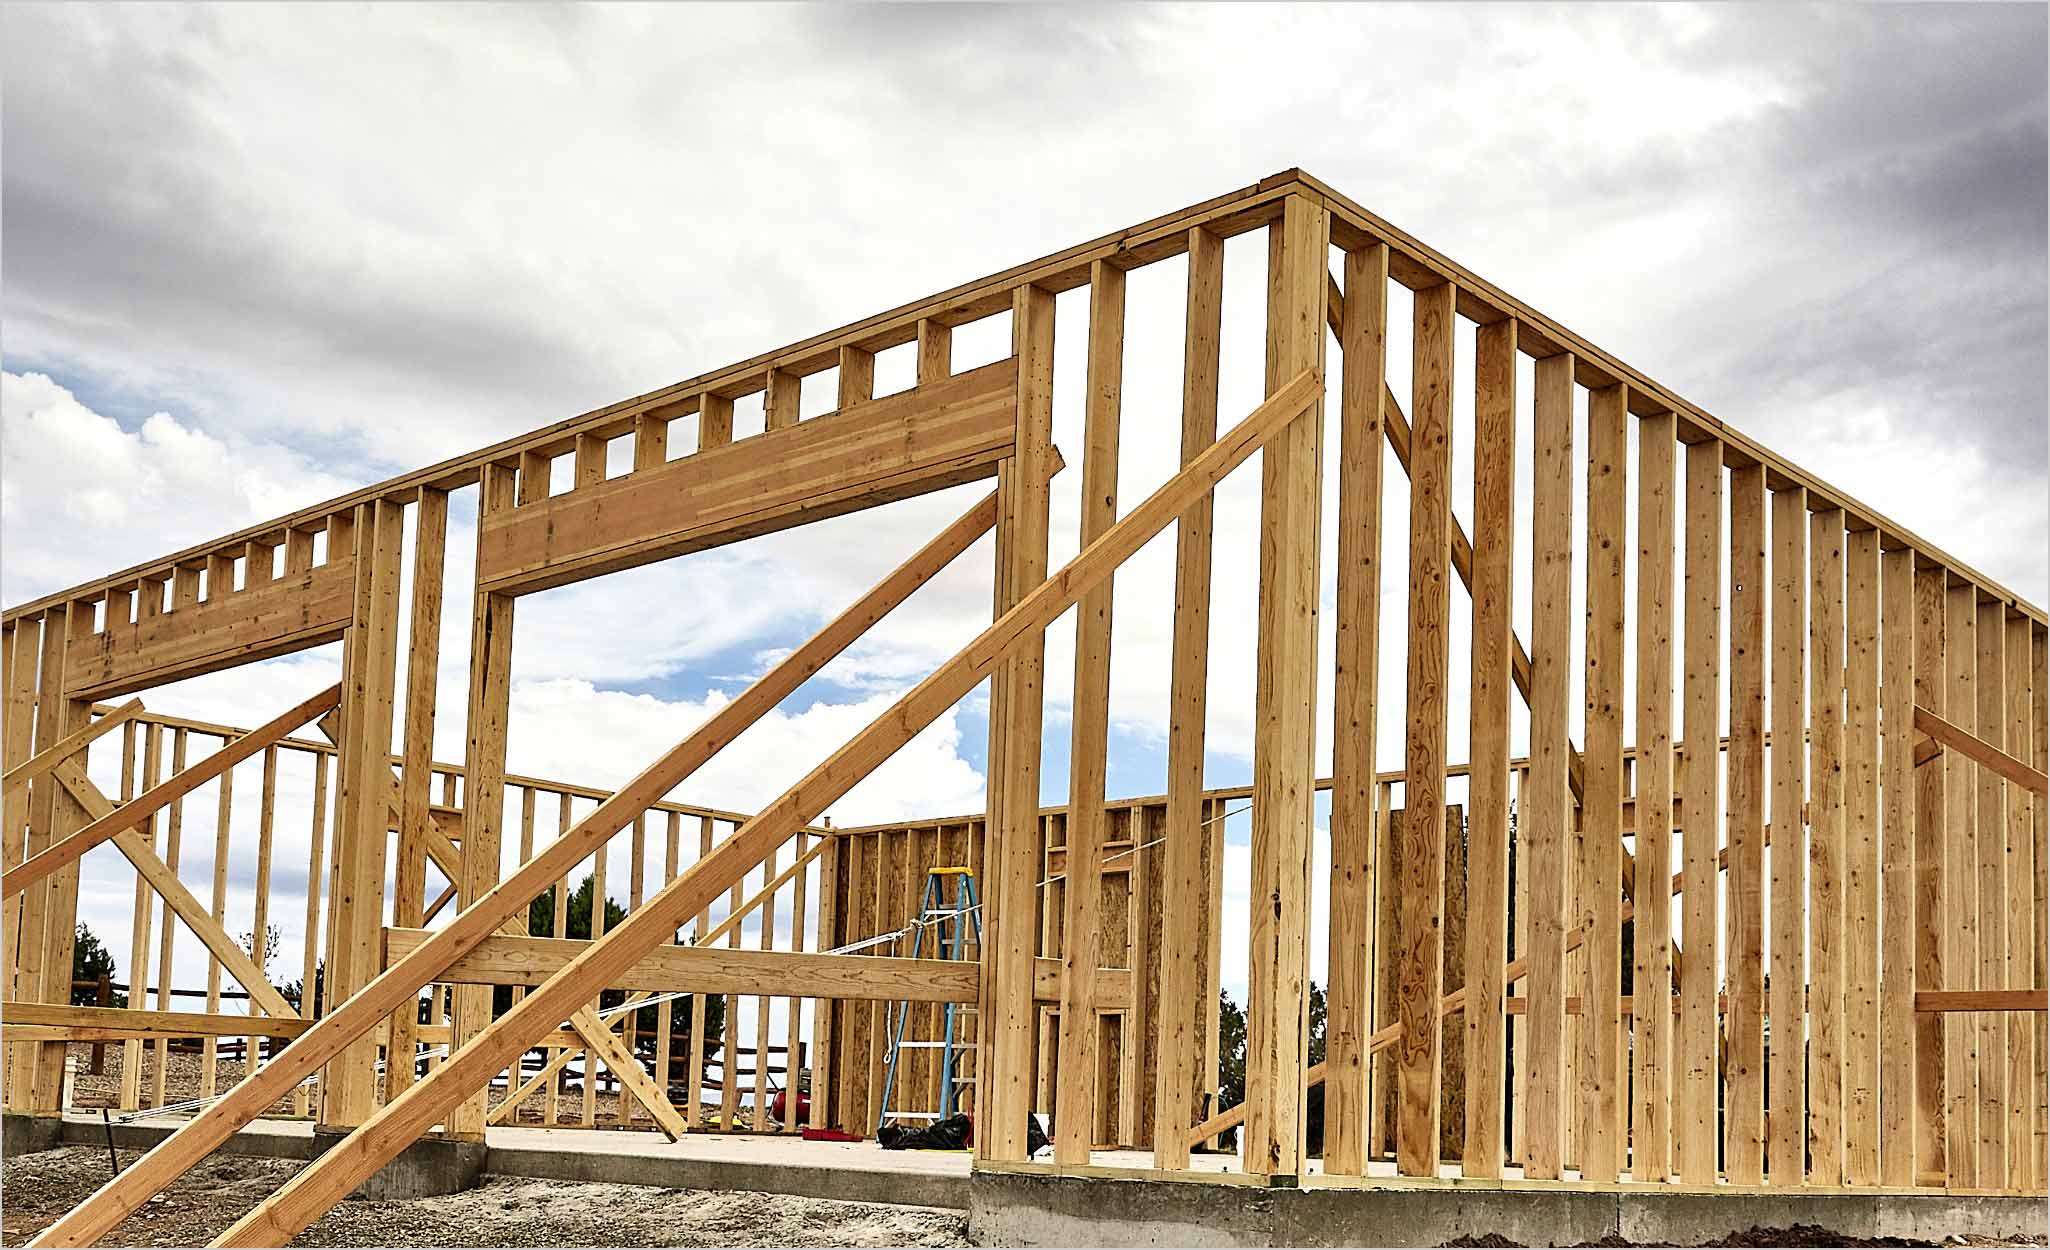
The next step in residential framing is building and raising the walls.
- Exterior walls are usually constructed as a single piece and framed with 2- x 4-inch or 2- x 6-inch boards, then raised into place. Long walls are sometimes constructed in sections.
- Measure the dimensions of the wall. You may want to draw a chalk outline of the wall directly onto the subfloor to help with placement. Use the house plan to determine the location of all doors and windows.
- Lay out the wall’s top plates and bottom plates.
- Measure and mark for the studs at 16-inch intervals. Cut and lay out the studs.
- Use a nail gun to fasten the end studs to the plates with framing nails.
- Attach the remaining studs, adding doors or windows as needed.
- Attach the corner post studs at the edges. Every wall will have corner posts.
- Decide whether you want to nail the plywood or OSB sheathing to the studs before raising the wall. Many builders attach the sheathing after framing the walls and the roof. It’s easier to attach the sheathing when the wall is on the ground, but this makes the wall heavier and more difficult to lift into place.
- Get assistance and raise the wall into place. Install temporary support bracing to hold up the wall and leave all bracing in place until all the walls are raised.
- Toenail the bottom plate of the wall at each end of the sill plate. Then drive nails along the length of the bottom plate to finish attaching the wall to the sill plate.
- Repeat with the other exterior walls followed by the interior walls.
- With the walls in place, add a second top plate to hold them together. Use a nail gun to attach the second plate with framing nails.
- If the house has a second floor, repeat the steps for installing the floor and the walls.
Pro Tip: Make sure the lumber you choose for the studs is as straight as possible. Straight studs are easier to assemble and ensure a stronger, better-fitting frame.
How to Frame a Ceiling and Roof
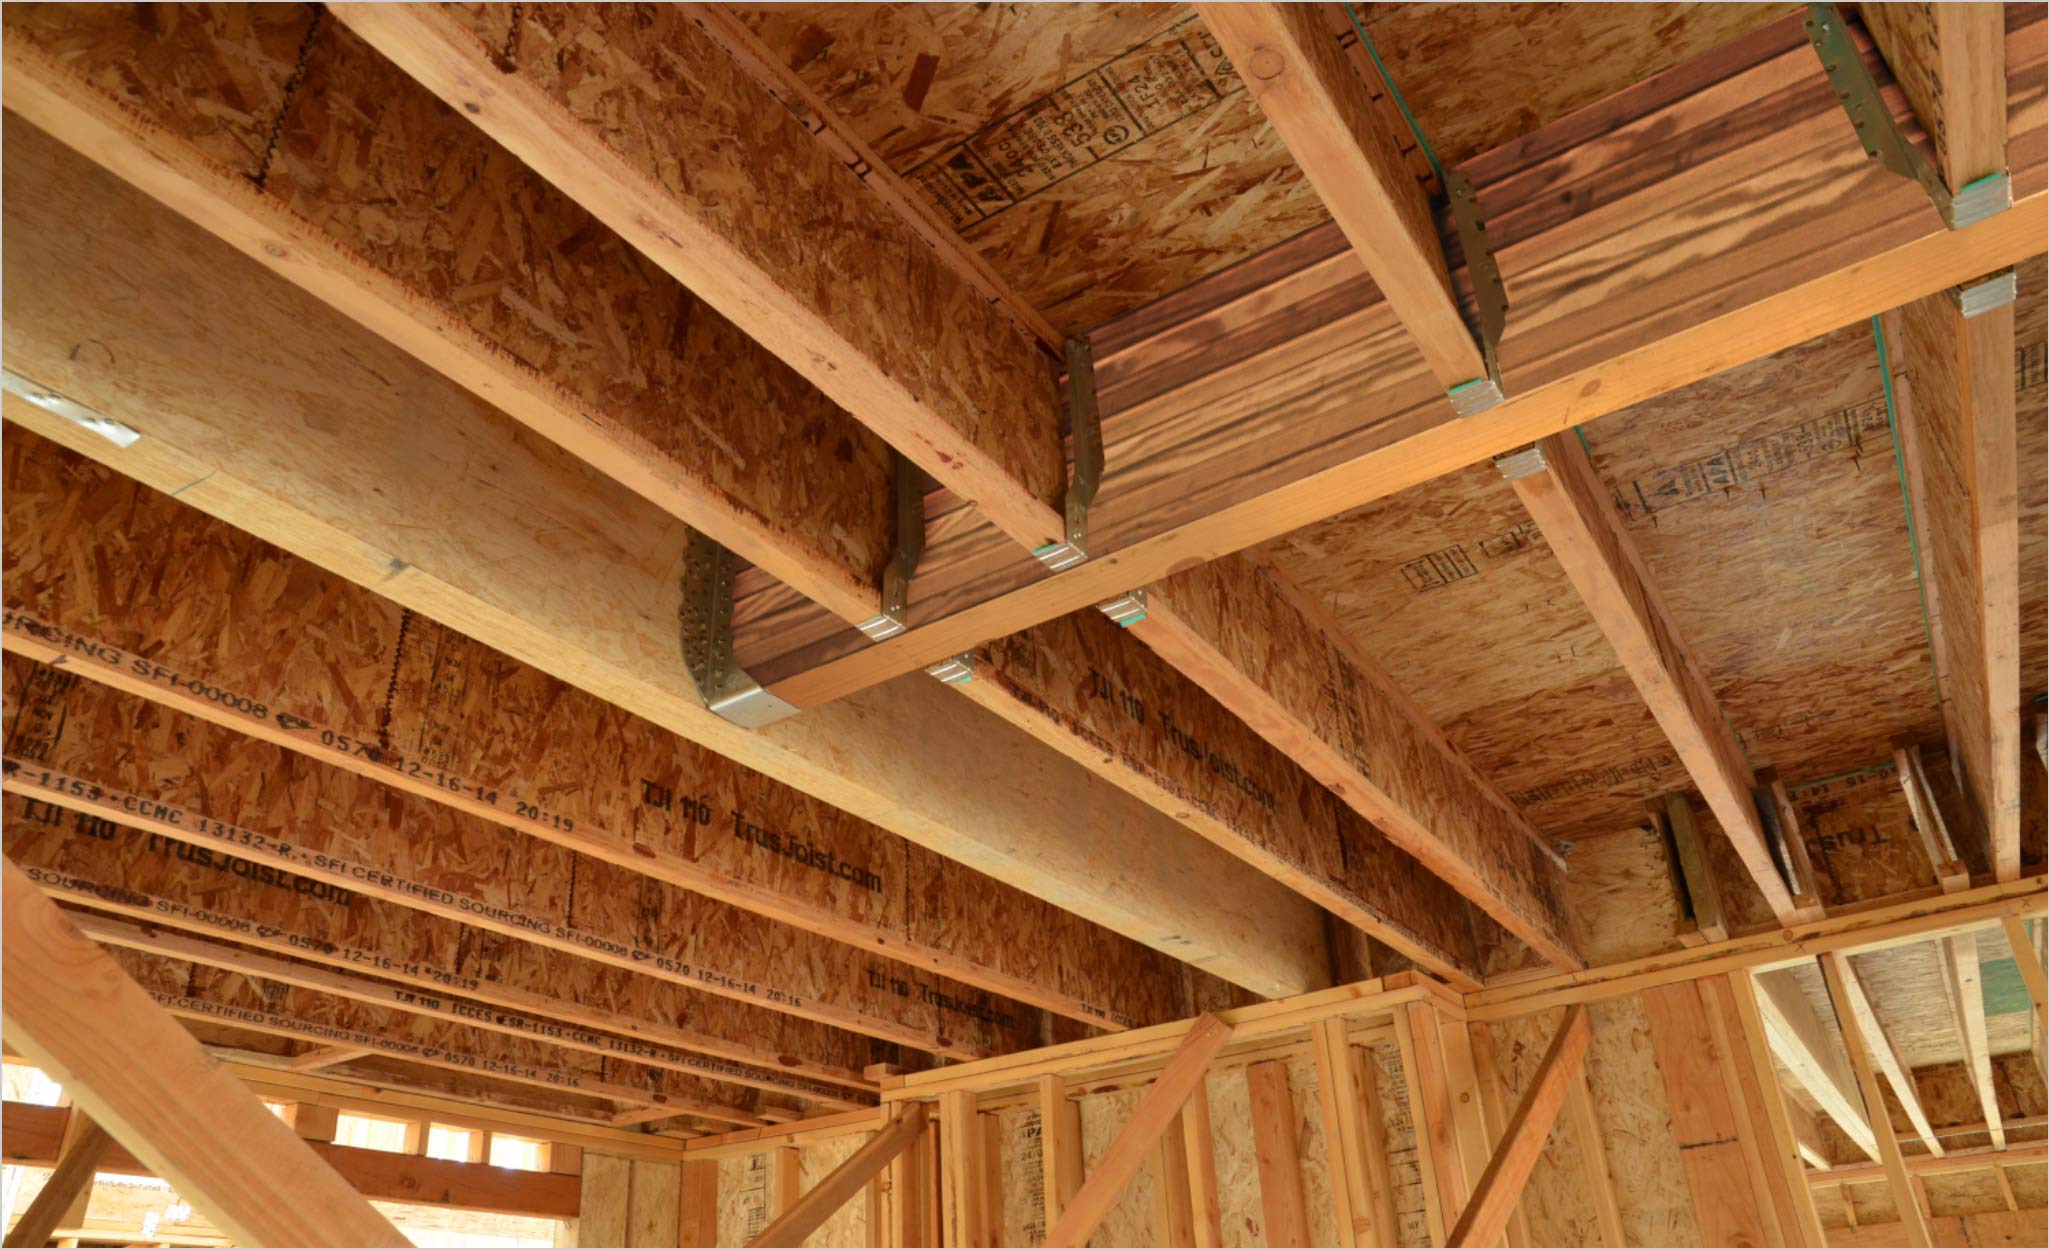
The final major step in residential framing is building the ceiling and roof.
- Place the 2- x 10-inch ceiling joists horizontally, 16 inches on center, across the top plates of the opposing walls. Attach the joists to the plates.
- Calculate the size and placement of the rafters and the roof pitch based on the roof design.
- Place the rafters diagonally so they meet at a ridge board at the peak of the roof.
- Nail horizontal 2- x 4-inch or 2- x 6-inch rafter ties to the rafters and top plates at both ends of the roof. This prevents the walls from spreading apart.
- Nail the exterior sheathing on all the exterior walls with framing nails.
- Nail the sheathing to the roof with framing nails.
- Cap the roof rafters with 2- x 6-inch fascia boards.
Pro Tip: Overlap ceiling joists at least 6 inches over the bearing walls to provide greater support.
How to Frame Doors and Windows
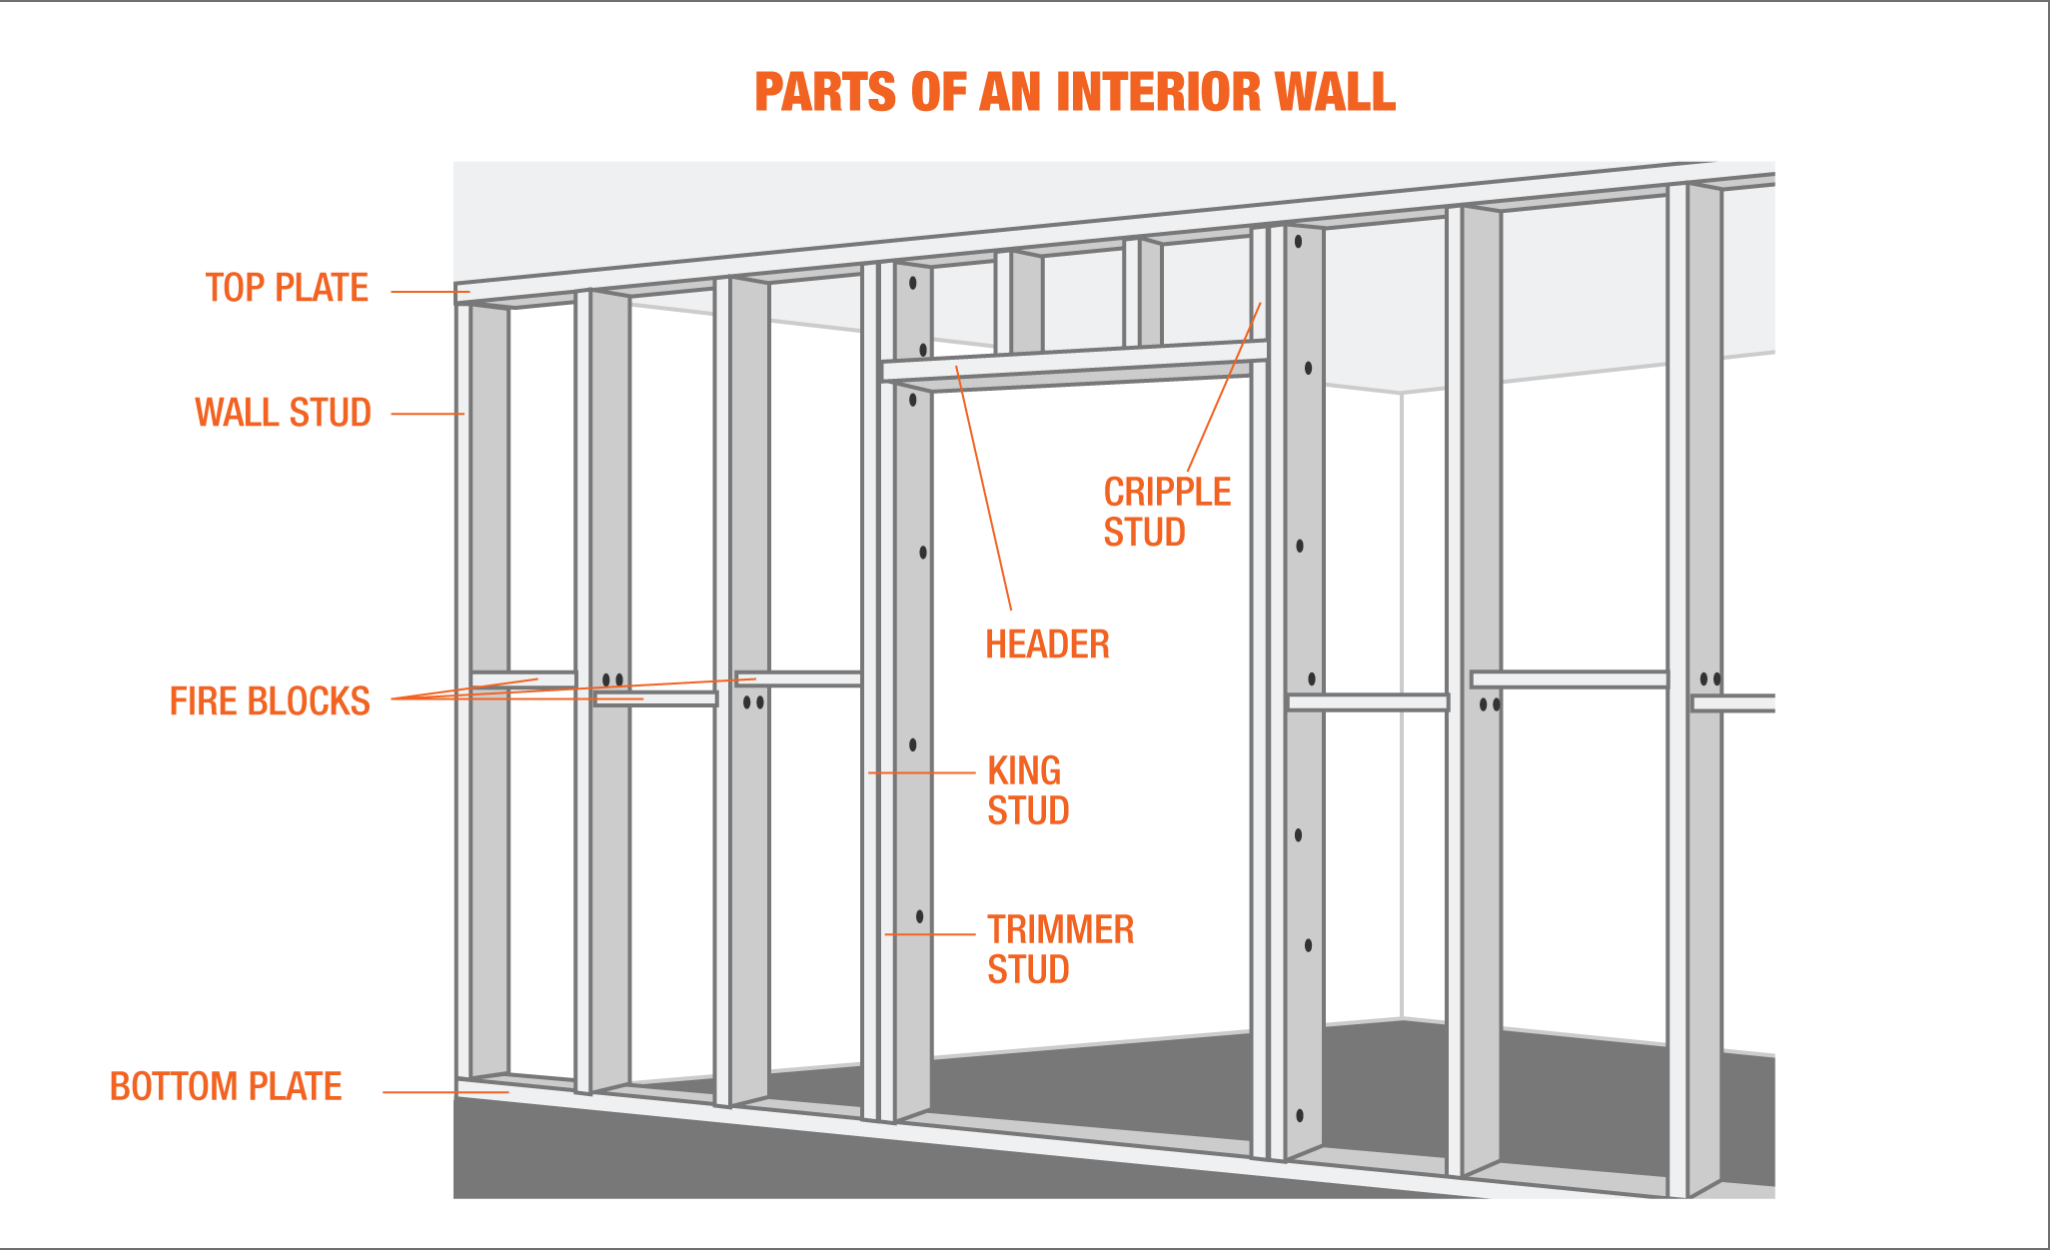
While framing the walls, create the rough openings for doors and windows, which will be installed later.
These are the steps for framing a door.
- Measure and mark the rough opening of the door frame.
- Attach the door frame’s king studs to the top and bottom plates.
- Build a header by putting a 1/2-inch piece of plywood between two 2- x 8-inch boards. Cut the header and fit it between the king studs.
- Nail a cripple stud between the header and the top plate.
- Nail the jack studs into place against the king studs.
- Drive nails through the king studs into the header.
- After you’ve completed the house framing, you can cut the sole plate and install the door.
Frame the rough opening of a window in the same way, using window frame measurements. Attach the king studs, jack studs and header. Install a sill at the bottom of the window frame opening. Nail cripple studs to the sill and bottom plate.
Types of House Framing
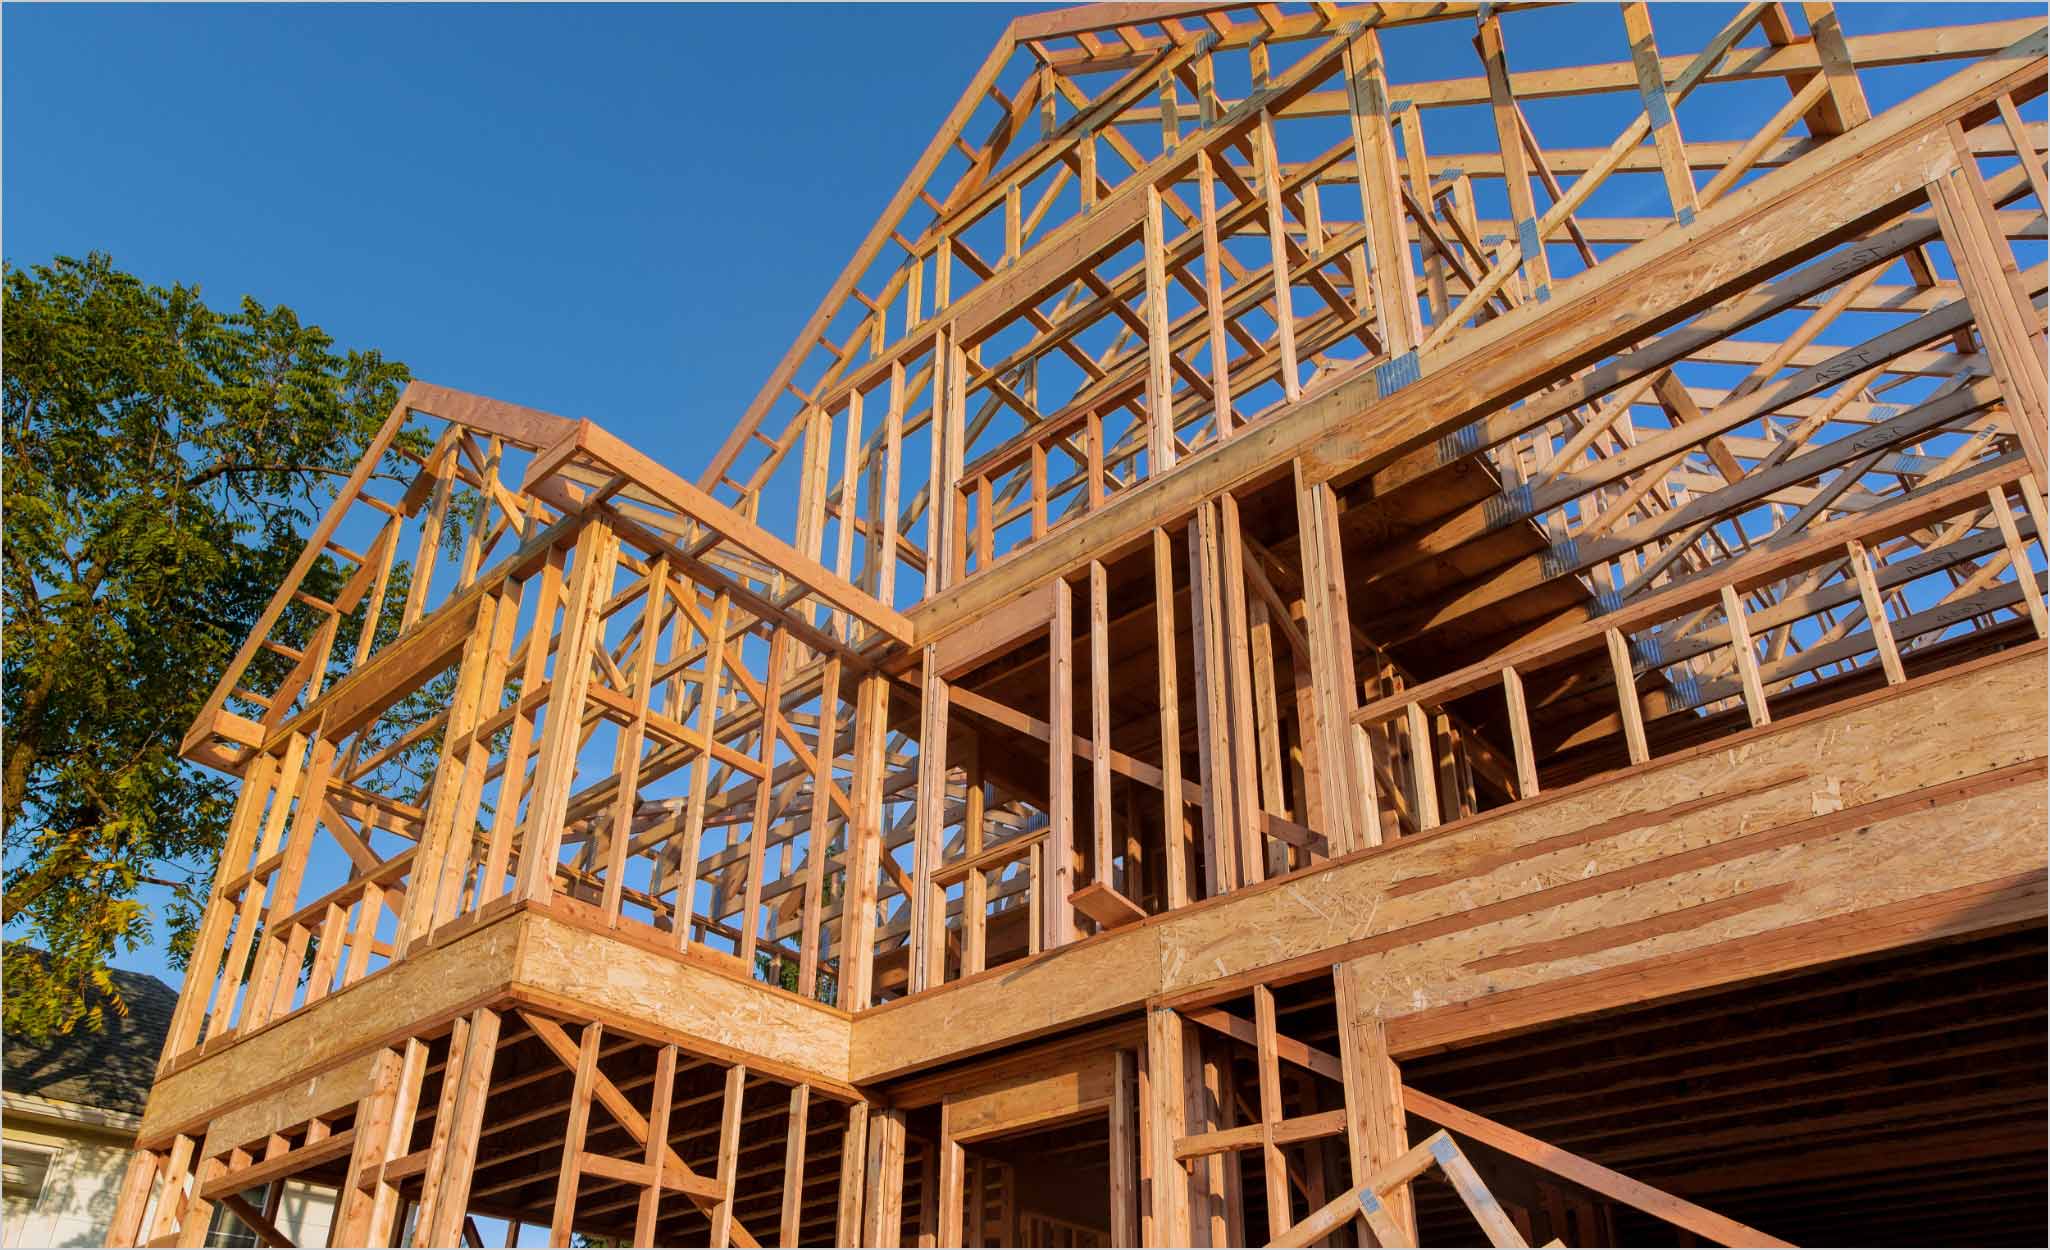
These are the major types of house framing.
- Platform framing, also called stick framing, is by far the most common type of residential framing. In platform framing, each floor is framed separately atop the others. This requires shorter, less expensive lengths of lumber and makes the construction easier.
- In balloon framing, the framing members or studs extend the full height of the building, from the foundation to the top of the second story. This requires longer, more expensive lengths of lumber. The construction process is more complex and can lead to larger wall cavities, increasing the risk of fire.
- Timber framing and post & beam framing are similar and largely antiquated construction methods that use heavy timbers instead of dimensional lumber.
Lumber is the most popular material for house framing. Douglas fir’s strength, durability and comparatively low price make it one of the most popular options. Consider pressure-treated lumber for framing exteriors.
Lightweight steel framing is also becoming increasingly common, because it is durable, uniform in shape and resistant to fire and moisture. Drawbacks to steel frames are higher cost and poor insulation properties.
How Much Does It Cost to Frame a House?
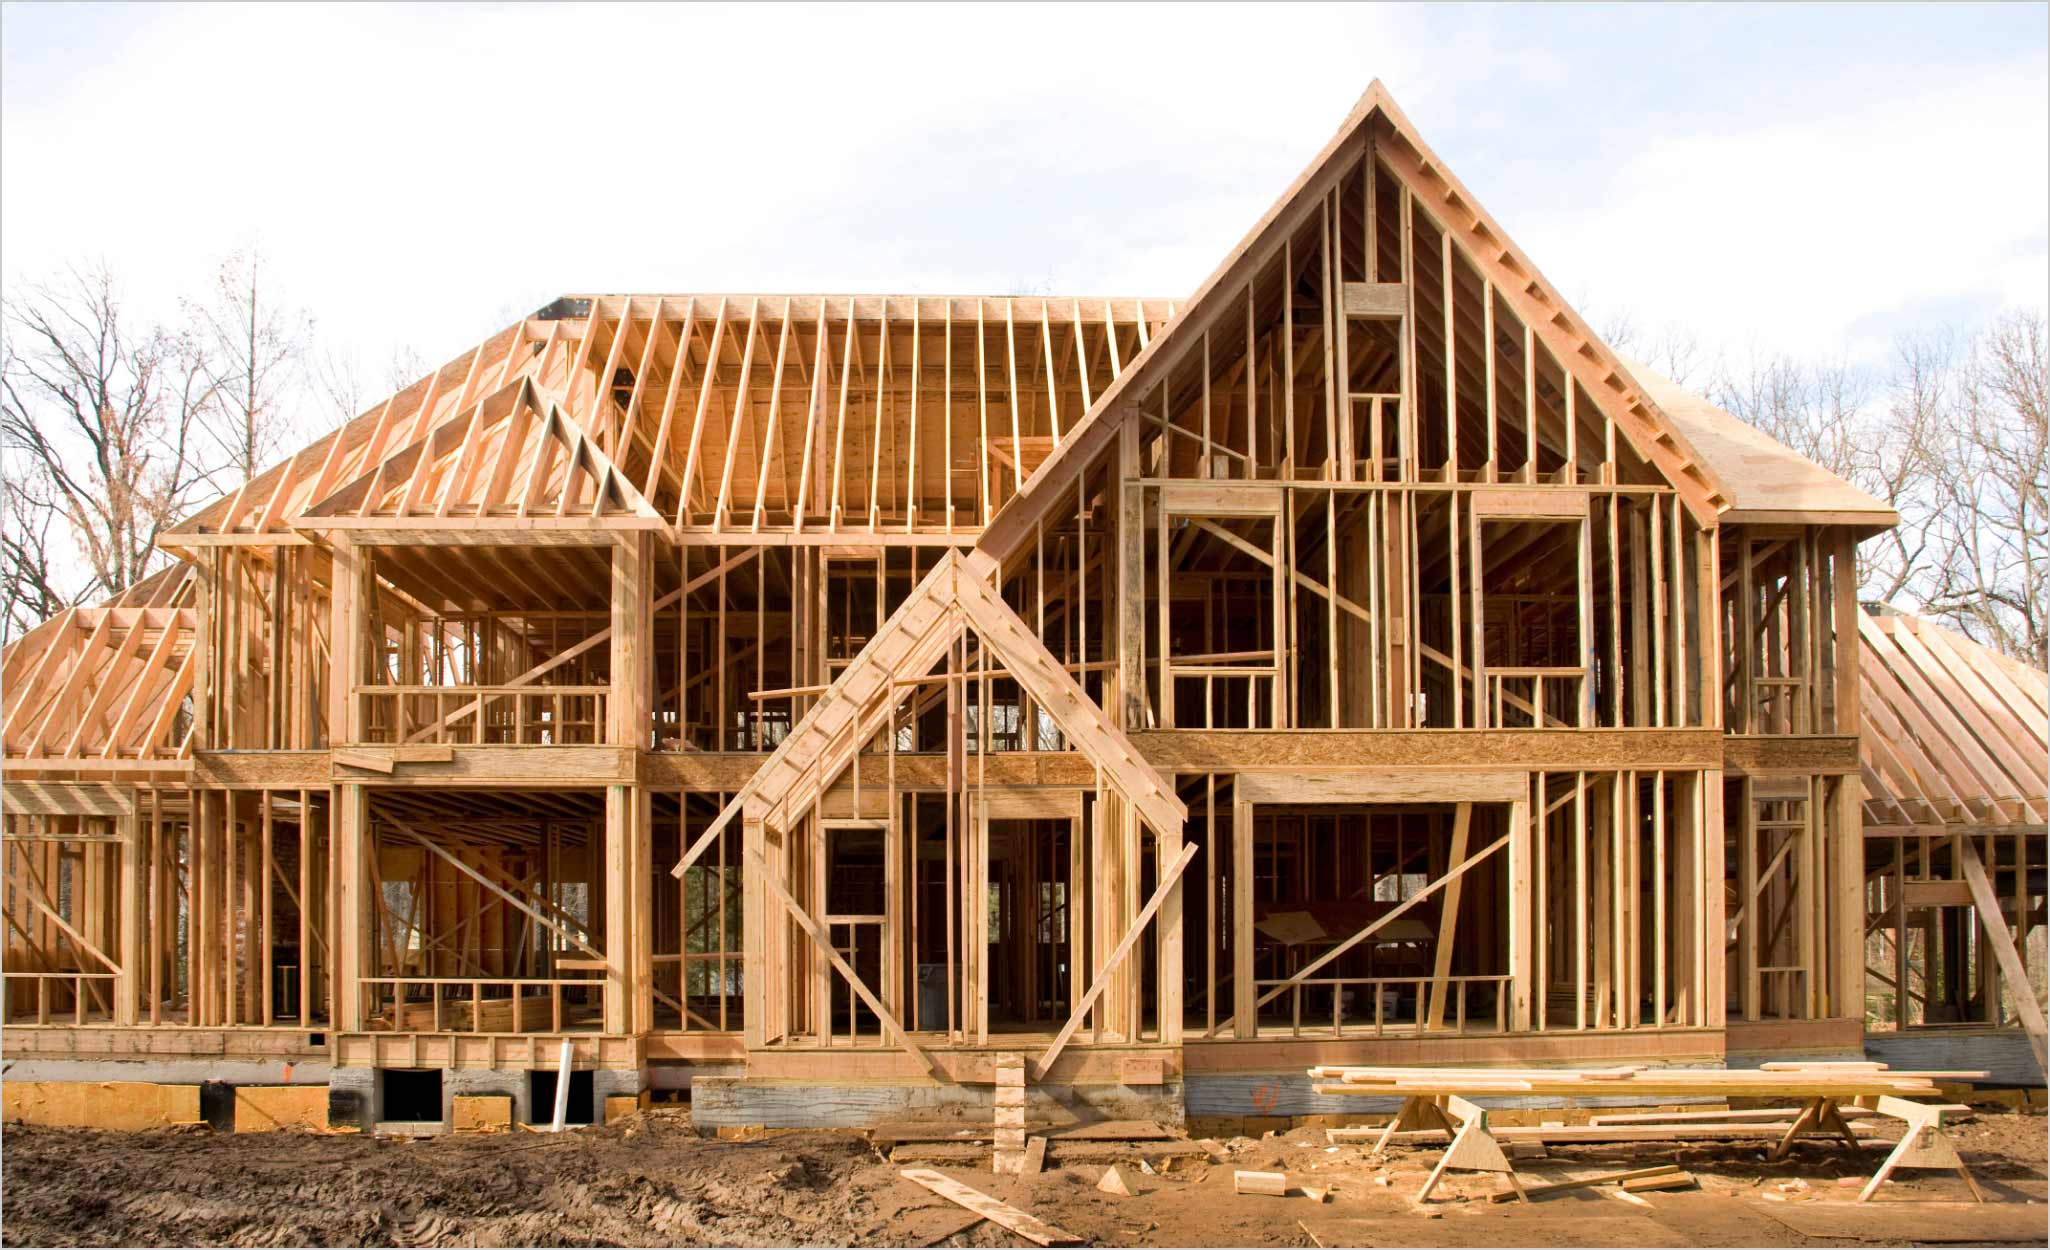
Building experts estimate that the average cost to frame a house is between $7 and $16 per square foot.
- Labor costs for house framing are between $4 and $10 per square foot, depending on the complexity of the house plan.
- Materials costs for house framing are between $3 and $6 per square foot, depending on lumber price fluctuations. Steel can cost more than lumber.
The average size of a new home build is about 2,000 square feet, so the framing can cost between $15,000 and $30,000.
More Tools. More Products. More Perks.

Be more competitive and boost your bottom line with Pro Xtra, The Home Depot's loyalty program built for Pros. Sign up today to access the enhanced Pro Online Experience, built with the online business tools and time-saving features Pros need.
Authorize employee in-store purchases quickly and securely via text. When Pro Xtra members enroll in Text2Confirm, you have total visibility to a detailed list of everything your employee is buying.
