DIY Garden Cart
Last updated September 7, 2023
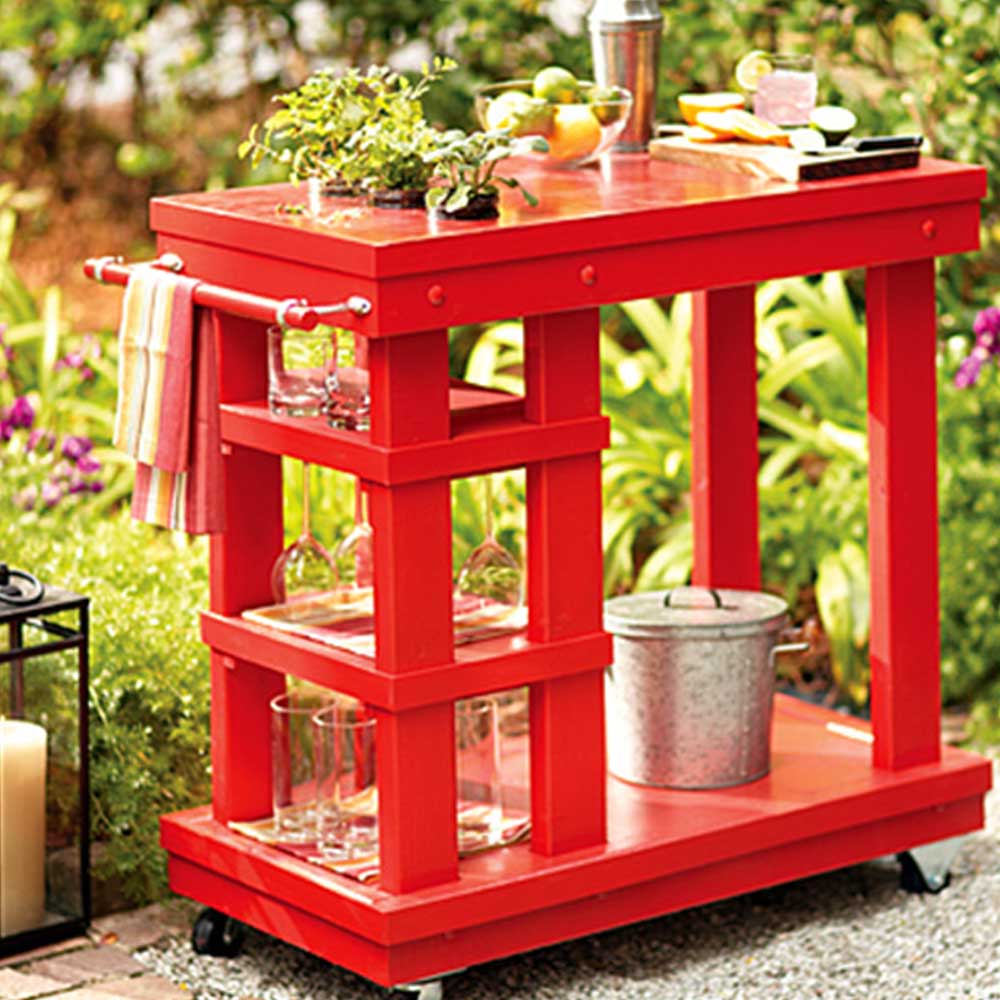
This DIY garden cart is both functional and stylish. Use it for outdoor entertaining or keeping small garden tools at hand. Depending on the materials you choose, you can build the cart for $150 – $200. We painted ours glossy red, for a pop of color in the garden. Its shelves hold glasses, plates and an ice bucket.
If you prefer, apply a stain for a more natural look. Attach hooks to the sides of the cart if you wish, so you can hang a hand trowel, garden fork or weed cultivator.
Difficulty:
Advanced
Duration:
2-4 hours
Table of Contents
Build the Frame of the Garden Cart
Mark the Wood for Legs – Part 1
Mark the Wood for Legs – Part 2
Mark the Wood for Legs – Part 3
Make the Shelf Section
Drill Holes for Legs
Build the Frame of the Garden Cart
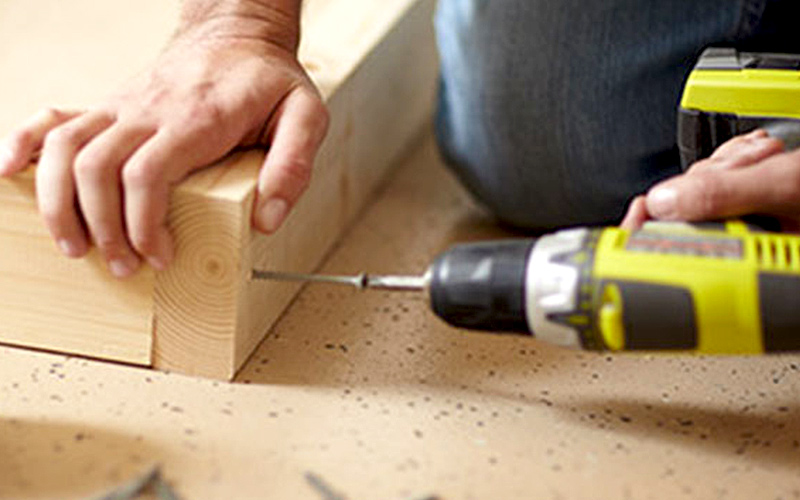
Next use a square to draw a line along the face of each. This line should connect from one board to another along the inside of the frame. This line will be a guide for the lower shelf support.
Screw the pieces together with 3-inch screws. Make sure the 15-inch sides are secured between the 36-inch front/back pieces, giving a total depth of 18 inches and a length of 36 inches. This frame section will make up the bottom frame of the cart.
Mark the Wood for Legs – Part 1
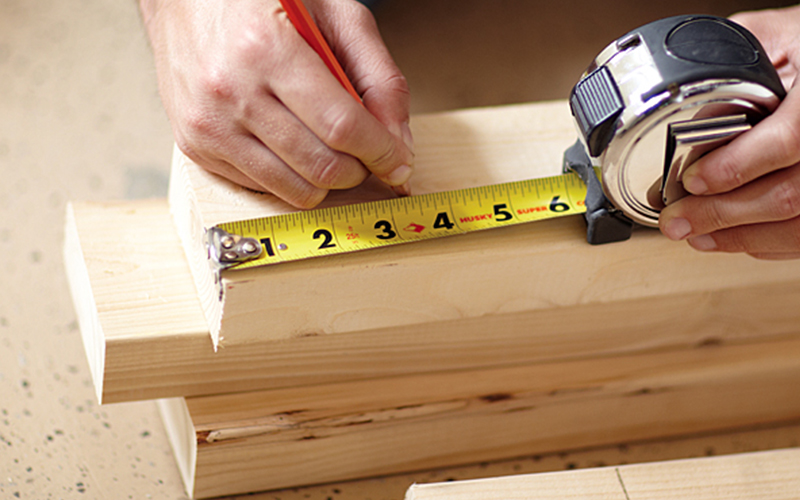
With the 32-inch frame legs, measure down from the top and up from the bottom 3-1/2 inches, and draw a line straight across. You should now have a 3-1/2-inch x 3-1/2-inch square at the top and bottom of each leg.
Mark the Wood for Legs – Part 2
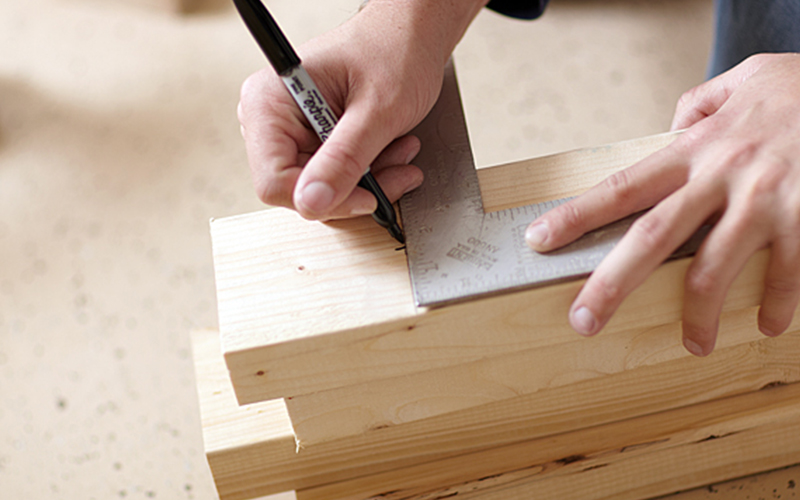
In the top section of a frame leg, measure along the line you created at 1-3/4-inch. Mark it, and use a square to draw a line to the top of the board. Measure up this line 1-1/2 inches and mark the spot.
Mark the Wood for Legs – Part 3
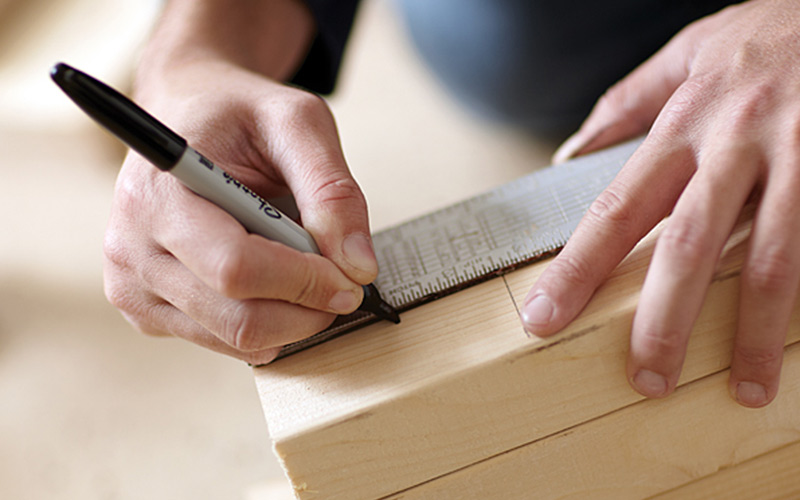
At the bottom of the legs, measure across the drawn line at 1-3/4 inches. Mark it, and use a square to draw a line to the board bottom. Measure down this line 2 inches and mark with a pencil or marker. These marks will be where you will eventually drill for the carriage bolts that hold the top and bottom frame to the frame legs.
Make the Shelf Section
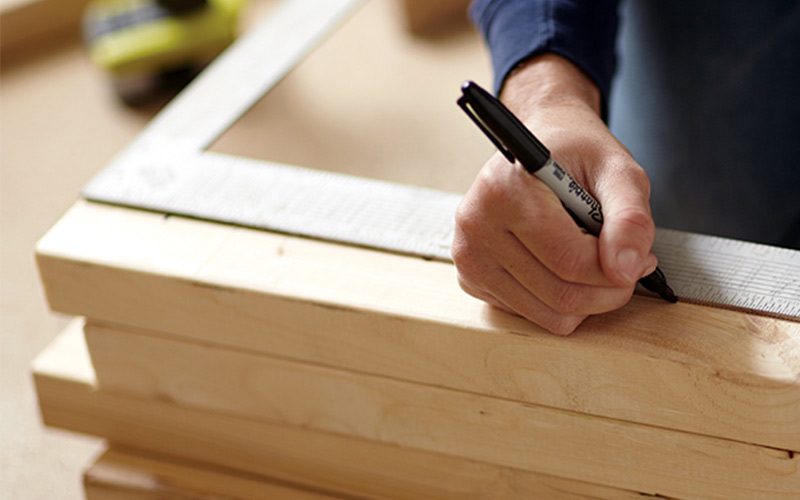
Use four of the legs to help make the shelf section. Taking one leg, measure up from the bottom of the leg 12-1/2 inches and mark it. Using the square, draw a line straight across. Measure up another 10 inches and mark it with a line. Repeat for the other three legs.
Drill Holes for Legs
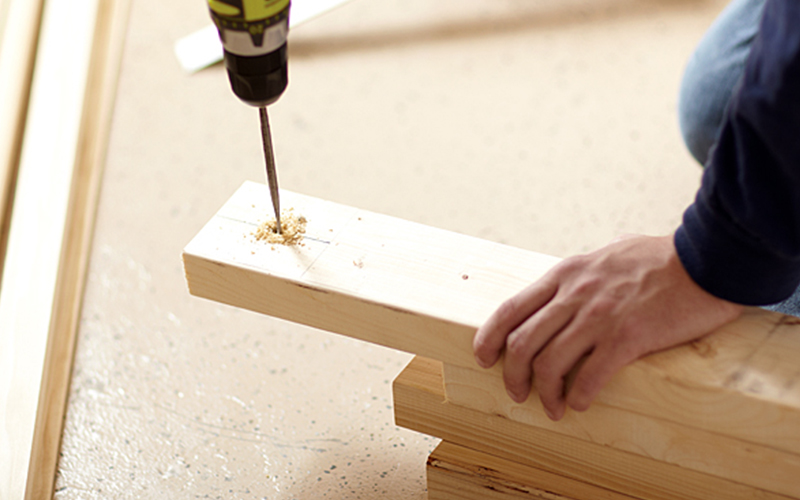
Use a 3/8-inch spade bit to drill all the marked carriage bolt holes in the frame legs.
Align Legs to Attach
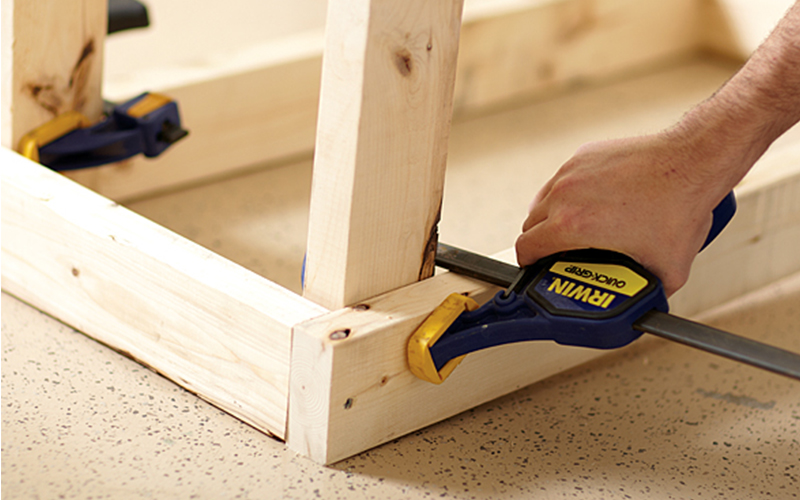
Take the top and bottom frames, and, working one side at a time, align each leg into its proper corner. Note: Make sure the legs marked for the shelf section are facing each other on the same side. Only 2 are used at this point. Secure them with a clamp. The legs should be flush with the upper edge of the top frame and the lower edge of the bottom frame.
Secure Legs to the Frame
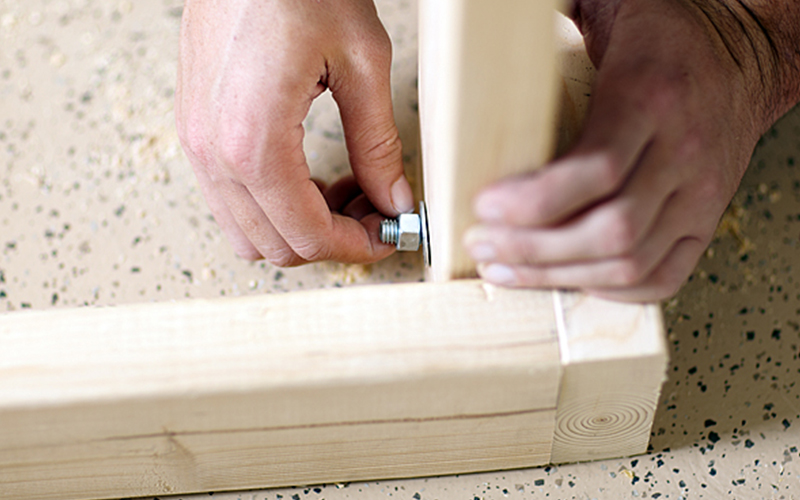
When you’re happy with the alignment, working one corner at a time, remove the clamp and use the existing hole in the leg as a guide to drill the hole through the frame. Place a 3/8-inch bolt through the frame, adding a washer and nut.
Align the Outer Edge
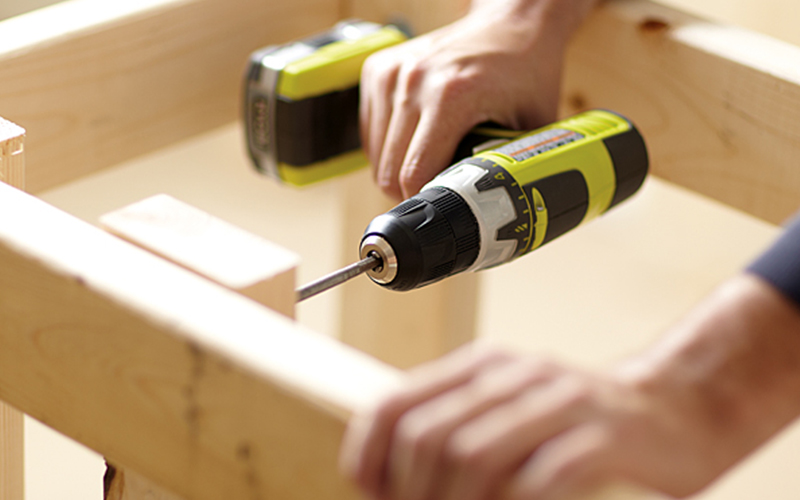
With the cart in front of you, measure from the outer edge of the shelf section, 12 inches along the top and bottom frame, and mark. Using the marks you just made, align the outer edge of one of the remaining two shelf-section legs and clamp and drill as you did when securing the other legs in Step 7. Repeat for opposite side.
Mount the Shelf Supports – Part 1
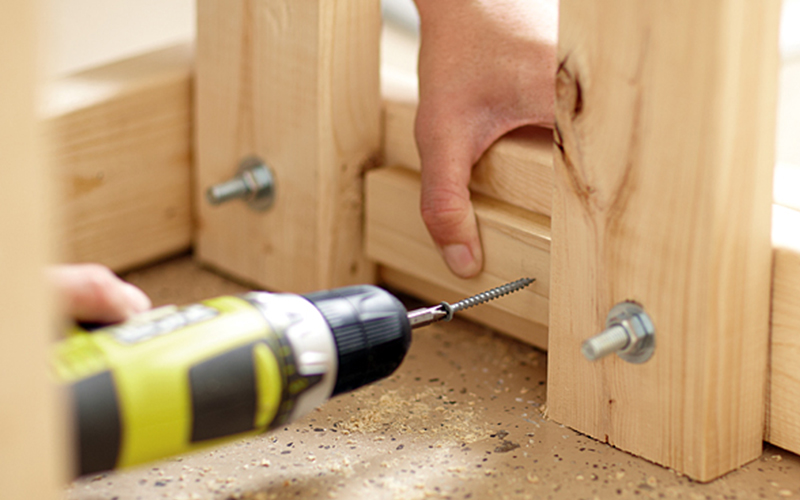
Starting with the bottom frame and using the 3/4-inch border you made in Step 1 as a guide, mount the shelf supports using 1-1/2-inch wood screws. The 12-inch supports mount along the cart sides, and the 5-inch supports mount between the shelf section legs. Mount the 17-1/2-inch support along the remaining length. Note: Pre-drill holes on these pieces so the wood doesn’t split.
Mount the Shelf Supports – Part 2
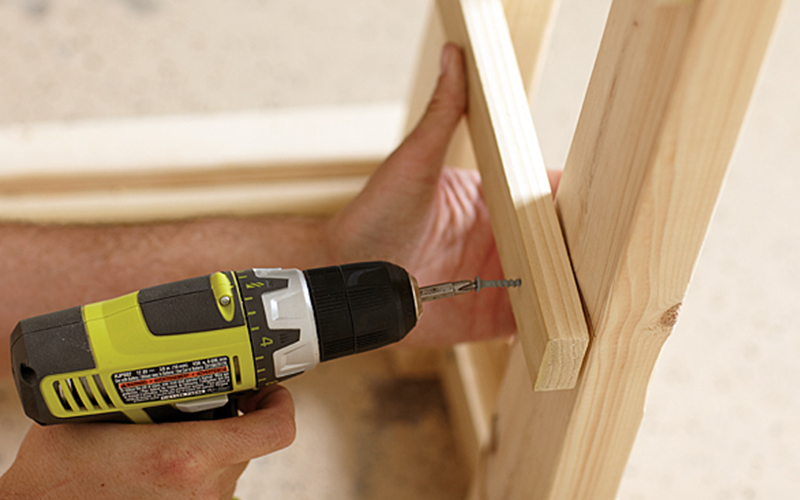
The last four 12-inch shelf supports mount at the guide marks we made for the shelf support section in Step 5.
Build the Top and Shelves
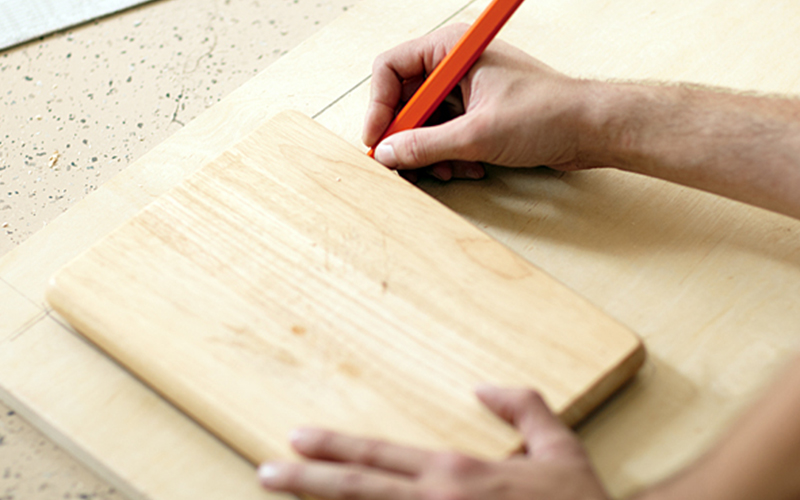
To make the cart more functional, we embedded a cutting board and herb jar holders. The area you need to route out depends on the size of your cutting board. We used a 13 x 9-1/2 x
3/4-inch cutting board. Start by creating a border for the cutting board on the 36-inch x 18-inch plywood top. Measure and mark a 2-inch border along the short and long sides. Place the cutting board against this border, and trace its shape onto the plywood. With the outline in place, select a straight bit, set the route depth to 1/2-inch, and clear out the area inside the outline. Get as close as you can without going over. Use a “guide” for the router, like a scrap piece of 2×4, for the straight edge.
Drill Holes for Herb Jars
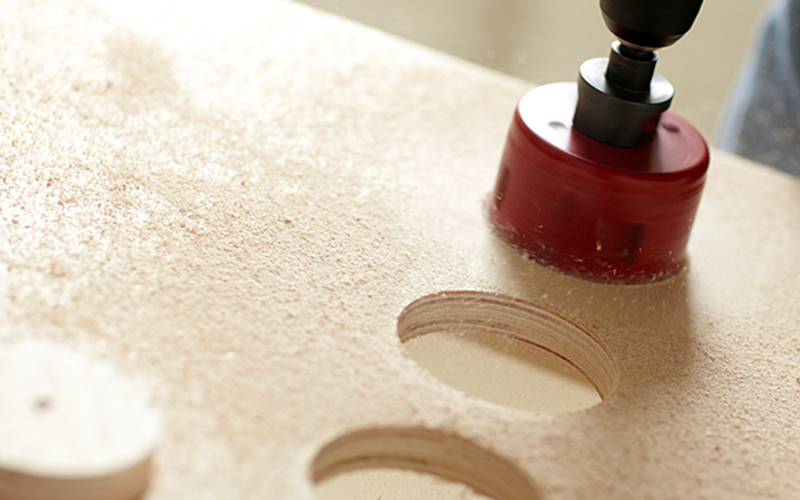
Starting on the same side as the cutting board, measure across 28-1/2 inches and use the square to draw a line across the cart’s top. Place marks along the line at 4-1/2 inches, 9 inches and 13-1/2 inches. These marks indicate the center of the holes for the herb jars. Drill the holes through the plywood with a 3-1/4-inch hole saw. Place the top aside for now.
Notch the Shelves
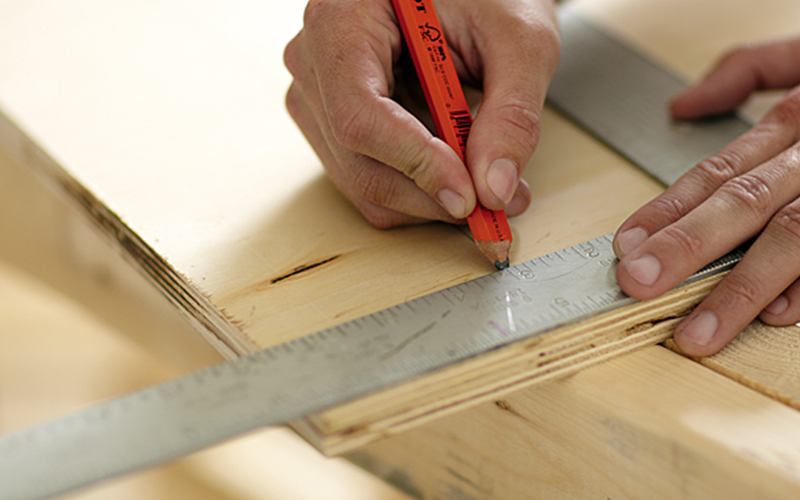
The bottom shelves require some edits before putting them in place. The shelves will need to be notched to fit around the legs of the garden cart. Starting with the 21 x 15-inch shelf, measure and mark in 3-1/2 inches, and use a square to place a line parallel with the 15-inch side of the shelf. Measure in from each edge 1-1/2 inches and use the square to lay a line from the board edge to the line we drew just before. Use a jigsaw to cut out the resulting corners.
Notch the Corners
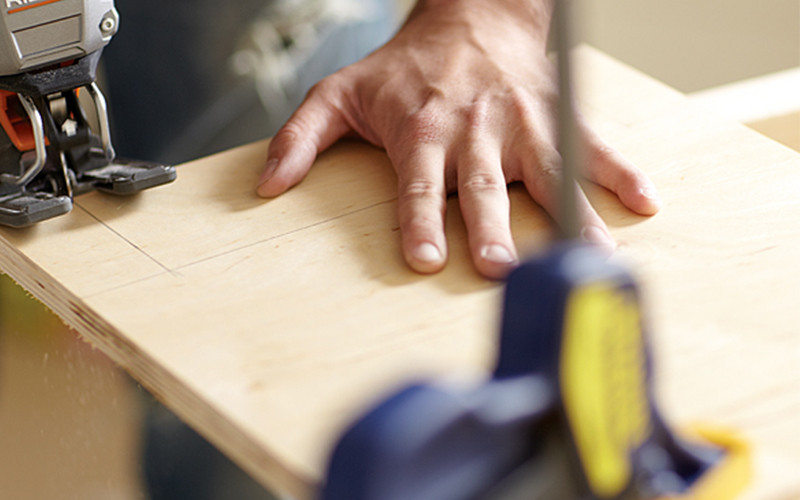
The corners of the 12 x 15 shelves need to be similarly notched. Working from the 12-inch sides, measure in from each corner 3-1/2 inches, and into the board by 1-1/2 inches. Remove the resulting corner with the jigsaw. Repeat for the other two 12 x 15 shelves.
Tip: The general shape of the shelf matches the inside contours of the lower frame. If you are not sure of something, always check against this.
Attach the Cart's Top
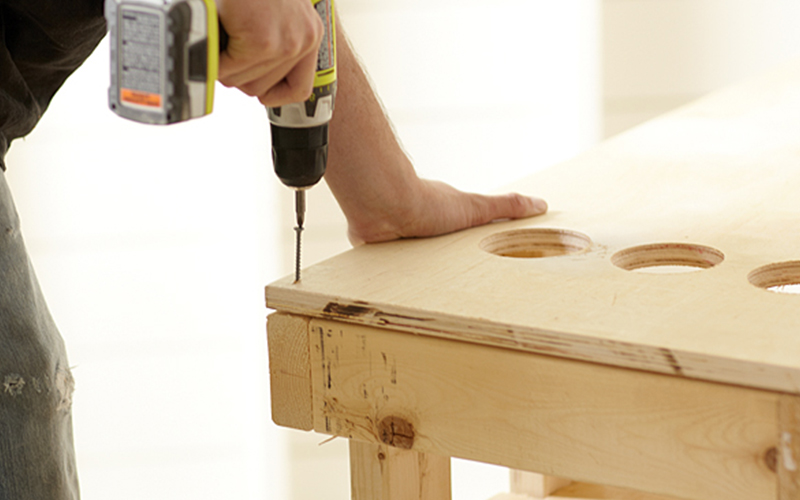
While the cabinet grade plywood has an excellent looking surface, the edges are rough and need to be covered. Place the shelves working from the bottom up. Attach the cart’s top to the frame using the 1-1/2-inch screws, one at each corner and one along the length of the plywood on each side.
Hide the Edge and Secure the Trim
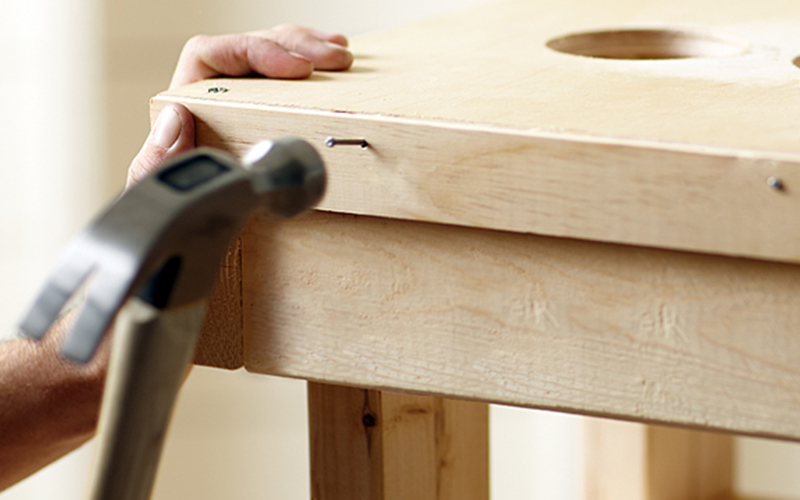
To hide the edge of the top, use the 2-inch lattice. The lattice will be flush with the top of the plywood, hiding the plywood edge as well as the seam where it meets the frame. The longer 36-1/2-inch trim needs to overlap the cart corners by 1/4 inches on each side, with the shorter 15-inch trim sandwiched in between. Repeat for the bottom of the cart, as well as the two shelves held within the legs. Secure all trim with wood glue and/or finishing nails.
Attach the Casters
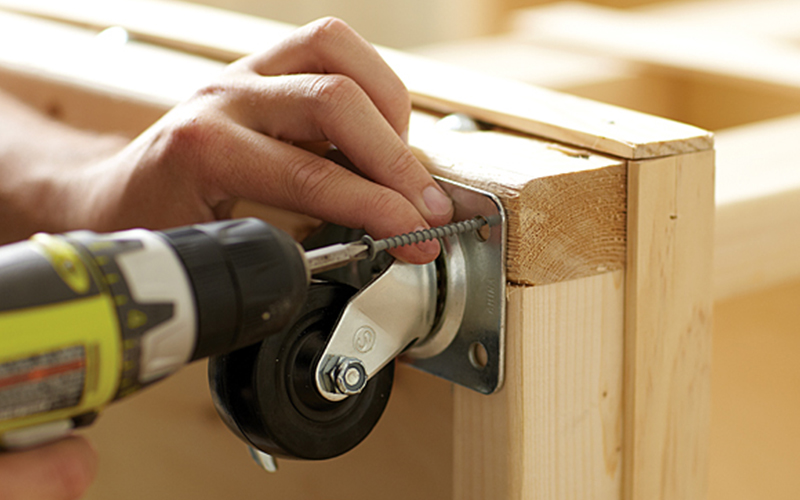
Attach the casters at the corners. The two rigid casters need to be on the end opposite the leg shelves. This will give more control when pushing the cart and will help prevent tipping. With the cart now on its wheels, you can place decorative hooks to hold utensils or tools. Place the hooks along the frame just below the trim to keep them in easy reach.
Add a Handle
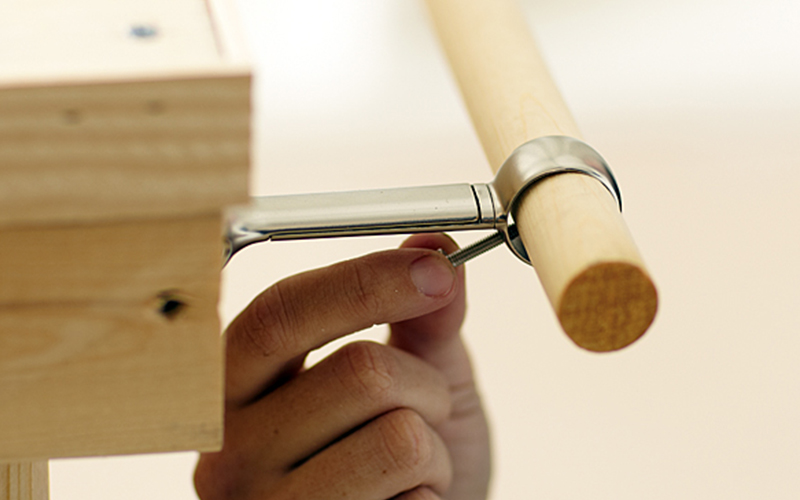
Finally, add a handle to push the garden cart. We re-purposed some curtain brackets and a wooden dowel. The brackets are mounted 1-inch in from the cart edge on the side opposite the rigid wheels. The dowel is 18 inches long, so it fits flush with the width of the cart. Lock the dowel in place using the Replacement Universal Brackets.
Paint or Stain Your Garden Cart
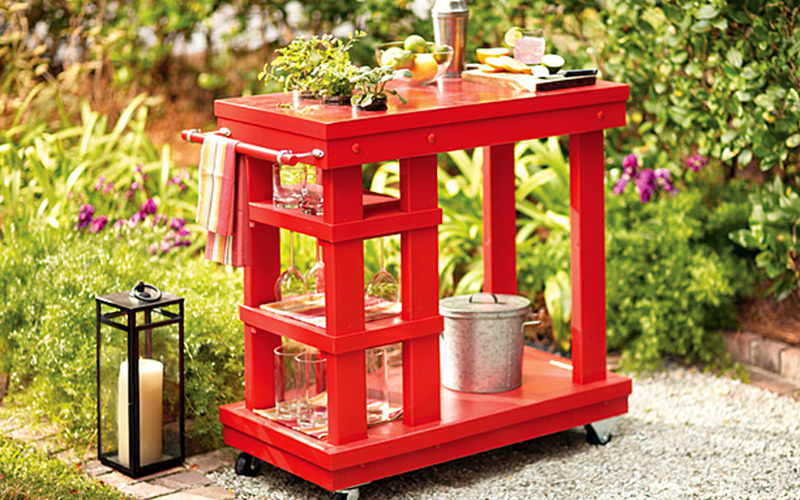
Since this garden cart will be used outdoors, you may want to paint or stain it. You can also opt to keep a more natural look.
If you want an attractive and practical place to store your garden tools and materials, this DIY Garden Cart is the answer. It's also great for entertaining friends and family, as it serves as a cool landing spot to place drinks and food on. Be sure to use The Home Depot Mobile App to get everything you need to make this charming cart.
