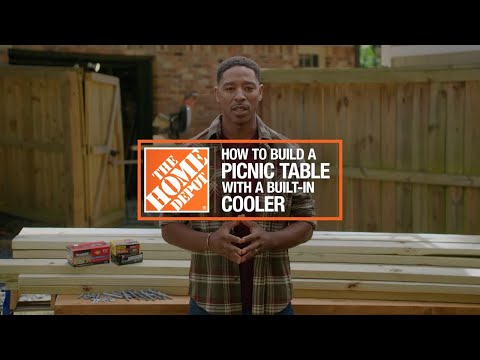
How to Build a Picnic Table with a Built-In Cooler
Last updated May 23, 2025
A picnic table is great for outdoor entertaining, but a picnic table with a built-in cooler will take your cookouts to the next level. This guide will show you how to build a picnic table with a place to keep your drinks and condiments cold. You could also use the cooler area for storage of other cookout essentials like plates, cups and flatware, or use it as a planter and enjoy some greenery on your table.
A note about building with screws: Avoid driving screws too deep into the wood. Screws work best when the top of the head is flush or just barely below the surface of the wood. If they’re driven well below the surface, holding power is reduced, and they’re more likely to split the wood, and sometimes the point comes through the other side.
Difficulty:
Intermediate
Duration:
Over 1 day
Table of Contents
Tools and Materials
Measure and Cut the Lumber
Assemble the Table Top
Add Legs and Table Support Braces
Add Benches
Make Room for the Cooler
Tools and Materials

To build this table you’ll need some tools and materials from your local Home Depot store. Many of these tools can also be rented from The Home Depot.
If your picnic table will be left outdoors, make it from pressure treated wood or a species like cedar that is naturally water and insect resistant. If the table will be kept in a dry location like a pavilion or covered porch, untreated lumber will work.
- Four 2x8x8’ boards
- Six 2x6x8’ boards
- Five 2x4x8' boards
- 1 pound each of 2 1/2-inch and 3-inch self-drilling exterior screws with the appropriate driver bits (Be sure the screws are rated for the wood you have chosen.)
- Sixteen 1/2-inch x 3 1/2-inch galvanized or stainless-steel carriage bolts with washers and nuts
- Plastic planter that measures 9.3- x 26.8- x 11.9 inches
You will also need these tools:
- Drill with 1/2-inch drill bit
- Impact driver (optional)
- Circular saw or track saw
- Hand saw or jig saw
- Sander with 120 grit sandpaper
- Carpenter square
- Measuring tape
- 3/4-inch wrench or socket and ratchet
- Clamps
- 1/2-inch-thick scrap wood to use as spacers
Measure and Cut the Lumber

To make the picnic table, you will need to cut the wood as follows:
- 4 tabletop slats: 2x8x72 inches
- 4 bench slats: 2x6x68 inches
- 4 angled table legs: 2x6x32-3/4 inches (see detailed instructions below)
- 2 inner tabletop supports: 2x4x28-3/4 inches
- 2 end table supports: 2x4x28 3/4 inches
- 2 connectors for a removable piece of tabletop: 2x4x6 inches
- 4 supports for removable piece of tabletop: 1x3x8 inches
- 2 bench supports: 2x4x61 inches
- 2 braces: 2x4x8-1/4 inches with opposite 45-degree angles on each end (These angles are cut on the flat face of the board.)
- 6 bench cleats: 2x4x10 inches
Now, let us discuss table leg cutting instructions. The finished lengths of the legs should be 32-3/4 inches along each edge. This may seem difficult, but here's an easy method:
- Cut four 2 x 6 boards to 36 inches long.
- Draw a 30-degree line at each end of the legs. These lines should be parallel to each other.
- Before cutting, check to see that each outer edge will be 32-3/4 inches long. If not, check the lines to make sure they are going in the right direction.
- Cut each leg at the 30-degree marks with a miter saw or circular saw.
Assemble the Table Top

To assemble the table top, lay the four 2x8x72 inch pieces face down on the work surface. Place 1/2-inch spacers in the gaps. Arrange the slats so that the ends are flush with each other and square on the ends.
Measure and mark a line across all four slats, 7 inches from each end. Place a 2x4x28 inch table top support on the inside of each line. Drive two 2-1/2 inch screw through the supports into each slat.
Place a 2x6x28 inch with 45 degree cut on each end on the inside of each table top support. The long edge should be against the table top. Attach to the support with a 3-inch screw at each slat.
Add Legs and Table Support Braces

Place the point at the end of the first leg at the inner edge of one inner table top slat. The leg should be against the inside of the 2x6x28 inch leg support. Use two 2-1/2 inch screws to hold in place.
Repeat with the three remaining legs.
Drill two 1/2 inch holes through each leg and support. Attach with two 3-1/2-inch carriage bolts with washers and nuts. Tighten with the wrench.
Place a 2x4x8-1/2 inch with 45 degree ends table support brace between the legs, touching the 2x6 support and the table top. Attach each end with two 2-1/2 inch screws. Repeat on the other end of the table.
Place a 2x4x28 inch inner table top support across the four slats. It should be against the end of the table support brace. Attach to the table top with two 2-1/2 inch screws into each slat. Repeat on the other end of the table.
Add Benches

The ends of the 2x6x61 inch bench supports need to be beveled. Measure and mark two inches along the edge from the top then use a rafter square to mark a 45 degree angle from the bottom of the support to the 2-inch mark. Cut along this line.
Use a square to measure and make a mark 8 inches down from the bottom of each leg.
Center the bench support below the line and attach with four screws in each leg.
Drill two holes through the brace and each leg.
Fasten with three and 3-1/2 inch carriage bolts, nuts and washers through each hole and tighten the nuts with the wrench.
To make the benches, place two 2x6x68 inch bench slats on the work surface. Put 1/2-inch spacers between them. Square them to each other and ensure that the ends are flush.
Measure and mark a line 7-1/2 inches from each end. Measure and mark a line in the center, 34 inches from an end.
Place a 2x4x10 inch bench cleat inside each of the 7-1/2 inch lines and one on top of the center line. Fasten with three 2-1/2 inch screws into each bench slat.
The table is still upside-down to make attaching these parts easier.
Hold the bench against the bench support, with the outer cleats touching the supports. Make the outer edge of the bench flush with the ends of the supports and drive four 3-1/2 inch screws through the support and into the cleat. Do this on both ends of both benches.
The picnic table is now complete. Ask someone to help you turn the table upright.
Make Room for the Cooler

- Measure your planter to get the dimensions of the hole that needs to be cut. The lip around the planter needs to be larger than the opening in the table.
- Create a cardboard template to match the size of the hole that will be cut.
- Use the tape measure to center the template, then trace a line around it.
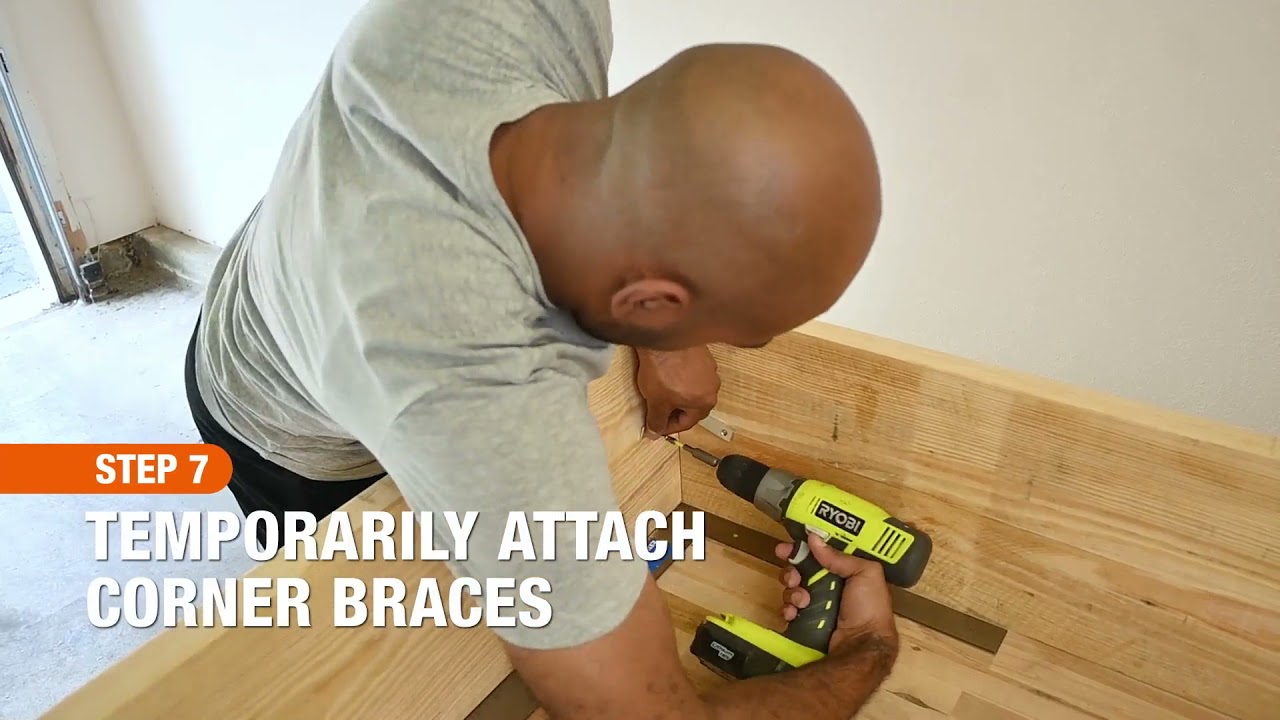
- Before cutting the hole, attach the two 2x4x6 inch pieces under the part that will be cut out. This makes it one solid part that can be placed in the opening when the cooler isn’t in use.
- Cut along the lines with a circular saw or track saw. Stop at the intersections of the lines. The saw blade is round so the wood that remains in the corners will be cut with a handsaw or jigsaw.
- After removing the piece of tabletop, attach the four 1x3x8 inch pieces to the underside of the tabletop. They should be on each end and each side of the opening and protrude into it by 1/4 inch. They will hold the removable part in place when the cooler isn’t being used.
- Place the planter in the opening and drill a few 1/2 inch drainage holes in the bottom of it to keep water from standing in it. If desired, add tubing to these holes to divert the water away from the table.
Sand and Stain or Paint

- Sand all surfaces of the table. Be sure to remove any splinters and smooth any rough areas. Round over all corners.
- If using treated lumber, let the table sit for a few months before applying a finish. The wood needs time to dry before sealing.
- Some wood, like cedar or pressure treated wood can withstand weather and insects for many years without a finish. But, they often look better when stained and sealed to protect from fading in sunlight.
Untreated wood like pine or fir need to be painted or stained and sealed.
This picnic table with a built in cooler is a great addition to your backyard. The cooler is handy to keep drinks, sides and ketchup cold and in easy reach during your picnic.
If you need tools to build your picnic table with built-in cooler, remember the Home Depot delivers online orders when and where you need them. Or if you'd rather rent tools for this project, we have most everything you'll need. You can even rent the truck to haul the tools and materials to your home.