How to Build a Resin Shed Kit

Last updated September 7, 2023
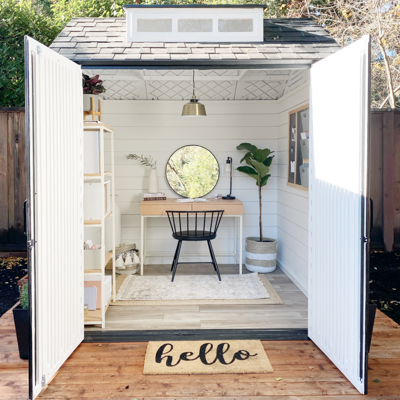
Build your own shed for increased tool space, a place to work on DIY projects and a way to keep your garage free of clutter. There are many shed plans online that show you how to build your own shed from scratch using wood. However, it may be easier to use a kit. This project uses the Keter Stronghold Resin Shed Kit to show how to build a shed from a kit.
Difficulty:
Intermediate
Duration:
2-4 hours
Table of Contents
Prepare Your Area
Unpack the Shed Kit
Assemble the Floor
Assemble the First Wall
Assemble the First Corner
Assemble the Rest of the Shed
Prepare Your Area
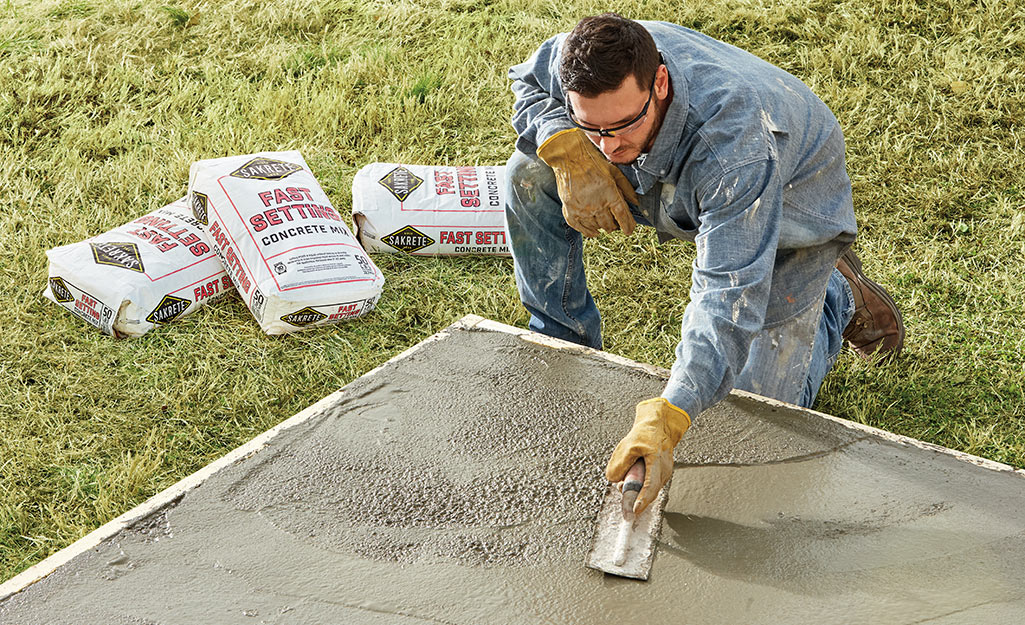
The most important part of any new shed build is the foundation. Find or make a level space in your yard that has good water drainage. There are several foundation options:
- Concrete floor: Pour a concrete slab that’s a little bigger than your shed’s base. Let the slab dry completely based on the
concrete mix
manufacturer's directions. - Ground: Use a
standard level
to make sure your ground is flat. If your yard has a slope, level it and use a tamp to even out and compact the soil. Spread gravel evenly across the area to keep the soil from eroding and becoming waterlogged. - Wooden deck or platform: Pressure wash the surface for a clean base.
Unpack the Shed Kit
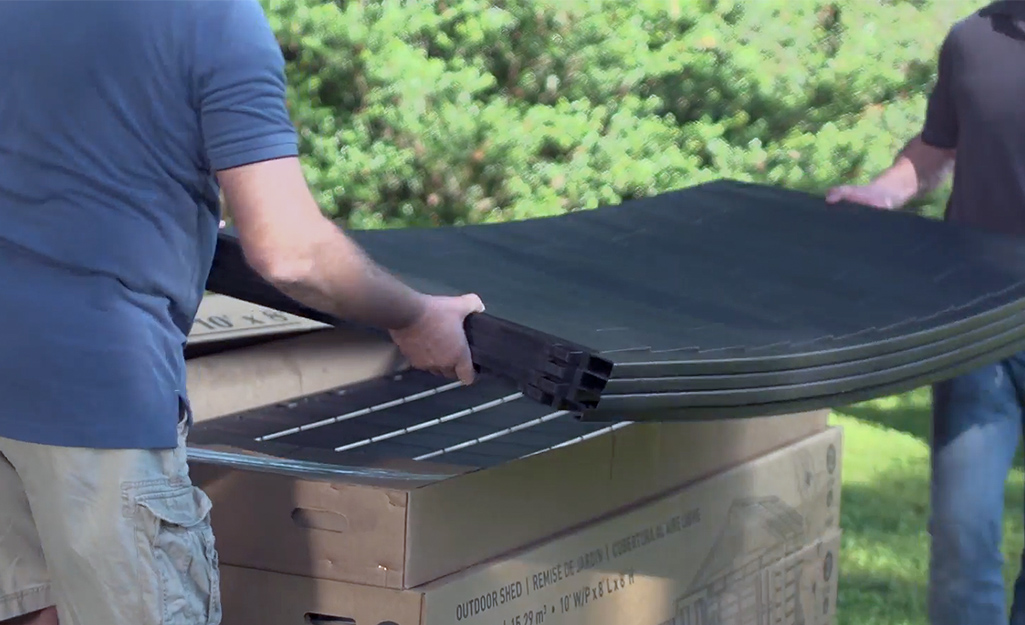
- Unpack your DIY shed kit.
- Check the contents to make sure you have all the pieces listed in the manufacturer's instructions.
Tip: Panels are typically stamped with identification on their interior side that shows you where they go.
Assemble the Floor
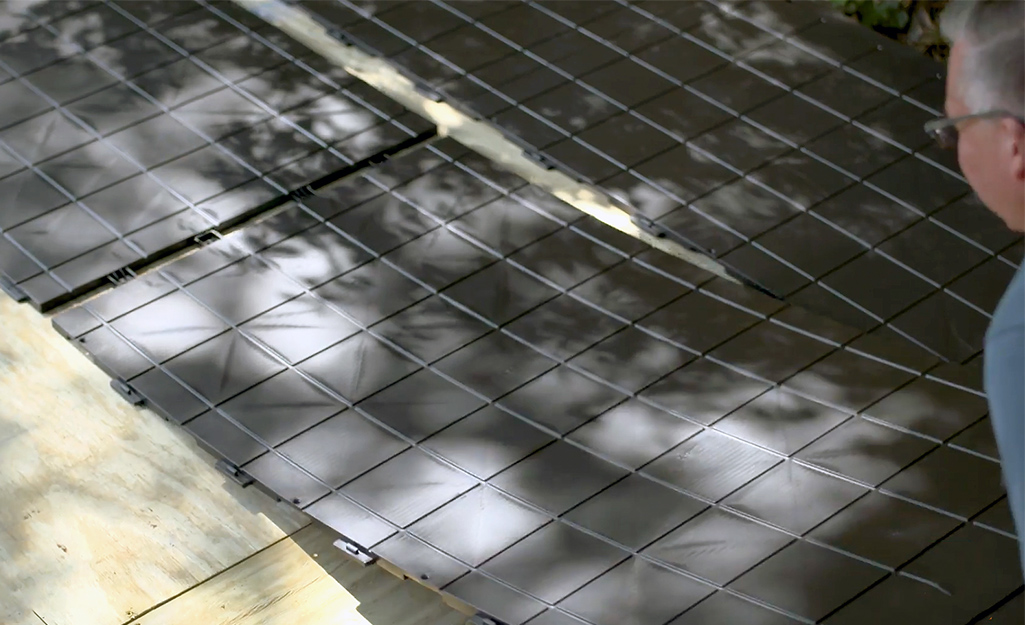
- Connect two floor panels according to the instructions to form the back portion of the floor.
- Connect two panels to form the middle portion of the floor, then connect to the back portion by tilting at a 45 degree angle.
- Repeat this for the front two panels.
- Anchor the floor to the foundation using screws per manufacturer's instructions.
Tip: Avoid assembly errors later by referring to the manufacturer's instructions often while building your shed.
Assemble the First Wall
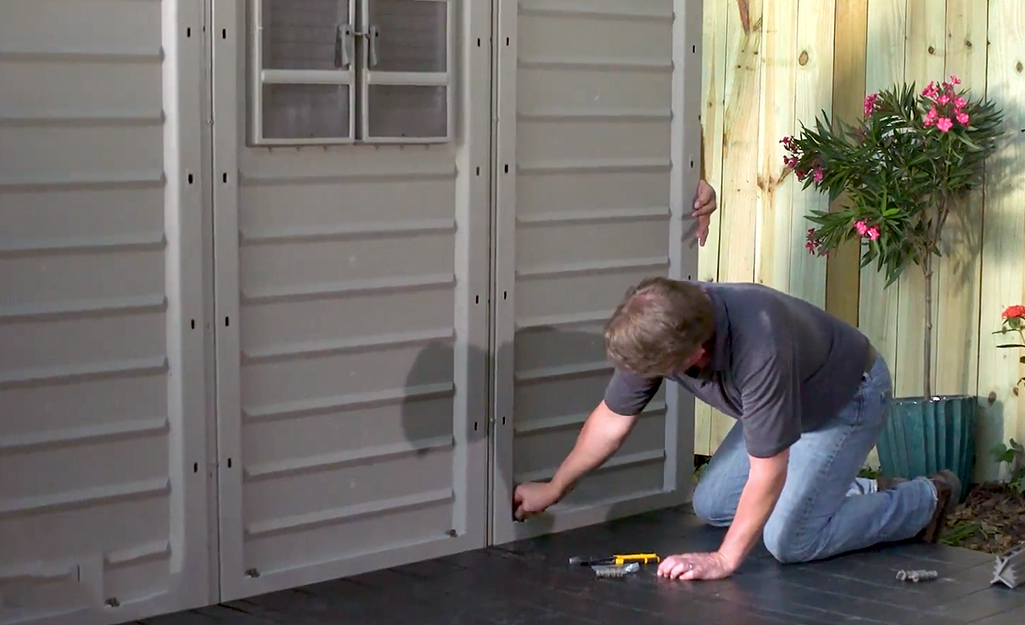
- Identify which panels make up the first wall.
- Starting at the front of the shed, install the first panel at the front edge of one side.
- Anchor the first panel to the floor using the included plastic screws.
- Slide the second wall panel into position alongside the first and snap into place.
- Screw into the floor with the plastic screws.
- Repeat with the third wall panel to complete the first wall.
- Hold the first complete wall in position until the first corner is installed.
Tip: Many of the steps require assistance lifting and holding parts steady, so have a friend or two help.
Assemble the First Corner
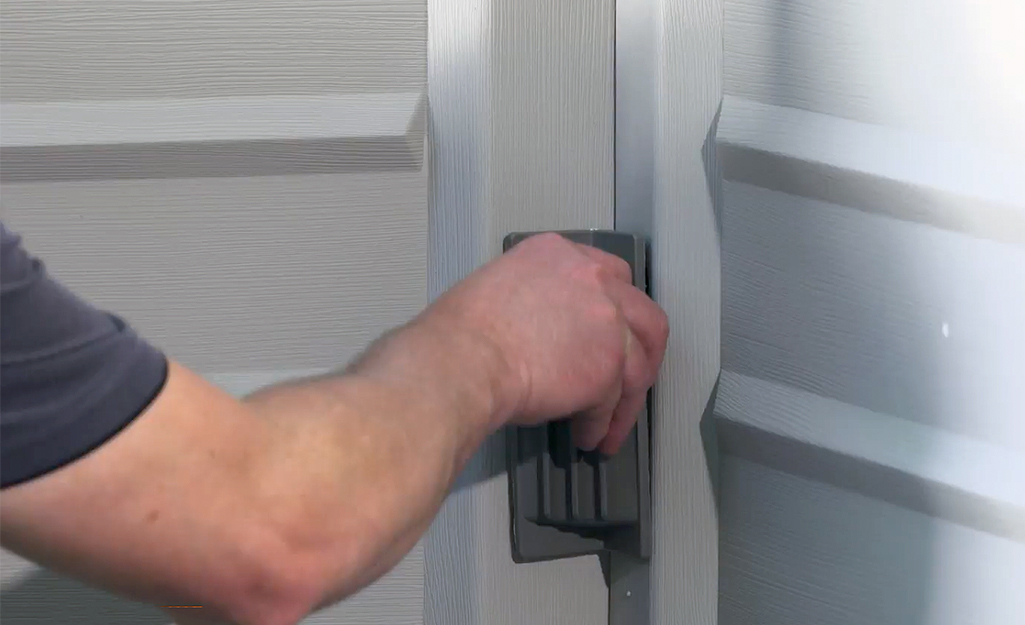
- Anchor the first back panel to the floor assembly using screws, then stabilize the corner using corner locks.
- Align the corner inserts with the corner holes and pull to lock into position.
Tip: Hold the first complete wall in position until the first corner is installed.
Assemble the Rest of the Shed
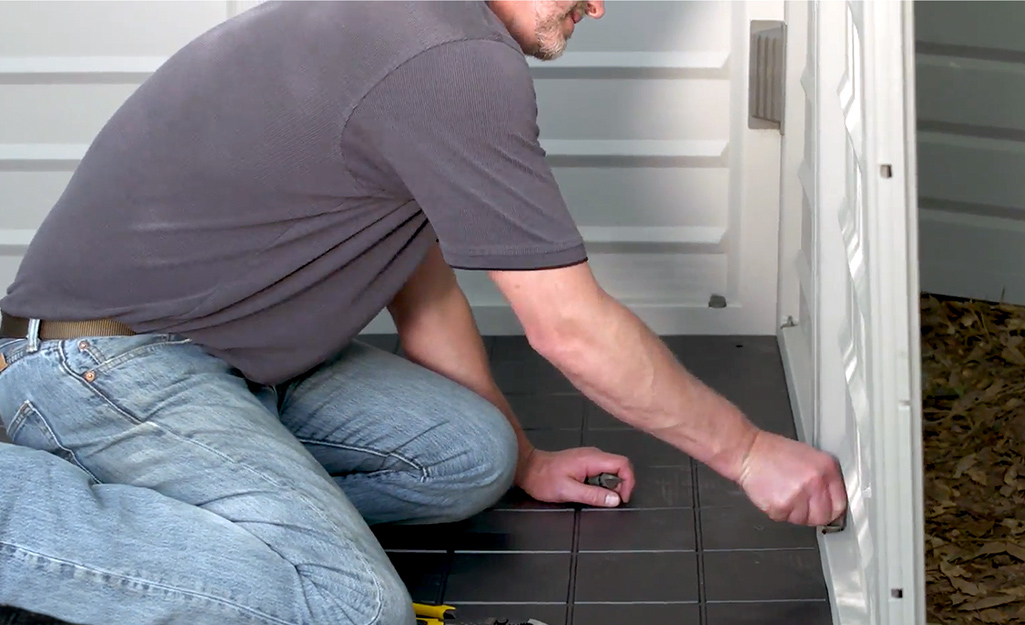
- Continue installing wall panels.
- Repeat the process of clicking each panel into the previous panel, then screwing into the floor to secure.
- Remember to add corner locks at each corner.
Install Shed Supports
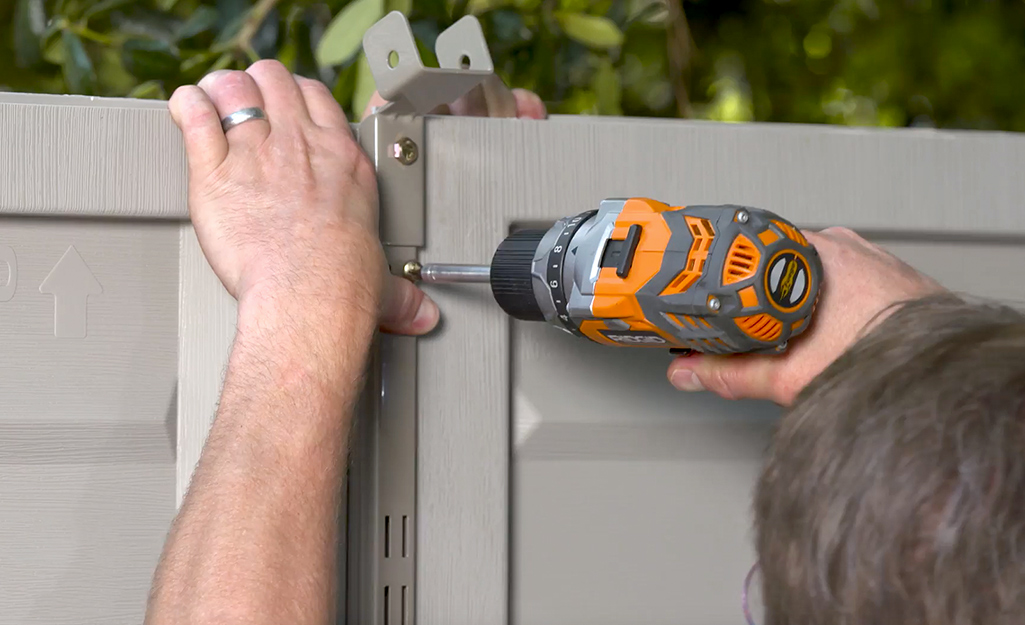
- Attach gutter wall connectors to the top of each support to secure the roof assembly to the tops of the wall panels.
- Screw the shelf supports in at the pre-drilled holes along the side shed walls.
- Install the supports loosely on both sides of the two window panels.
- For the three shelf supports on the back wall, attach the left and right supports in the same way you did the side supports.
- Before installing the center support, attach the extender so it rises above the back wall.
Assemble the Roof Frame
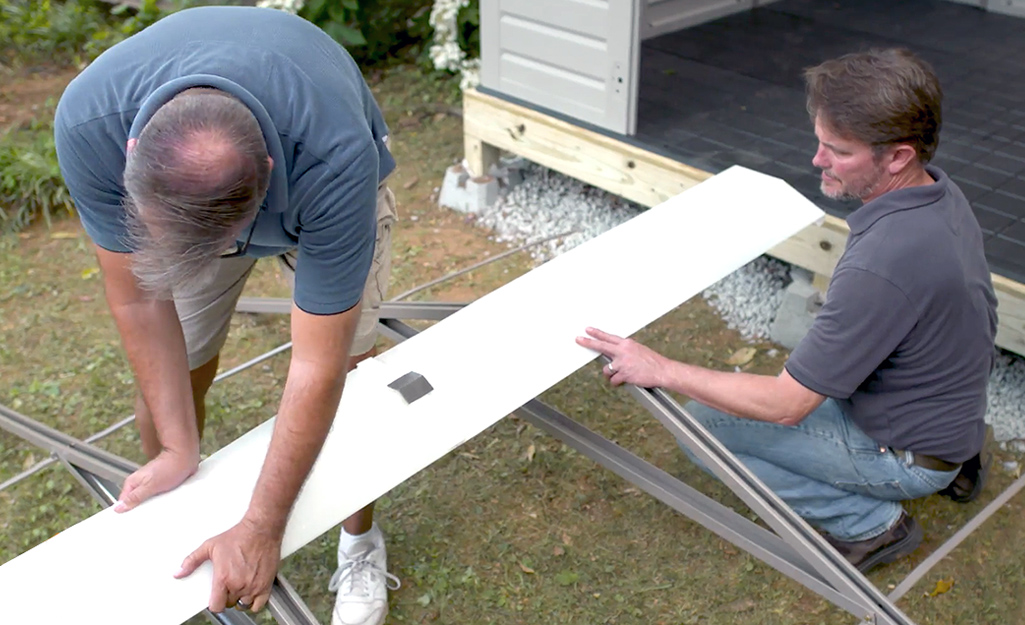
- The roof frame will consist of two joined trusses.
- Assemble trusses according to manufacturer’s instructions.
- Tie trusses together with roof supports, creating a single one-piece frame.
- Attach the skylight onto the top of the frame.
- Place the roof frame into position on top of the side walls.
- Have someone help hold the frame in place while you fasten the roof frame to the gutter connectors using hex bolts.
Attach the Gables
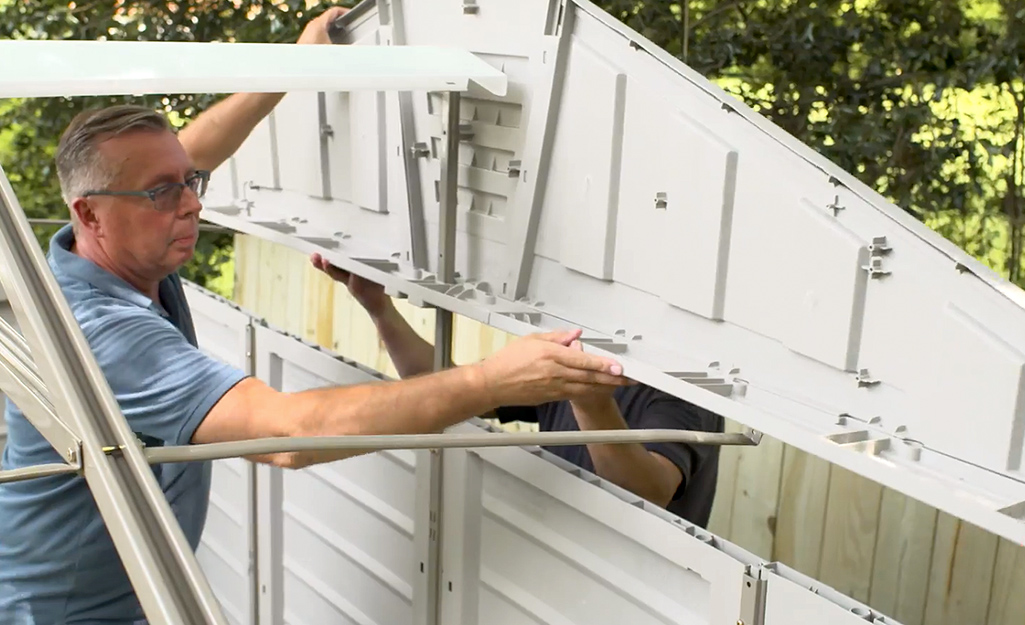
- Snap all the pieces together to make each gable.
- Slide the back wall center extender through the hole in the gable and rest the gable on the wall.
- Snap the front gable to the top of the two wall panels on each side of the door opening.
- Snap the skylight over the peaks of both gables.
- Secure the gables to the wall with plastic screws.
- Stabilize the structure by installing additional support beams, a horizontal support for the front gable plus right and left roof supports.
Tip: If the pieces are too snug to slide together easily, spray with a little soapy water to lubricate them.
Make the Shed's Roof
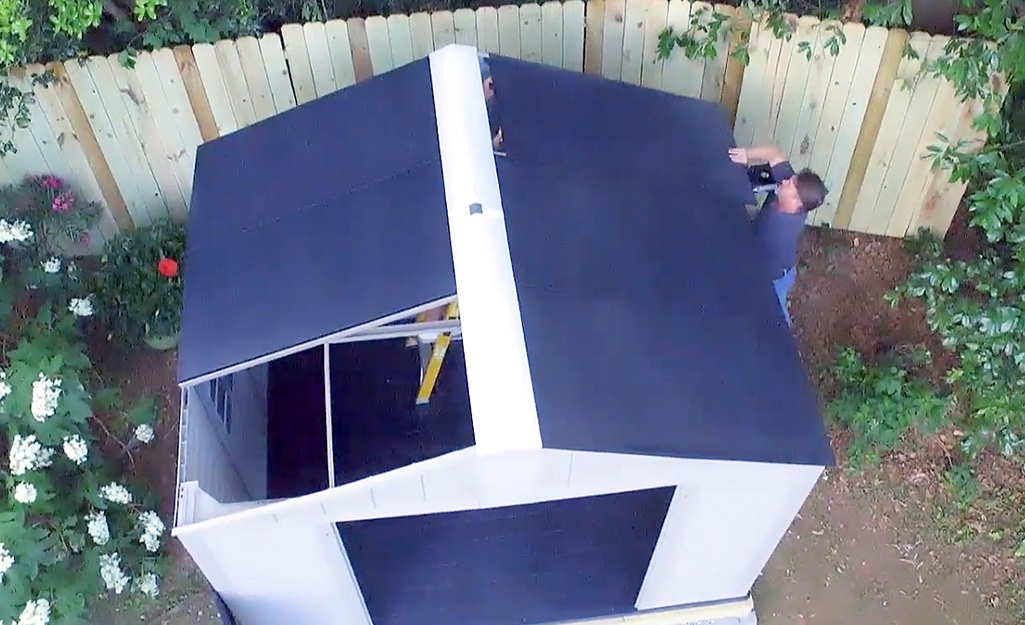
- Each of the six roof panels will slide into the tracks on the roof supports and snap into position on the skylight.
- Align the snaps on each panel before applying pressure.
- Repeat with each roof panel to complete the roof assembly.
Add the Door
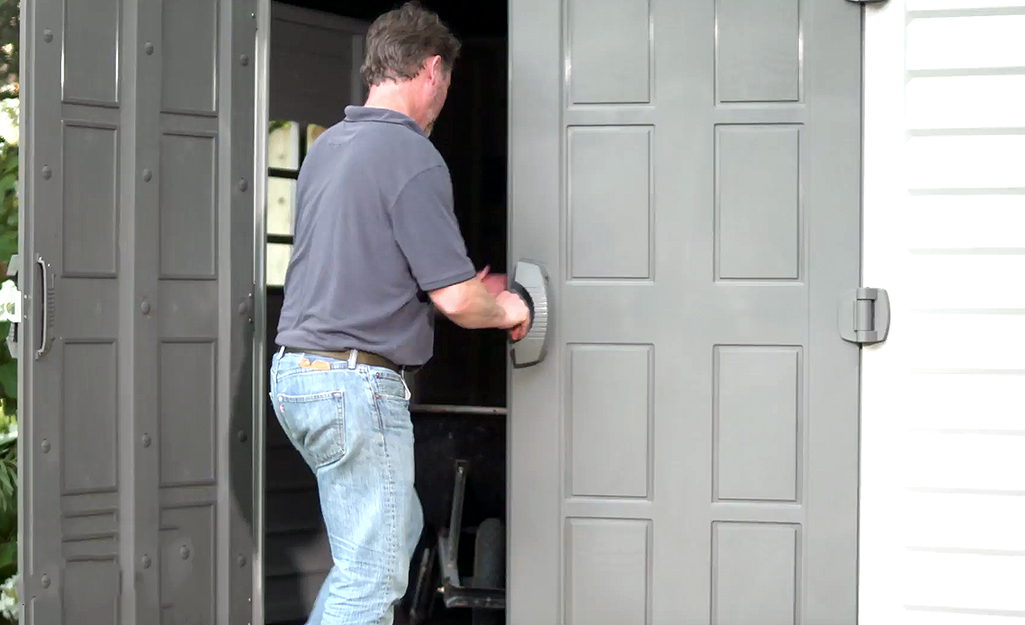
- Snap the three hinges into place and secure with screws.
- Align the handles on each door and connect them with screws.
- Attach the doors to the shed frame with two screws at each hinge.
- Attach the door latches to the interior edges at the top and bottom of each door.
- Test the doors to ensure they easily open and latch closed.
Create a resin, metal or
plastic shed
in your backyard this season. A storage shed kit contains all the materials you need including trim. Some states may require a building permit so check with local authorities before you start your project. Need supplies fast? The Home Depot delivers online orders when and where you need them.
