How to Cut Crown Moulding

Last updated September 7, 2023
Crown moulding can enhance the appearance of a room and give it an overall finished look. Installation is simple enough, but making the angle cuts for corner pieces requires attention to detail to produce your desired results.
This guide highlights the best practices for cutting crown moulding using miter saws, how to cut crown moulding angles for corners, how to cut crown moulding inside corners using a tight-fitting cope joint and how to use crown moulding corner blocks as an option.
Difficulty:
Intermediate
Duration:
2-4 hours
Table of Contents
Best Practices for Cutting Crown Moulding
Square Cut Crown Moulding
Crown Moulding Scarf Joint
Outside Corners
Inside Corner Using a Coped Joint
Crown Moulding Corner Blocks
Best Practices for Cutting Crown Moulding
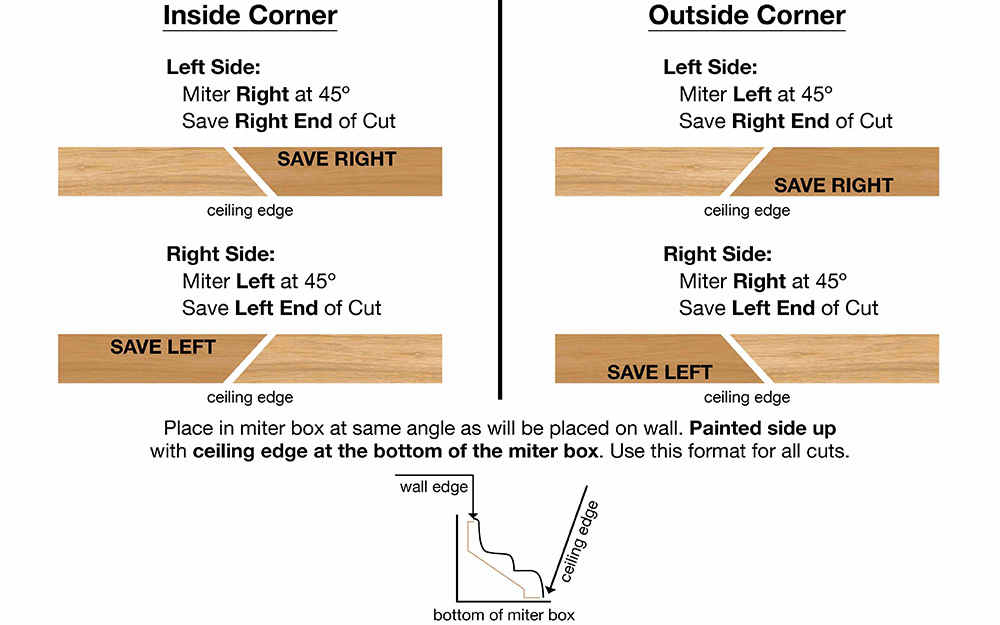
When cutting crown moulding, there are four types of cuts you need to know for different situations. As you learn how to cut crown moulding, practice with smaller scrap pieces to save frustration later. While learning how to cut crown moulding, remember:
- A power miter saw is the best way to cut crown moulding once you measure the angles. The saw can be adjusted to cut at any angle – set it to 45 degrees for one side of a standard 90-degree corner. The saw can be set to 45 degrees to the left or 45 degrees to the right.
- It’s a best practice to cut crown moulding upside down on the miter saw. The moulding has flat edges where it touches the wall and ceiling. Use these “flats” to keep the piece firmly in position on the saw’s base and fence when making a cut. Doing this eliminates the need for a bevel cut because the slope of the crown moulding when installed is mirrored.
- The ceiling edge, or top, of the moulding will rest on the horizontal base of the saw. The moulding’s wall edge, or bottom, should be against the saw’s vertical fence.
- To help you with orientation, remember that the more decorative part of crown moulding is usually on the bottom, so keep it against the fence when cutting.
- For an inside corner on the left side of a wall, pivot the miter saw blade 45 degrees to the right and save the right end of the cut. For an inside corner on the right side, pivot the blade 45 degrees to the left and save the left end of the cut.
- For the left side of an outside corner, swing the blade to the left and keep the right end of the cut. For the right side of an outside miter, swing the blade to the right and keep the left.
- Wear a dust mask and appropriate ear and eye protection when using the power miter saw.
Square Cut Crown Moulding
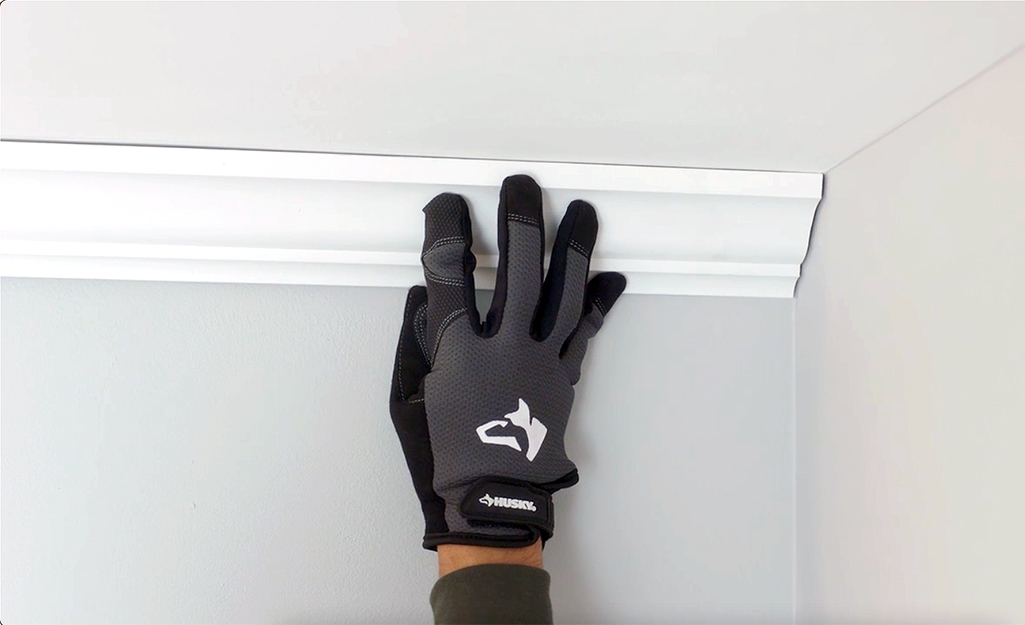
Square cuts are the simplest and are used to create a butt joint, where the cut end of the moulding fits flush in a corner. Here is how to cut the types of moulding that rest true against a wall.
- Measure the distance from corner to corner on the first wall. Transfer the measurement to moulding.
- With the miter saw set to 0 degrees, make a straight cut to create the butt joint where the end of the moulding will be flush against the wall in the corner. It’s this butt joint that a piece of coped moulding will fit against.
- This simple cut is to be used in between crown moulding corner blocks, as described below.
Crown Moulding Scarf Joint
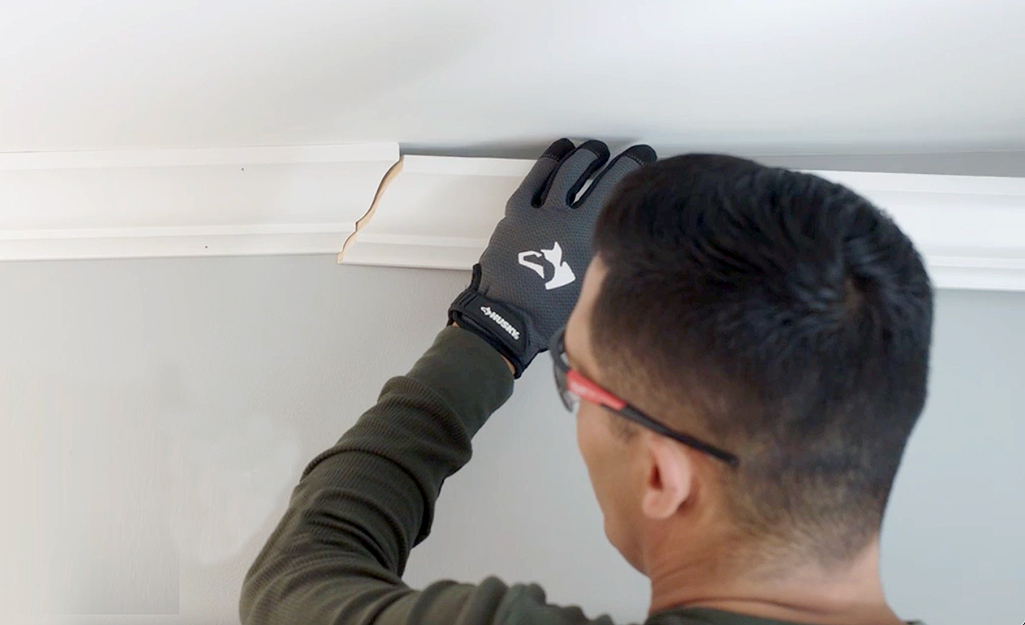
Scarf joints are used to connect two pieces of crown moulding when the wall is longer than a single piece of the trim. Two pieces are cut at opposing 45-degree angles and overlap to create a splice.
- Swing the blade of the miter saw 45 degrees to the left.
- Place the first piece of moulding upside down on the saw with the scrap end to the right.
- Brace the flat top of the moulding on the base of the saw and the flat bottom of the moulding against the saw’s fence.
- Make a cut near the end of the moulding.
- To complete the splice, turn the blade 45 degrees to the right and place the second section of moulding upside down on the saw with the scrap to the left.
- Brace the moulding as you did before and make a cut near the end of the moulding.
Outside Corners
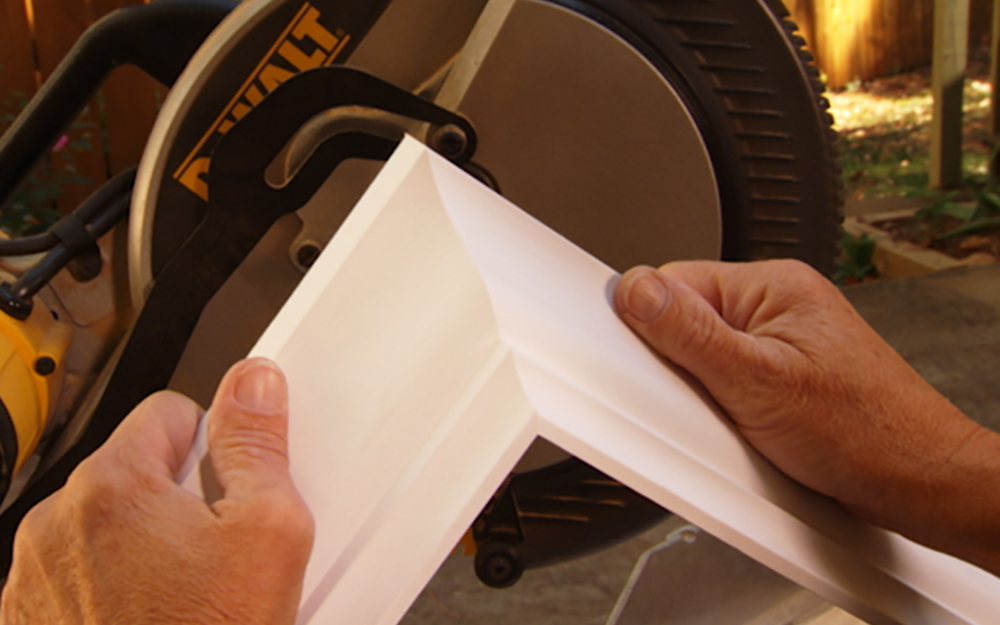
Crown moulding outside corners, or outside miters, are cuts used when a room includes more than just four corners. Bay windows, a chimney or an entryway can prevent your crown moulding from creating a simple square or rectangle along the ceiling. In these instances, the moulding comes to a point like the bow of a ship.
Here is how to cut crown moulding outside corners:
- With a measuring tape, measure from the outside edge of the corner, back along the wall to the end. Mark the measurement on a piece of trim molding with a pencil.
- Place
trim molding on a miter saw in the position it will go when installed. - Put the first end of the molding under the blade.
- Turn the blade to 45 degrees outward. Make sure it's pointing away from the section of the trim you measured.
- Cut the trim.
- Measure from the same outside corner, on the joining wall.
- Repeat the process, marking and cutting the trim with an outward 45-degree angle.
- Hold the two pieces of trim in place on the wall – the outside miter cuts should butt against each other at the outside corner.
- Secure the trim in place with finishing nails every foot or so along the top and bottom edges of both pieces.
Inside Corner Using a Coped Joint
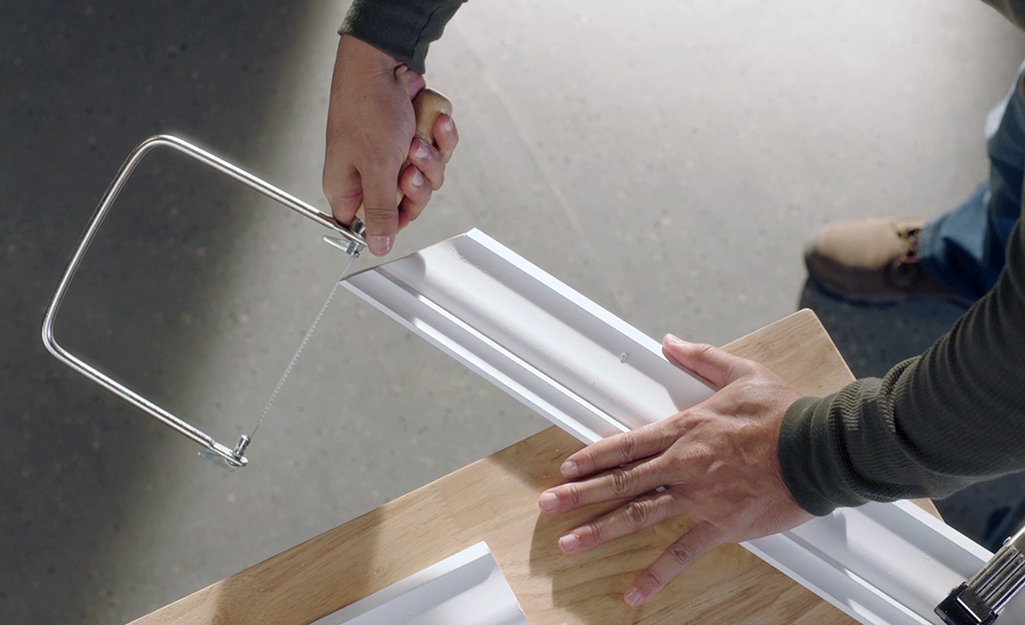
Wall corners are rarely a perfect 90 degrees and gaps in the wood joints can be unsightly and don’t create a finished look. You could use a carpenter square or protractor/angle finder to get the true angle and adjust the miter cut accordingly, but that can be frustrating.
An easier method of cutting crown moulding to get a tight seam for an inside corner is with a coped joint. This technique of how to cut crown moulding inside corners requires an inexpensive hand saw called a coping saw to remove material in the back of the moulding’s leading edge. This leaves only the decorative profile to fit against its match in the corner like a piece of a jigsaw puzzle.
- On the first wall, cut crown moulding for a butt joint in the corner. Then, make the cope to fit into it.
- Make a 45-degree inside miter cut on the piece to be coped.
- On the mitered cut, mark the edge of the crown moulding profile with a pencil to give you a line to follow with your coping saw.
- Keep the moulding steady by holding it against your miter saw or workbench.
- Angle the coping saw away from the crown moulding’s face. Carefully follow the pencil line as you trim through the back side of the moulding.
- The blade is thin and can easily follow curves and some angles as you undercut the moulding’s profile.
- Take your time. You can pare away more if you find that you need to.
- Test fit your coped piece using a scrap piece of moulding and check for a tight seam.
- Use a wood file or sandpaper for fine-tuning the edge to remove any wood that prevents the two pieces from matching snugly.
Crown Moulding Corner Blocks
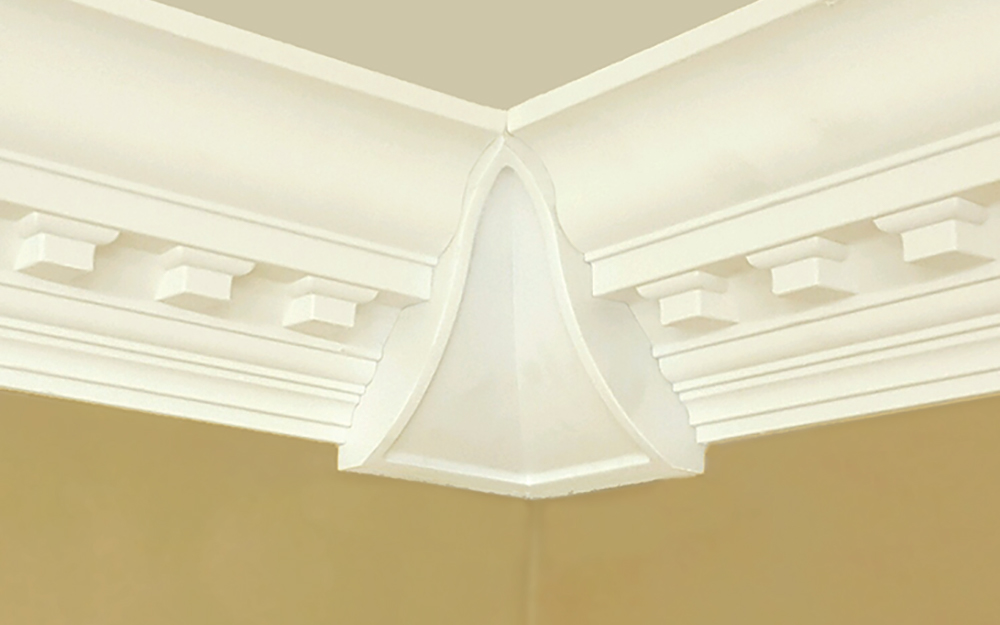
If learning how to cut crown moulding to get the angles right seems too difficult, you can reduce any frustration with your DIY crown moulding project by using crown moulding corner blocks.
These precut decorative blocks can be used where the ceiling meets a wall corner. While cutting crown moulding is still necessary, using corner blocks will eliminate the need for any angle cuts with a miter saw.
- To install, nail two blocks in opposite corners of a wall, then measure the distance between them.
- Measure and cut crown moulding with a straight cut to fit in between the blocks.
Knowledge of the four types of crown moulding cuts makes your DIY room improvement project easier. Crown moulding enhances the decor of any room. Don't worry if you need the tools for this DIY project. When you are ready to begin, consider a miter saw rental for cutting the crown moulding. Use it for your project, then bring it back – no maintenance required, and you won’t need to store it. Rent tools and trucks for any project at The Home Depot.

