How to Hang a Pegboard

Last updated September 7, 2023
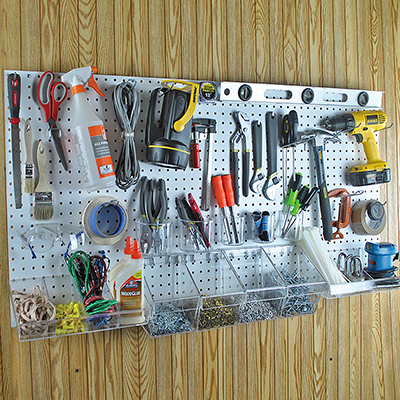
Pegboard is a tempered hardboard with pre-drilled holes designed to be strong enough to support most household hand tools. Pegboards on garage walls provide an excellent way to store and organize your tools in plain sight. This guide reviews the steps for how to hang a pegboard and make use of garage storage space that might otherwise go wasted.
Difficulty:
Beginner
Duration:
2-4 hours
Table of Contents
Measure the Place for the Pegboard
Cut and Prepare the Pegboard and Furring Strips
Drill Holes and Hang the Pegboard
Attach Tool Hangers and Tools
Measure the Place for the Pegboard
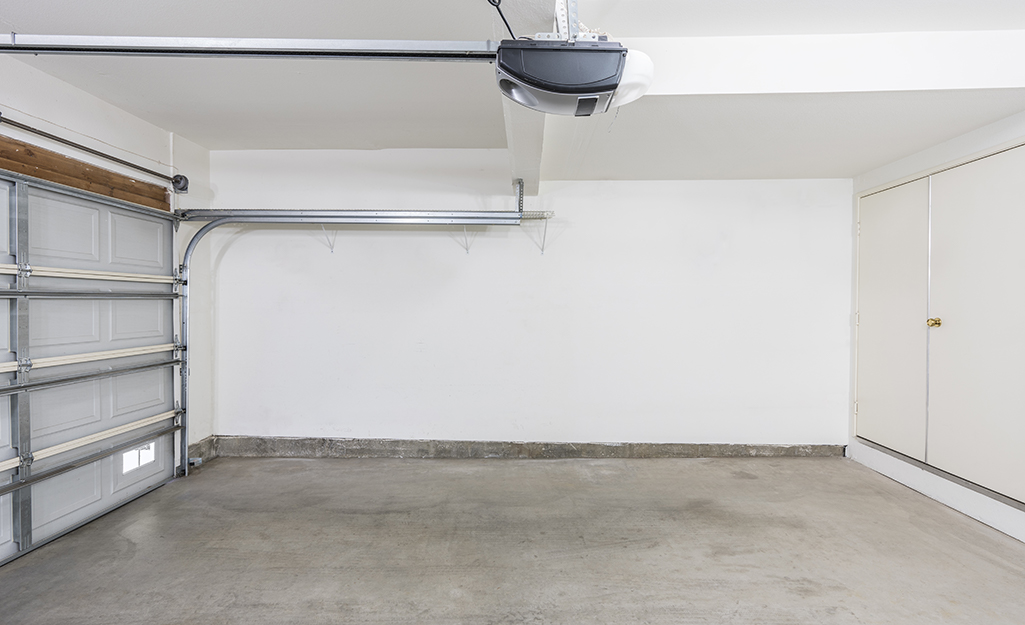
- Determine the size and shape of your pegboard by checking the available wall space in your garage, basement or work room. You may want to hang the pegboard over a workbench.
- Use a tape measure to make exact horizontal and vertical measurements for the size of the pegboard.
- Most pegboards need wooden furring strips mounted on the back to provide a gap so the pegs or hooks will fit properly. Use the pegboard measurement to determine the number of 1- x 2-in. furring strips you’ll need.
- Assume one furring strip for each horizontal edge and for every wall stud (which are usually 16 inches apart). For example, a four-foot wide pegboard will need one strip at each end and two in the middle for a total of four.
Tip: If your garage has exposed studs, plan to simply attach the pegboard directly to them.
Cut and Prepare the Pegboard and Furring Strips
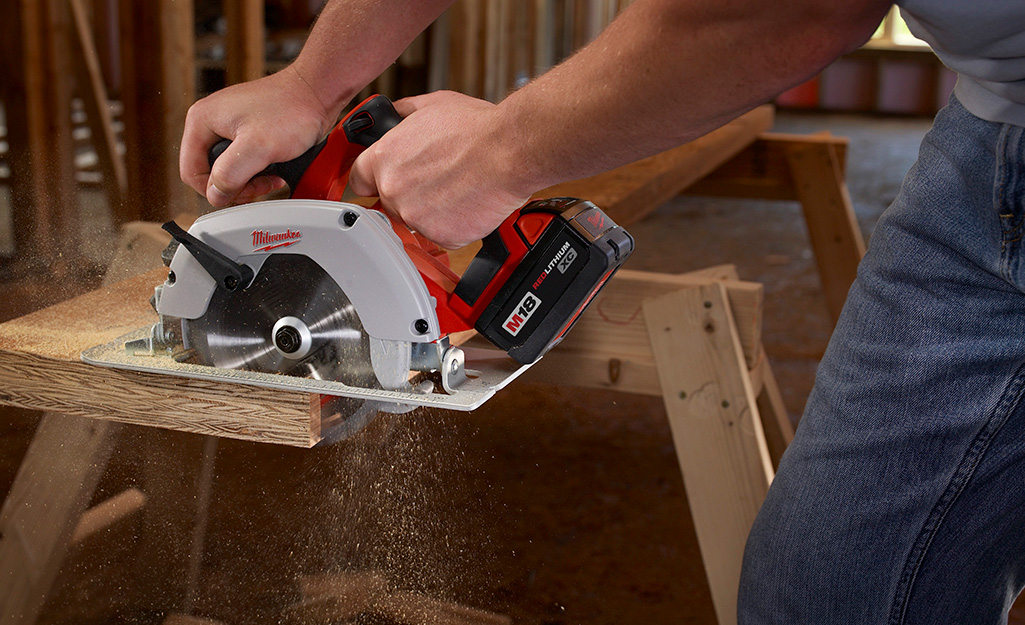
- Buy pegboard sheets of at least 1/4-in. thickness.
- If necessary, cut the pegboard panel to the exact dimensions using a circular saw or jigsaw. Place the pegboard with the façade facing down (the “back” facing up) to keep it clean.
- Use the saw to cut 1- x 2-in. boards for the furring strips with lengths that match the height of the pegboard.
- Paint or stain the pegboard to your preference.
- Use a power drill or screwdriver to attach the furring strips to the back of the pegboard. Attach 3/4 -in. wood screws at the top and bottom of each strip and in the center.
Do not attach the wood screws using the pre-drilled holes of the pegboard. - If you want to put a frame around the front of your pegboard, use picture frame molding or 1-x 2-in. boards cut to match the height and width of the pegboard and attach with screws.
- Paint or finish the frame to match the pegboard as needed. If you’re hanging the pegboard in a damp room, seal both sides of the board with varnish or a combination of primer and exterior paint. This will prevent the pegboard from absorbing moisture and swelling or warping.
Tip: When considering how to install a pegboard for maximum support, think about mounting the furring strips to the studs directly. You can then mount the pegboard to the furring strips.
Drill Holes and Hang the Pegboard
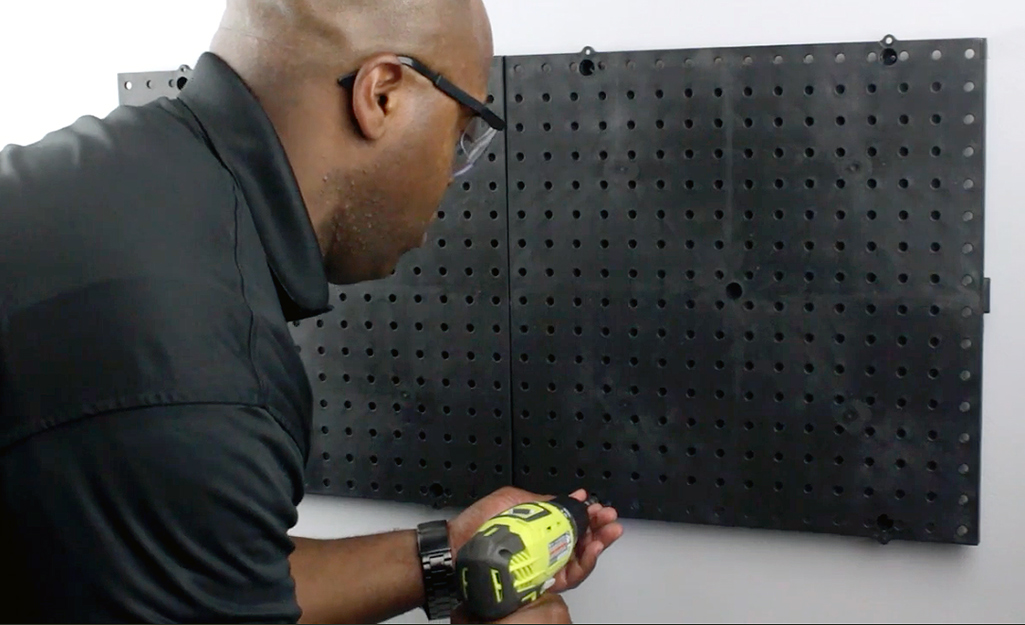
- Use a stud finder or other means to locate the studs behind the drywall. Use a pencil to leave visible alignment marks above where the pegboard will be.
- Using a level to ensure a 90-degree angle, hold the pegboard in place on the wall – you may need a friend to assist.
- Drive screws through pegboard and furring strips at all four corners, aligned with the studs, to leave marks for pilot holes.
Then remove the screws and set them aside. - Set the pegboard aside and insert drywall anchors in the holes.
- Drill 3-in. drywall screws through the pegboard and into the anchors, starting with the top corners.
- After the pegboard is secured to the wall, gently pull at the corners to test the connections. Tighten as needed.
Attach Tool Hangers and Tools
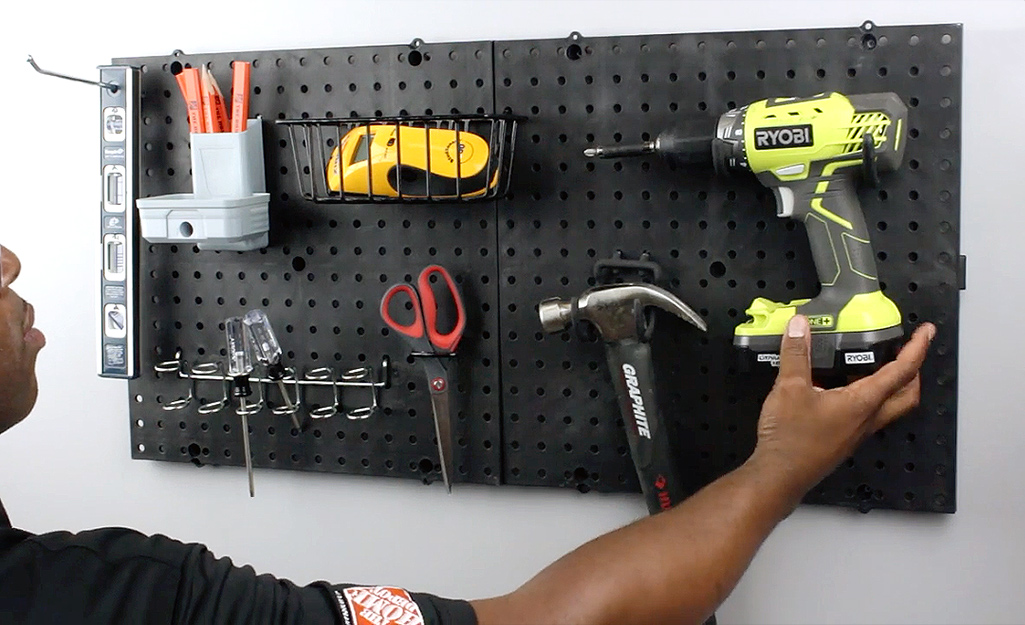
- When you’ve finished the pegboard installation, you can attach your preferred pegboard hooks or hangers. Make sure you buy ones designed for particleboard.
- Use shorter hooks for smaller, lightweight items and longer, thicker hooks for heavier items such as drills and saws. Some tools require specialized hooks.
- When you’ve filled the board with hanging tools, consider using a permanent marker to draw the outline of each tool, so you’ll always know where it goes. (Skip this step if you think you’ll want to reconfigure the tool placement in the future.)
Learning how to install a pegboard your garage, basement or workshop makes your tools and supplies readily accessible, so you don’t have to search in a drawer or toolbox to find them. Once you know how to hang a pegboard, you open up a world of storage possibilities in any room. However, if you have even bigger plans for your garage storage, you can get professional help from our garage storage installation services.
