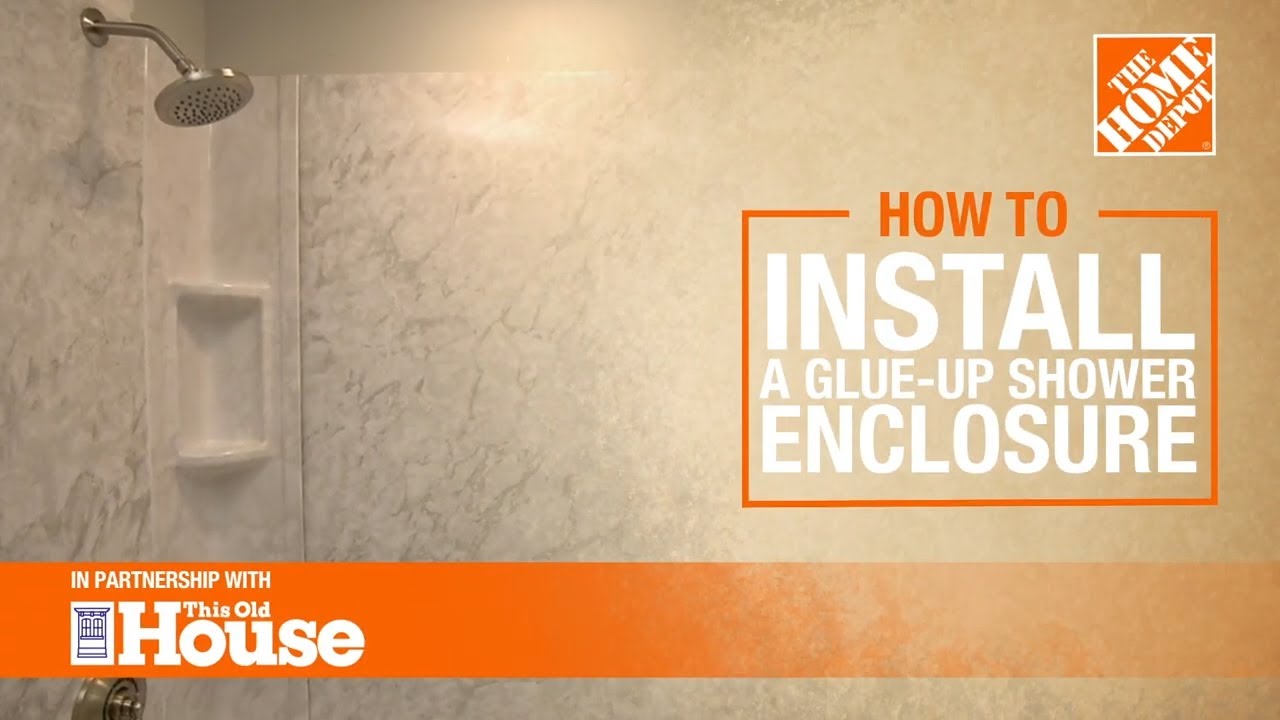
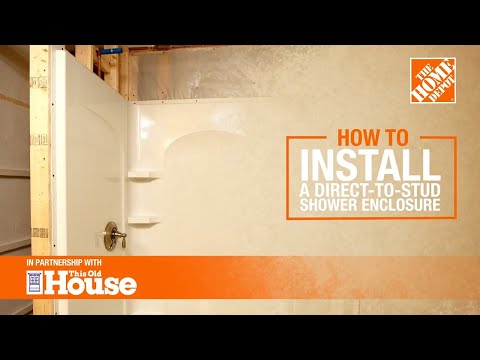
How to Install a Direct-to-Stud Shower Enclosure
Last updated April 30, 2025
Learning how to install a shower surround directly to wall studs is a project many DIY homeowners can do themselves. Panels formed as a single moulded unit fit in the bathtub or shower enclosure and are typically used in new construction. The other type of shower panels, often used in bathroom renovations, come as individual panels that connect together and attach to the wall to form a watertight seal.
This project assumes your old shower surround or bathtub has been removed and that you are renovating your tub or shower alcove with panels that connect together. These panels have flattened edges, called flanges, that can be nailed directly to the wall studs.
Tip: As you work on your tub surround installation project, be sure to follow any manufacturer instructions that come with your shower panel kit.
Difficulty:
Advanced
Duration:
2-4 hours
Table of Contents
Prepare the Shower Area
Pre-Fit the Shower
Mark and Drill Holes for the Valves
Marking and Removing Panels
Install the Base
Insert and Attach the Back Panel
Prepare the Shower Area

- Before attempting tub surround installation, check that your shower alcove is framed properly and in good condition. Walls should be square in both corners and plumb all the way around. Use a level to confirm this.
- Measure the width and depth of your alcove, and make sure the dimensions are correct for the shower you’re putting in.
- Check the entire subfloor with a level. You need to start with a level surface or your shower will not drain properly. As long as it’s close, you’ll be able to finish leveling the shower pan at installation.
- Rough-in the drain line so the opening of the drainpipe will line up with the drain on your shower base. The top of the drain line needs to be even with the subfloor. Shower installation also requires roughing in the plumbing for the showerhead and control valve on one of the side walls.
Pre-Fit the Shower

- Dry fit your shower enclosure to make sure it’s sized properly for your space. Carefully place the shower base into the alcove. Use a level to make sure it’s even on all sides, and add shims if necessary to level it out. Place a piece of cardboard in the shower base to protect the finish.
- Along the studs, mark the top edge of the base on all three sides. Now, dry fit the enclosure. Put the back shower wall in position, locking the bottom tabs into the base. Use tape to hold up the panel until you can insert the side wall. Make sure it locks firmly in place.
Mark and Drill Holes for the Valves

- Before dry-fitting the remaining wall, you’ll first need to cut holes for the plumbing.
- Measure the distance from the edge of the back panel to the center of the valve. Then measure the distance to the top of the base. Transfer those marks to the plumbing wall and drill a pilot hole as a guide.
- A flat surface will help stabilize the wall while you’re cutting. Use a hole saw to drill holes through the fiberglass or acrylic surface. For a cleaner cut, drill from the inside out, making sure the cover plate will be large enough to cover the hole. Now, dry-fit the plumbing wall to make sure it lines up properly.
Marking and Removing Panels

- The flange is the part of the enclosure on the top and sides that will be attached to the studs.
- Make sure the enclosure is level. Before removing the panels, check the shower walls with the level.
- Once you’ve confirmed it is level, make a reference mark on the studs at the top of the flange all the way around. Take out each of the panels and set them aside. Mark the location for any shims, and then remove the base of the shower.
Install the Base

- To make leveling easier and provide additional reinforcement, place 3 or 4 mounds of gypsum plaster or bricklayer’s mortar on any low spots in the subfloor.
- Carefully set the shower base into the alcove over top of the drain. Check that it’s level and everything lines up properly on the marks.
- Apply silicone caulk, first to the gap inside where the shower pan meets the drain, and around the lip on the underside of the drain flange. Screw it onto the drain and then tighten it down completely. With the flange installed, attach the strainer to the drain with screws.
- To secure the shower base, drill pilot holes in the flange all the way around on each of the studs. Now, secure the shower base to the studs using roofing nails. With the base installed, place the cardboard back on the bottom for protection.
Insert and Attach the Back Panel

- Before putting in the back and side panels, consider adding insulation and a vapor barrier. This is especially important if you live in a cold climate. Insulation will help deaden any noise made by the plumbing and insulate the outside walls from the cold.
- With the insulation installed, place the back shower wall against the studs and lower it down onto the base. Make sure it is seated correctly and firmly on the shower pan.
- If your unit has pre-drilled holes, simply screw it in to the stud at the indicated points. If it does not, use a 3/8-inch bit to drill pilot holes through the flange. This will help ensure you don’t split the flange.
Insert and Attach the Side Panels

- Insert the side panel and make sure it is seated properly on the shower base.
- As with the back panel, attach the side panel to the stud on the vertical side flange, 8 inches on center.
- Then go across the top at each of the studs. Fasten the enclosure at each stud with 1 1/2-inch self-tapping washer head screws or galvanized roofing nails.
Note: Some units have locking tabs that fit into slots in the base. Insert the side panel by placing it up against the back panel and sliding it down into place. The locking tabs should fit into the slots, both in the base and the back panel. Then screw to the studs as indicated.
Install the Plumbing Panels

- With the other two walls in position, it’s time to set the plumbing wall in place. Make sure any locking tabs on the wall fit into their appropriate slots, and the drilled holes line up properly for the plumbing fixtures.
- Pre-drill the flange along the top at each of the studs, and then down the side 8 inches on center. Use 1 1/2-inch self-tapping washer head screws or galvanized roofing nails to fasten the enclosure at each stud.
Caulk and Seal

- To avoid moisture problems and preserve the integrity of your new unit, it’s extremely important to make sure your new shower enclosure is sealed properly. Since enclosures may vary, check your manufacturer’s instructions to see what type of sealing is required for your particular unit.
- Some models have interlocking panels and built-in weep channels that will direct the water, so no caulking is needed. For other types of enclosures, you may need to apply a caulk seal where the base and shower walls meet, as well as the seams between the walls.
Finish the Room

- Use water-resistant green board to finish any exposed walls. Make sure it covers the flange on all sides and the wall will have a nice finished look when you’re done.
- Leave a 1/8-inch gap for caulk. Now, prime and paint the walls, and caulk in the gap where the drywall meets the flange.
- Install the handle, shower arm and showerhead according to the manufacturer’s instructions. Make sure trim pieces cover any exposed holes.
- Finally, add a shower curtain or install shower doors to complete the enclosure.
Check Out the Finished Project

A bathtub and shower combo is a great addition to your bathroom, and installing a direct-to-stud shower surround is a project that you can complete in under one day. Take careful measurements, dry fit your shower surround to ensure the right fit and then install the panels.
Ready to start your project? Use The Home Depot mobile app to order the products you need. The Home Depot delivers online orders where and when you need them.