How to Install a Metal Raceway

Last updated September 7, 2023
An electrical raceway is often called surface-mounted wiring. It’s a track of metal tubing that carries and hides wires and cables on the surface of a wall. A metal raceway uses an existing electrical outlet to add power to a new outlet or fixture. A major benefit of using an electrical raceway is that it doesn't require cutting into walls to add a new outlet or fixture. This guide walks you step-by-step through a electrical raceway wiring installation.
Difficulty:
Intermediate
Duration:
2-4 hours
Table of Contents
Turn Off Power
Install a Starter and New Outlet Boxes
Lay Out the Path for the Raceway
Measure and Cut the Raceway
Install the Raceway and Run the Wire
Connect the Wires
Turn Off Power
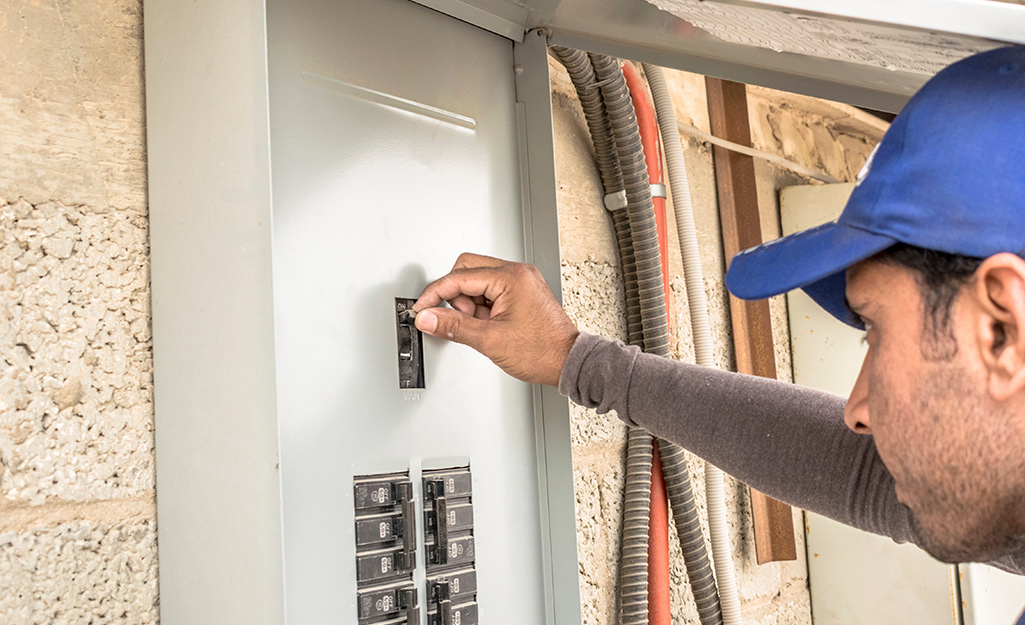
Before you begin, shut off power to the outlet from the circuit breaker box. Use a voltage tester to make sure there’s no electricity running to the outlet.
Install a Starter and New Outlet Boxes
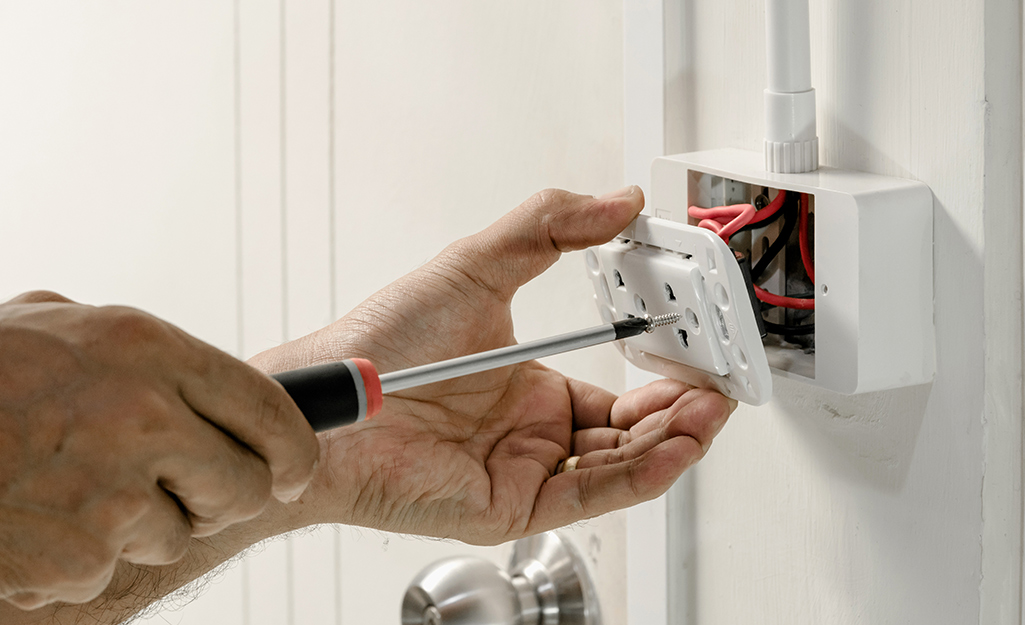
Use a stud finder to locate and mark the stud along the wall or ceiling joist. Remove the faceplate and mounting screws from the starter receptacle. Remove the existing receptable or switch and install the new surface metal starter box over the existing receptable wires. Use a screwdriver to screw the new base plate onto the existing box. Install the ground screw that comes with the box into the threaded dimple on the starter box base. Use pliers to break out the knockout on the starter box that matches the profile of the raceway you’re using in your project.
Break the knockouts on the new outlet box, again making sure that it matches the profile of your raceway. Decide where you want to install the new outlet or switch. Mark the top and bottom positions of the box with your pencil. If the second receptacle is a switch box, install it so the top of the box is the standard 48 inches up from the floor.
Position the base of the new box between the marks, and use the pencil to trace where the screw holes for mounting will go. Use the stud finder to find a stud to screw the box into. If there is no stud, drill pilot holes and insert the screw anchors into the holes. Don’t install the base yet.
Lay Out the Path for the Raceway

Use a level and a chalk line to snap a horizontal line across the wall from the knockout of the starter receptacle to the knockout on the new receptacle.
If the new switch or outlet box is higher up the wall than the starter box, snap a level horizontal line from the starter box to where the center point of the higher receptacle is. Snap a perpendicular vertical line that ends at the bottom edge of the new receptacle. Use an elbow connector to connect the horizontal and vertical raceway pieces.
Install a raceway mounting clip about a half-inch out from the knockout on both receptacles. Use the tape measure and a pencil to mark along the chalk line(s) every 2 1/2 feet. Install a mounting clip at each mark.
Use a tape measure to measure from the knockout in the starter box to the knockout in the new box. If the new box is higher on the wall than the old one, measure to the center point of the knockout in the new box. Add 3/8 inches to each end to get the right length of raceway. This added length allows the raceway to slide over the tongue at each box or fitting.
Tip: If you can’t attach the clips to a stud, use hollow wall anchors instead, over the tongue at each box or fitting.
Measure and Cut the Raceway
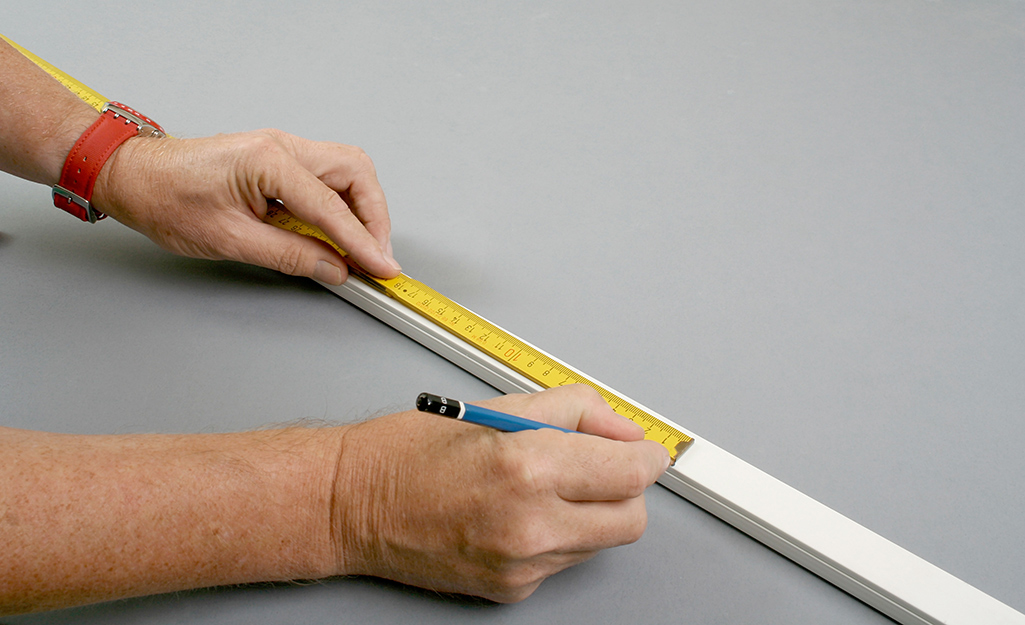
Measure the raceway carefully. Depending on the material the raceway is made from, use a power saw or hand saw to cut to size. File edges until they are smooth and insert raceway bushings into each end.
To ensure you have enough raceway for the job, purchase 10 percent more than your measurements indicate you need.
Install the Raceway and Run the Wire
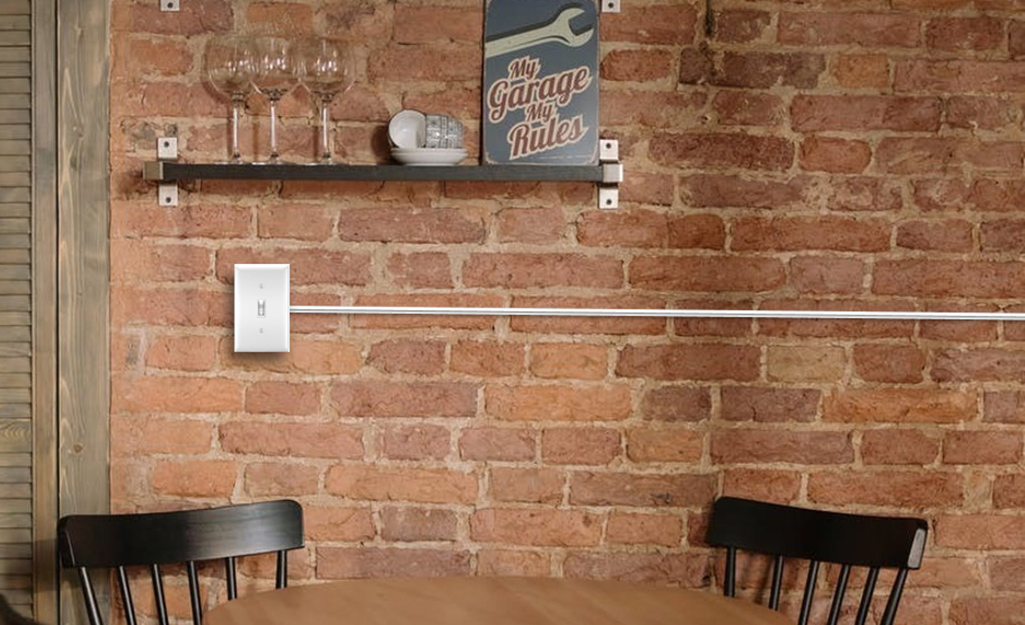
To install the raceway between the boxes if they’re at the same level:
- Slide one end of the raceway into the starter box tongue.
- Insert the other end of the raceway into the notch on the base of the new box.
- Use a rubber mallet to tap the raceway into the support clips, and screw the base into the wall.
- Slip one end of the raceway into the starter box tongue.
- Slide the second end of the raceway into a right-angle fitting.
- Use the mallet or your hand to tap the raceway into the mounting clips on the horizontal line.
- Measure from the top of the right-angle fitting to the bottom of the new box, and add 3/8 inches to each end.
- Cut the raceway, smooth the edges and insert a bushing into each end.
- Insert one end of the raceway into the top of the right-angle fitting and the other end into the base of the new box.
- Use the mallet to tap the raceway into the clips, and screw the base of the new box into the wall.
If you’re installing a switch for a ceiling fixture:
- Position the fixture base on the ceiling, and trace around it.
- Place the base of your elbow fitting at a right angle between the wall and ceiling.
- Measure from the switch box to the line on the wall and from the line on the ceiling to the light fixture. Add 3/8 inches to each end for each measurement.
- Cut those two pieces of raceway, smooth the edges and insert bushings into each end.
- For the first run of raceway, insert the elbow base into one end, and insert the other end.
- Tap the raceway into the clips.
- Secure the elbow fitting to the wall and ceiling with screws.
- Repeat with the second run of raceway. Insert one end into the other end of the elbow fitting base. Tap the raceway into the support clips on the ceiling.
- Install the long screws on the ceiling fixture base, and slide the terminal end of the raceway onto the fixture tongue.
- Screw the fixture base to the ceiling.
Connect the Wires
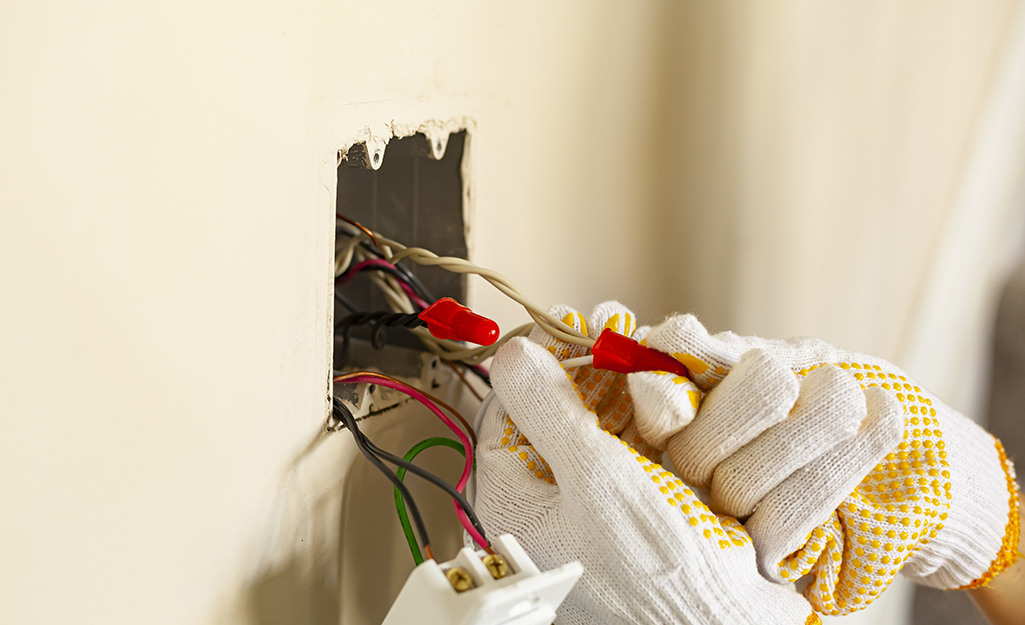
To run the wire to the new outlet, measure the length of the raceway from the starter outlet to the new outlet. Add 2 feet to the total length, and cut this length of the black, white and green wire.
To run the wire:
- Snake the wire for each run (starter box to new box and new box to fixture) through the raceway, leaving about one foot of length sticking out the ends of each raceway section.
- If you’re using a right-angle adapter, run the wire as you install the raceway so that you can thread it through the right angle more easily.
- If you’re running wires from a switch box to a ceiling fixture, thread the second run of wires through the raceway starting from the elbow base. Thread half the length of wire down to the switch and the other half to the fixture.
- Leave 12 inches of wire hanging out each end.
- Once the wire is installed, attach the elbow caps.
Finish Installation

If you’re installing a new ceiling fixture, follow the fixture instructions to wire it. Here's how to wire an outlet:
- Start at the new receptacle, and wrap the end of the black wire around the bottom brass screw on the side of the outlet.
- Wrap the white wire around the silver screw that’s opposite the brass screw.
Wrap the green wire around the green screw on the bottom. - Make sure the open end of your wire hook that you are installing around the screws is facing in the direction you are tightening clockwise to make a good connection.
- Tighten all of the screws, and tuck the wire and the outlet into the box.
- Use mounting screws to attach the box to the base and the faceplate to the box.
- Confirm that the power is still off at the old receptacle.
- Cut 8 inches of both black and white wire to use as pigtails.
- Strip these wires 3/4 inches from each end with a wire stripper.
- Connect the old black wire, the new black wire and the black pigtail wire together with a suitable wire connector.
- Do the same with the 3 white wires.
To use the pigtails to reconnect the old receptacle (which are the short pieces of wire cut about 6 inches to connect multiple wires together to form one wire for connecting):
- Wrap the black pigtail wire around the gold screw on the side of the outlet.
- Wrap the white pigtail wire around the silver screw.
- Tighten both screws.
- Secure the box covers to their bases, and attach the faceplates to complete installation.
Remember that the entire system must be grounded. For safety, ensure that this is the case before testing.
An electric or metal raceway powers a new outlet or fixture from an existing outlet. Installing a raceway is easy, but it requires accurate measuring and the strictest safety precautions. If you’re not experienced with this type of electrical work, have a professional electrician inspect your work before you turn the power back on. You can install a raceway in nearly any room, and the raceway can be painted to match your wall color. Ready to take on this project? The Home Depotdelivers online orders when and where you need them. You can also find the items you need from home using The Home Depot Mobile App.
