How to Install a Peephole in a Door
Last updated September 7, 2023
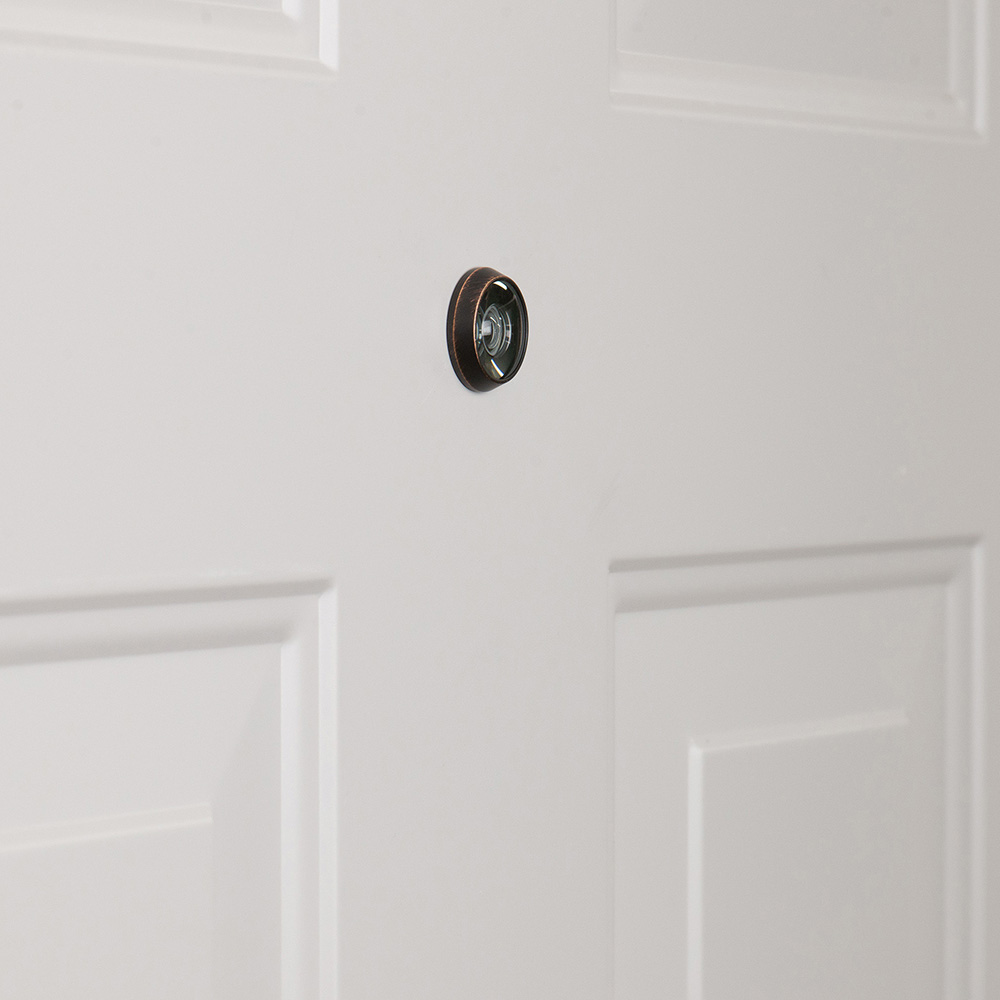
A peep hole, also known as a door viewer, is a good way to see who is on the other side of your front door before you open it. The Home Depot sells viewers in many finishes and styles to match your decor. Once you’ve chosen your viewer, follow these easy steps to install it.
This project doesn’t require many tools. All you need is a pencil, a square, a center punch or large nail, a hammer, a drill, one or two drill bits, and putty knife. Materials are the door viewer, silicone sealant, and sandpaper. A round file can be used instead of sandpaper.
Eye protection is a must when operating any power tool and most are loud enough to require hearing protection. You’ll also be creating dust so a mask is recommended. Gloves will protect your hands from sharp edges that might be created if drilling through a steel door. Using appropriate PPE for the job at hand is always the right choice.
Difficulty:
Beginner
Duration:
Under 2 hours
Table of Contents
Determine Peephole Placement
Choose a Drill Bit
Drill the Hole
Install the Viewer
Determine Peephole Placement
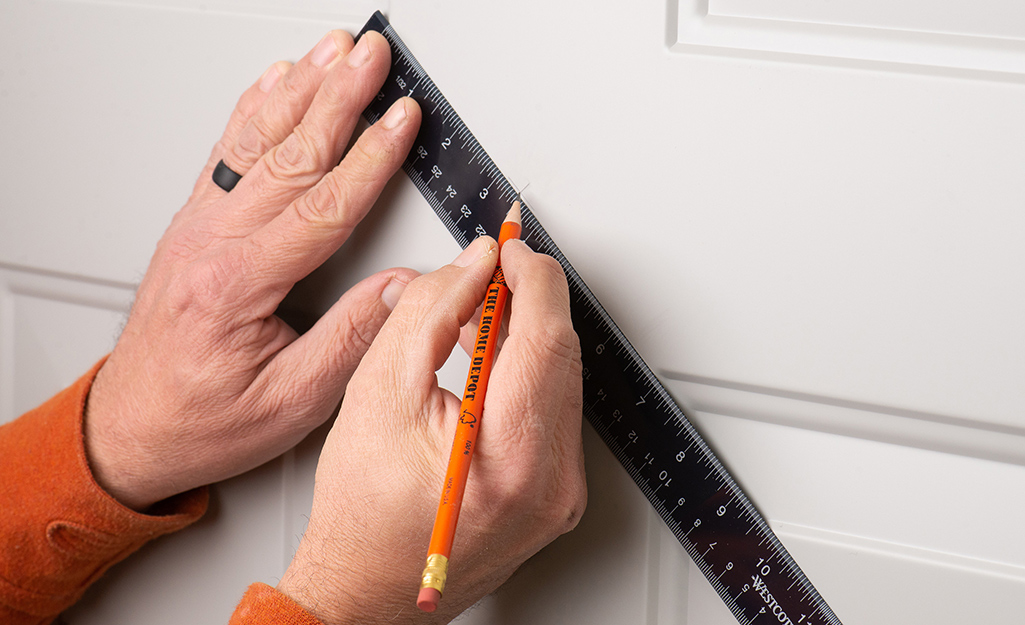
- Use a tape measure to locate the center of your door and mark the spot where you want to install the viewer. Be sure it’s at a convenient height for the people most likely to use it.
- Of course, there are a wide variety of door designs and the viewer doesn’t have to go exactly in the center if you prefer a different placement. If there are elements in the door that you’d like to place the viewer in relation to, measure from one to another diagonally and make a pencil line close to the center. Measure between two other points and mark a line where they cross.
- A wood panel door has thicker and thinner portions. Vertical pieces are known as stiles and horizontal parts are called rails. The thinner pieces between them are panels. If this is the type of door you have, install the viewer in a stile or rail. Most peephole assemblies require the door to be at least 1-3/8” thick at the point of installation and a panel may not be thick enough for a weathertight fit.
- Look at the door on both sides and ensure that you like the placement as it relates to the features of your door.
- The viewer should be placed in an area with a flat surface that is larger than the outer diameter of the viewer. Avoid areas with raised, indented, or angled sections that would pass through the installation area.
- Double check your placement before you start drilling.
Choose a Drill Bit
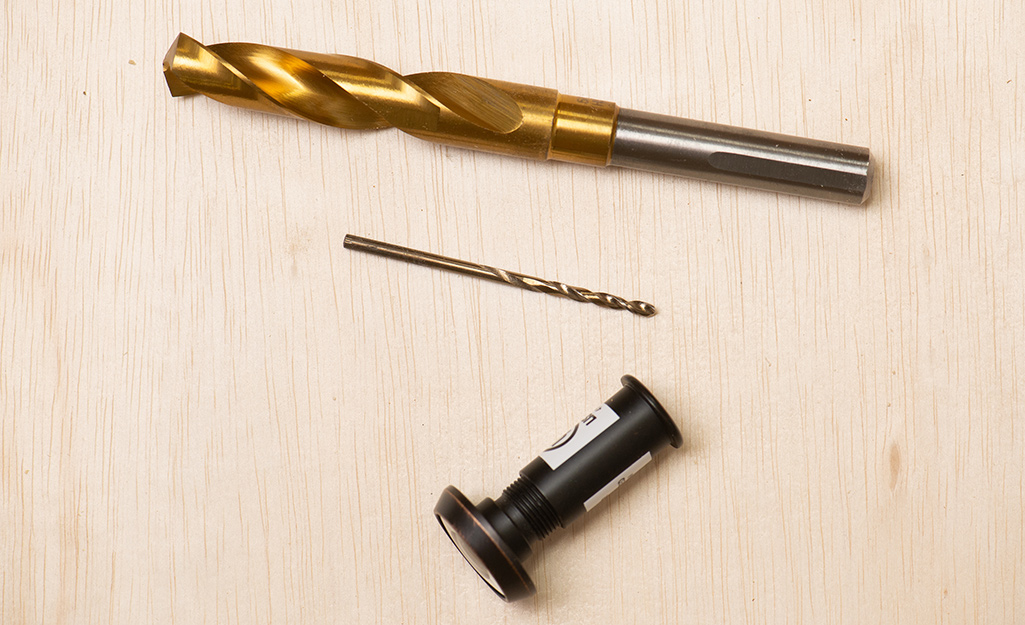
- Drill bit selection will vary based on the material that is used in your door, which is typically wood, steel, or fiberglass.
- The diameter of the drill bit depends on the particular viewer you choose to install. Consult the instructions for exact size. This information is usually on the outside of the package and may be stated as “bore” size.
- For wood doors, a spade bit, also known as an auger or paddle bit, is the most economical type for drilling a hole that’s large enough for this project. A Forstner bit is another option but they are usually more expensive. A twist bit will work as well.
- When drilling through fiberglass, choose a twist bit. An old, dull bit is likely to chip the finish around the hole. A sharp bit is necessary to cut the finish cleanly. PPE and dust control is always important but especially so if your door is made of fiberglass. Fiberglass dust can cause skin, eye, and respiratory irritation
- Steel doors will require a twist bit that can drill through metal. (Most twist bits can drill through steel, wood, fiberglass, and plastics.) Drilling metal will produce a sharp burr around the hole. The burr can be filed down with a round file. It can also be tapped flat with a small hammer and then smoothed with the shaft of a screwdriver.
- Exterior wood doors are often solid while steel and fiberglass are filled with an insulating foam. Take care as the drill breaks through the steel or fiberglass skin, as the foam offers little resistance to the drill bit. It would be easy to cut through the foam too quickly and damage the other side from inside the door.
- Drill bits come in a variety of sizes. You’ll need two if using twist bits, 1/8” for the pilot hole and one the size of the final hole. Be sure to select the size that will bore the diameter of the hole you’ll need for your viewer. Your viewer’s installation instructions will provide the size of the hole needed.
- Some viewers are large enough that they require the use of a hole saw. If this is the type of viewer you have chosen, use this guide as background information and follow the included instructions closely. These specialty viewers often have additional steps that are uncommon for most peepholes.
Drill the Hole
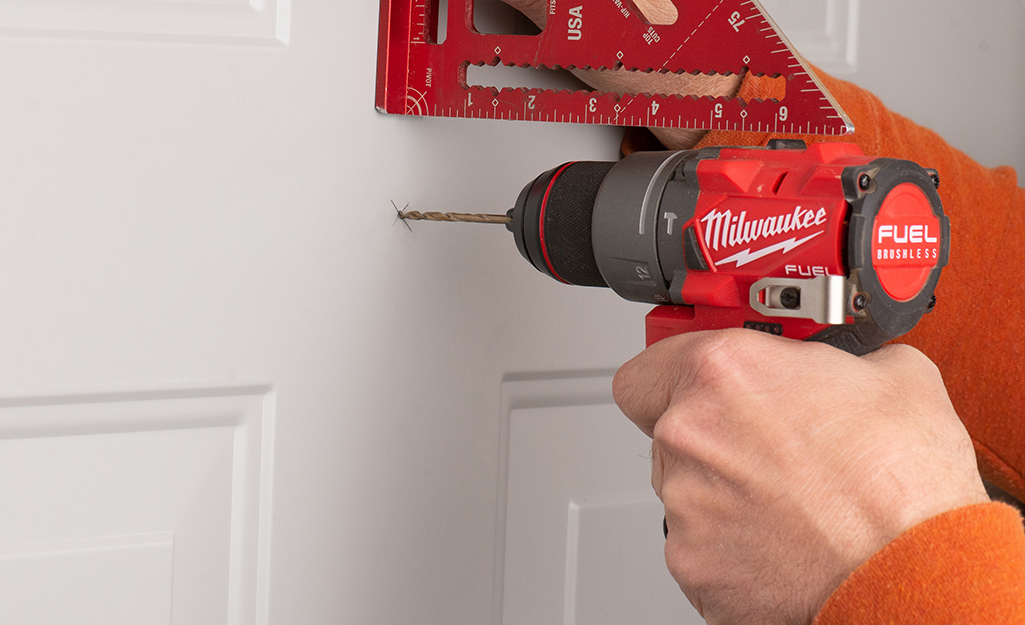
Note: It will be easier to drill with the door closed. If the door needs to be open for you to work, it can be held in place by using a door wedge from each side. If there’s a chance someone could open the door while you’re working, tape a warning note to the other side.
- Make an indention on your mark with a center punch or the point of a nail to keep the drill bit from walking when starting the hole.
- Use a square or drill guide to help drill the hole 90 degrees to the face of the door.
- Do not drill a pilot hole if using an auger bit with a lead screw or a Forstner bit.
- If using a twist bit, drill a pilot hole all the way through with the smaller bit.
- Drill bits often create tearout on the back side of the piece being drilled. Depending on the material your door is made of, this tearout could extend beyond the area that would be covered by the viewer. The easiest way to avoid this is to drill from both sides of the door.
- If using an auger or spade bit, begin drilling from one side of the door. Stop drilling as soon as the lead point begins to break through the other side and use that mark as a starting point for the second half of the hole. To make this easier, measure the drill bit against the door thickness and wrap a piece of painter’s tape around the bit to mark the point to stop.
- If using a twist bit, use the pilot hole as your starting point.
- Once the hole is drilled, use a round file or sandpaper wrapped around a pencil to smooth the edge of the hole and a brush or vacuum to remove dust and debris.
Install the Viewer
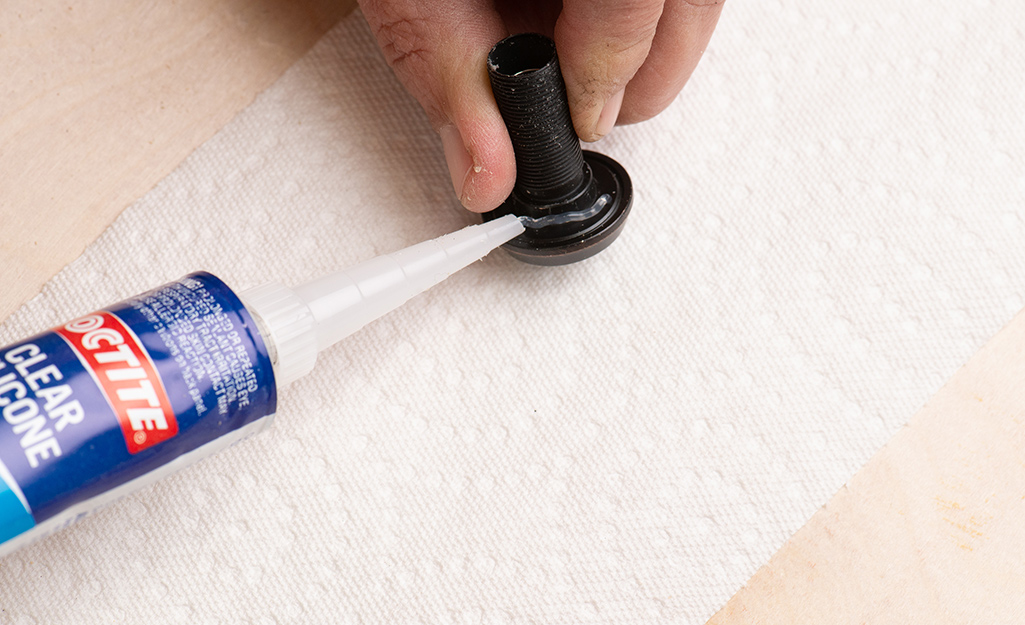
- Door viewers usually consist of a threaded portion and a barrel.
- Be sure to put the lens end on the exterior of the door.
- Apply a small bead of clear silicone sealant around the inside of the lip of the lens to help seal out moisture.
- Insert the barrel into the hole from one side, then insert the threaded portion into the hole from the other side and begin to screw the viewer together.
- If screwing the pieces together is difficult or feels like it’s binding, start over. Many viewers are made of brass and cross threading will damage the threads.
- Tighten with the tool provided with the viewer or you can use any wide, flat tool that will fit, like a coin or a putty knife. The viewer should be flush with the door and snug.
- The fit should be snug, with the outdoor lens and indoor viewfinder both tight to the door. However, don’t overtighten. Making it too tight could deform the door or damage the viewer.
- Check to see if any sealant was squeezed out and clean, if needed.
- Take a peek though the viewer and appreciate a job well done.
Installing a peephole is an easy project that can be done in just a few minutes. Looking for a product to complete your project? We have options to deliver online orders when and where you need them.


