How to Fix a Doorbell

Last updated September 7, 2023
Repairing a doorbell may seem complex, but it’s usually a simple project that only requires a few replacement parts. Most of the electrical components run on a low-voltage circuit, so you may not need to hire an electrician if the unit needs to be rewired.
This guide will show you how to fix a doorbell and includes tips on doorbell troubleshooting.
Safety tip: When working with exposed wires, wear electrician's gloves. Turn off the power at the circuit breaker when indicated in the steps below.
Difficulty:
Intermediate
Duration:
Under 2 hours
Table of Contents
Test and Replace the Doorbell Button
Replace the Doorbell Chime Unit
Replace the Transformer
Check the Doorbell Circuit
Test and Replace the Doorbell Button
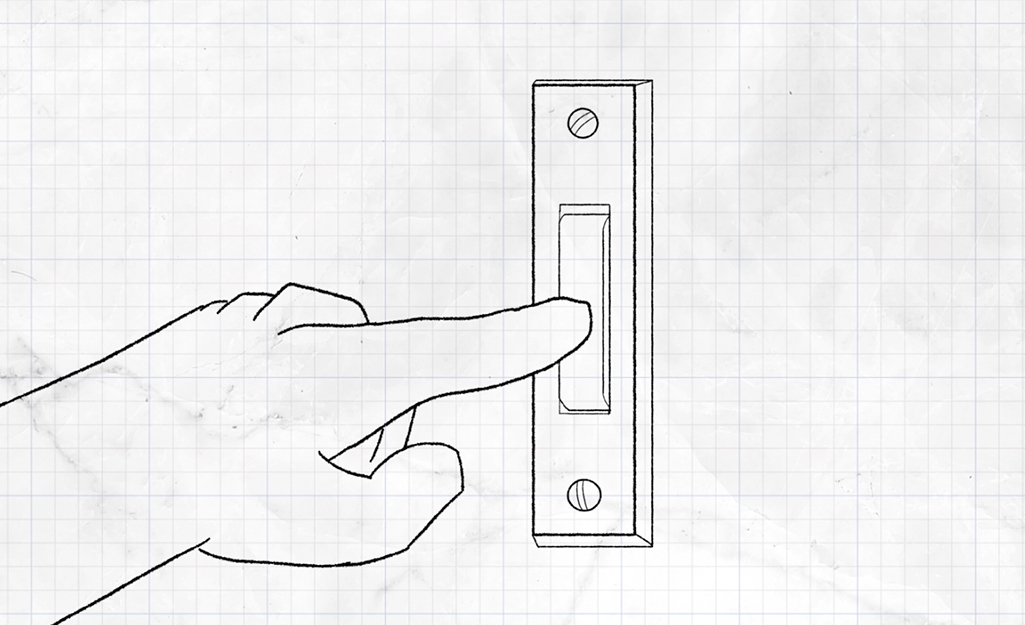
As you test the doorbell components, you don’t need to turn off the power. The doorbell transformer takes the household voltage of 120 and typically reduces it to around 16 volts for doorbell operation. Though you can leave the power on as you test, turn it off before you begin replacing any of the doorbell parts.
The doorbell button is usually located right next to your front door, on the door frame or wall on the outside of your home. It can wear out over time, which could keep your doorbell from working.
The button is the easiest part to replace. If you need a new doorbell button, you can select something that’s similar to the original one or upgrade the look of your doorbell button.
- As you figure out how to fix a doorbell, start by taking a closer look at the button.
- You’ll need a screwdriver to remove the screws that connect the doorbell button to the door jamb or wall.
- Use the screwdriver to
loosen and remove the screws on the outside of the doorbell button. - Remove the doorbell button from the door jamb or the wall. Lift the doorbell button carefully, because it will still be attached to wiring.
- Unscrew the connected wires from the screws on the back of the doorbell button.
- Gently touch the wires together and see if they prompt the doorbell to ring. If the doorbell rings, the button is causing the issue and needs to be replaced. If the doorbell does not ring after touching the wires together, then another part of the doorbell is causing the problem.
To replace the doorbell button:
- If the doorbell button needs to be replaced, use masking tape to secure the wires to the wall, so they won’t fall down inside of it. You’ll need to attach these wires to the new button.
- At your house’s circuit breaker panel box, turn off the power to the doorbell button while you work.
- On the back of the new doorbell button, loosen the two screws slightly.
- Remove the tape from the existing wires. Use needle nose pliers to bend the end of each wire into a small hook. If not enough of the wire is exposed, you may need to use wire strippers to expose a little more of it.
- Hook the wires to the screws on the back of the doorbell button. Tighten the screws until they’re holding the wires securely. Make sure the new wiring matches the old.
- Attach the doorbell button to the wall. If it doesn’t fit into the screw holes from the old doorbell button, you can fill in the old holes and drill new ones.
- To install a cover for the new doorbell button, follow the manufacturer’s instructions.
- Turn the power back on. Try the doorbell button to make sure it works.
Replace the Doorbell Chime Unit
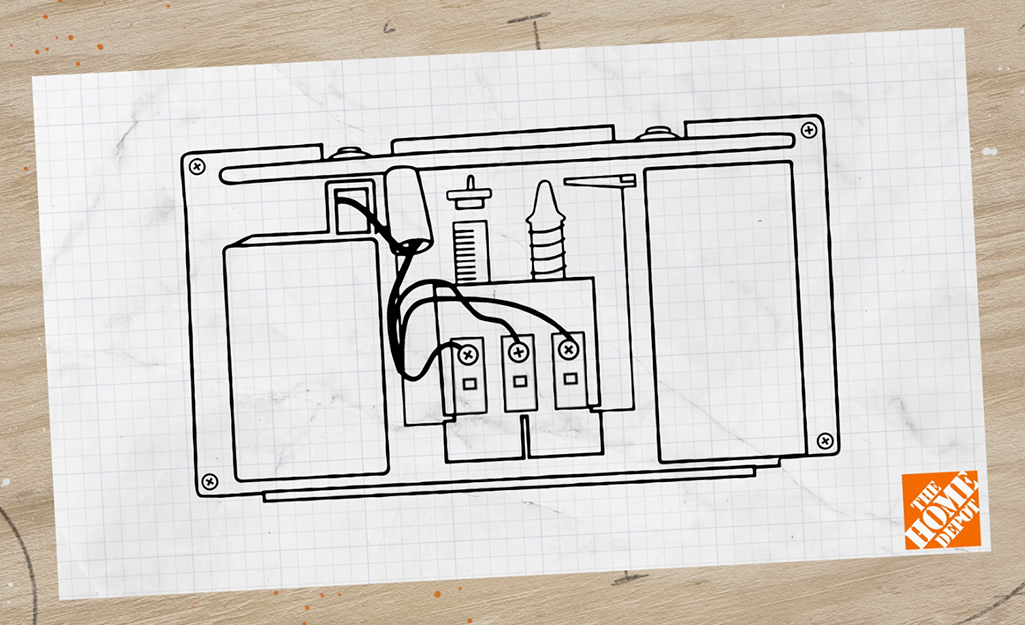
The doorbell chime unit is usually located in a place inside your home where it’s easy to hear. It might be on a wall in the living room, hallway or other high traffic area.
- To check the chime unit, remove the cover and use a voltage meter to see if a current is flowing through the wires.
- If the current is flowing, the chime unit is likely failing and needs to be replaced. If a current does not appear on the meter, then the chime unit is not causing the issue.
- When replacing the doorbell chime, start by turning off the power on the main circuit breaker panel. Have the new chime unit ready to install.
- Use a screwdriver to disconnect the wires from the terminals of the doorbell chime. Remove the screws holding the chime unit together. Carefully pull the unit away from the wall.
- Slip the wires out of the housing of the old chime unit. Thread the wires through the base of the new chime unit. Fasten the new unit to the wall with mounting screws. Connect the wires to the screw terminals on the new chime unit. Make sure to match the labeled wires to the corresponding screw terminals.
- Attach the cover plate.
- Turn on the power at the main circuit breaker panel box.
Replace the Transformer
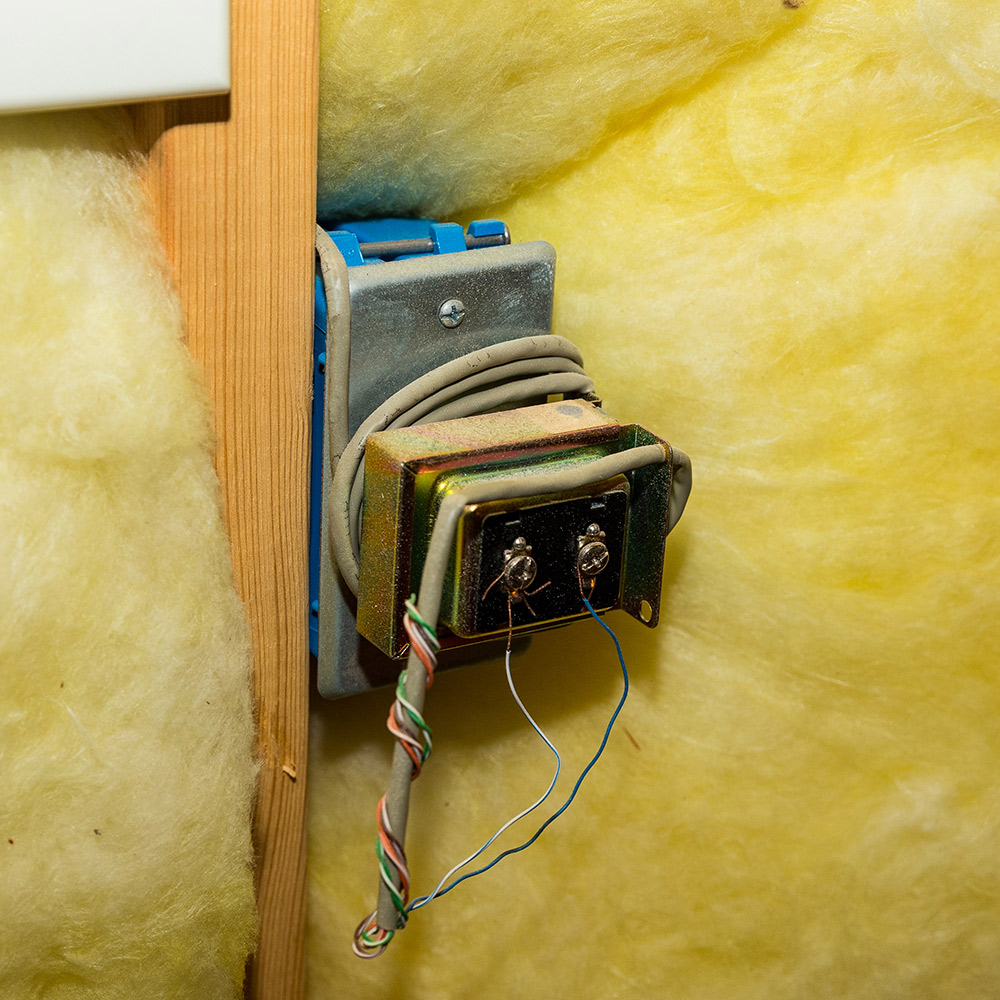
While replacing the transformer can be a DIY project if you have experience working on similar repairs, you may want to call an electrician for this fix.
- The doorbell transformer is
generally mounted on an electrical junction box or wall studs in a hidden area, or near the main breaker box. Use the voltage meter to test the transformer and read the voltage output levels. If it’s producing less than 16 volts it needs to be replaced. - Turn off the power and disconnect the wires from the transformer. The wires should be connected with screw terminals or wire connectors. Keep these for use on the new transformer.
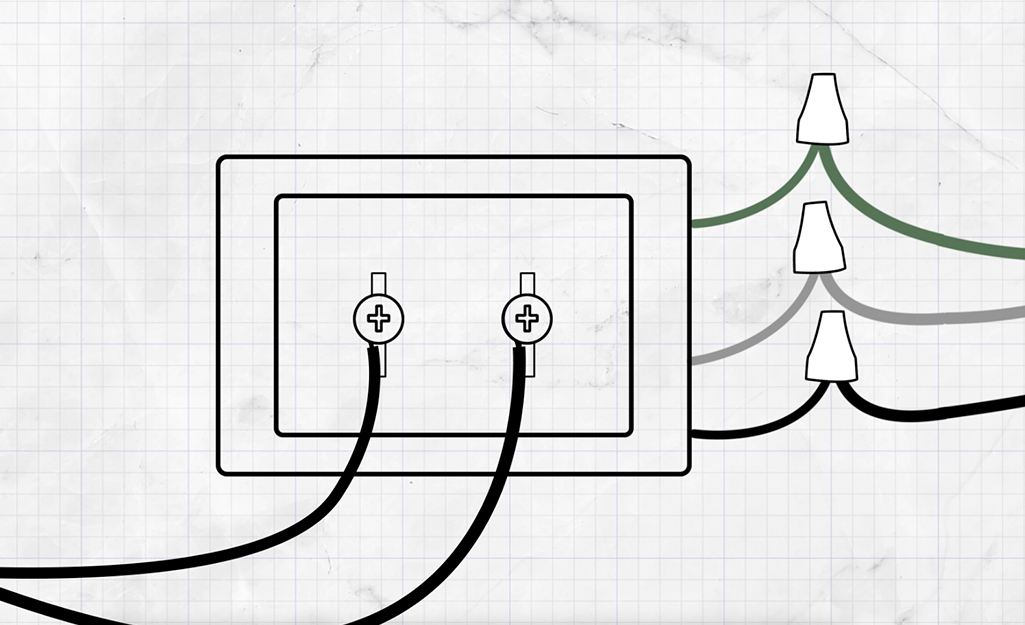
- Gently pull out the wires and remove the connectors or electrician’s tape from the two splices that connect to the transformer. On the other side of the transformer will be two screw terminals that connect the transformer to the door button and the door chime. Use masking tape to label each wire so you will know the proper place to reattach them.
- After labeling the wires, use a screwdriver to disconnect them from the terminals. Then unscrew the mounting hardware to remove the transformer.
- Install the new transformer by threading the doorbell button wires, the door chime wires and new transformer leads through their respective openings. Use a screwdriver to attach the transformer to the mounting hardware.
- Attach the doorbell button and chime wires to the appropriate terminals according to the labels. Use wire connectors to join the wires on the transformer to the housing wiring.
- Test the voltage again to make sure the new transformer is working properly.
Check the Doorbell Circuit
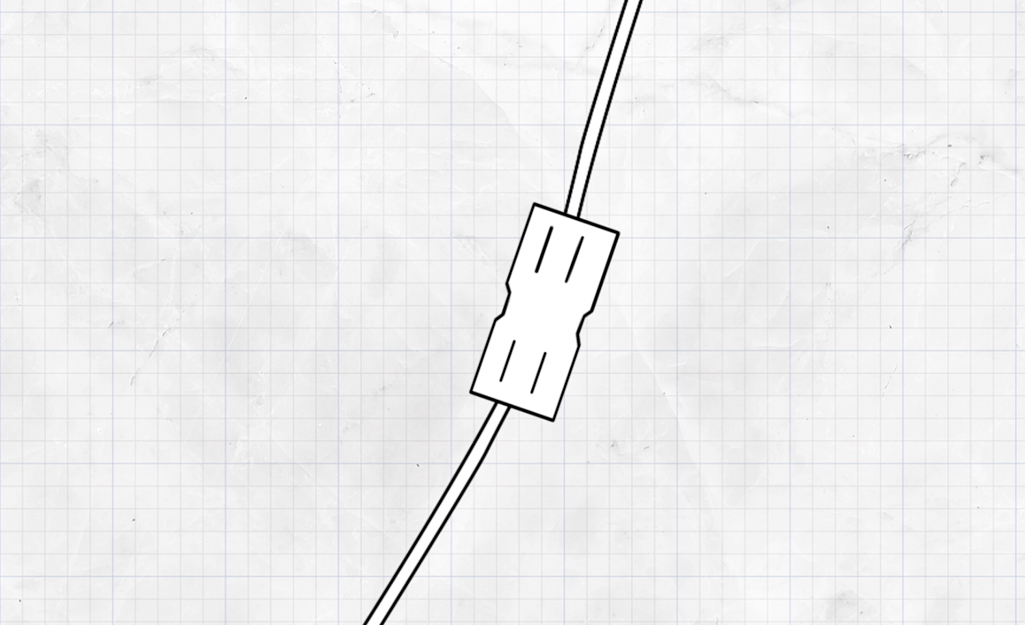
While it is possible to identify and fix a tear in the doorbell circuit wires, you might prefer to hire an electrician to make this repair.
- When you check the doorbell button, chime unit and transformer, they may all be working correctly. If that’s the case, you will need to look for a tear in the doorbell circuit wires.
- These wires may be difficult to find on your own. However, if you are able to locate the broken portion, use a wire connector to patch the area and restore the connection.
To figure out how to fix a doorbell, start by checking out its three main parts. The problem may be an issue with the doorbell button, the chime unit or the transformer. A tear in the doorbell circuit wires could also make your doorbell stop working.
When you’re ready to fix a doorbell, you’ll need replacement parts and a few tools.
The Home Depot delivers online orders when and where you need them.


