How to Make a Flower Press

Last updated September 7, 2023
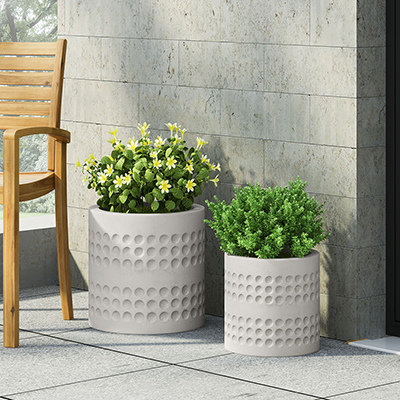
Have you ever wished you could enjoy your favorite flowers longer? A flower press allows you to preserve the beauty of beloved blooms. Pressed flowers can be used to decorate your home or for paper crafts, like scrapbooking and card making. You can add pressed flowers to handmade soap or candles, as well.
This guide will teach you how to make a flower press. You can create a DIY flower press in as little as an afternoon. If you want to paint your flower press, allow additional time for it to dry.
Difficulty:
Beginner
Duration:
Under 2 hours
Table of Contents
Gather Materials & Tools
Choose the Wood and Cut It
Mark a Drill Guide
Drill the Holes
Smooth the Rough Edges
Paint the Flower Press
Gather Materials & Tools

To make a flower press, you’ll need:
Materials
Two 12- x 10-inch pieces of wood that are at least 1 inch thick
4 3/8- x 8-inch carriage bolts
4 3/8-inch wing nuts
Pencil or pen
Ruler
Sandpaper
Piece of scrap wood
Cardboard squares cut to fit the flower press
Newspaper or printer paper cut to fit the flower press
Scissors or a box cutter
Paint
Paint brushes
Primer
Tools
Circular saw (if you want to cut your own wood)
Drill
1 1/2-inch drill bit
Choose the Wood and Cut It

To begin, you will need two pieces of wood that are the same size and shape. To ensure the strength and long term stability of your flower press, your wood should be at least 1-inch thick. The specific measurements are entirely up to you.
A sample size for a flower press would be 12 x 10 inches. However, you could make your press a few inches larger so that more flowers can fit into it at a time.
If you have a power saw, you can cut your own wood to size. If not, you can ask for the wood to be cut to the dimensions you’d like when you buy it.
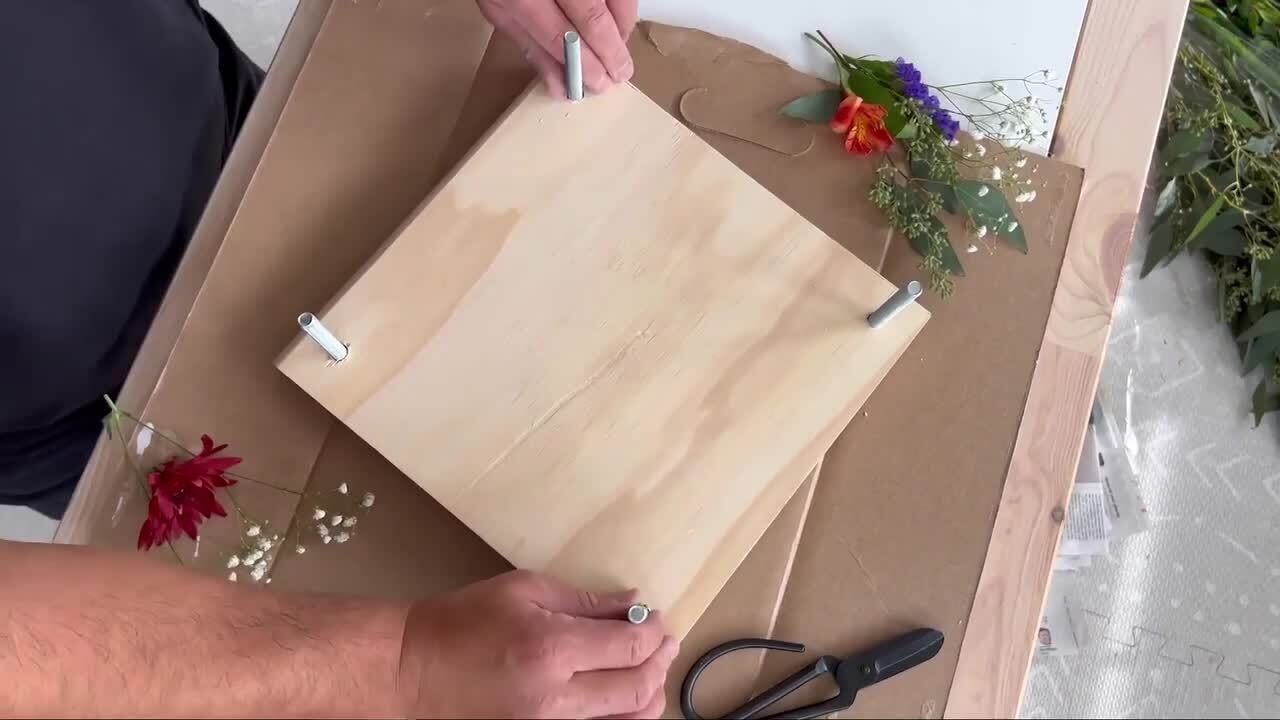
Mark a Drill Guide

Make a mark about an inch from each corner of one of the pieces of wood. This mark will serve as your drill guide. Make sure the marks are accurate and evenly spaced. If your marks are too close to the edges of the piece of wood, the drill might go through the side of the wood.
Drill the Holes

After marking the drill guides, stack the two pieces of wood for your flower press together. Clamp the two pieces of wood together for extra stability.
Put the two-piece stack on top of a piece of scrap wood. Using the marks as your guide, carefully drill through both pieces of wood. Drill a clean, straight hole all the way through both pieces.
Smooth the Rough Edges

Once you have drilled the holes in the two pieces of wood, use a piece of sandpaper to smooth away all the rough edges of your flower press. Sand the newly drilled holes, too. After you are done sanding your flower press, wipe it off to clear away dust and debris.
Paint the Flower Press

Painting your flower press will give it a custom look. You can use any paint that is suitable for wood.
One option is to use crackle paint. This special effect paint dries with small and large cracks in its surface. Start by brushing a layer of crackle paint on one side of each piece of wood. The thicker the paint layer is, the more pronounced the crackle effect will be.
Allow the painted flower press to dry in a warm, sunny spot. Follow the manufacturer’s directions on the paint for specific drying times.
Cut Scrap Cardboard and Paper

As the paint on your flower press dries, collect several pieces of scrap cardboard. Cut the pieces to fit your flower press. The cardboard pieces should be slightly smaller than each piece of wood. The cardboard should not hang out beyond the edges of your homemade flower press.
Use the size of the cardboard as a pattern to cut paper for your flower press. You can use old newspapers, printer paper or any other paper you might have on hand.
To cut the paper, use a pair of scissors or a box cutter and a straight edge. The cut paper should be about the same size as the cardboard, but it doesn’t have to be exact.
Place Flowers in the Press

When you have two pieces of wood and cardboard and paper cut to size, you’re ready to start pressing flowers. Put a few layers of paper on top of a piece of cardboard.
Next, place your flowers on one of the pieces of paper. Arrange the flowers so they are not touching. If you’d prefer a collage effect, you can allow the flowers to touch or lay on top of each other.
Add a layer of paper on top of the flowers, then put a piece of cardboard on top of that layer. You can create layers of cardboard, paper and flowers as needed to fit the number of flowers you’d like to press.
Place Carriage Bolts

Before using your DIY flower press, check to be sure the painted wood pieces are dry.
Next, screw the carriage bolts into the holes on one piece of wood. This will be the bottom piece. Place the stack of cardboard, flowers and paper on top of that wood piece. Place the second piece of wood on top of the stack, aligning its corner holes with the carriage bolts.
Screw on the wing nuts and press the top board down by hand, using moderate pressure. Tighten the wing nuts, but don’t over-tighten them.
Check on the Flowers

Set the flower press in a dry location where it won’t be disturbed for the next seven days. After a week passes, check on the flowers. Unscrew the wing nuts and take off the top board. Then remove the cardboard and newspaper until you can see see if the blooms have dried properly.
Depending on the flowers you are drying and the temperature and humidity in your area, the drying and pressing process could take as long as two to three weeks. Still, you should begin checking the press after a week.
Flower pressing is a fun DIY activity. Learning how to make a flower press can help you preserve the blossoms you love for later use.
Looking for materials and supplies to create a homemade flower press? The Home Depot delivers online orders when and where you need them.