How to Replace a Thermocouple

Last updated August 12, 2024
If a pilot light goes out in a water heater, furnace or other gas appliance, customers will face a loss of heat or other inconveniences. Thermocouples are designed to detect a pilot light’s loss of heat and close the gas valve to prevent a gas leak.
Replacing a thermocouple is a relatively easy fix that can take less than two hours. This guide reviews how to replace a thermocouple to ensure gas appliances stay in good working order, as well as how to relight a pilot light.
Difficulty:
Intermediate
Duration:
Under 2 hours
Table of Contents
How to Tell if You Have a Bad Thermocouple?
Before and After You Replace a Thermocouple
How to Clean a Thermocouple
How to Replace a Thermocouple
More Tools. More Products. More Perks.
How to Tell if You Have a Bad Thermocouple?

Thermocouples can last up to 10 years if properly installed and maintained, while furnaces can last 15-20 years, although either may wear out sooner in multifamily units. Appliances in multifamily properties, including wall heaters and water heaters, may have shorter lifespans due to frequency of resident change or delayed maintenance requests.
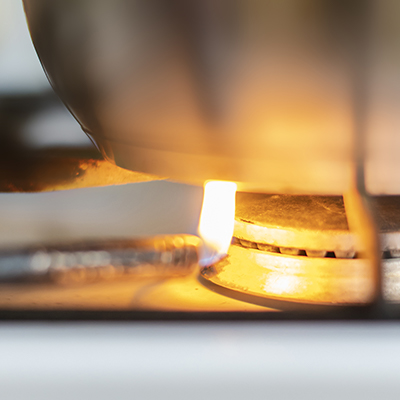
If the pilot flame ignites but goes out after you release the gas control knob, the cause may be a dirty or defective thermocouple. If the gas is on but the flame will not ignite at all, a pilot tube obstruction is the most likely issue. Remove the pilot tube from the gas valve and spray compressed air to clear it.
When working properly in most gas appliances, the pilot flame should hit the upper 1/2 to 3/8 of the thermocouple. If the pilot has a weak, orange-yellow flame or barely reaches the thermocouple, it’s too low. If the flame extends well above the thermocouple, it’s too high.
Pro Tip: Test the thermocouple with a multimeter with a DC volt scale. If the thermocouple reads more than 25 millivolts, it’s not the source of the problem.
Before and After You Replace a Thermocouple

Before replacing a thermocouple or performing any repair on a gas appliance, follow these safety steps.
- Turn off the power to the unit or flip the appropriate circuit breaker.
- Shut off the gas.
- Turn the gas valve to the “Off” position.
- Give the appliance at least five minutes to cool down and let any residual gas clear out.
After cleaning or replacing the thermocouple, you will want to test the appliance by relighting the pilot.
- Turn the gas regulator valve to the “pilot” position.
- If the water heater has a manual “ignite” button, press that to light the pilot.
- If it doesn’t have a manual ignite button, or the button fails, press the regulator valve and bring a long utility lighter to the pilot light valve until the pilot ignites.
- Once the pilot light stays lit, turn the valve to the “on” position. You should hear the appliance activate.
- It may take several attempts to light the pilot. If you run the gas for a couple of seconds without ignition, take a few minutes to let the gas clear before trying again.
Pro Tip: If you smell gas or hear a hissing sound, do not attempt to relight the pilot. Ask your customers to immediately evacuate the building. In a multifamily building, also evacuate nearby units. Turn the gas off at the meter. You may need to contact property management, the local gas company or a senior plumber on your team before testing the leak.
How to Clean a Thermocouple

A pilot light may not light due to a buildup of soot and carbon on the thermocouple. Cleaning the thermocouple can fix the issue and extend the life of the device.
- Locate the pilot assembly and find the thermocouple. Usually, the tip of the thermocouple touches the pilot light.
- Use an adjustable wrench as needed to remove thermocouple from the gas valve.
- Detach the thermocouple from the pilot assembly. Some thermocouples can be pulled free, while others require screws to be detached with a screwdriver first.
- Gently scrub the thermocouple with the abrasive side of a sponge or scouring pad to remove the soot. If you use steel wool, take extra care to avoid scratching the coating.
- Reattach the thermocouple to the pilot assembly and the gas valve.
- Turn the unit back on and test it to see if the pilot stays lit.
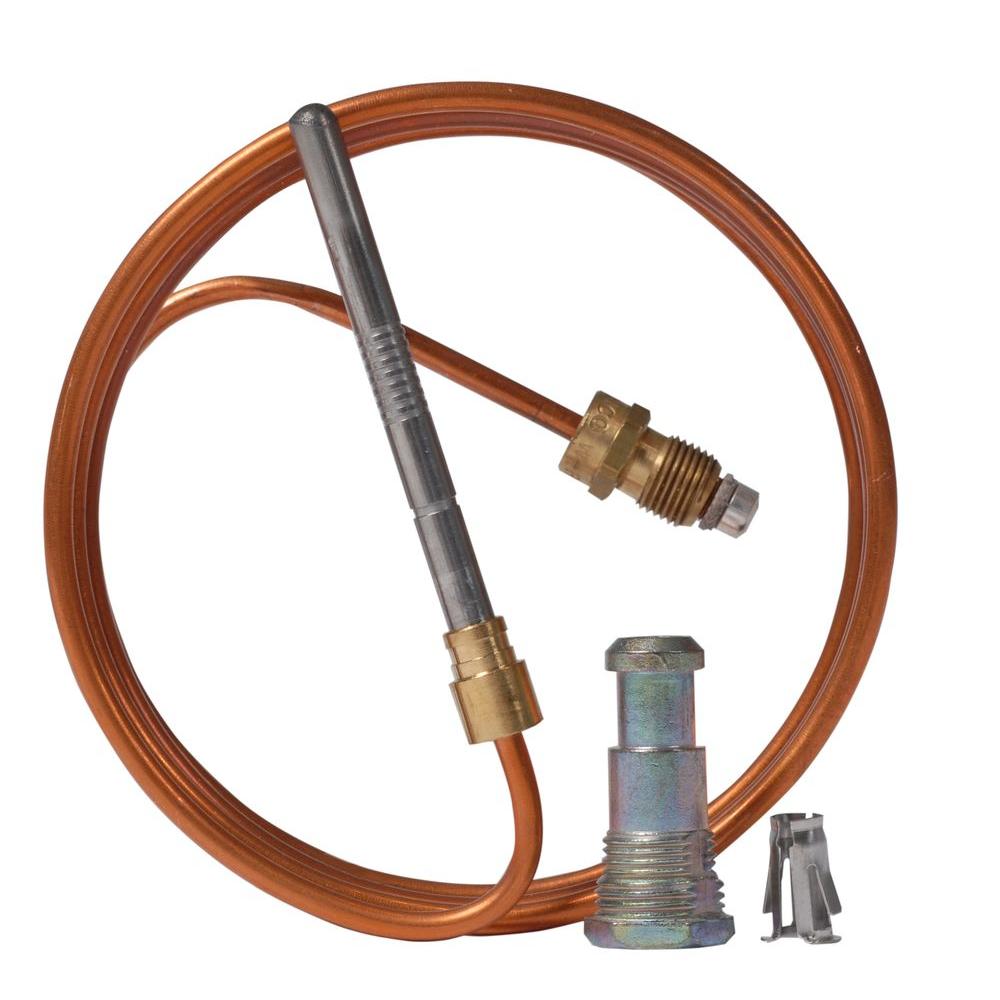
How to Replace a Thermocouple

Replacing a thermocouple becomes necessary when the pilot light won’t stay lit even after the old thermocouple has been cleaned.
- Choose the new thermocouple based on the size and mounting style of the old one. Commercial thermocouples range in size from 18-48 inches and are interchangeable. Universal thermocouples have millivolt rating of 25-35 mV. Type K, J and N thermocouples are commonly used with residential appliances, while other thermocouple types have industrial applications.
- Detach the old thermocouple as described above.
- Remove the new thermocouple from the packaging and uncoil it to the appropriate shape.
- Attach the new thermocouple to the pilot assembly and the gas valve.
- Turn the furnace back on and test it to see if the pilot stays lit.
More Tools. More Products. More Perks.

Be more competitive and boost your bottom line with Pro Xtra, The Home Depot’s loyalty program built for Pros. Sign up today to access the enhanced Pro Online Experience, built with the online business tools and time-saving features Pros need.
Learning how to replace a thermocouple allows you to troubleshoot a gas furnace or water heater when the pilot light won’t stay lit. Cleaning and replacing the thermocouple can help keep the appliance running smoothly and extend its life.
Use The Home Depot Mobile App to easily use your Pro Xtra benefits when shopping for thermocouples or other products. Scan your Virtual ID at checkout to access savings, redeem offers and earn Perks.