How to Replace Recessed Lighting with LED

Last updated September 7, 2023
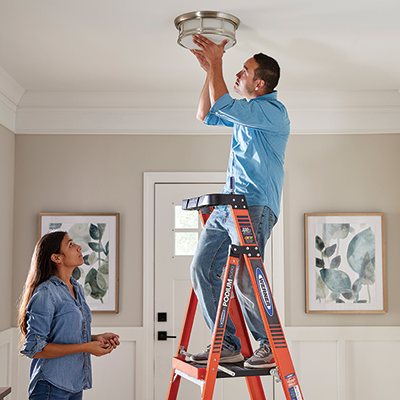
Recessed lighting can enhance to your home’s ambiance and provide extra illumination for certain areas. However, these lights, also known as can lights, high hat lights or pot lights, may also be adding to your electric bill. Replacing recessed lighting with more efficient LED lighting can contribute to energy savings, which means lower electric bills.
This guide will show you how to replace recessed light to make the switch from traditional bulbs to LED bulbs.
Difficulty:
Beginner
Duration:
Under 2 hours
Table of Contents
Recessed Lighting Conversion Kits
Check Existing Recessed Lights
Prepare the Existing Housing
Connect the LED Light
Insert the LED Unit
Smart LED Recessed Lighting
Recessed Lighting Conversion Kits
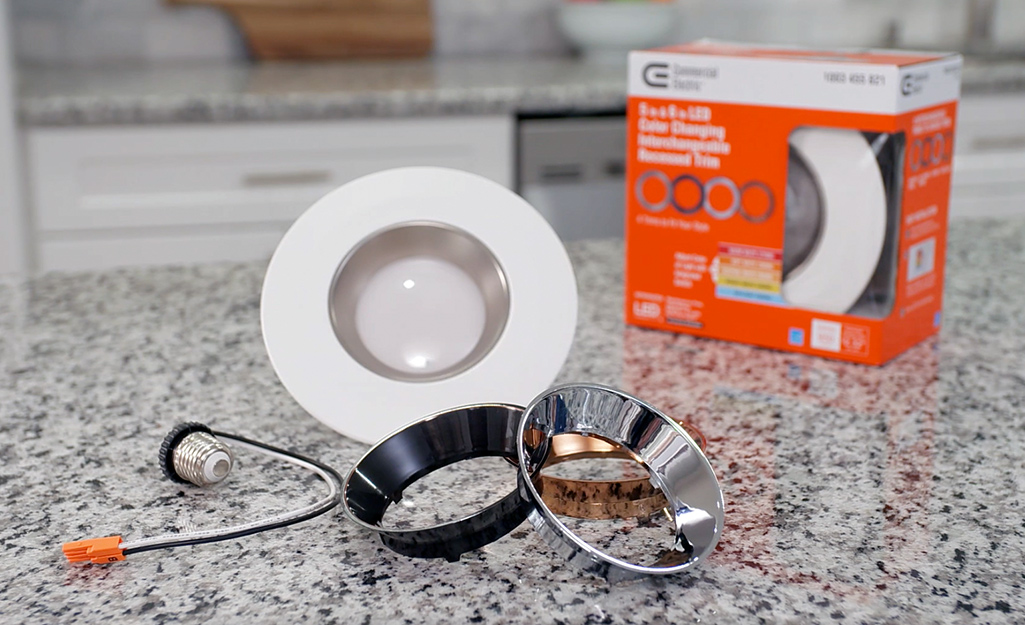
Changing a recessed light bulb is not as simple as putting an LED bulb into the old fixture. Still, learning how to replace recessed lighting is not difficult with a recessed lighting conversion kit. These LED marvels install easily. Plus, the energy savings can really add up because typical recessed lighting layouts in a home consist of multiple fixtures.
In fact, most remodeling recessed lighting uses LED bulbs because of the ease of installation, as well as the energy efficiency. LED bulbs last much longer than other kinds of light bulbs. You won’t have to change them as often once you make the switch.
An LED bulb can stay lit for as long as 50,000 hours. There are 8,750 hours in year. Even if you left the lights on 24/7, an LED bulb could stay on for more than 5 years. If you used an LED bulb for a more reasonable 8 hours a day, it could last up to 17 years.
Check Existing Recessed Lights
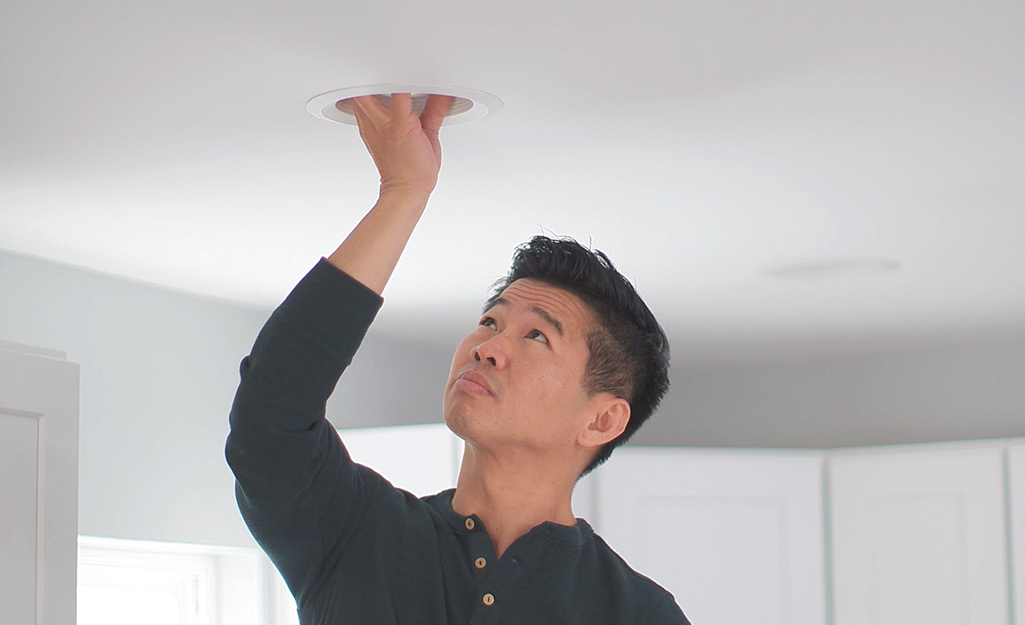
Make sure that your existing recessed lights can be converted to LED by examining the mounting springs. The torsion springs on an LED retrofit light fit into the brackets within the housing. If your existing housing doesn't have those internal brackets, you'll have to replace the fixture with a universal type.
- Before you begin, switch off the breaker that controls the power for the recessed light fixtures you’ll be working on.
- Get a ladder so you can reach the recessed lighting in your ceiling. Reach into the fixture and remove the light bulb from the light housing.
- Pull down the trim and see how it is attached to the housing. If the trim is attached by v-shaped torsion springs, then you know the housing will work with LED retrofit lights.
- If you aren't sure, remove the trim entirely and look inside the housing to see if the brackets are on the inside.
Prepare the Existing Housing
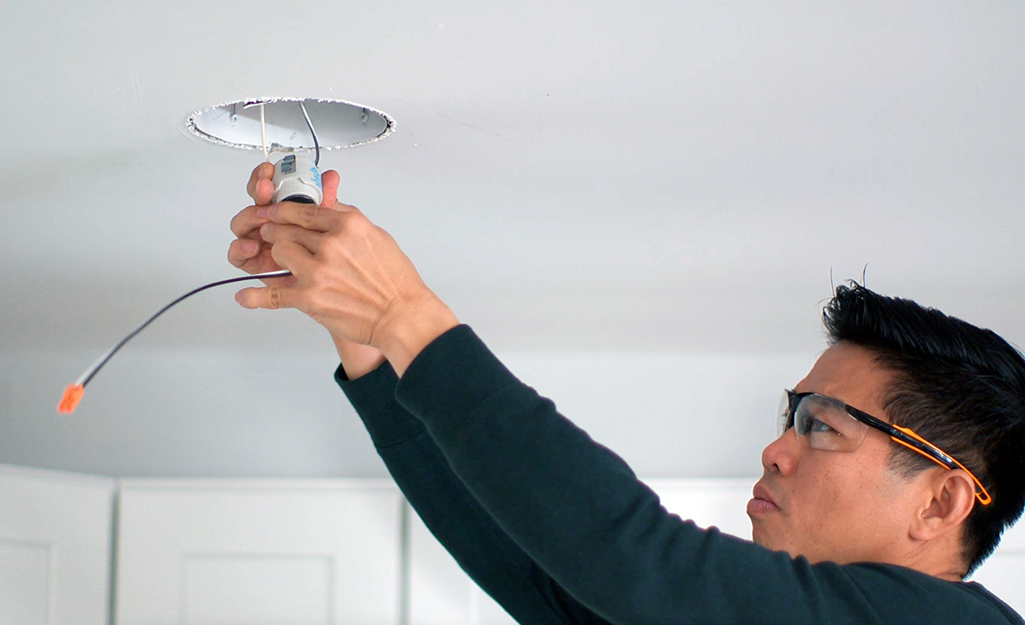
- Unscrew the old bulb from the recessed lighting housing.
- Remove the old trim from the outer ring of the housing.
- Squeeze the side spring clips to remove the light housing. You should see the light socket at the top of the well.
- Adjust the rear plate in the housing by loosening the wing nut that allows the adjustment. Push the housing up, then retighten the nut. This creates breathing room for the LED light.
Connect the LED Light
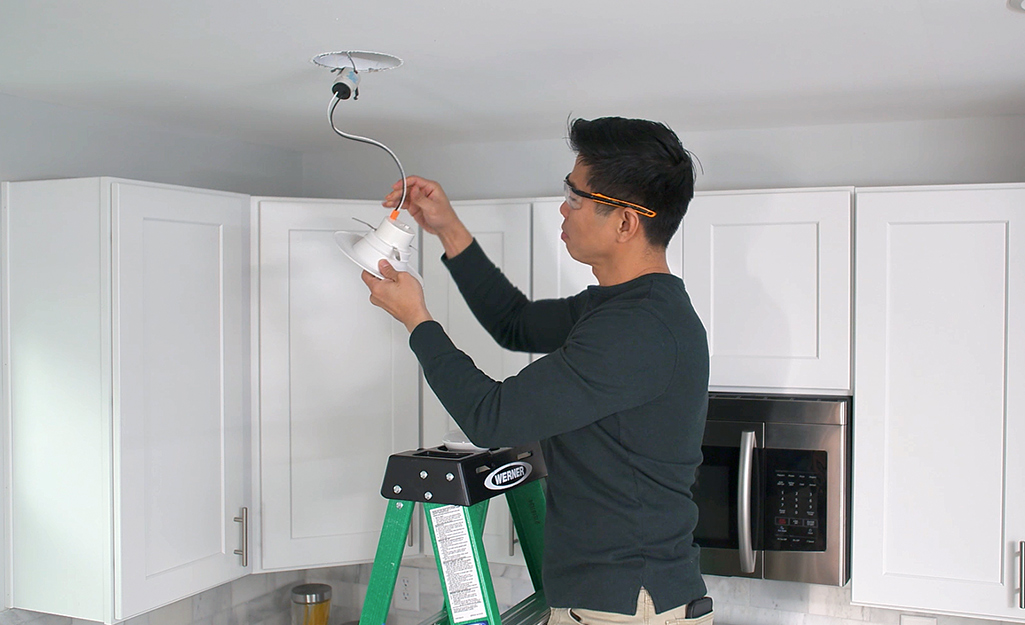
- Open the LED recessed lighting conversion kit and check to make sure you have everything you need before you’re standing on the ladder.
- Unpack the LED replacement recessed lights. Connect the bulb socket adapter included in the kit, if not pre-assembled.
- Screw the lightbulb end of the LED into the empty lightbulb socket in the recessed light housing.
Insert the LED Unit
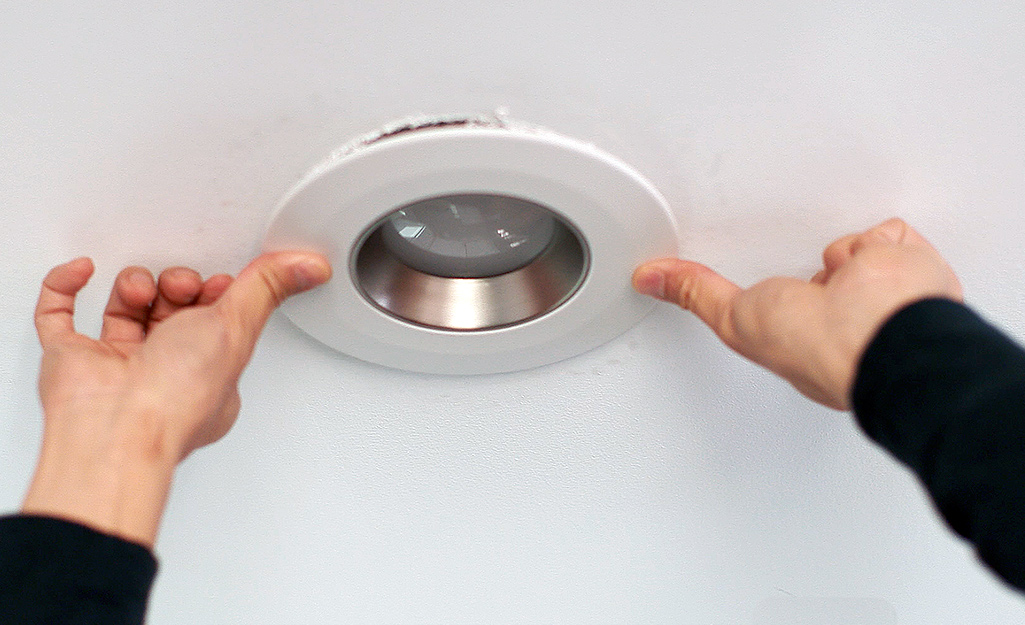
- Squeeze the spring arms on each side of the LED unit together.
- Slide the arms into the brackets inside the housing.
- Push upward until the LED light unit clicks into place and the trim is flush with the ceiling.
- If the light doesn't fit flush, try to adjust the rear panel on the housing upwards.
- When the LED unit has been properly installed, turn the power on at the breaker.
Smart LED Recessed Lighting
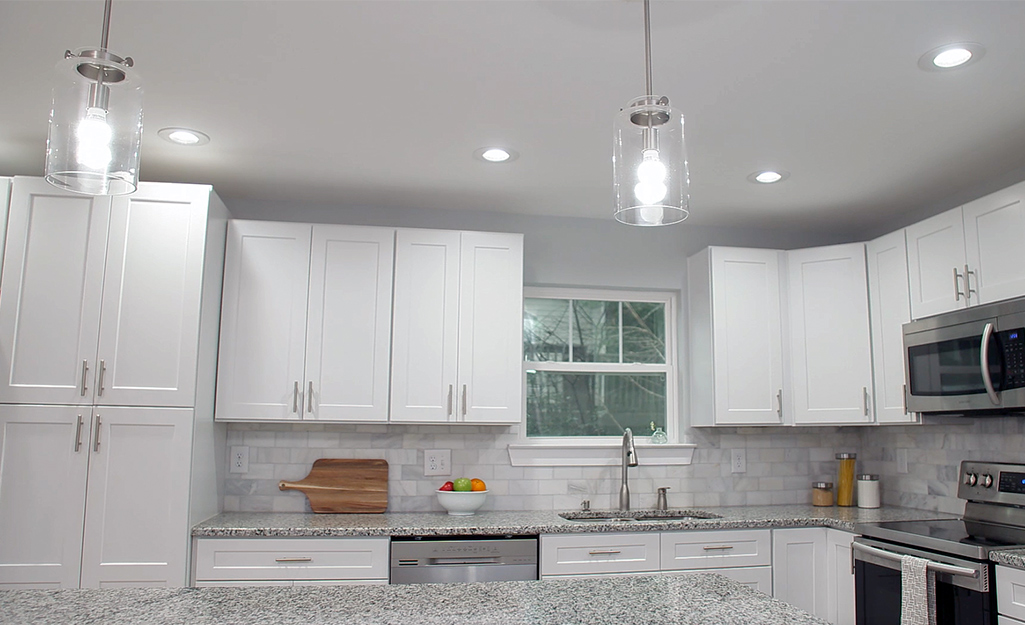
To really take your home’s recessed lighting to the next level, look for smart LED conversion kits. With these retrofit kits, you can convert traditional can lights into smart lighting.
When a smart LED bulb is connected to your wireless network, you can control the light with a mobile app or voice commands via Google Assistant, Amazon Alexa or Siri. The lights can be dimmed or brightened whenever you like. Smart LED bulbs also allow you to choose from a wide range of cool to warm glows.
For changing a recessed light bulb to an LED bulb, you’ll need to use a recessed lighting conversion kit to update the fixture. As you figure out how to replace recessed light with LED bulbs, you’ll have to decide how many of your home’s recessed lights to update. LED bulbs are very energy efficient, so replacing recessed lighting can lead to savings on your electric bill.
Using smart LED retrofit kits can give your recessed lighting additional features, like voice activation and options for dimming.
Time to upgrade your home’s recessed lighting? The Home Depot delivers online orders when and where you need them.


