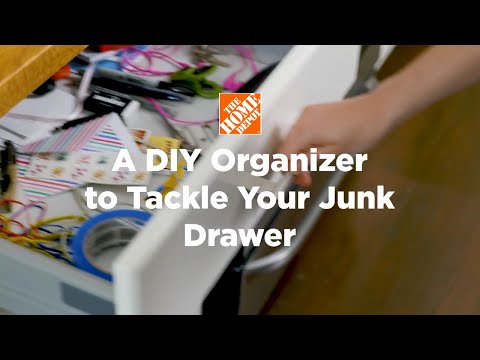
How to Tackle Your Junk Drawer
Last updated September 7, 2023
Organize your junk drawer once and for all by making this DIY drawer organizer.
From pens and pencils to receipts, keys and more, your junk drawer is home to a lot of miscellaneous items and, odds are, it's in disarry. Don’t let it overwhelm you. With a little bit of DIY magic, you can create a drawer organizer to corral that clutter. This guide will teach you how to tackle your junk drawer by creating a simple divider as well as offer tips on how to store items easier with the help of trays and organizers.
Difficulty:
Beginner
Duration:
2-4 hours
Table of Contents
Clean Out the Drawer
Gather Materials
Measure and Arrange Shims
Sand and Saw Shims to Fit
Glue Shims
Paint Shims
Clean Out the Drawer

Start by sorting out what you'd like to keep in the drawer vs. what belongs in a different location in your home. Also, be sure to throw away or recycle anything you no longer use or haven't used for quite some time.
Once you have cleared out the drawer, use some cleaner and a reusable cloth to give it a good wipe down.
Gather Materials

With your drawer cleaned out, it's time to gather your supplies.
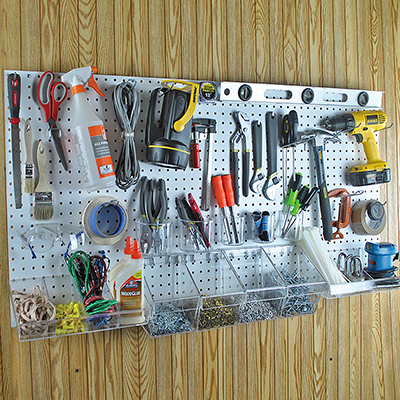
The trick to getting your junk drawer in tip-top shape is to organize it by sections—everything needs a place to go. An easy way to do this is to create a totally customizable drawer divider with wood shims (a sturdy, budget-friendly material) and glue.
The beauty of this project is that wood shims allow you to arrange and rearrange without strict measurements. Bonus points if you add peel-and-stick wallpaper to the bottom of the drawer for a bit of extra flair.
Here's what you'll need to get the job done:
- Wood shims
- Tape measure
- Pencil
- Hand saw or jigsaw
- Sandpaper
- Hot glue gun or wood glue
- Paint
- Peel-and-stick wallpaper
- Tarp or builder’s paper
Measure and Arrange Shims

Wood shims are tapered from thick to thin (their primary use is to adjust the position of two adjacent objects, such as in window and door installations), but for this project, we’ll only be using the thick side of the shims.
- Using a pencil, make a mark where each thick side ends.
- Lay out the shims in the drawer to get an idea of how many sections you want and how many shims you’ll need.
- Mark with a pencil where you’ll need to make cuts.
Tip: Depending on how many sections you want in the drawer, you’ll need more or less shims.

Glue Shims

Now it's time to put the design together.
- Using your wood glue or glue gun, start gluing pieces together.
- Use a pencil to mark the shims as you go. This will help ensure they are in the correct position.
- It will typically take up to an hour for the glue to set.
Paint Shims

Add a little extra style to your organizer with a fresh coat of paint. We chose white for this project, but feel free to use your imagination.
- Using your paint brush, be sure to cover all sides with paint (or at least the sides that will be showing).
- Allow paint to dry for a couple of hours.
Line Drawer

While you're waiting for the paint to dry, dress up your drawer with some peel and stick wallpaper.
- Using a tape measure, measure the height and width of the bottom of your drawer.
- Carefully cut a piece of peel-and-stick wallpaper to fit.
- Then carefully peel back one corner of the wallpaper, and smooth down as you go. Any bubbles can be popped with a pin and smoothed out.
Insert Divider and Organize

Add your organizer back into the drawer, and begin to fill it with all of your stuff. As you add items back in, create dedicated sections and pair like items with other like items.
Here are more quick tips:
- Place items you use most frequently near the front of the drawer.
- Don’t put anything back that goes elsewhere in your home.
- If you prefer to buy organizers rather than make one, the same organizational tips apply. Dedicate specific trays and bins to specific items.
- Use everyday items to keep clutter at bay in the junk drawer as well. Think: rubber bands to gather pens together, muffin tins to house thumb tacks, etc.
Getting your junk drawer organized is as simple as gathering the right supplies and creating a DIY organizer. Shop our wide selection and get everything you need for your projects. Use The Home Depot Mobile App to have all the tools and materials delivered when and where you need them.