Repairing a Fence

Last updated September 7, 2023
All good
fences
need periodic maintenance to keep them functioning properly and looking their best. When damage to fencing is discovered, the first decision is whether to repair or replace it.
Common fence repair projects include replacing a rotted post or rail on a wood fence, replacing a damaged post on a metal or vinyl fence, and bracing a leaning fence post. This guide highlights repair projects that will keep your fence looking good and working well. Learn how to fix a fence, repair a gate, make repairs to a chain-link fence and more.
Difficulty:
Beginner
Duration:
Over 1 day
Table of Contents
Should You Repair or Replace Your Fence?
How to Break Up Old Concrete Fence Post Footing
How to Replace a Damaged Fence Post
How to Brace a Fence Post Plumb
How to Pour Concrete for a Fence Post
How to Repair Fence Gates
Should You Repair or Replace Your Fence?
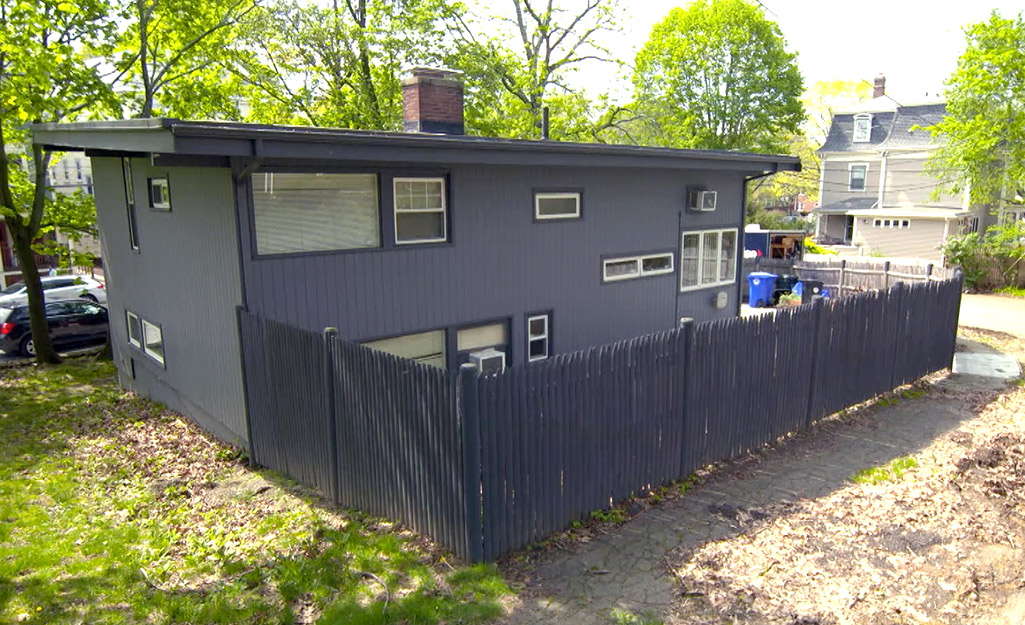
Wood fencing is by far the most common fencing material. It’s available as privacy fencing, which is tall and completely blocks the view. Another common type of wood fencing is spaced picket fencing, which has gaps throughout each panel. Vinyl fencing is available in these two styles. Chain link fencing, on the other hand, is all metal and comprised of mesh wire.
By contrast, if many of the posts are rotting and/or tilting, or if a majority of the panels are falling apart, then replacing it will be worth your time.
Calculate how much it will cost to replace the entire fence. Then, determine the components that need replacing and add up the cost of those materials. Add to that the cost consideration of your time. Weigh the benefits of each; it may be a little cheaper to replace but take a lot more time. Repairing a fence can sometimes be more time consuming than replacing it.
How to Break Up Old Concrete Fence Post Footing
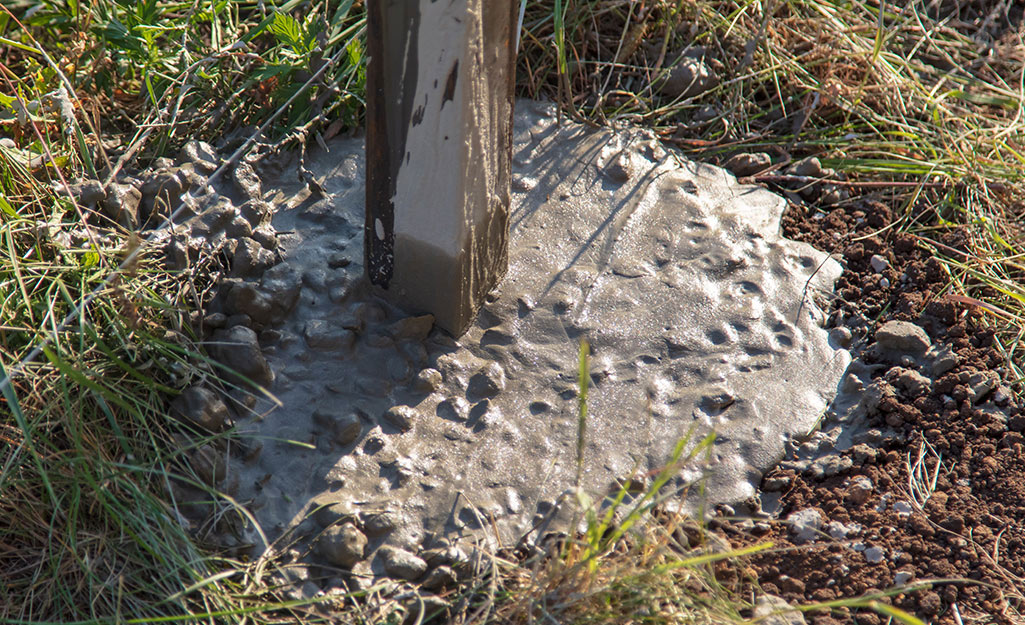
The most common task when fixing a fence is dealing with rotted posts. If your wood fence post is leaning, the post may have shifted or rotted and need to be replaced. If the post is set in concrete, you’ll need to break up the concrete footing and install a new post.
- Begin by removing any parts in the way of the repair. You can either remove the fencing with a pry bar or cut out the damaged section with a handsaw or circular saw. When repairing a
post, remove the fencing and
railsconnected to it. - Break up the old concrete footing by digging 6 to 8 inches around perimeter of the footing. Continue digging until the post moves freely.
- With the post free, break the concrete up using a hand-held sledgehammer and cold chisel.
- Discard the concrete and the damaged post.
How to Replace a Damaged Fence Post
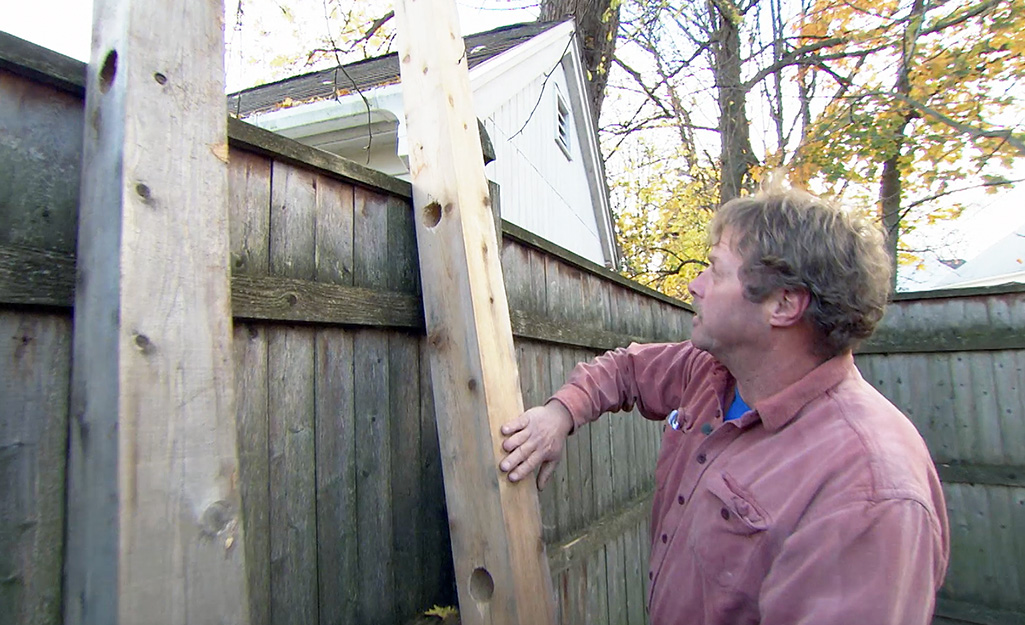
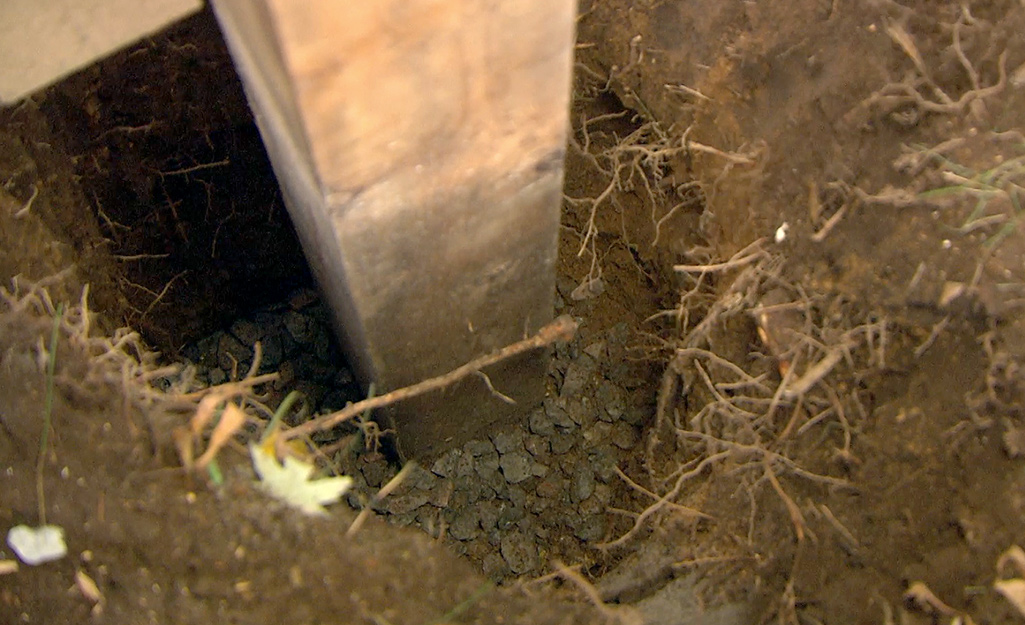
Once the concrete footing has been removed, replace the damaged post with a new one. If the original post had holes in it, ensure that the hole spacing of the new post matches.
- Make sure the hole is below the frost depth in your area. If the hole is too shallow, frost will cause the post to heave. Use a post-hole digger if you need to make the hole deeper.
- Add 4 inches of crushed stone to the bottom of the hole and tamp it down using a tamper or the base of the new post. This allows for ample drainage below the new footing.
- Place the new post into the hole so that it rests on top of the crushed stone. Measure the distance between the bottom hole of the post and the bottom rail of the fence. Subtract the two and cut that amount off of the bottom of post.
- Reinstall the post and push it to one side of the hole until the rails of both adjacent panels slip into the post’s hole. Once they do, pull the post back towards you until it’s straight.
How to Brace a Fence Post Plumb
The next step in fixing a fence post is to ensure that it is perfectly straight, or plumb, and does not lean in the hole.
There are a number of ways to brace a post plumb. The easiest and most economical way is to use scrap material cut about 24- to 48-inches long, depending on the height of your fence.
- There likely isn’t any play in the post from side to side since it should be sandwiched tightly between two fence panels. If there is some wiggle room, use a long level to set the post plumb from left to right. Once it is plumb, run a 2 1/2-inch exterior-grade screw through the post and into the panel rail at each hole location.
- With the fence plumb braced left to right, now it’s time to brace it front to back. Start by ensuring that the post is in line with the rest of the fence. To do this, run a string line from a post to the left of the new one, across the new one, and then to a post to the right. Shift the new post so that it is just touching the string line.
- Use a level to plumb the post front to back, ensuring that it remains aligned with the rest of the fence.
- Run a brace from about halfway up the post down to a stake in the ground. Set the stake about 24 to 36 inches out from the post. Use a power drill and wood screws to attach the brace temporarily in place.
- Run a second brace in the same manner off the back of the post.
How to Pour Concrete for a Fence Post
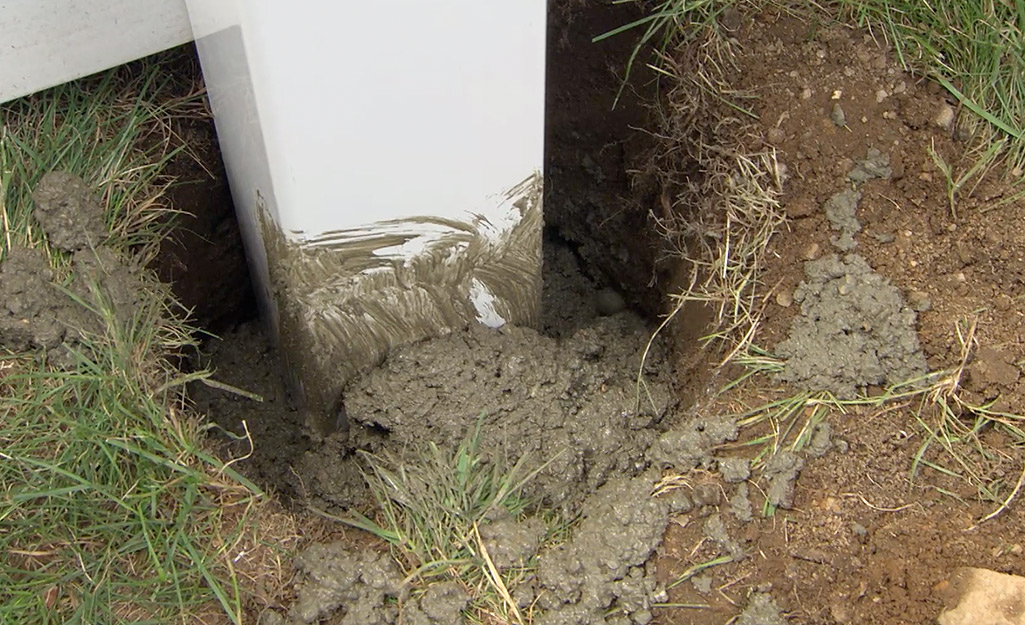
With the post secured to the panels and plumbed in place, it’s now time to pour the concrete mix for the new footing.
- Mix the concrete in a wheelbarrow or trough until it’s about the consistency of thick oatmeal.
- Use a shovel to apply the concrete mix into the hole all around the post, making sure to distribute it evenly.
- Continue adding concrete to the hole until it’s high enough to reach grade. Using a trowel, taper the concrete at the top of the footing away from the post on all four sides. This will help shed water away from the post and extend its life.
- The concrete will take up to 48 hours to cure, depending upon the type of concrete you used. Once the concrete has cured, remove the temporary bracing.
How to Repair Fence Gates
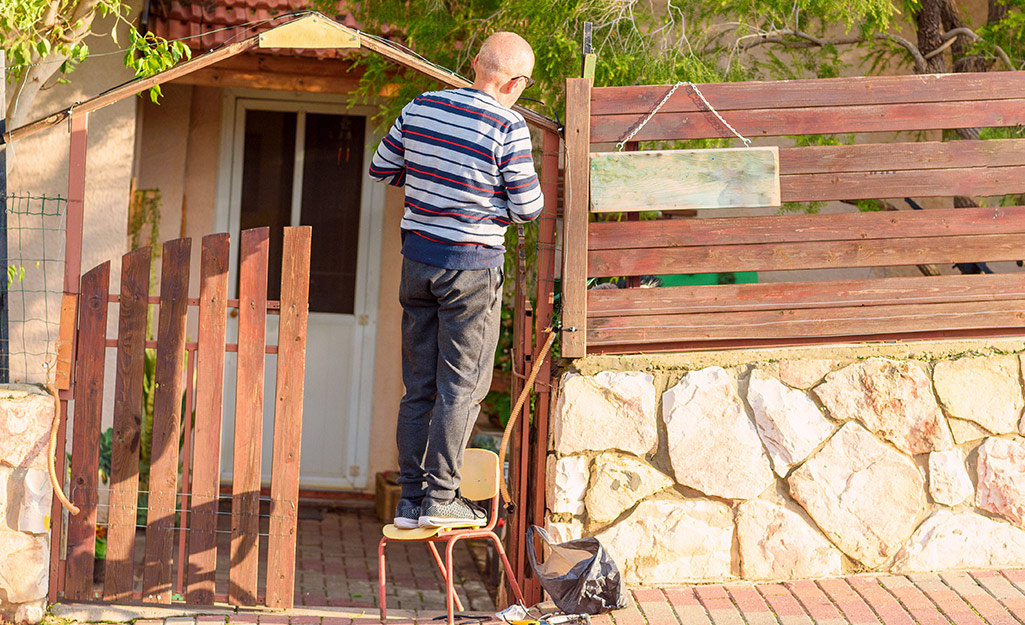
If a wooden gate droops and you don’t have diagonal cross braces, install an anti-sag kit that has a turnbuckle, a length of cable and some eye hooks. Anti-sag kits can be purchased separately or as part of a gate kit, which includes hinges and latch hardware.
- Screw an eye hook into the corner on the upper hinge side and a second eye hook in the lower corner on the opposite side.
- Attach the turnbuckle and tighten to remove the sag. Use your foot or a pry bar to lift the sagging end as you tighten the turnbuckle.
If a gate swings too far, that means the hinges are loose. The low-tech solution is to screw a 1 × 2 or 2 × 4 stop to the gatepost so the gate stops when it’s flush with the fence. The high-tech solution is a hydraulic gate closer, which gently pulls the gate shut and stops it at the right point.
How to Repair a Chain Link Fence
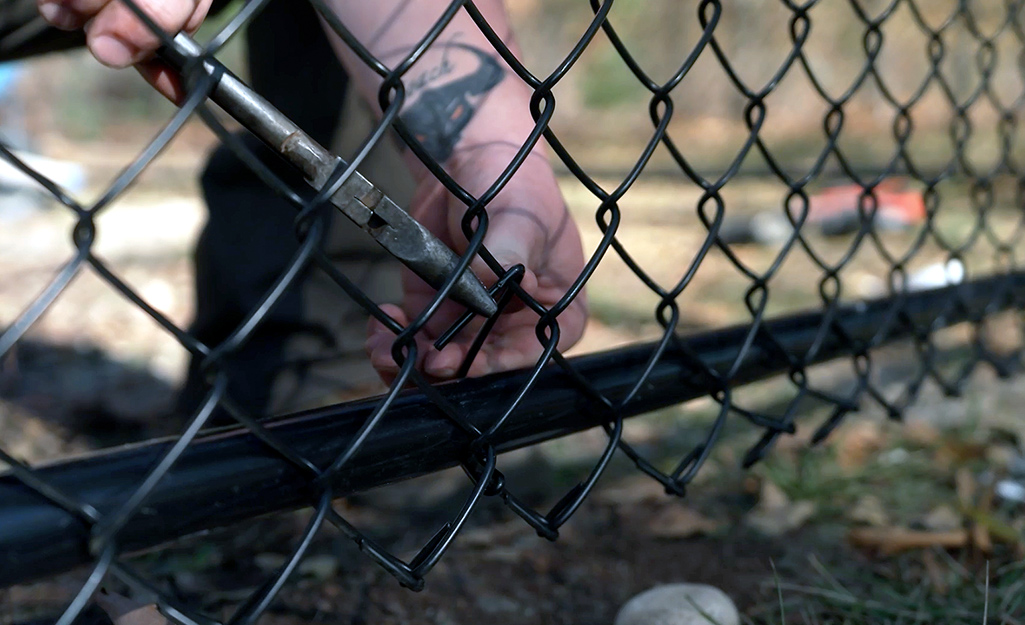
To repair a damaged section of chain-link fence, first you need to get tension off the mesh.
- Start by removing the tie wires closest to the damaged section using pliers.
- Next, connect a fence puller to both the post and fence and draw the fence tight enough to take tension off the tension bar. Remove the tension bar by loosening the bolts in the tension band. Loosen and remove the fence puller.
- Remove the damaged section by opening the loop at the top and bottom of a strand just outside the damaged area. Use a pair of pliers to do this and wear gloves to protect your hands. Twist and pull the strand free. Take out a strand on the other side of the damage and remove the damaged section.
- Cut a section of mesh the same size as the one you removed. Cut the mesh using metal-cutting snips or cable cutters. Use the piece you removed as a guide for how wide a section to cut.
- Weave the new section into the remaining fence using the strands you removed earlier. Loop the wire at the top and bottom of the strand back around the fence with pliers.
- Attach a fence puller by sliding a pull bar through the mesh about 4 feet from the end post. Crank the bar until the strands in the mesh-links flex no more than 1/4 inch when you squeeze them together.
- Reattach the tension bar to the tension band and release the fence puller.
- Finally, re-tie the patched fencing to the posts and attach new tie wires to hold the mesh firmly against the top rail and line posts. Thread a new tension wire through the bottom openings in the mesh.
If a chain link gate gets out of alignment, you can usually fix it by adjusting the hinge pins.
- Loosen the pins with a socket wrench and reposition them with a wood block and hammer.
- Place the block on the hinge pin and tap it lightly until it is where you want it. Check the gate’s swing and reposition, if necessary, before tightening.
How to Straighten Metal Fencing
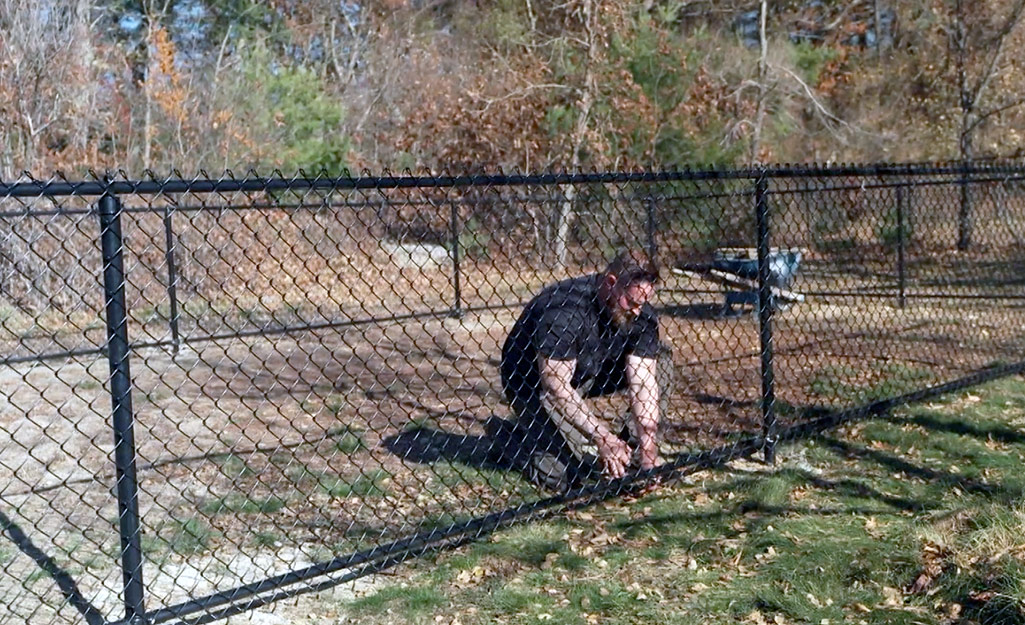
If your metal fencing is leaning, the post needs to be reset. Before repairing a fence that leans or sags, you must detach the fence panel hardware from the fence post, then break up the concrete.
- To break up an old concrete footing, start by digging 6 to 8 inches around perimeter of the footing. Continue digging until the post moves freely.
- With the post free, break the concrete up using a hand-held sledgehammer and cold chisel. Discard the concrete.
- Drive a stake into the ground about 24 to 36 inches from the metal fence post to brace the fence, and then screw the stake to the brace with a single screw. Next, use a level to plumb the fence post, and then clamp it to the brace.
- Finish by mixing bagged concrete with water and pour the new footings using the same methods described above. Slope the concrete away from the posts so water will drain away. Remove the braces after the concrete has hardened, in about 48 hours depending upon what type of concrete you used.
If you’re satisfied with the look of your fence and damage is limited to a certain area, repairing a fence is an economical and approachable task.
Follow the tips on how to repair a fence to make it look as good as new. If you aren’t sure if this is a project you want to take on yourself, consider our fence installation services. If you do proceed with this project but don’t have every tool you need, like power drills or a circular saw, don’t worry. Rent tools and trucks
for any project at The Home Depot. shown in this guide about


