How to Can and Preserve Food

Last updated August 12, 2025
Canning, preserving and storing food properly can cut down on waste, and there are many ways to do it. Knowing different methods can help you save the harvest from your garden and make the most of sales at the market. This guide will teach you how to can and preserve food. It will also provide tips on how to store things in the fridge and pantry properly.
Table of Contents
Water Bath Canning Supplies
How to Do Water Bath Canning
Pressure Canning Supplies
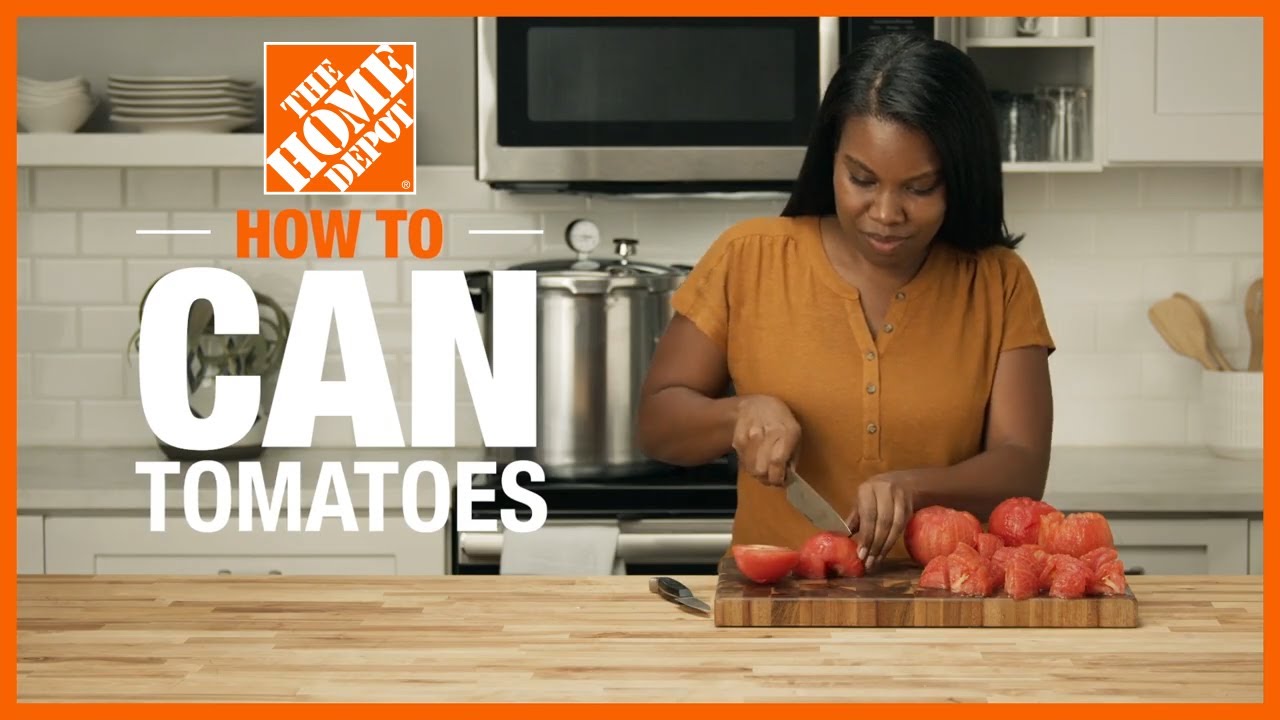
How to Pressure Can Food
Storing Food in the Refrigerator
Storing Food in the Freezer
Water Bath Canning Supplies

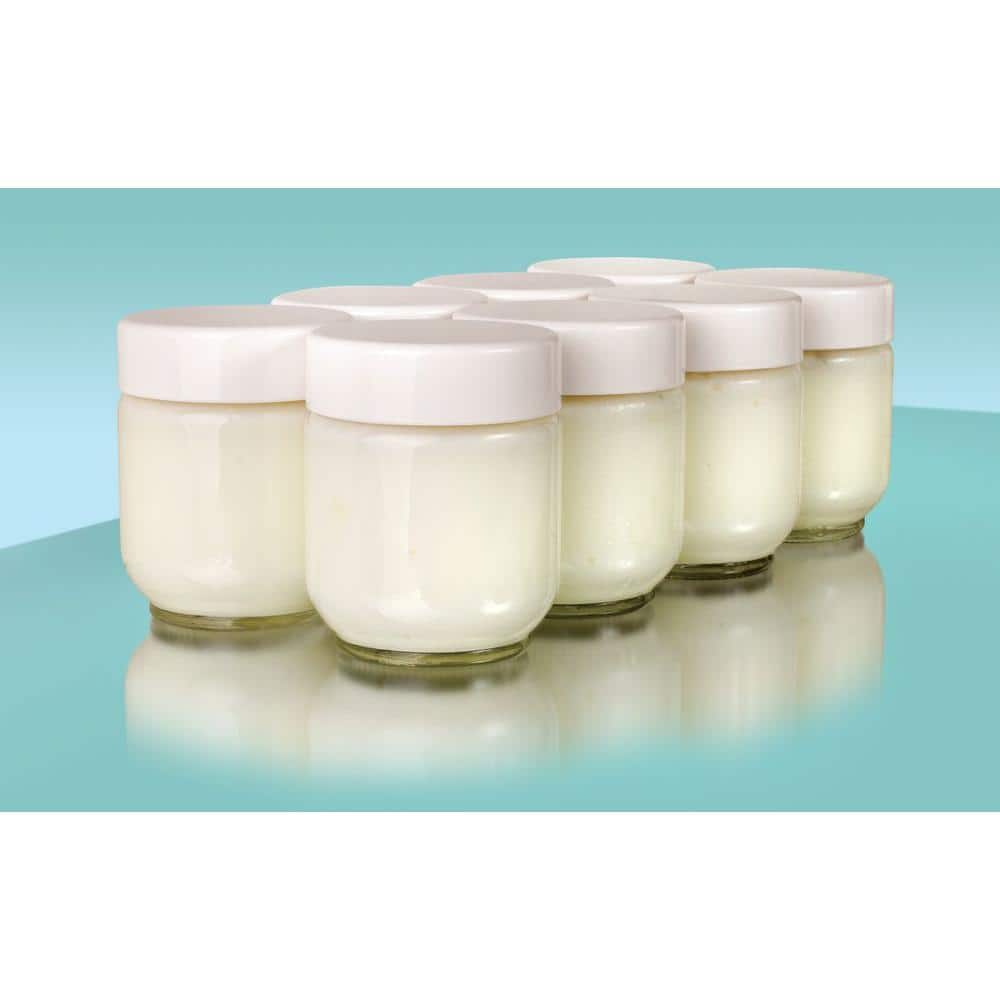
Canning is a simple process in which food in a closed spaced such as a jar is heated until all the air is pushed out. This creates a vacuum seal that protects food from spoiling. Canning can preserve foods for anywhere from one to five years, or even longer in special cases. Fruit jams, jellies, salsas and tomatoes are perfect candidates for canning.
The traditional method for canning food is water bath canning. Water bath canning is best for high-acid foods such as fruits and fruit juices, salsas, pickles, chutneys and vinegars. For water bath canning, you’ll need the following tools:
- Water bath canner
- Glass preserving jars with new lids
- Jar lifter
- A large, deep pot with a well-fitting lid and a rack can serve in place of a true pressure canner.
- If your canner does not have an interior rack, you can pack your jars using cotton dish towels.
How to Do Water Bath Canning

Follow these steps to start water bath canning:
- Wash the jars and their lids and bands in hot, soapy water. Rinse well.
- Pre-heat the jars in hot water.
- Prepare your preserving recipe.
- Use a jar lifter to remove the pre-heated jars.
- Fill each jar with your preserves, leaving some headspace in the jar for food expansion.
- Remove air bubbles by pushing down the preserves with a rubber spatula.
- Wipe away any food on the jar rim, then screw on its lid.
- Fill the canner with enough water to cover the jars with 1 to 2 inches of water. Heat to a simmer.
- Place filled jars into a canning rack, then lower into simmering water.
- Put the lid on the canner.
- Turn off heat and let the jars stand for five minutes.
- Remove jars from the water and allow them to cool on a wire rack or towel for 12 hours or until
completely cooled. - Press on the center of the cooled lid. If the jar is sealed, the lid will not flex up or down.
Pressure Canning Supplies

Pressure canning heats jarred food under pressure to 240-degrees Fahrenheit, eliminating foodborne bacteria. Pressure canning is the only safe method for preserving low or non-acidic foods such as unpickled vegetables, meats, poultry, soup stocks and beans. For pressure canning, you’ll need the following tools:
- Pressure canner
- Glass preserving jars with new lids
- Jar lifter
- Some pressure cookers can be used for canning. Check your pressure cooker’s manufacturer’s instructions to see if it is safe for canning.
How to Pressure Can Food

Here’s how to pressure can recipes:
- Wash the jars and their lids and bands in hot, soapy water. Rinse well.
- Add water to the pressure canner per its manufacturer’s instructions. If no water depth is specified, fill the canner with water up to a 3-inch depth.
- If the recipe will be hot when you fill the jars, turn the heat on under the canner to pre-heat the water. If the recipe will be cold or room-temperature, do not pre-heat the water. For a pressure cooker, check the manufacturer’s instructions.
- Fill each jar with your preserves, leaving 1/2-inch to 1-inch of headspace in the jar for food expansion.
- Remove air bubbles by pushing down the preserves with a rubber spatula.
- Wipe away any food on the jar rim, then screw on its lid.
- Place filled jars upright into the pressure canner, making sure none of them are touching.
- Fasten the lid onto the pressure canner
and leave the vent open. - Turn the heat on high.
- When steam starts escaping through the vent, start a timer. Check the manufacturer’s instructions to determine how long to vent the canner. If unspecified, allow it to vent for 10 minutes and set your timer accordingly.
- Close the vent and allow the pressure to rise until it reaches the pressure specified by the preserves recipe.
Don’t allow the pressure to drop below this level. Adjust the heat as needed to maintain pressure. - Once you reach the correct pressure, set a timer according to the preserves recipe.
- When the timed processing finishes, turn off the heat and vent the canner until it is completely depressurized.
- Open the canner and remove jars from the water. Allow the jars to cool on a wire rack or towel for 12 hours or until completely cooled.
- Press on the center of the cooled lid. If the jar is sealed, the lid will not flex up or down.
Storing Food in the Refrigerator

When you plan to enjoy food within a few days to a week, stash it in the refrigerator. To keep things fresh, use the proper food storage solutions.
Food storage containers with airtight lids are great for leftovers and cooked foods. You can also use food storage bags for these items. When storing fresh produce, keep lids loose to slow down the ripening process. Try not to overload your fridge. If it’s too full, air won’t be able to flow through as easily and foods may spoil more quickly.
Before placing something in the fridge, add a label. Use a permanent marker to write what the food is and the date of storage for easy reference.
Safety: For food safety, keep your refrigerator set below 40 degrees Fahrenheit. Avoid leaving perishable food at room temperature for more than two hours.
Storing Food in the Freezer

Freeze fruits and vegetables to preserve them for several months without canning.
Freezing produce is a great method when you want to keep ingredients on hand for future recipes.
- When freezing vegetables, first blanch and shock them by boiling them briefly, draining and quickly plunging them into ice water. This process helps preserve the flavor and color of the vegetables.
Dry them before freezing. - When freezing fruit that browns easily, such as apples or peaches, dip the cut pieces into a mixture of one part lemon juice
and eight parts water. Dry thoroughly before freezing. - Wash produce and remove any damaged items.
- Store in air-tight containers or freezer bags.
Fill containers as much as possible and remove air from freezer bags. - Freeze produce faster by first spreading it in a single layer on a baking sheet. Put the baking sheet in the freezer. Once the produce is frozen, store it in containers or freezer bags as you normally would.
- When you’re ready to use them, thaw fruits and vegetables at room temperature.
- Store produce in the freezer for up to a year.
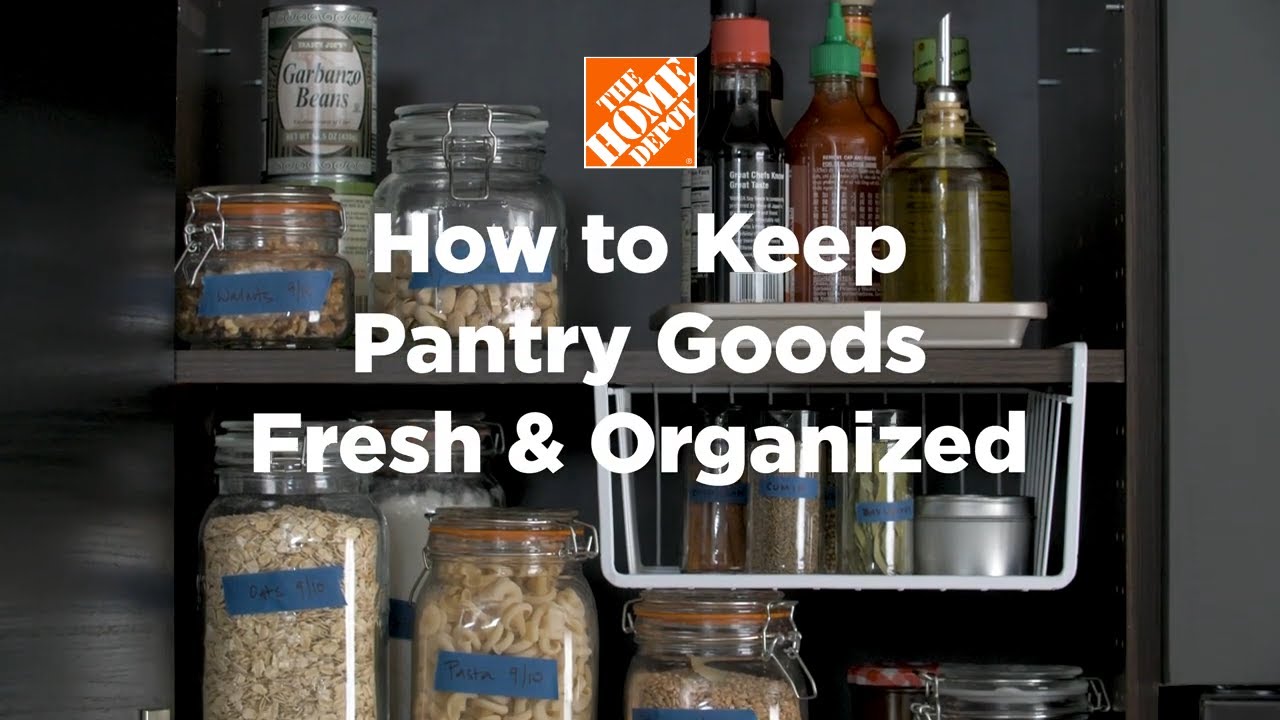
Storing Food in the Pantry

The pantry is the perfect place for storing nonperishable foods.
To keep things fresher longer, transfer dry goods, crackers, cookies and similar foods from their packaging to kitchen canisters. Not only do canisters help foods last, but they also reduce the risk of pests in the pantry.
Tip: Dry food dispensers can be a great way to store cereal, rice and other foods. Simply turn a knob to dispense the right amount.
Drying Herbs

When drying herbs, you
need good air flow more than you need heat. A dry, well-ventilated environment is ideal for drying herbs.
- Tie the herbs into small, loosely-packed bundles. If too many are tied together in a large bunch, the herbs can trap moisture and potentially mold.
- Wrap the bundles loosely in muslin or thin paper bags to keep out dust and catch falling leaves. Do not wrap them in plastic, as this can trap moisture.
- Hang the herbs to dry in a well-ventilated area, out of the sun.
- Allow one to two weeks to completely dry, depending on humidity levels.
- For faster drying, spread the leaves or sprigs of herbs out on a rack.
Place the rack in an airy spot away from direct sunlight. Turn the herbs often so they dry evenly. Allow two to three days to dry. - Store dried herbs in air-tight containers for up to one to three years.
Drying Fruits and Vegetables

Dry fruits and vegetables in your oven to make tasty snacks that can last for up to a year when stored properly.
- Preheat oven to 140 degrees Fahrenheit.
- Prepare the produce by washing, drying and cutting
it into bite-size pieces. Use only fresh, undamaged produce and remove any cores, pits, seeds or stems. - Dip the cut produce into a mixture of one part lemon juice and eight parts water.
- Line a baking sheet with parchment paper and lay the produce pieces in a single layer, with space between each piece.
- Put the baking sheet in the oven for anywhere from four to 16 hours, depending on what you are drying.
Check on the drying process regularly. - Once the produce has finished drying in the oven, remove the baking sheet and allow it to cool for an hour or until entirely cooled.
- Store dried produce in air-tight containers for up to six months to a year.
Pickling Vegetables

Another way to preserve vegetables is to pickle them, creating tangy relishes and side dishes. Cucumbers, radishes, beets, eggplants,
peppers and turnips pickle well using this quick-pickling method.
- Prepare your produce by washing, drying and roughly chopping it. Use only fresh, undamaged produce and remove stems and cores as needed.
- Fill preserving jars with the chopped produce, as well as with whole spices and aromatics as desired.
- Combine vinegar and water into a pickling liquid according to your preferred pickling recipe. Bring the pickling liquid to a boil over the stove.
- Carefully pour the hot pickling liquid into the jars until the produce is completely submerged. Leave about 1/2-inch of headspace.
- Screw the lid onto the jar.
- Wait for the jar to cool completely, then store in the fridge for up to two weeks.
- Alternatively, preserve the pickled vegetables for a year or longer by canning them using one of the canning methods above.
Water bath canning, pressure canning, freezing, drying and pickling are all effective methods for preserving produce, and each method will bring its own unique flavors. Try every technique to find the one that best highlights your garden favorites.
Now that you know how to can and preserve food, enjoy your fresh fruits and vegetables for several seasons to come.
Water bath canning, pressure canning, freezing, drying and pickling are all effective methods for preserving produce, and each method will bring its own unique flavors. Try every technique to find the one that best highlights your garden favorites.
Now that you know how to can and preserve food, enjoy your fresh fruits and vegetables for several seasons to come. Ready to get the supplies you need? The Home Depot delivers online orders when and where you need them.