Christmas Tree Package Storage Bin

Last updated February 18, 2026

Amanda Sandoval is a DIYer, avid upcycler, and the creator behind @amandascozycasa. In 2014, after she and her husband purchased their first property, she began doing small home projects to improve the space. With each new project, she learns a new skill that she could apply to the next. On her blog she shares tips and tricks that she's learned along the way and hopes to give others the confidence they need to take on more DIYs.
A Note From The Home Depot
Celebrate the holiday season with this cool Christmas Tree themed craft. Follow along as Amanda Sandoval of Amanda’s Cozy Casa teaches you a family friendly craft perfect for the holidays!
Table of Contents
How to Make Your Own Christmas Tree Package Storage Bin
Step 1: Measuring
Step 2: Cut the Branches
Step 3: Label the Branches
Step 4: Making the Branch Tips
Step 5: Connecting the Chevron Branches
How to Make Your Own Christmas Tree Package Storage Bin
This year I am so excited to partner with The Home Depot to create this fun and trendy holiday craft.
If you are like me during the holidays, you get tons of packages and they end up all over the front porch or sometimes hidden in planters or outdoor cushions.
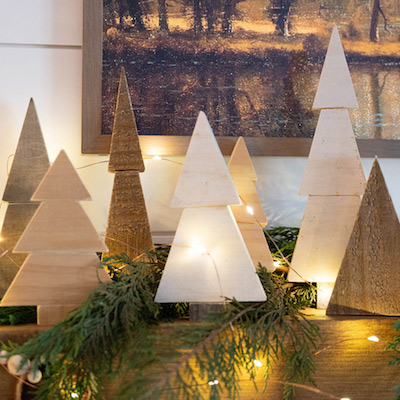
I am making these Christmas Tree Package Storage Bins that will be both decorative and functional.

My plan is to build wooden trees that attach to the front and back of crates. This way passersby would mainly see the trees on the porch and not all the packages everywhere tempting porch pirates. I am putting a sign on the side of the crate (the side not visible to the street) that says “Santa’s Gifts” so that the delivery person could see these are for packages once they got onto the porch.
The trees can be painted and decorated to your desire. The possibilities are endless. They can be customizable to your family. Since there are two trees per bin you can decorate each one differently and change out which one is being displayed to the front as often as you want.
The bins can be made in multiple sizes depending on the crate size you like.
I made one for smaller packages and one for larger packages.
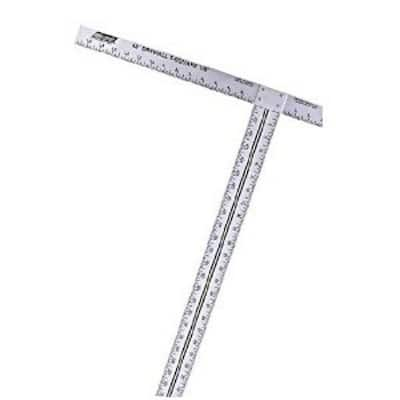
Step 1: Measuring
I first determined my measurements. I used a large sheet of paper and T-square to draw out the sizes of the tree. I knew that I wanted the tree branches to cover the front of the box and the box was about 10” wide. I decided to cut the tree branch lengths 13”. I wanted the widest branch to be about 4” wide.
Since I was stacking the crates, I knew that the height of each crate would be 12” so I wanted my trees to be more than 24” tall to account for two.

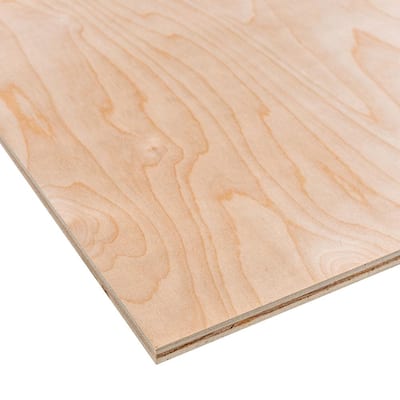
I started by using my thin sanded plywood board and T-square and measuring and marking 13” across to create the branches.

Step 2: Cut the Branches
I used a table saw to cut the 13” sections. This gave me about 3 or 4 sections to work with. Once I had smaller sections to work with I cut about 6-8 (4” pieces, 3” pieces, 2” pieces and 1” wide pieces) so that I would have a variety of widths.

Then I used the mitre saw to make a 45-degree angle on each piece. I cut one side of every piece into a 45-degree angle. (Save the triangles tips that get cut off for step 5)

Once I had my branches cut, I laid them out to decide how I wanted to build the trees. I mixed the different widths until I found combos I liked. I did about 6-7 tree branch layers and then measured to make sure the height would be over 24”.

Step 3: Label the Branches
This is the most important step. Once I had my pieces selected, I labeled all the pieces of my branches. I labeled them by if they went on the left or right and which order number from bottom to top. It's super easy to get confused and cut the wrong thing when you are doing this type of project.

Step 4: Making the Branch Tips
On the opposite side of where I cut the 45-degree angle of each piece I used my triangle square and measured 40 degrees.

I cut a 40-degree angle on the opposite side of the 45-degree angle of each branch. Cutting the tips made the tree shorter so I remeasured to make sure they were still taller than 24” (Save the triangle tips that get cut off for step 5).

Step 5: Connecting the Chevron Branches
I laid my pieces together how I wanted to make the trees like a puzzle. I used painter’s tape to hold them in place.

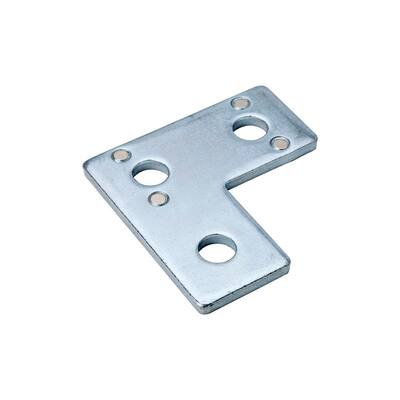
Since the sande wood was so thin I used the leftover triangle pieces that were created from steps 2 and 4 when I cut my angles and placed them on the back of each chevron piece. Then I used flat corner brackets to secure each chevron layer together (I had to use 5/8” wood screws).

Step 6: Make the Tree Trunk
I used the regular common Plywood board and cut four 3” strips in order to make the tree trunks.
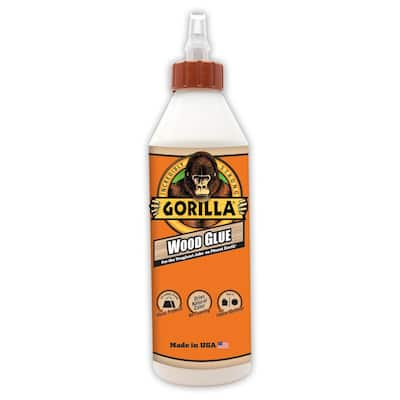
I cut my tree trunk to fit my tree then I used wood glue to secure the tree branches onto the tree trunk.

After the glue was dried, I fastened the branches to the tree with wood screws.

Step 7: Secure the Stacked Crates
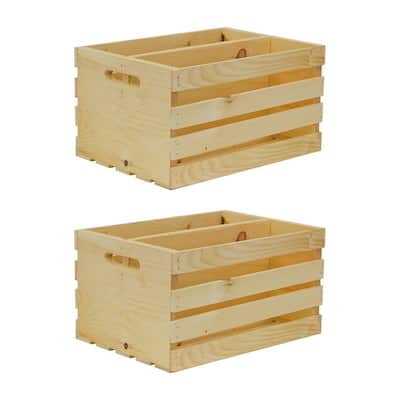
Since I wanted these bins to be taller, I stacked two crates. I removed the bottom slats on the top crate.
I stacked the crates and then used the slats I removed from the top box and placed them in the stacked crates to attach them together on the inside. I drilled the slats to the boxes to secure them together. I also used straight brackets on the crate faces to secure (the trees will be covering them).

For one of my bins, I ordered crates with a divider and moved the slats over so that I could have one section for smaller envelope packages and one section for taller thinner packages.

Step 8: Paint the Trees
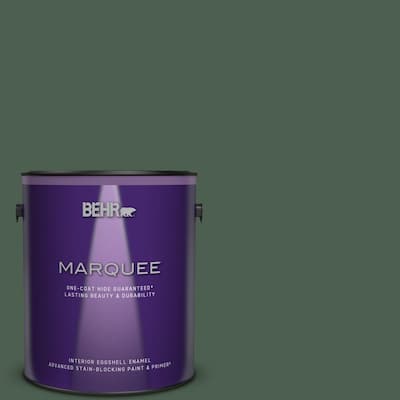
I painted the trees using Behr Vine Leaf paint. One of the boxes I painted the trees before I attached them but on the first one I forgot to do that so I recommend painting them before attaching.

Step 9: Secure Tree to Bins
I used wood glue and glued the trees to both faces of the bins. I used clamps to allow them to dry. Once the glue was dry I secured them on with screws. I used 1 ¾-2” size wood screws.

Step 10: Painting
I did two boxes with two different themes.
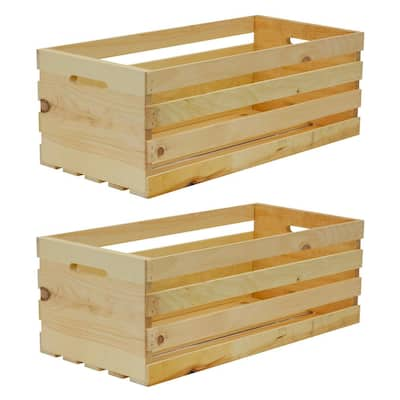
- Longer 27” Crate: The box for larger packages I did a classic Christmas theme. I painted the crates with Behr Dark Crimson and since it was such a long crate, I needed a slat in the center to add more stability. I used an extra slat that I had removed from the crates when I stacked them. I painted it green so that when I drilled it on the side it would look like a present ribbon.
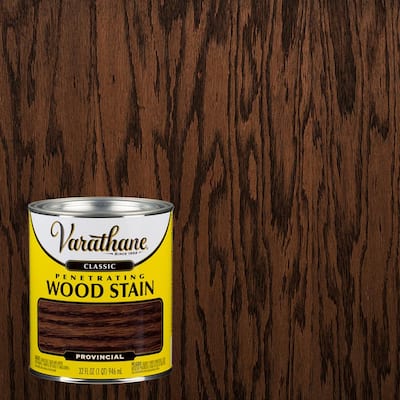
- Shorter 18” Crate:
This box I did a more modern minimalist style. I kept it simple and sanded and stained the crates using Varanthe (Provincial) stain. Then I attached the painted trees.
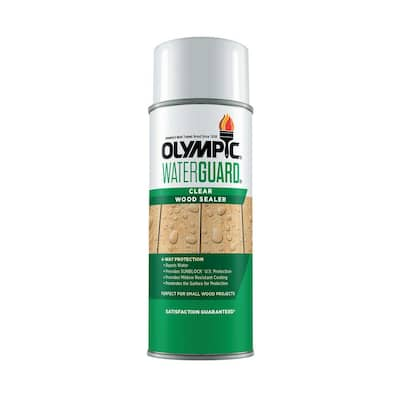
I let the paint and stain dry overnight then I sprayed the bins with weatherproofing. I used the Olympic Water Guard Clear Wood Sealer.
Step 11: Decorating
This is the part where you can add your own decorations and get as creative as you want. I made a tag that says Santa’s Gifts from leftover plywood. I used a Mitre saw and cut it into a tag shape.

I added some ornaments and stickers that I already had to make four different tree themes.
My themes were:
- Classic Christmas Tree
- Mid Century Modern Tree
- Jingle Bell Rock Tree
- Woodland Park Tree

You and your family can create themes of your own that will be unique to you. This craft can be a fun Christmas family tradition that will build memories.

This post was created in partnership with The Home Depot. The author may have received compensation for this article and associated images or video, potentially in the form of products and/or services. All expressed opinions and experiences are the author’s own words.