DIY Hanukkah Family Countdown

Last updated August 21, 2024

Dana Goldstein, of House of Goldies, is a crafter, memory maker, and stay-at-home mom. Crafting has always been her outlet and she loves creating magic and memories for my kids.
Dana also enjoys all things motherhood, home decor, DIY projects, healthy lifestyle, fashion, and everything in between!
A Note From The Home Depot
Dana Goldstein of House of Goldies shares how you can make memories with your family while you make each night of Hanukkah a night to remember. Read to learn how you can create your very own Hanukkah countdown.
Table of Contents
DIY Hanukkah Family Countdown
Gather Materials
Staining your Wood
Make your Design
Add your Design
Measure out your Hooks
DIY Hanukkah Family Countdown

It’s Hanukkah time! Create this DIY Hanukkah Family Countdown to start a new family tradition and as a beautiful Hanukkah decoration.
Make each night of Hanukkah a little extra special by filling each bag with a small surprise, like gelt or a dreidel, or something fun to do as a family.
Gather Materials
- 1 in. x 12 in. x 4 ft. Premium Kiln-Dried Square Edge Whitewood Common Board
- Varathane 8 oz. Sunbleached Premium Fast Dry Interior Wood Stain
- HDX Microfiber Terry Staining Pads
- 3 packs of Everbilt 7/8 in. Brass-Plated Steel Cup Hook (3-Pack) (need 8 total)
- Cricut White Vinyl
- Cricut Blue Vinyl
- Cricut Silver Shimmer Vinyl
- Cricut Maker
- Command Strips
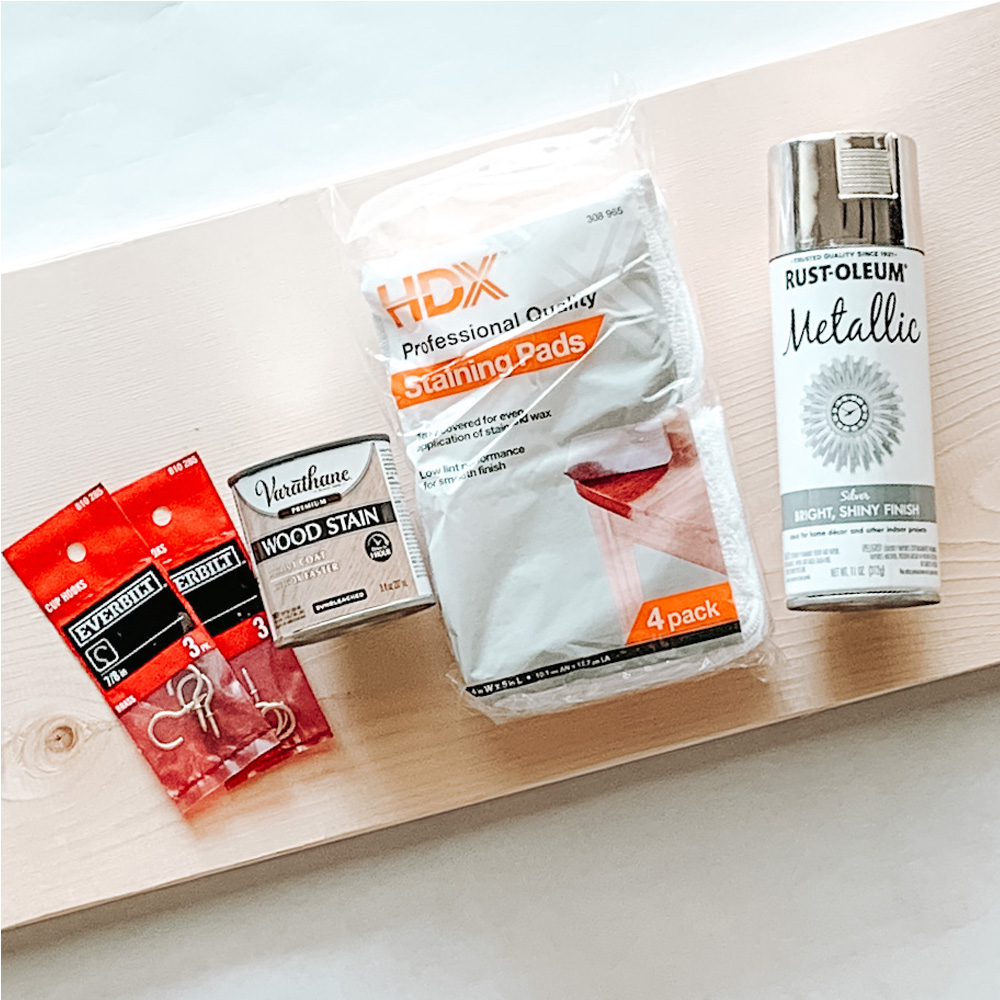
- When you go to Home Depot, pick out a piece of wood to fit your space where you would like it to hang. This could be vertical or horizontal. Home Depot will even cut your wood to whatever length you need!
- I picked out this Varathane Sunbleached stain, but you could also paint the wood with whatever color you like.
Home Depot has every color to choose from! - Prep your space outside to get ready to stain.
Staining your Wood
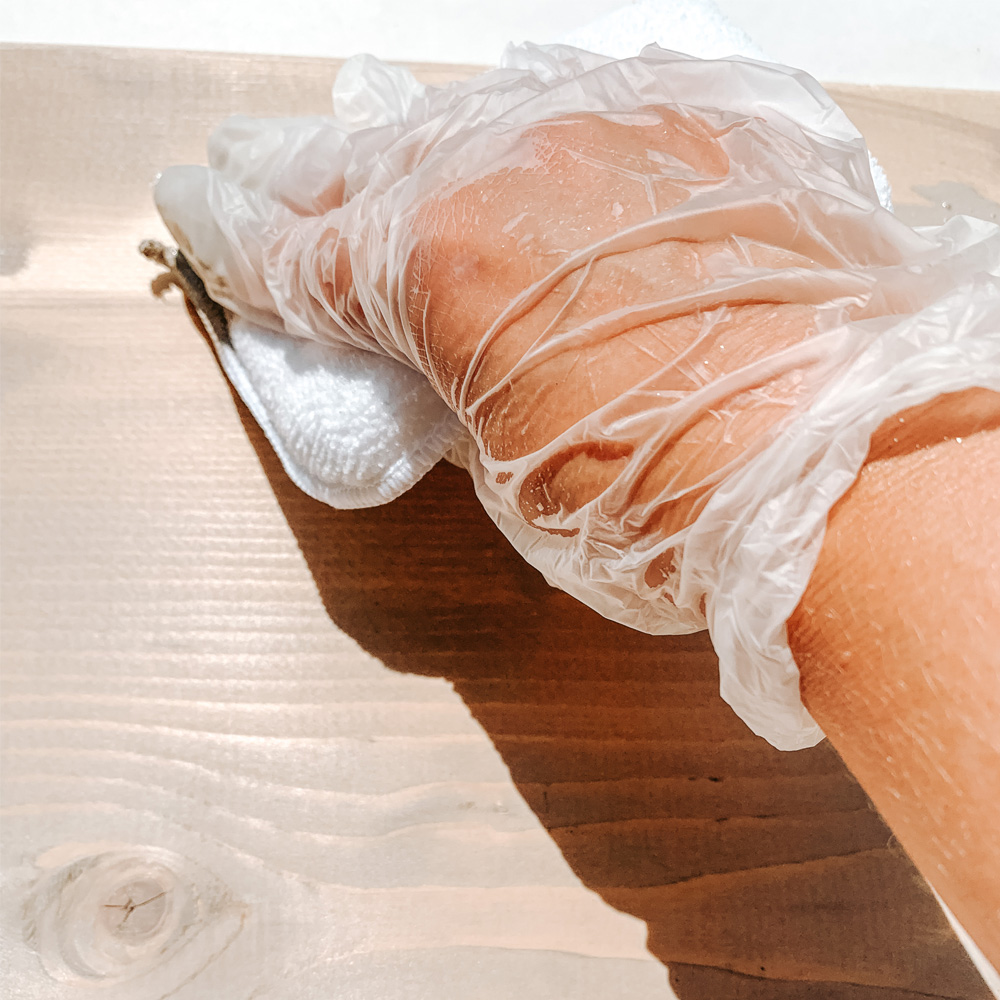
- Set up space outside to stain your wood. You want to make sure to lay paper or a drop cloth underneath. Gloves are great when staining.
- Shake up your stain color and open the lid. Dip staining pad into container. Going in the direction of the wood grain completely covers the wood. You can do one or two coats depending on how dark you want it.
- Allow stain to completely dry.
Make your Design
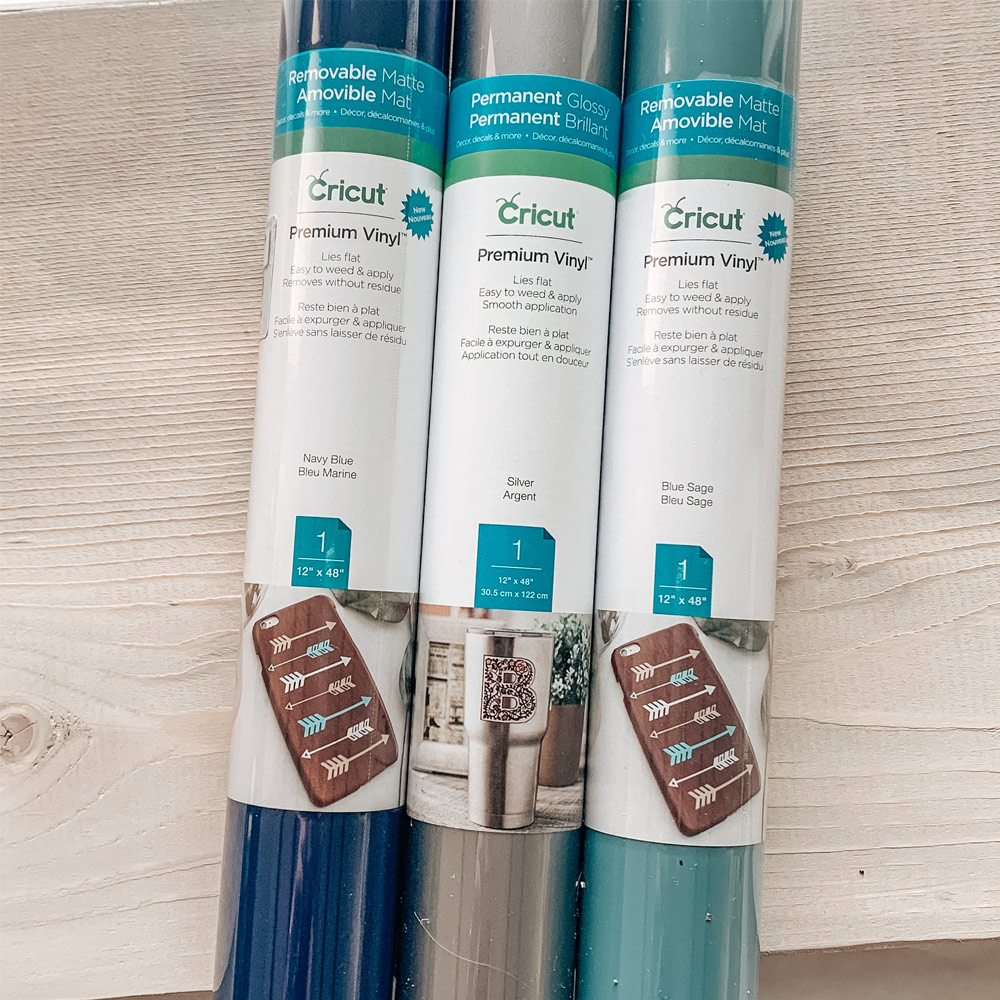
- Using my Cricut Maker I designed the words and menorah using vinyl.
- If you don’t have a cricut you can free hand letters and paint or use letter stickers from Home Depot.
Add your Design
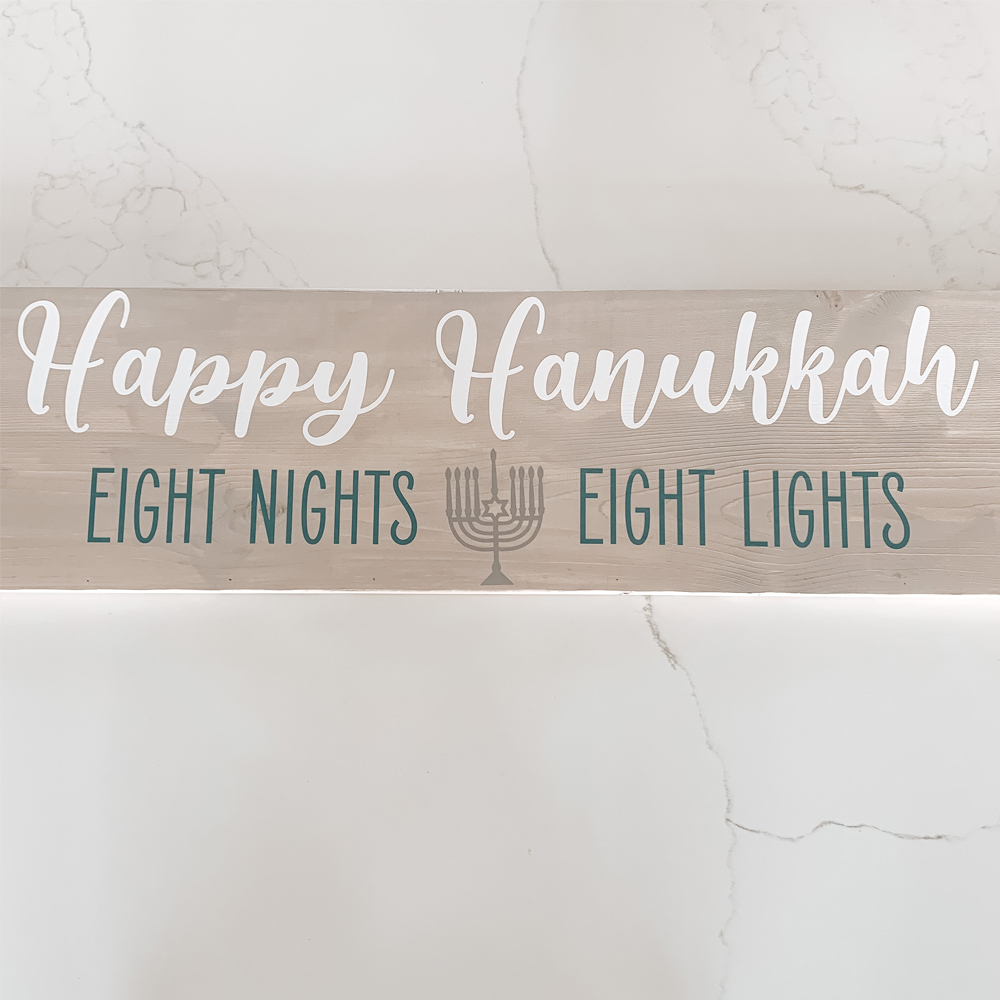
- Measure out where you want your design to go.
- Add the design to the wood sign using transfer tape.
Measure out your Hooks
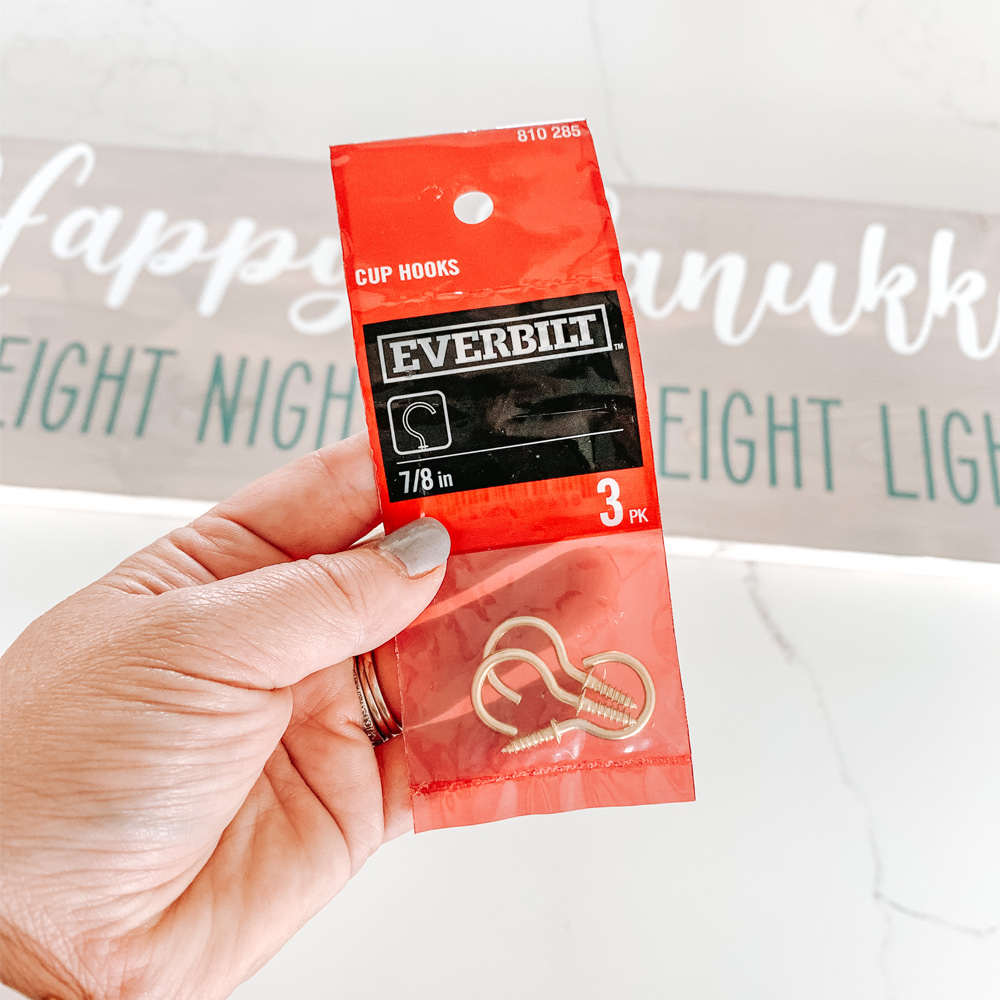
- Along the bottom of the wood, use a tape measure to draw eight equal dots with a pencil. Mine are 4 inches apart.
Screw in your Hooks
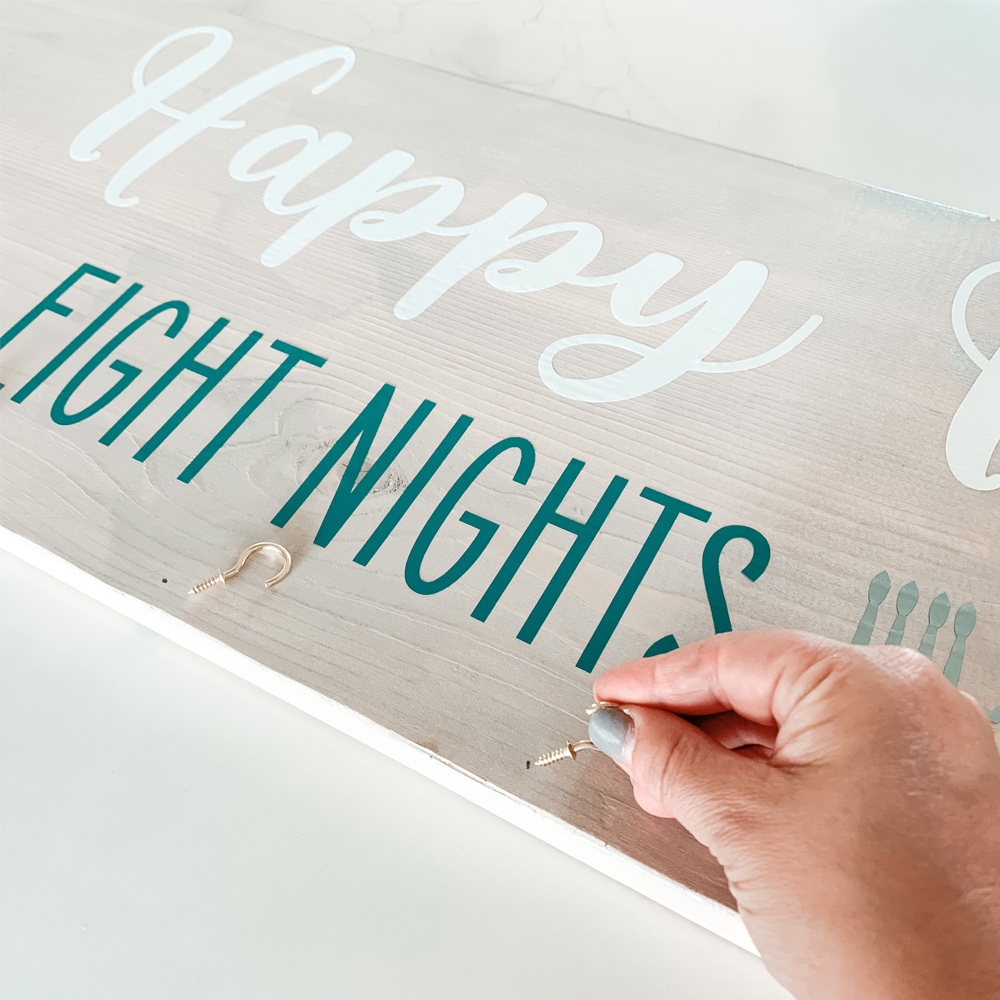
- Press the cup hook into your marked dot and screw in until tight.
- Repeat on all eight dots.
Add Bags and Hang Up

- Add favor bags filled with a small surprise, gelt, dreidels, or an activity to do as a family
- Your sign is ready to hang! I like to hang using command strips.
This post was created in partnership with The Home Depot. The author may have received compensation for this article and associated images or video, potentially in the form of products and/or services. All expressed opinions and experiences are the author’s own words.


