DIY Light Up Holiday Marquee Sign

Last updated August 21, 2024

Andrew Boza & Dennis Setteducati or Crafty Lumberjacks, are New York-based DIY and crafting experts who are sure to add some fun to your projects with their unique and creative projects.
These former actors turned their crafting dreams to reality and now specialize in DIY projects, decorating inspiration, and the occasional vegan treat.
A Note From The Home Depot
Looking to give your holiday designs a crafty vintage look? Crafty Lumberjacks has your back. This DIY Light Up Holiday Marquee Sign is easy to do and we recommend it for you!
Table of Contents
DIY Light Up Holiday Marquee Sign
Materials
Step 1: Size Your Design
Step 2: Load Smart Stencil and Cut
Step 3: Weeding Away
Step 4: Apply Transfer Tape
DIY Light Up Holiday Marquee Sign
Create a vintage-style sign to welcome in the holiday season, make it pop by adding festive lights for extra holiday cheer! This project is easily customizable by changing the paint color, stencil, and/or the style of holiday lights to fit your aesthetic perfectly. In a few steps, you will have a one-of-a-kind sign you can plug in and celebrate that warm holiday glow. This is a great project to add to your yearly home decor or give as a handmade gift!


Step 1: Size Your Design
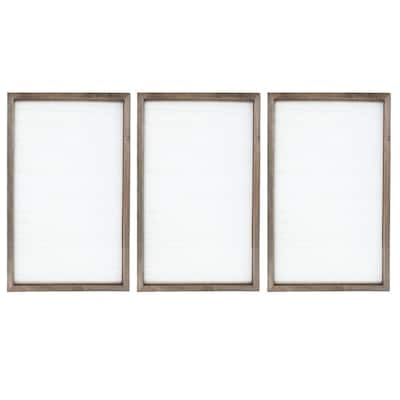
Each Cricut machine comes with a web-based program called Cricut Design Space. You can access this program on your computer, smartphone, or tablet. In Design Space you can choose premade designed projects or create and upload your own. When starting a project, measure your base material and resize the image to cut out to fit perfectly. Upload the Merry & Bright image (or any image you’d like) on Design Space, measure the inside of the wood blank, and size the image accordingly.

Step 2: Load Smart Stencil and Cut
In Design Space choose Smart Stencil material. Design Space will prompt you step-by-step through the cutting process. Feed the Smart Stencil under the mat guides and against the machine rollers. Press the load button and the machine will check and measure making sure you’re working with enough material. Press the go button and watch the machine do its magic.
*In this project we are working with Cricut Smart Vinyl, which is only compatible with Cricut Explorer 3 and Cricut Maker 3. If you have a different machine, choose Cricut Stencil Vinyl and load it using an adhesive mat.

Step 3: Weeding Away
Weeding is a process of removing unwanted material. When the cut is complete press the unload button. Place the stencil on a flat surface and begin to weed out the letters and any embellishments using a Cricut weeding tool. Make sure you double-check your work before moving to the next step. Tip: Take your time with the weeding process, at first this can seem a little tricky, but the more you do it the easier it gets!


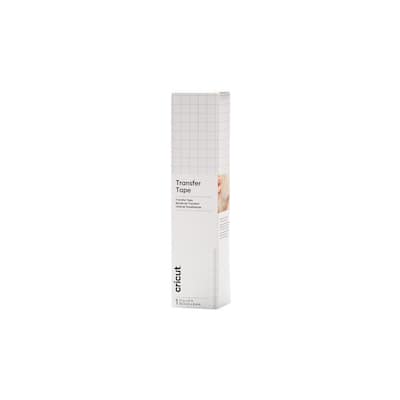
Step 4: Apply Transfer Tape
Cut a piece of transfer tape to the size of the stencil. Remove the backing from the transfer tape and carefully place the transfer tape on top of the stencil. Use the scraper tool to burnish the transfer tape onto the design, flip the stencil over and repeat on the back. Tip: It’s best to attach a small piece of the transfer tape on one edge and slowly press the rest down with your hand or the scraper tool.

Step 5: Apply the Stencil to the Wood Blank
Peel off the stencil backing leaving the stencil on the transfer tape. If any part of the stencil does not separate from the liner, use the scraper tool again to burnish the liner and continue to peel. Center the stencil on the blank as best as you can and carefully lay the transfer tape and stencil on the blank.
Step 6: Peel Transfer Tape Away from Design
Carefully press and smooth the stencil on the wood blank until the stencil completely adheres to the surface. Slowly remove the transfer tape leaving only the stencil!
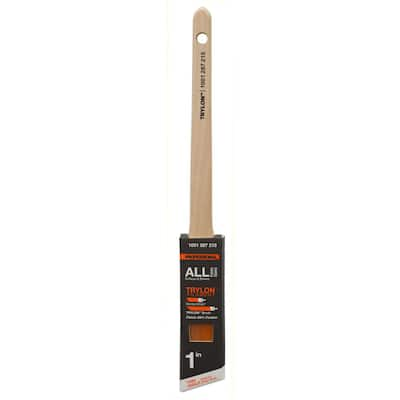
Step 7: Paint and Remove Stencil
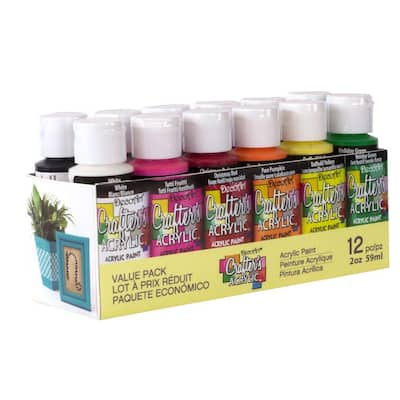
Add paint to a plate or a palette. Apply paint on the brush and dab it off on the plate. This will ensure that there isn’t too much paint on the brush and there won't be any bleeding through the stencil. Start towards the outside of the stencil and work into the center in an up-and-down dabbing motion. Don’t worry about imperfections or full coverage; this will add a vintage vibe. Continue this process around the stencil using different colored paint until you’re happy with the look. Before the paint is fully dry, carefully remove the stencil. Tip: Mix your paint colors to create a truly custom look.


Step 8: Drill Holes
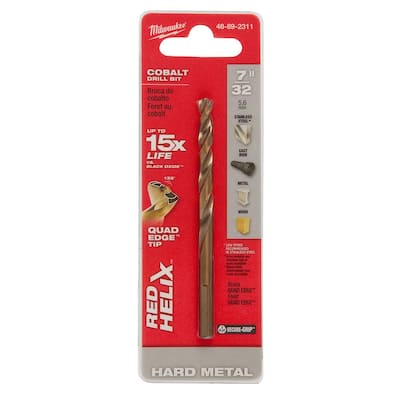
Use a pencil and mark out the spots on the painted letters where you want the lights to go. Place a piece of sacrificial wood underneath the sign and load your drill with a 7/32 drill bit. Hold the drill vertically and drill each marked hole. Once done, wipe off all the sawdust from the wood blank.


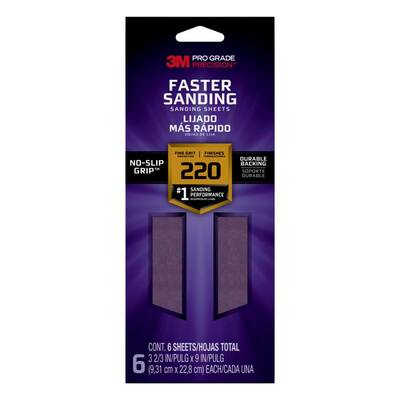
Step 9: Sand Down
Sand down any splintered areas from the drilling and destress the letters and images by lightly sanding them down with a piece of 220 grit sandpaper. The trick to getting a truly vintage look is to sand in the same direction as the wood grain. Tip: Don’t over sand all your hard work, a little distressed detail goes a long way.

Step 10: Add Lights
Unravel the strand of holiday lights and stick each bulb in a hole. The holes should be tight enough to hold each light in securely. The Home Depot has a wide variety of holiday lights, get creative with colors or go traditional with white lights! Tip: If any of the lights fall out use a glue gun to help hold everything in place.


This post was created in partnership with The Home Depot. The author may have received compensation for this article and associated images or video, potentially in the form of products and/or services. All expressed opinions and experiences are the author’s own words.