Easy DIY Footed Tray

Last updated August 21, 2024

Hi, I'm Raftyn you can find me on Instagram @RignellRanch! I am a content creator in the home design & DIY niche, with a sprinkle of lifestyle and a huge splash of FUN! Together with my handy husband, we are renovating our 1880s farmhouse and recently embarked on a new adventure, a cabin on the lake! We love updating our old home and are not afraid of a good fixer upper. Be sure to follow along as we create the home and cabin of our dreams, one DIY project at a time.
A Note From The Home Depot
What could be better than a functional and decorative piece to add to your space? Follow along as Raftyn of Rignell Ranch shows a step-by-step process for creating the perfect footed tray!
Table of Contents
Gather Your Supplies
Pre-Stain and Stain
Attaching the Feet

I am always looking for functional but pretty décor for my home and a footed tray is just that! I love being able to corral everyday items to one area for easy access, and bonus this footed tray can be used in almost any room of your home! Here is an easy guide on how to make a DIY footed tray using items exclusively from The Home Depot.
Gather Your Supplies

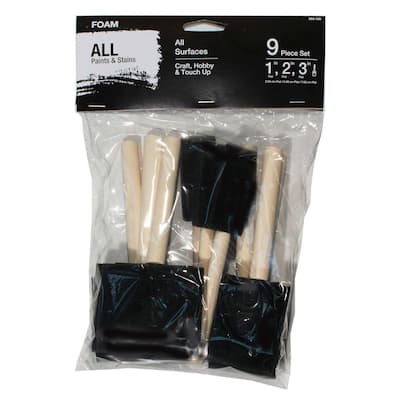
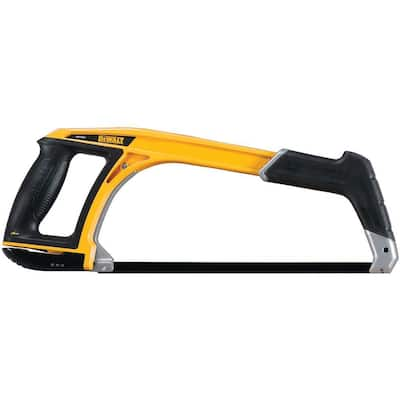
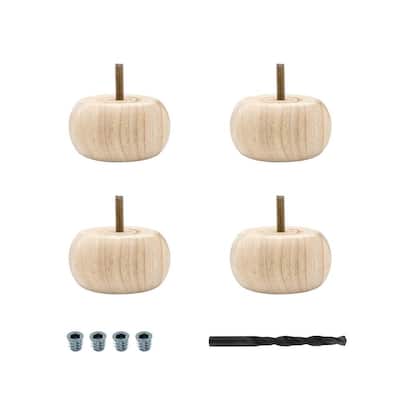
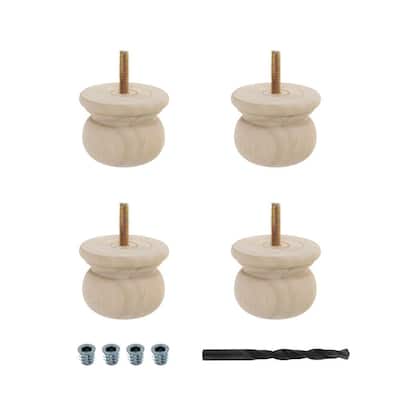
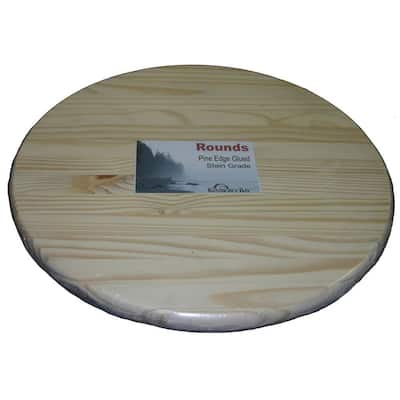
Head to The Home Depot to gather all the necessary supplies for this project. I used this premade 18 inch round board for the top of my tray. I also found a bunch of options on The Home Depot’s website for bun feet to use for the footed tray! I chose this turned foot style and a classic round bun foot. I am making two, one for me and one for my mom. The first step was to cut the screws down a bit so they wouldn’t poke through the top of the tray. I used a hand saw to easily cut the screws down to size.

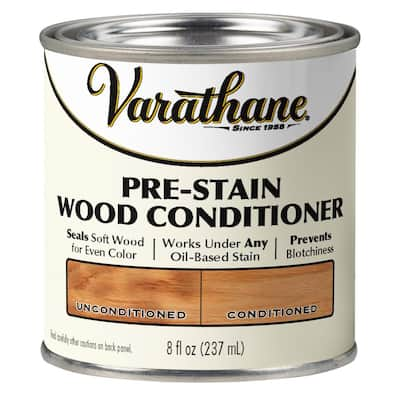
Pre-Stain and Stain
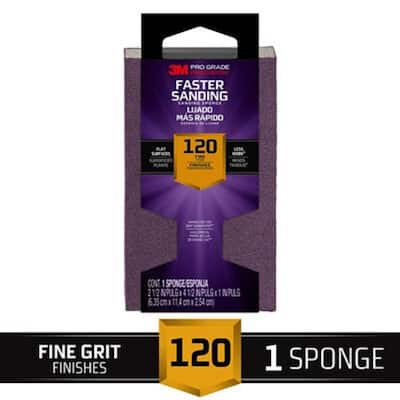
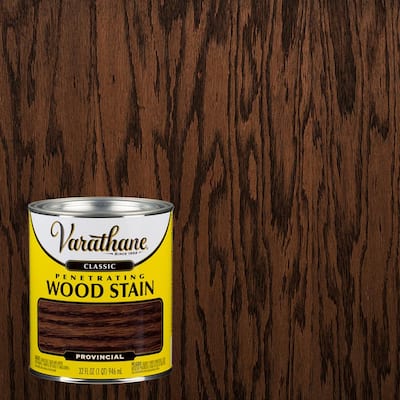
Once the screws on my feet were cut to size I lightly sanded the surface of the round wood tray using a 120 grit sanding block. Did you know that the higher the number the finer the grit of sandpaper? I find that 120 grit is the perfect amount for light sanding before starting any painting or staining project. Once the surface was sanded and dusted off, I conditioned the wood. Pre-stain wood conditioner helps prevent blotchiness when staining. I let the wood conditioner sit for five minutes and then wiped it dry with a cloth. I wanted the legs to have a rich brown stain color, so chose my favorite go-to stain color, Provincial by Varathane. I applied the stain with a foam brushand let it sit for 10 minutes before wiping off the excess. Just don’t let the stain dry completely before wiping it off. I love the color – it is exactly what I was going for.

Attaching the Feet

Once the stain was dry it was time to attach the feet. I first laid out my feet to decide on placement. I marked the holes 2 inches in from the edges of the round top. I used a ¼ inch drill bit to pre-drill my holes before screwing in the feet. I marked the depth with painters’ tape so I would know how deep to pre-drill my holes making sure I wouldn’t go down too far and risk penetrating the top of the tray. Pre-drilling can also help prevent the wood from cracking. Once all my holes were pre-drilled, I screwed in my feet!

I LOVE how this simple DIY footed tray turned out! I am using it on my kitchen counter to corral my dish soap, cleaning spray and brush. I added this thrifted pitcher with pheasant feathers for a touch of all. This footed tray could also be used in a bathroom, office, or even as a centerpiece for a dining table! The places this easy DIY footed tray could be used are endless! I cannot wait to give my mom the one I made her and see where she puts it. Where will you put the one you make?

This post was created in partnership with The Home Depot. The author may have received compensation for this article and associated images or video, potentially in the form of products and/or services. All expressed opinions and experiences are the author’s own words.