DIY Thanksgiving Crafts with Kids
Last updated August 21, 2024

Natalie is a crafty, DIY mom who does everyday mom stuff with just a little glitter in her hair and paint on her jeans. And she blogs about it along the way. She's a firm believer that no matter the project, with the right tools, good instructions, and a little bravery, you can do anything.
A Note From The Home Depot
The Creative Mom Natalie Dalpias is taking Thanksgiving dinner to the next level this year with the help of her kids! Read this blog to see how you and your family can impress your relatives this holiday season with unique and sentimental decorations at the Thanksgiving table.
Table of Contents
DIY Thanksgiving Crafts with Kids
Flower Pot Thanksgiving Hat
Step 1
Step 2
Step 3
Step 4
DIY Thanksgiving Crafts with Kids
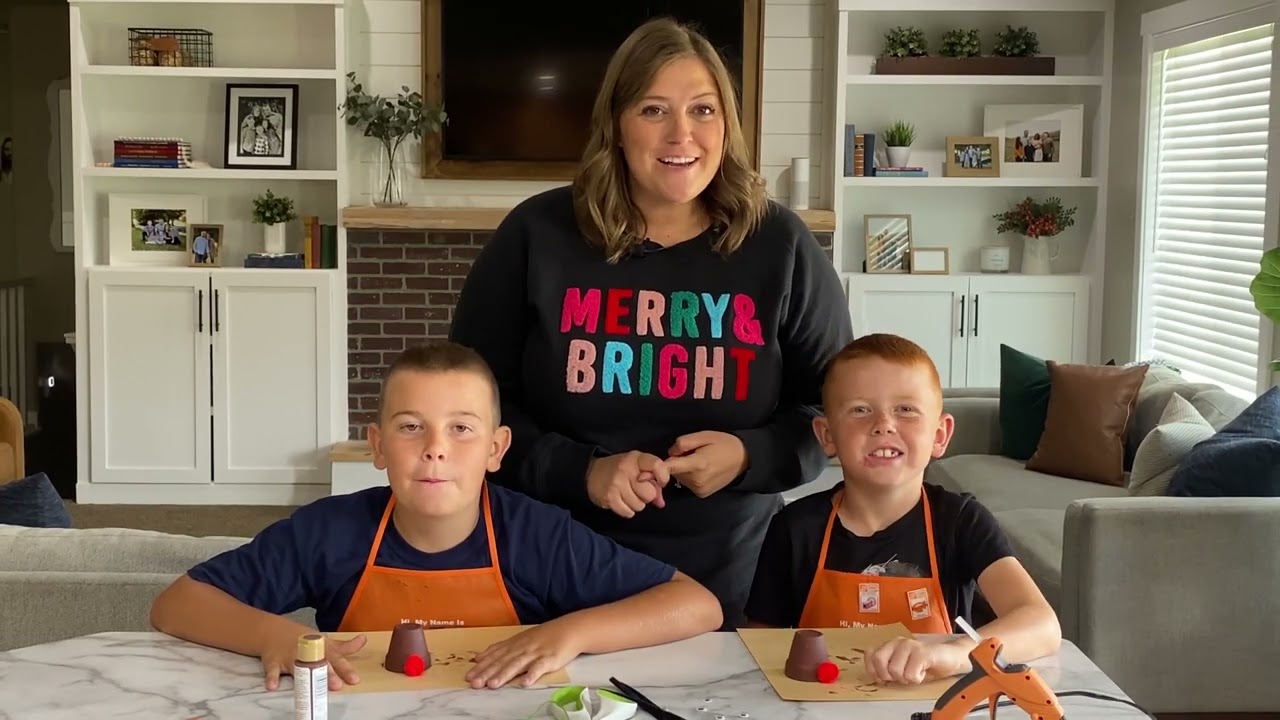
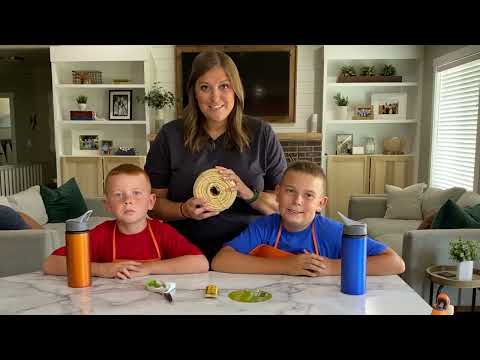
I’m Natalie, from TheCreativeMom.com. I’m so excited to show you how my kids and I made these DIY Thanksgiving Crafts. We used them to decorate our Thanksgiving table, and they turned out so cute!

We are going to show you how to make this really cute rope pumpkin. It’s really simple and makes a huge impact.

And we are also going to show you how to make this cute little Thanksgiving hat out of a flower pot.

We have loved doing The Home Depot Kids Workshops, and my kids thought it would be really fun to come up with their own project, shop for the supplies, and put it together themselves. So we headed into our local Home Depot store and got creative!
Flower Pot Thanksgiving Hat
To make this Thanksgiving hat, you’ll need a few things you can find in your local Home Depot store, and around your home.
- Piece of Cardstock or Cardboard
- 4 ¼” flower pot
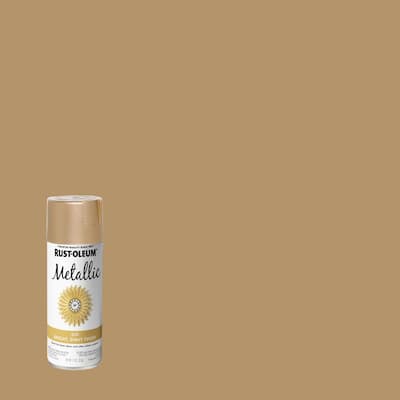
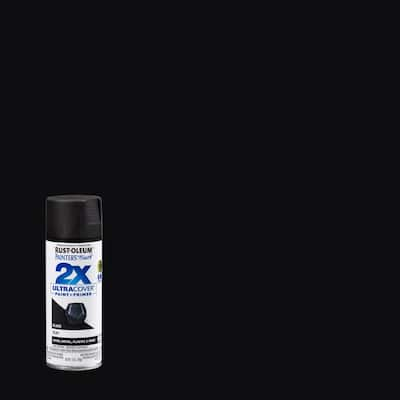
- Black Spray Paint
- Gold Spray Paint
- Hot Glue Gun
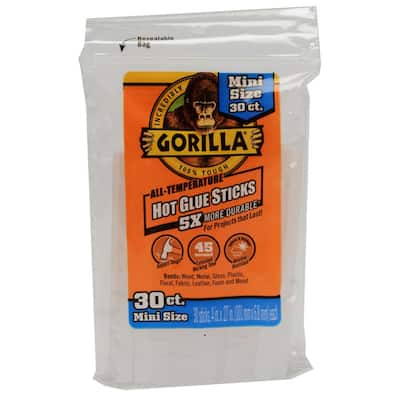
- Hot Glue Sticks
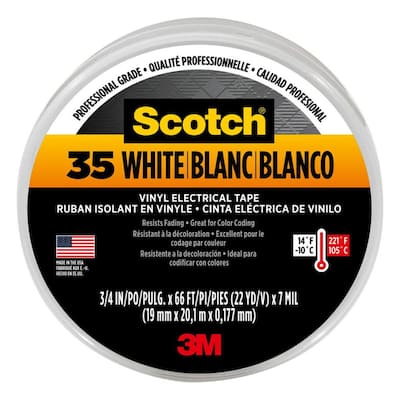
- White Electrical Tape
- 5/16” Washer
- Pen or Pencil
- Scissors

Step 1
The first step is to make a brim for our Thanksgiving hat. We found a bowl that was just a little bit bigger than the diameter of our terra cotta pot, and we traced the bowl onto a sheet of cardstock.

Step 2
After you trace your circle, cut the circle out. Don’t worry if these circles aren’t cut out perfectly. In fact, they won’t be perfect. But the kids will love doing this themselves.

Step 3
Now that you have that circle cut out, you are going to use hot glue, and run a bead around the top of the flower pot.

Then glue the circle to the top of the flower pot. Be careful not to burn any fingers with the hot glue.

Step 4
Now we have the shape of our Thanksgiving hat, we are ready to spray paint it. Make sure to spray in a well-ventilated area and use caution.
We put our Thanksgiving hats in an old cardboard box, outside in our backyard where we had plenty of fresh air.
To prevent drips, spray several light coats, letting the paint dry between coats. But just know, with kids, you’re probably not going to have a great spray paint job, and that’s ok.
You’ll also want to spray paint your washers gold while you are painting.

Step 5
Once the spray paint is dry, the Thanksgiving hats are ready for their hat band.
We used white electrical tape. You could also use white duct tape.
Just roll the electrical tape around the brim of the hat. Try to keep it even and straight. Once you get to the end, just cut the end and stick it down.

Step 6
Now our Thanksgiving hat is all done, but we thought it might need a buckle. So we spray painted a 5/16” washer and hot glued it onto the band of the hat, and it turned out so cute!

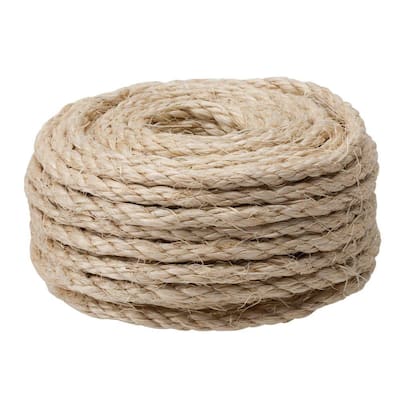
DIY Rope Pumpkin
This rope pumpkin is super simple. It only takes a few minutes, and a couple of supplies that you can find in your local Home Depot store, and around your home.
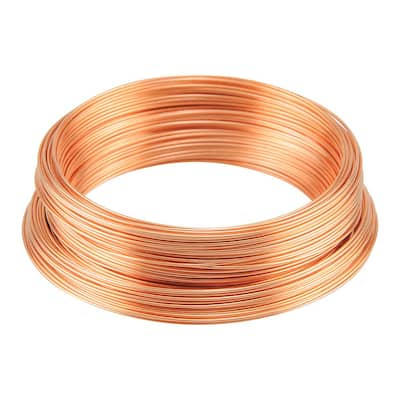
- Rope
- Wire
- Hot Glue Gun
- Hot Glue Sticks
- Twig or Stick about 6 inches long

Step 1
The first step is to make a brim for our Thanksgiving hat. We found a bowl that was just a little bit bigger than the diameter of our terra cotta pot, and we traced the bowl onto a sheet of cardstock.

Step 2
After you trace your circle, cut the circle out. Don’t worry if these circles aren’t cut out perfectly. In fact, they won’t be perfect. But the kids will love doing this themselves.

Step 3
Now that you have that circle cut out, you are going to use hot glue, and run a bead around the top of the flower pot.

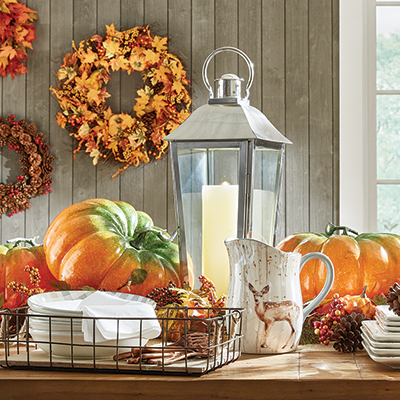
Thanksgiving Table

Now we have our Thanksgiving crafts done, we are ready to set our table for Thanksgiving! This is my kids’ favorite job to get ready for Thanksgiving. We used the following items for our table.
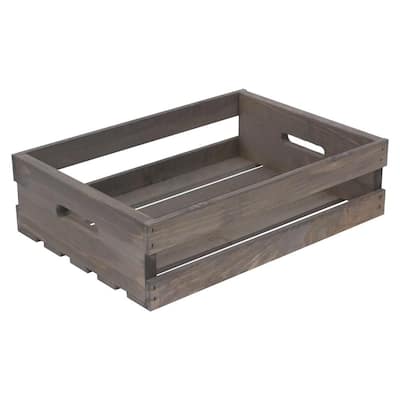
- Wooden Crate
- Table Runner
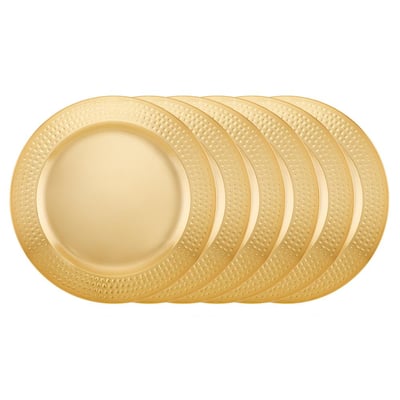
- Gold Chargers
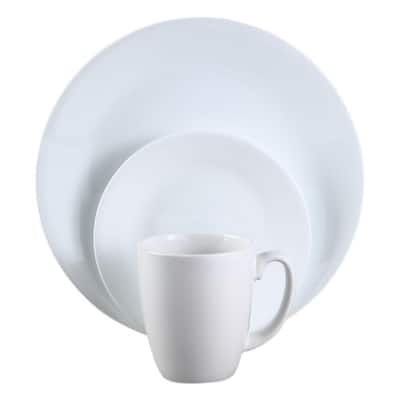
- Dinnerware Set
- Champagne Flutes
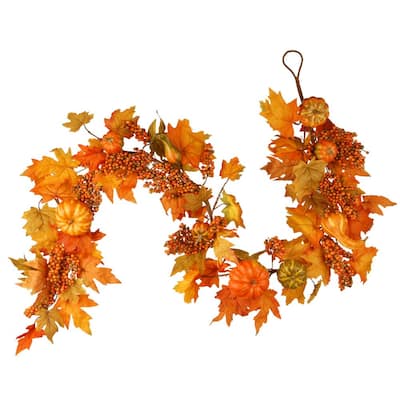
- Fall Leaf Garland
- Faux or Real Pumpkin
For the centerpiece, we started with a wooden crate, then added a pumpkin inside. We spread some rope pumpkins around the middle of the table and added a Thanksgiving hat to every place setting. Then we added a fall leaf garland to finish it off.

Our Thanksgiving table turned out so cute, and my kids were so excited to be able to contribute to this special holiday.

This post was created in partnership with The Home Depot. The author may have received compensation for this article and associated images or video, potentially in the form of products and/or services. All expressed opinions and experiences are the author’s own words.