Easy Leak Testing for Appliances

Last updated August 12, 2024
Leaky appliances can cause water damage and require costly repairs or replacement. Maintenance techs can follow these leak testing tips to quickly identify and repair leaks in dishwashers, refrigerators, washing machines, water heaters and HVAC systems.
Table of Contents
Before Checking an Appliance for Water Leaks
How to Test a Leaky Dishwasher
How to Test a Leaky Refrigerator
Testing a Leaky Washing Machine
Checking a Water Heater for Leaks
Checking a Leaky HVAC Unit
Before Checking an Appliance for Water Leaks

Before checking an appliance for a water leak, take the following steps.
Shut off the power supply either by unplugging the unit or flipping the circuit breaker.
Shut off the water supply to the unit to avoid additional spills.
When possible, learn the age of the appliance. The older the appliance, the greater the chance of leaks due to worn or malfunctioning parts. Major appliances have the following estimated lifespans:
- Refrigerators usually last 13 years
- Water heaters last 12 years
- Freezers last 11 years
- Washing machines last 10 years
- Dishwashers last 9-10 years
Pro Tip: If a replacement part costs 50% or more of the price of a new appliance, consider buying a new unit instead of fixing it.
How to Test a Leaky Dishwasher

Take these steps when a dishwasher is leaking water. Replace faulty dishwasher parts when necessary.
- Clogged strainers can prevent dishwashers from draining and cause leaks. Remove the strainer, clean with a scrub brush and replace.
- A defective float switch can cause a dishwasher to overflow. Test the float switch with a multimeter and replace if it is broken.
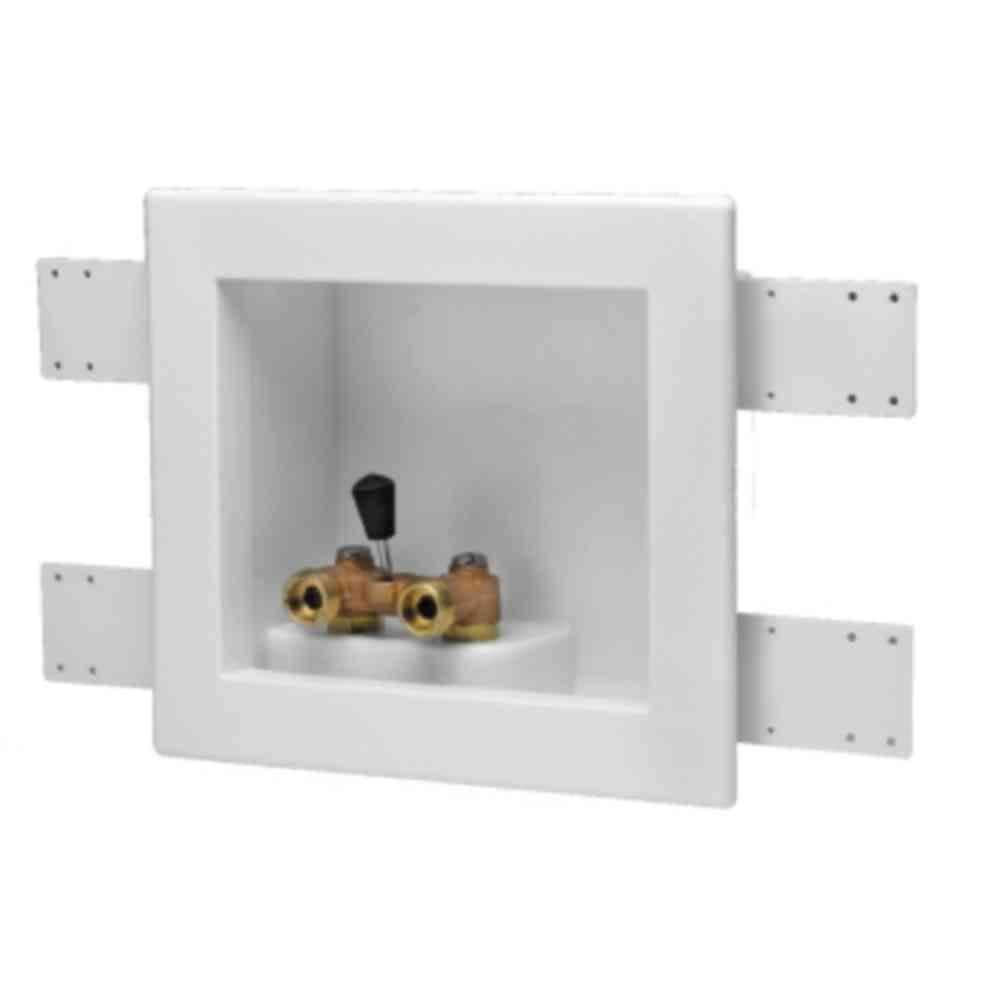
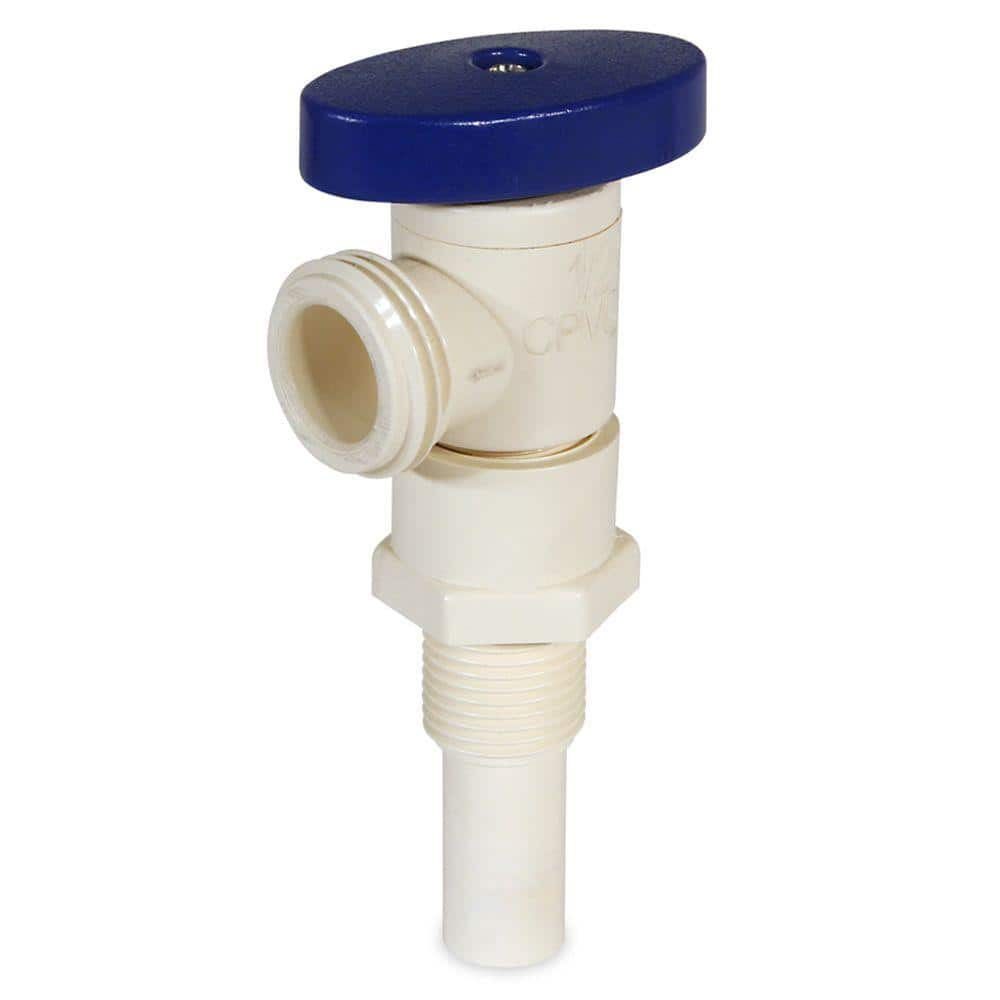
- A defective water inlet valve can become stuck in the open position, causing a leak. Replace it with a new one.
- A cracked or broken wash arm or wash arm assembly can send water under the door. Replace the wash arm or wash arm assembly.
- If the dishwasher base is leaking, the motor shaft seal may have cracked. With some dishwasher makes and models, you may be able to replace just the seal. With others, you may have to replace the entire motor and assembly.
- Damaged sump seals or pump gaskets can also cause leaks and require replacement.
- Faulty dishwasher door gaskets can fail to create a water-tight seal, leading to leaks. Replace it with a new door gasket.
How to Test a Leaky Refrigerator

Refrigerators and freezers can produce excess moisture, especially in warm environments. These are the primary ways to test a refrigerator that leaks water. Replace faulty refrigerator parts.
- Check the freezer defrost drain for blockage. First, make sure the defrost drain at the back of the freezer is not blocked. If it has no obstructions but the problem continues, unplug the freezer, remove the plastic plate or cover from the drain hole and flush with warm water.
- If the problem is with the water supply lines, check and tighten all connections. If water drips from a hose, turn off the water supply and drain excess water into a bucket. Remove the old hose and attach a new one to manufacturer specifications.
- The water inlet valve controls the flow of water to the dispenser or ice maker and can leak if damaged. Replace a defective inlet valve.
- A misaligned water filter could cause water to overflow and leak. Remove and realign the water filter. If the water filter is damaged, replace it with a new one.
- The water filter housing can leak if damaged. Check for cracks and replace it.
- Check the drain pan under refrigerator for leaks due to cracks or other damage and replace as needed.
Pro Tip: If a refrigerator is not properly tilted, the coolant may not effectively circulate. This leads to increased condensation around the coils, which can leak moisture to the floor. Adjust the front feet of refrigerator so that the front half is 1/4 to 1/2 inches higher than the back half.
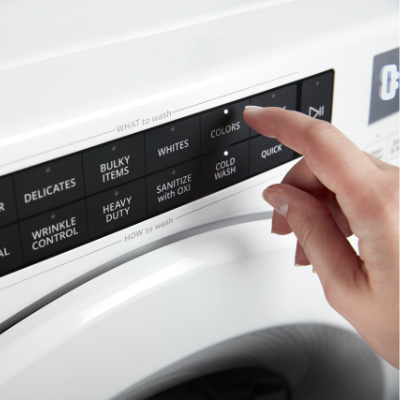
Testing a Leaky Washing Machine

Check a washing machine leaking water by using the following steps:
- Check the washer’s hot and cold water supply hoses and make sure they’re securely fastened and undamaged.
- Inspect the internal hoses for wear and replace damaged ones. Tighten any loose clamps.
- Check the drain pump for signs of leaks and replace if needed.
- Check the tub cover gasket to make sure it provides a seal between the outer tub and the tub cover. If you see visible damage or signs of leakage, such as moisture or soapy residue, replace it.
- If the pressure switch to the water inlet valve fails, the washer may overflow. Clear the air tube to the water inlet valve’s pressure switch and replace the tube if it leaks.
- Check the pressure switch with a multimeter and replace as needed.
- Test the water inlet valve by shutting off power to the washer while filling with water. If the washer continues to fill, replace the inlet valve.
- Check the water inlet valve’s solenoid coils with a multimeter. Replace the inlet valve if the coils test negative.
- Check the water level switch behind the control panel. Test with a multimeter and replace as needed.
Checking a Water Heater for Leaks

When leak testing a water heater, first check for loose valves, plumbing connections and heating elements. Tighten water heater parts as needed.
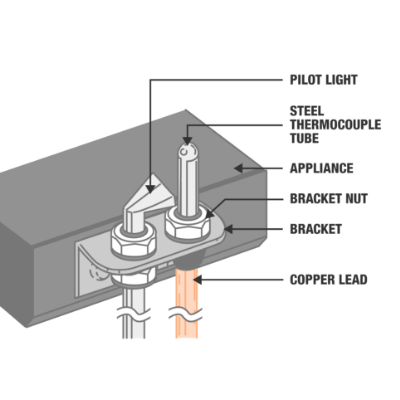
A faulty temperature and pressure relief (T&P) valve is a common source of water heater leaks. Flushing water through a blocked T&P valve can clear accumulated debris or residue. A broken T&P valve must be replaced.
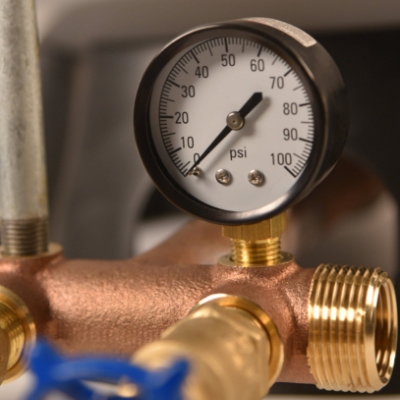
If those don’t work, perform a pressure test on the water heater following these steps:
- Attach a pressure test gauge to the water heater’s drain valve outlet.
- Open the drain valve and check the pressure level on the gauge. (Standard water heater pressure should be between 30 and 80 psi, but no higher.)
- Close the water heater’s cold-water inlet shut-off valve and turn off all hot water fixtures to make a closed system.
- Check the pressure gauge. If the pressure drops off rapidly with no evidence of additional leaking water, a fixture may have opened. If the pressure drops slowly and the connections and fittings remain dry, the tank may have a leak. If the pressure holds for 15 minutes or more, the tank is probably not leaking.
Pro Tip: If the tank is leaking due to rust or corrosion, it must be replaced. Shut off the water supply and drain the tank before replacing it.
Checking a Leaky HVAC Unit

HVAC systems work harder during the hotter months, which can lead to excess moisture and leakage. Follow these steps to leak check an HVAC unit.
- HVAC units include drain pans that collect water and direct it to a drain line. Old drain pans with cracks or holes can leak and should be repaired or replaced.
- Clogged air filters can prevent air from flowing over the evaporator coils, which can cause them to freeze over. When the ice melts, it can cause the HVAC drain pan to overflow. Make sure to change your air filters as directed.
- Clogged HVAC condensation drain lines can cause the system to overflow. Use a plumbing snake to clear the obstruction. As part of regular HVAC maintenance, clean the condensation line with a solution of bleach or vinegar.
- A broken condensate pump can cause water to overflow from the unit. Check for clogs and clean the condensate valve or pump. If leaks continue, check the pump switch with a multimeter. Replace any defective part.
More Tools. More Products. More Perks.

Be more competitive and boost your bottom line with Pro Xtra, The Home Depot’s loyalty program built for Pros. Sign up today to access the enhanced Pro Online Experience, built with the online business tools and time-saving features Pros need.
Leak testing can help plumbers, handymen and repair techs at multifamily dwellings to quickly troubleshoot and fix appliances that are leaking water.
Authorize employee in-store purchases quickly and securely via text. When Pro Xtra members enroll in Text2Confirm, you have total visibility to a details list of everything your employee is buying.