How to Apply Exterior Wood Stain
Last updated April 5, 2024
Wood stain brings out the natural beauty of wood and forms a protectant barrier against the elements. This guide outlines steps so that your exterior stain project runs smoothly and produces a beautiful finish.
Difficulty:
Advanced
Duration:
2-4 hours
Table of Contents
Prepare the Wood for Stain
Mix Stain and Test Colors
Apply Stain
Tips for Staining Wood
Clean Up
Exterior Stain Maintenance
Prepare the Wood for Stain
Before starting your stain project, lay a tarp or drop cloth out to catch any excess stain. Do not allow clean-up water, combined with stain, to escape through a storm drain or sewer.
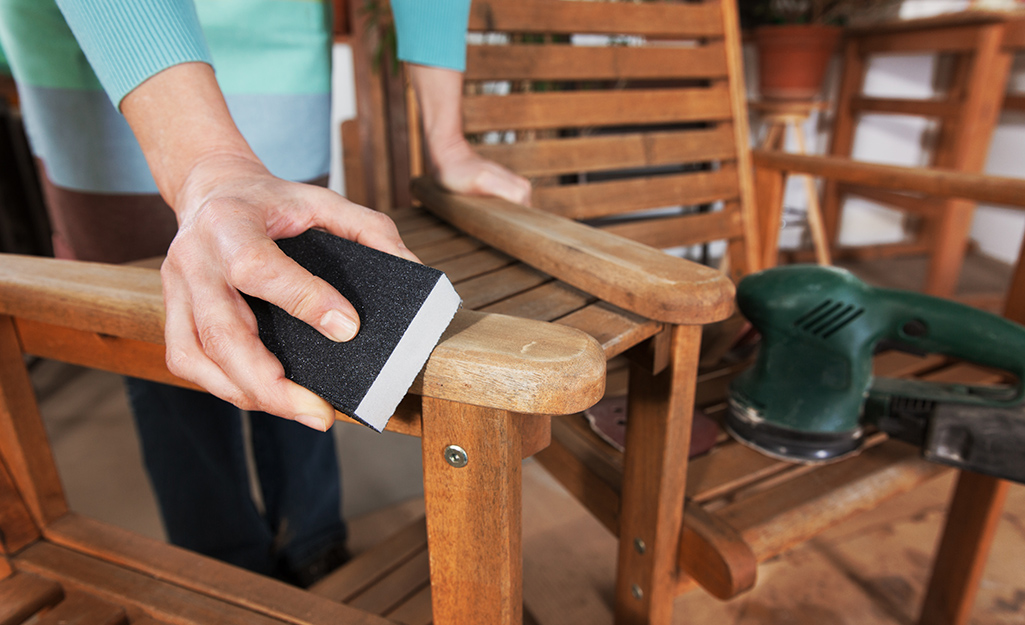
Next, prepare the wood by cleaning and sanding as needed. Allow the wood to dry completely before staining.
Mix Stain and Test Colors
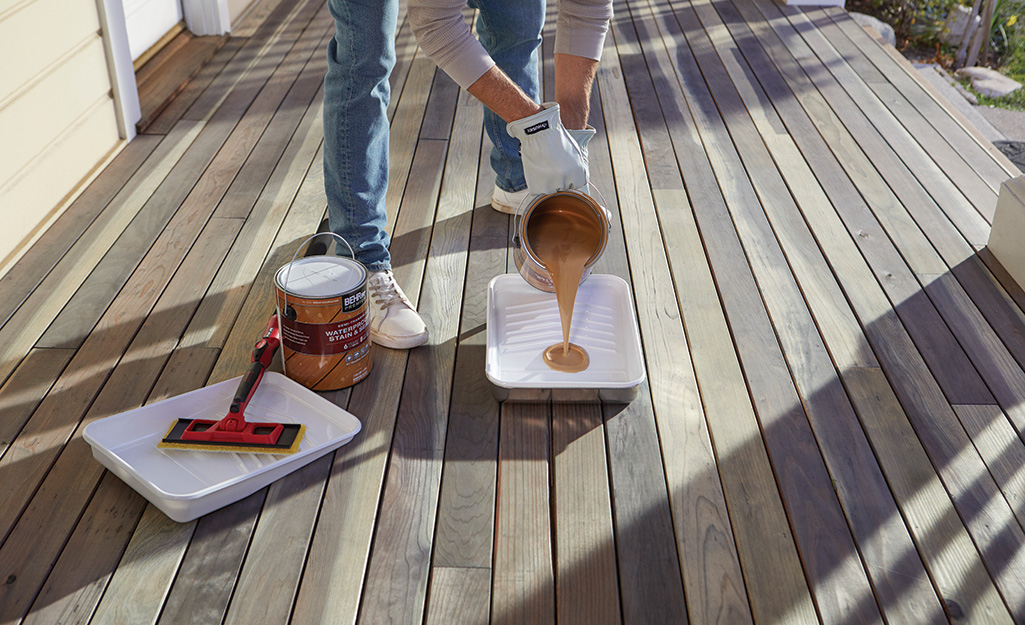
Following manufacturer's instructions, mix stain as directed. Apply a small amount in an inconspicuous area to test the color and let dry. For consistency in color, be sure to have all stain mixed in the same container. For example, if you need to apply three gallons of stain, mix the three gallons together in a five-gallon bucket before use.
Apply Stain
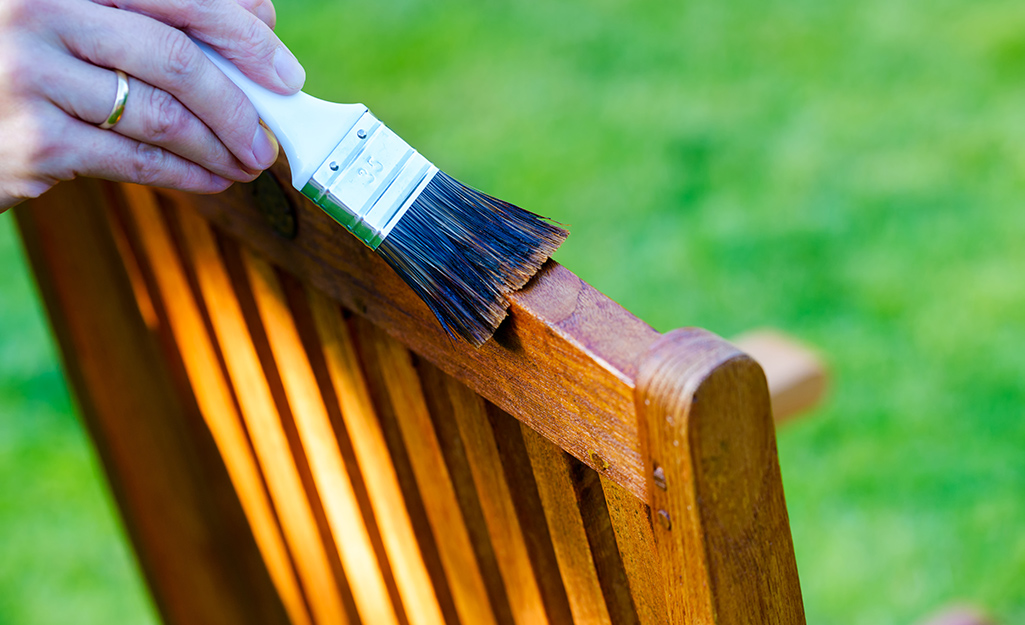
Check the weekly forecast to make sure that the weather will be dry for several days. The manufacturer's instructions will specify the amount of time required for the stain to dry properly.
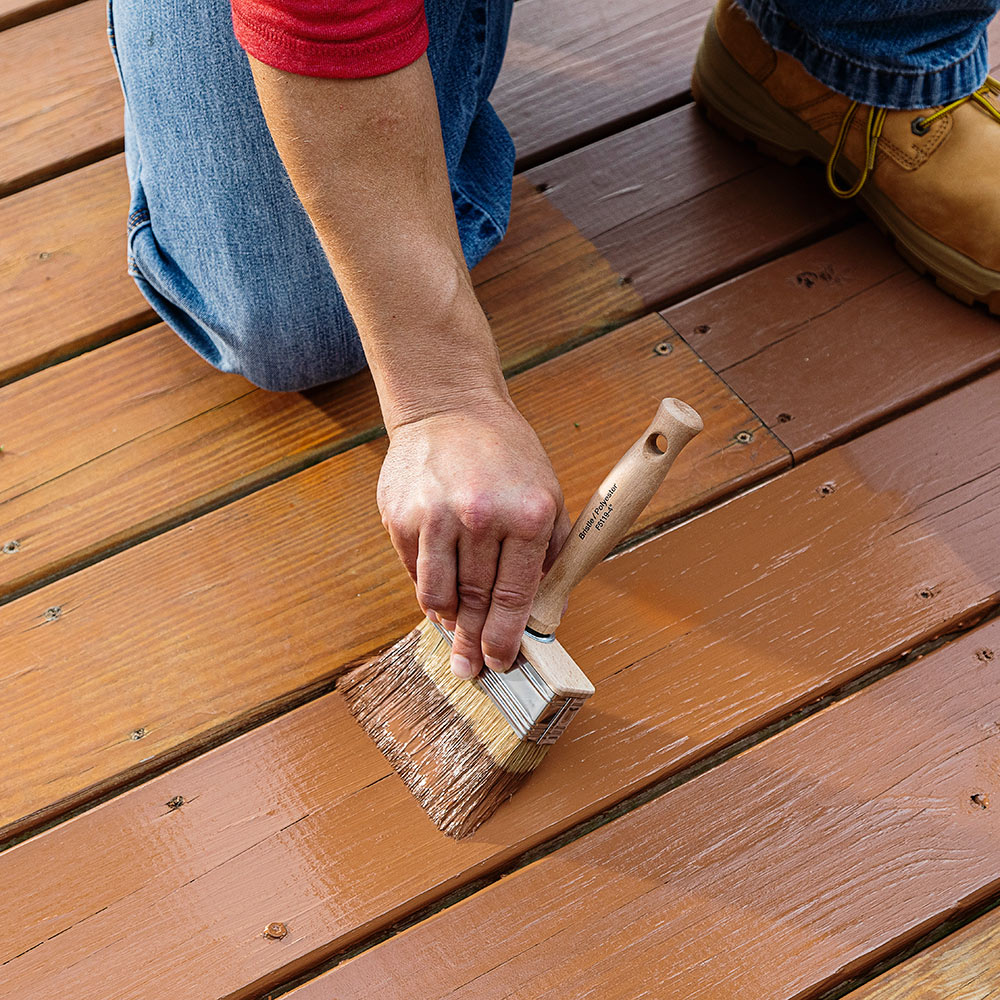
Using a roller, brush or hand-pump sprayer, apply stain evenly. Different applicators achieve different finishes, so experiment to get the desired results. Let dry. If needed, apply a second coat. Refer to manufacturer's instructions to remove excess stain.
Tips for Staining Wood
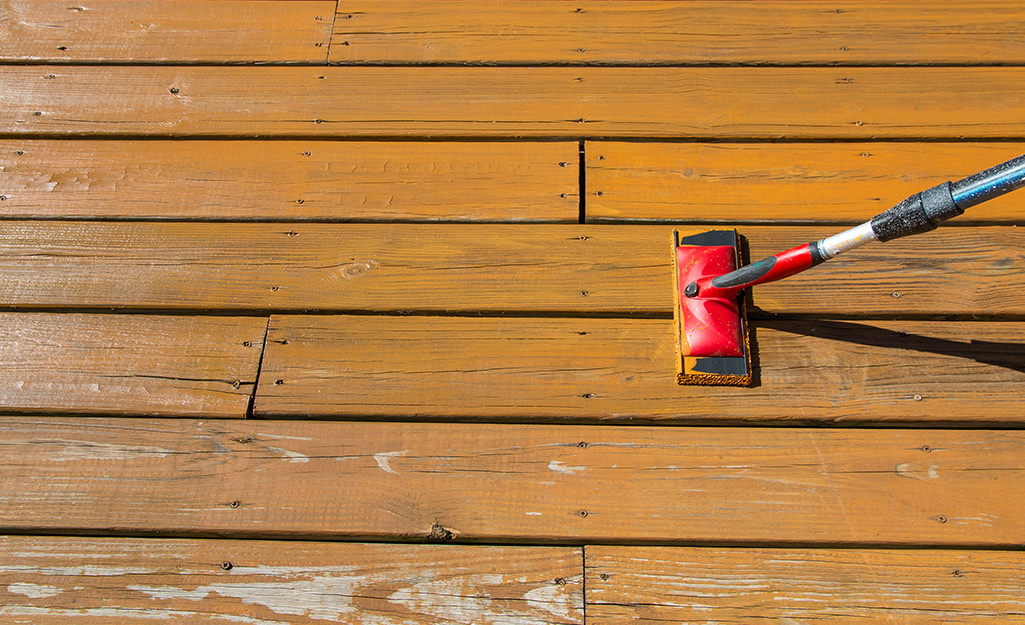
When applying stain, there are a few simple tips you can follow to make your project look better:
- Backbrush to minimize brush and roller marks. This is achieved by brushing paint into the cracks and crevices of the surface while the stain is still wet. If stain is uneven or puddles, use a roller to even out.
- For darker stains, work from the top down and always stain your railings before your floor boards no matter what color stain you're applying. This will eliminate drip marks.
- Use a brush, roller, paint pad or sprayer to apply a thin coat for clear, toner and semi-transparent stains. For solid stains, apply two thin coats with a brush, roller or paint pad.
- To avoid lap marks, apply to a few boards at a time, keeping a wet edge.
- Treat all areas of the wood, including joints, edges and ends.
- Allow to dry fully, as indicated on manufacturer's instructions, before allowing foot traffic or placing furniture on the stained surface.
Clean Up
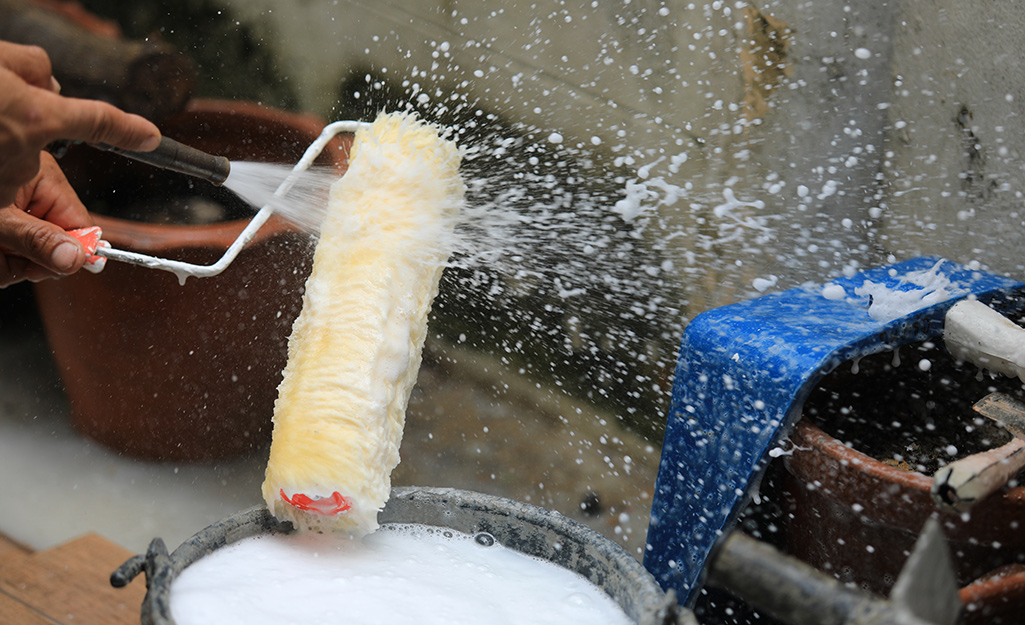
Depending on the type of stain you've used, the manufacturer will specify whether clean-up requires soap and water, mineral spirits, chemicals or otherwise. Typically, soap and water is used for water-based paints and stains, whereas mineral spirits is used to clean up oil-based paints and stains.
Combine all remaining stain into the smallest container that will hold it and seal tightly to minimize exposure to air.
With oil-based products, allow all oil-soaked rags and tools to air dry completely prior to disposal to avoid creating fire hazards. Dirty rags that are piled up and tossed into a trash can with no air circulation are highly combustible.
Exterior Stain Maintenance
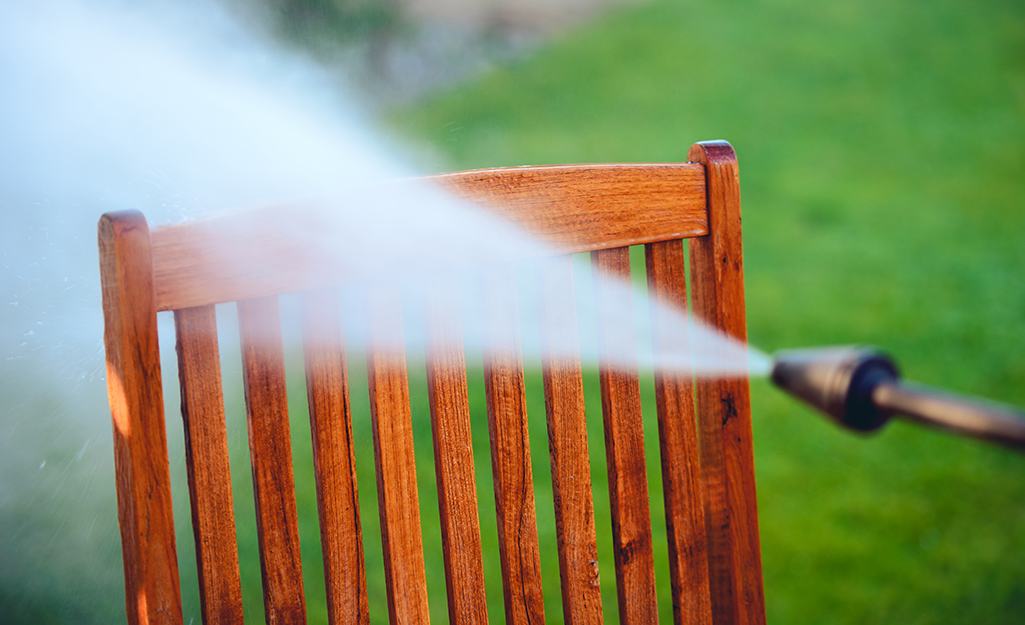
- Clean wood on a regular basis to remove all dirt, pollen or soot. Wash the surface gently to avoid damaging the stain.
- Keep wood free of leaves and other debris, including between boards.
- Check for mold and mildew every few months. Use a mold and mildew remover that twists onto the end of a garden hose for easy application.
Applying wood stain is an easy way to freshen the look of exterior wood. Follow these instructions for best results. If you need help choosing a stain color, research colors on The Home Depot Mobile App to find what you need.
