How to Build a Decorative Fall Topiary

Last updated September 7, 2023
Presented by Steph & Vicki Kostopoulos of Mother Daughter Projects.
Create a fun piece of fall decor to greet your visitors. With just a few supplies and basic woodworking tools, you can build this colorful fall topiary project.
Difficulty:
Beginner
Duration:
Under 2 hours
Table of Contents
Gather Tools and Materials
Trace the Outline
Clamp and Cut Wood
Mark and Cut the Center
Sand and Align the Pumpkin Surfaces
Cut the Stem
Gather Tools and Materials
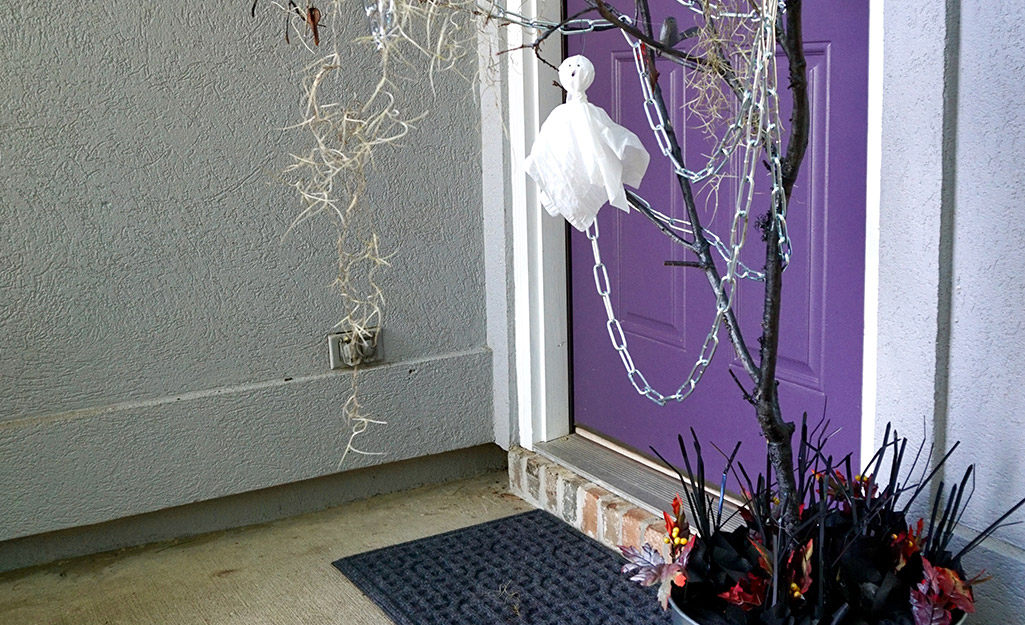
Here is the list of materials you'll use:
- 2- x 4-foot plywood project panel
- 1-inch wood dowel
- 1-inch PVC pipe
- Bucket with lid
- (2) 2-hole straps
- #8 x 1/2-inch pan-head screws
- Sika fence-post mix
- Large paint sticks
- Large paper
- Color Shot acrylic paint, With a Twist
- Color Shot spray paint, Orange Slice
- Color Shot spray paint, Smolder
- Large stick from your yard with 1-inch diameter
- Fall decor, flowers, signs, etc., from around your home
Here are the tools you'll need:
- Clamps
- Jigsaw
- Orbital sander
- Hand saw and miter box
- Wood glue
- Hot glue gun
- Drill-driver
- Tape measure
- Scissors
- PVC cutter
- Brad nailer (optional)
Tip: Don’t forget to use eye and ear protection, a dust mask and chemical-resistant gloves as you complete the project.
Trace the Outline
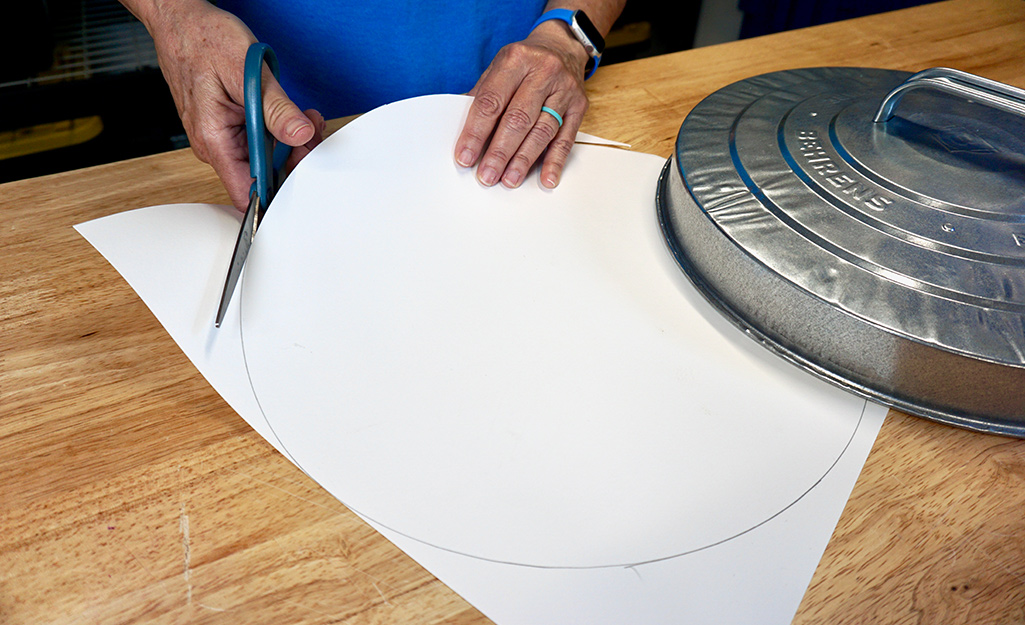
- Use the bucket lid as a guide to make a paper template. Cut it out, fold in half and set aside.
- Trace two circles onto plywood using the bucket lid.
Tip: Don’t place the circles too close to the edge as you can get torn wood instead of smooth cut. Inside the second circle, mark a cut line a half-inch from the edge.
Clamp and Cut Wood
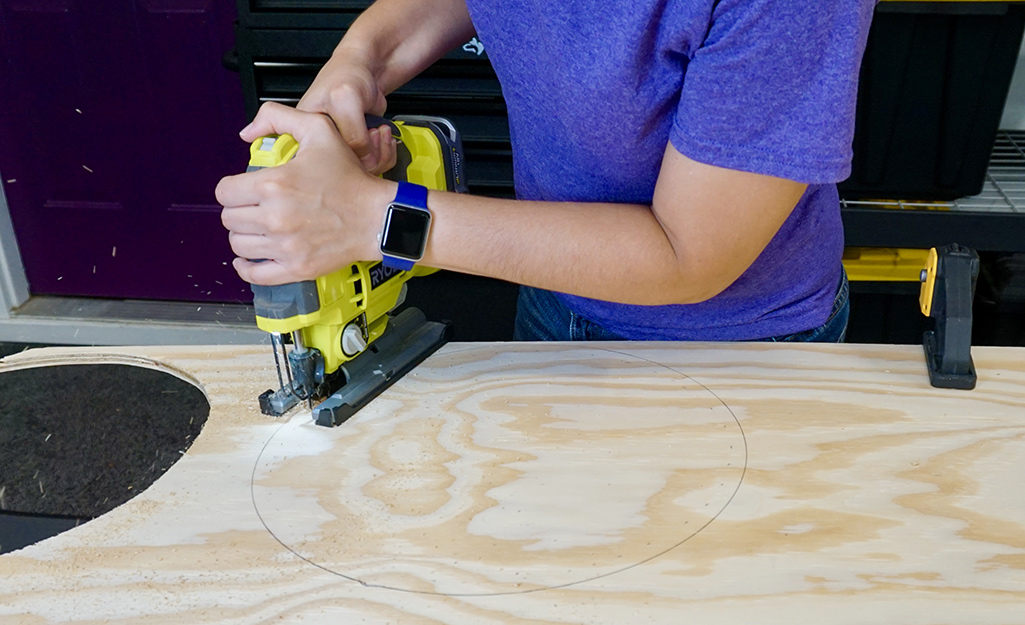
Clamp the wood to a solid surface and begin cutting out both circles with a jigsaw. Remember, this doesn’t have to be perfect because no two pumpkins are alike.
Mark and Cut the Center
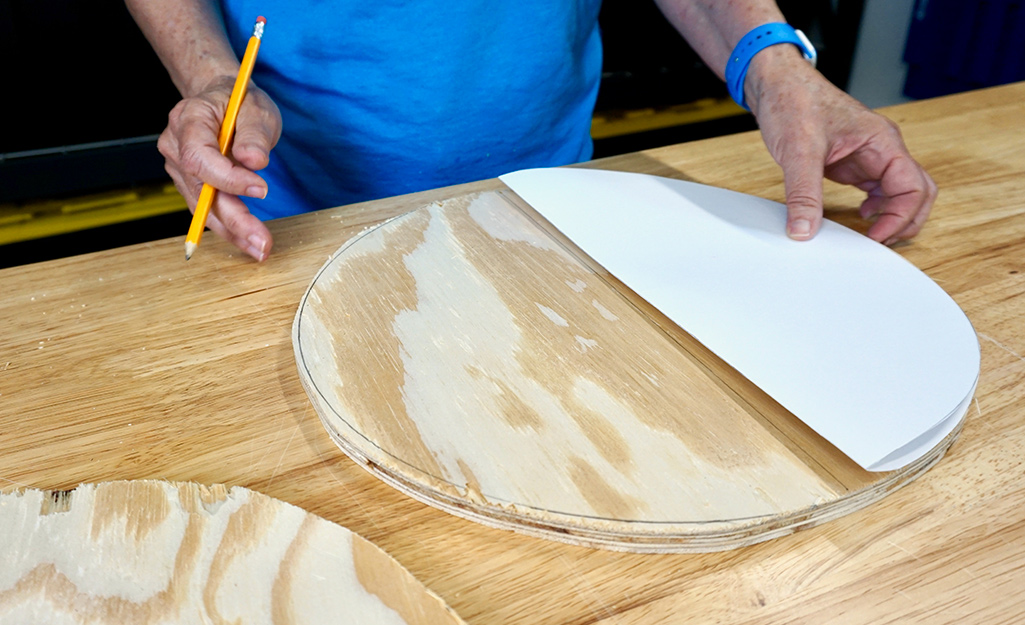
- Use the folded paper pattern and mark the center of the large circle, as well as the smaller circle.
- Make sure the small circle center is parallel to the wood grain. Then cut it in half with the jigsaw.
Sand and Align the Pumpkin Surfaces
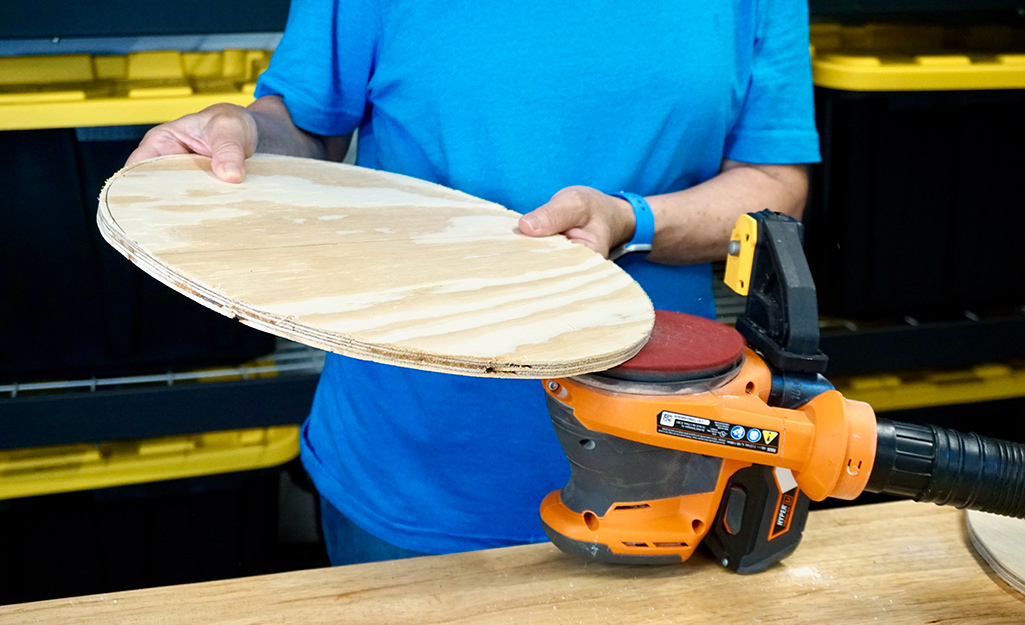
- Sand the circles to soften the edges.
- Lay the large circle right side down, being mindful that the grain is running up and down.
- Place the two halves on each side, pulling them out until the top and bottom edges are even with the larger circle. Use a pencil to mark the placement of the two halves.
Cut the Stem
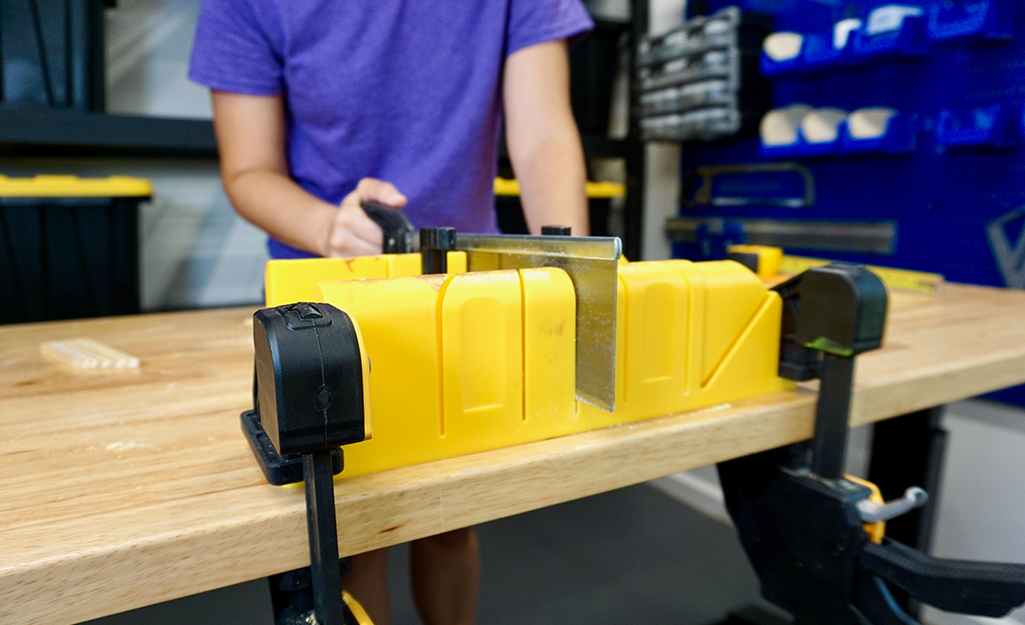
- Use a miter box to cut a large paint stick at 5 inches long with a diagonal cut on the top for the stem.
- Cut another piece from the paint stick that is 2 1/8 inches long.
- Sand any rough edges.
Glue and Paint the Pumpkin
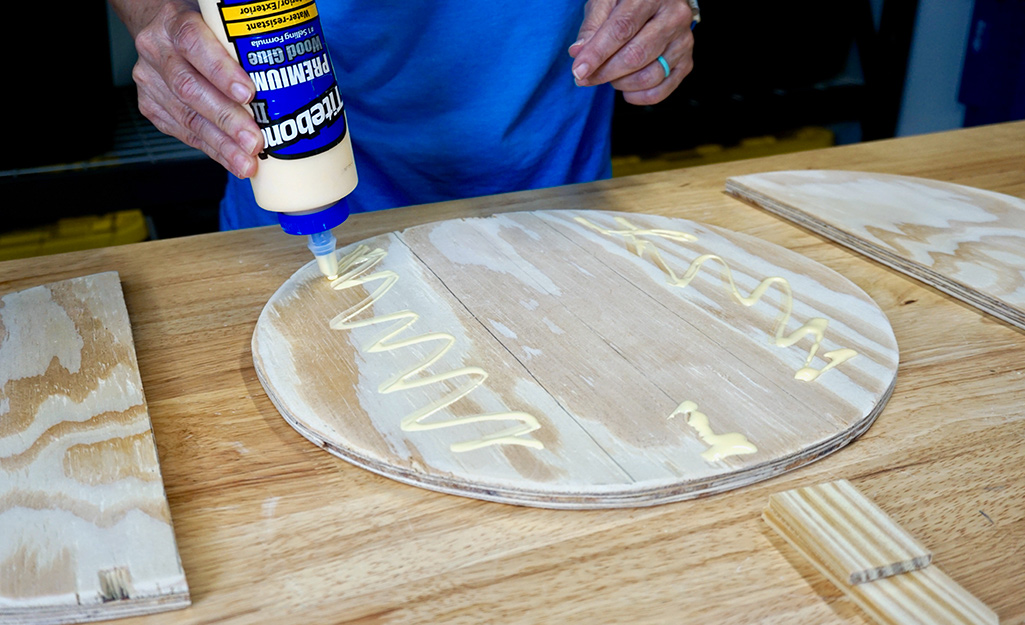
- Glue the pumpkin halves and stem in place. Allow wood glue to dry or brad nail the pieces together.
- Spray paint the front and back. Choose orange for a traditional look or have fun with a different color.
Glue the PVC Pipe
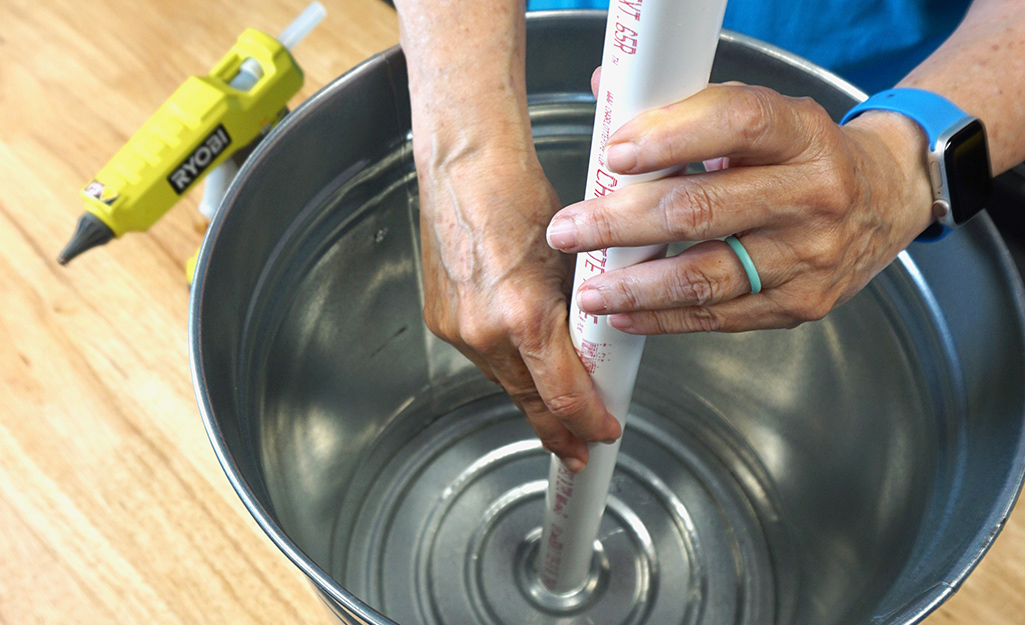
- Remove labels from the bucket. If you want to change the color or add features to the bucket, this is the perfect time to do that.
- Hot glue the PVC pipe in the middle of the bottom of the bucket.
Set the PVC Pipe
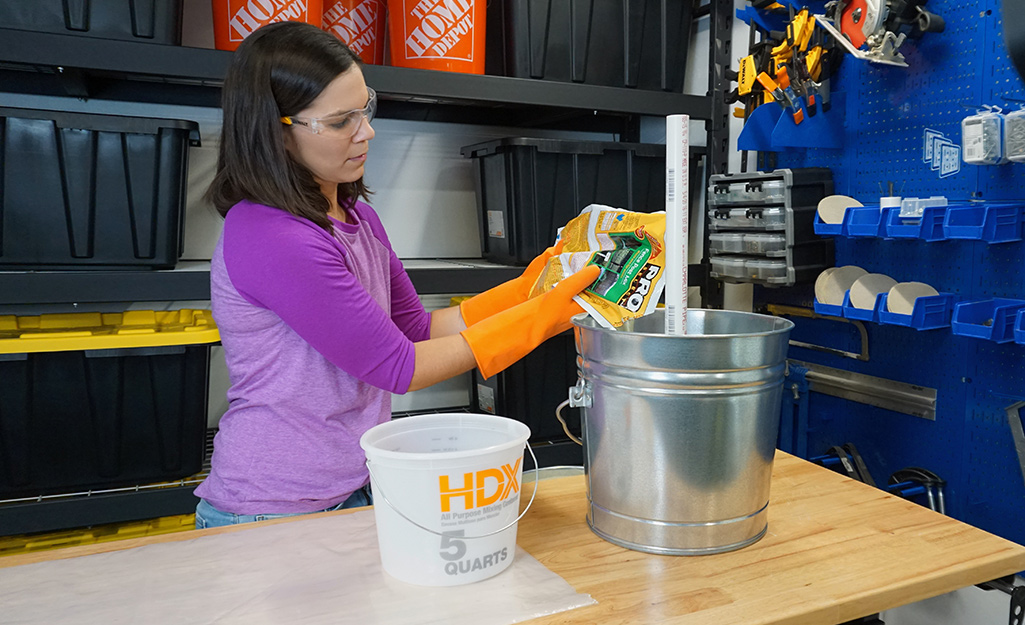
- Read and follow all directions on the fence post mix and be sure to wear all the appropriate PPE including chemical-resistant gloves.
- For a rounded top, pour the entire contents into the bucket. For less fill, grab a corner of the bag and hold this amount back as you pour the rest into the bucket. Pour “the handful” into a waste bucket.
- The metal bucket will get very hot. Stand back and watch the foam expand like magic. Keep an eye on the PVC pipe to be sure it doesn’t move out of alignment.
- Once the foam stops expanding and starts to firm up, cut off the excess PVC.
Secure the Pumpkin
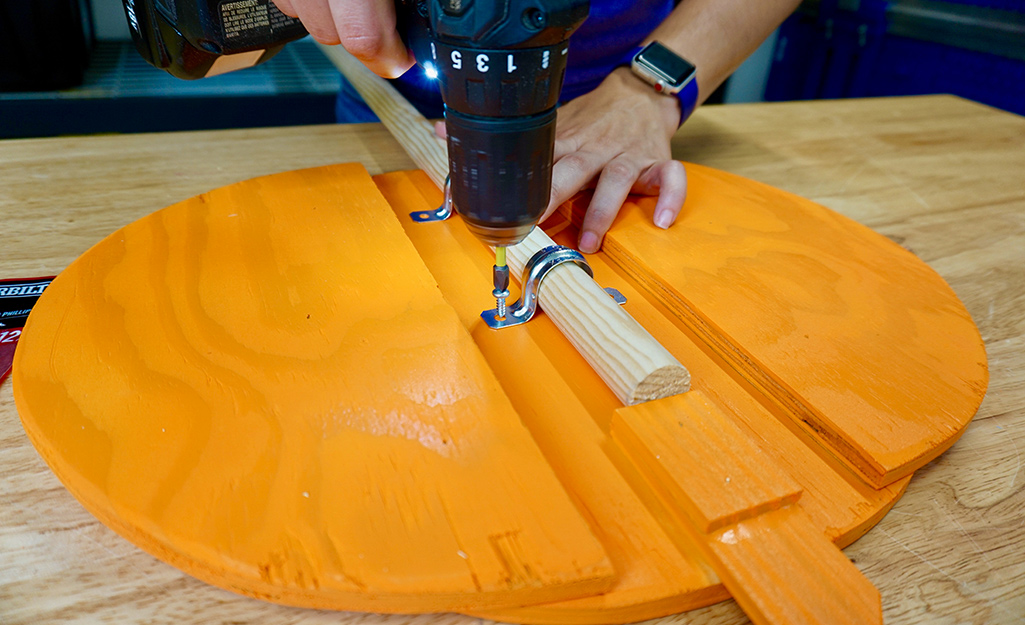
- Put the pumpkin right side down.
- Secure the wood dowel to the back with the 2-hole straps.
- Cut the dowel at 39 inches with a miter box.
Paint the Stem
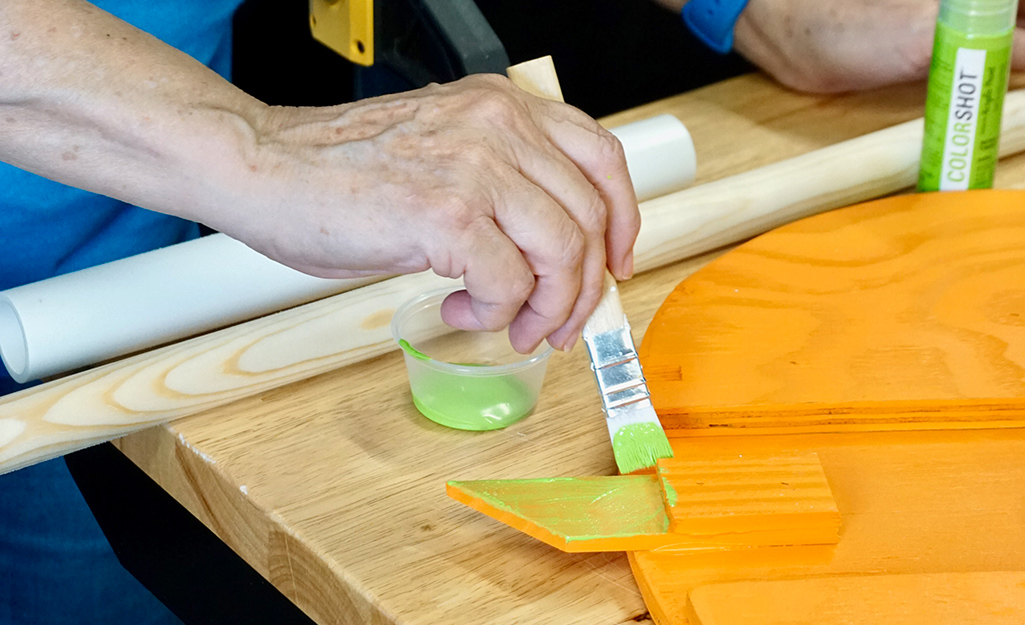
Paint the dowel and pumpkin stem with the green acrylic paint.
Let’s Decorate!
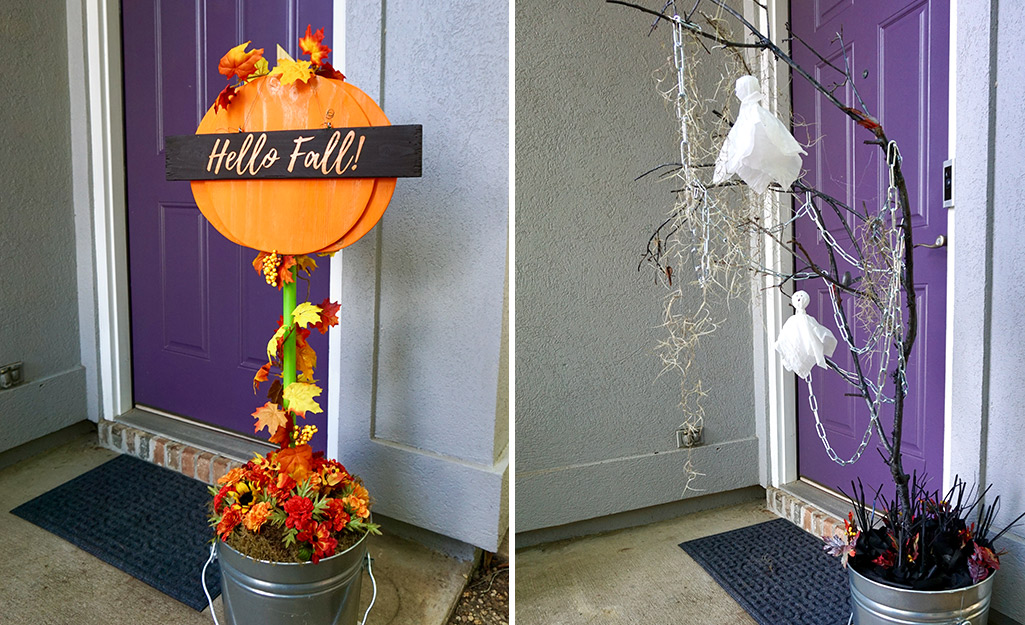
Now it’s time to get creative and decorate. Use some of the extra wood to make a sign for your pumpkin. Add some flowers or moss around the base or decorate it with fall foliage, either real or faux.
For something a little spookier, look no further than your yard for a stick with a 1-inch diameter. Add spray paint with a pop of shimmery color to the stick. Decorate your spooky Halloween tree with found or purchased ornaments and decor.
Ready to start this project? The Home Depot delivers online orders where and when you need them.


