How to Build a DIY Step Stool
Last updated September 7, 2023
Presented by Erin Spain of ErinSpain.com.
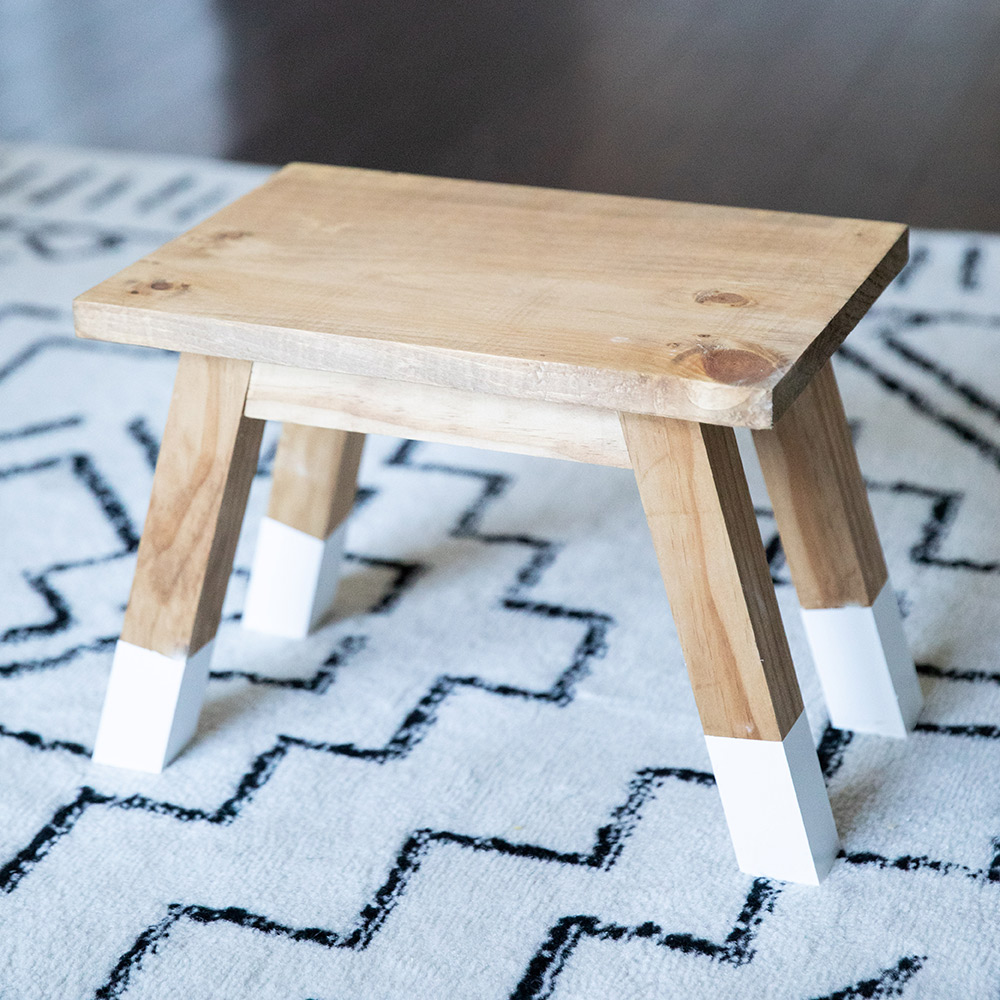
A DIY step stool is a great addition to any home. Read this guide for instructions on how to make your own wooden DIY step stool with a few simple tools and materials.
Difficulty:
Beginner
Duration:
2-4 hours
Project Guide
DIY Workshops
DIY Workshops
Workshops
What Are You Working On?
Table of Contents
Cut the Wood
Sand the Wood
Drill Pocket Holes
Assemble the Base
Attach the Top
Paint or Stain
Cut the Wood
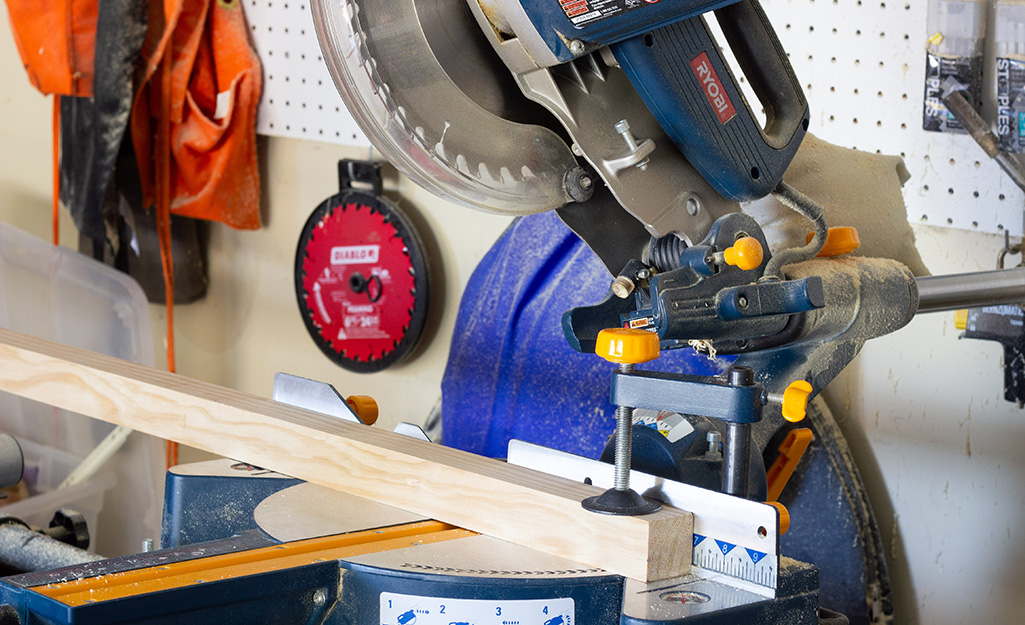
First, cut your wood to the following dimensions:
- (1) 1 x 10 board at 14 inches long
- (4) 2 x 2 boards at 10 inches long with ends beveled at 15 degrees parallel
- (2) 2 x 2 boards at 8 inches long (at longest ends) with ends cut at 15 degrees not parallel
- (1) 2 x 2 board at 4 inches long
Sand the Wood
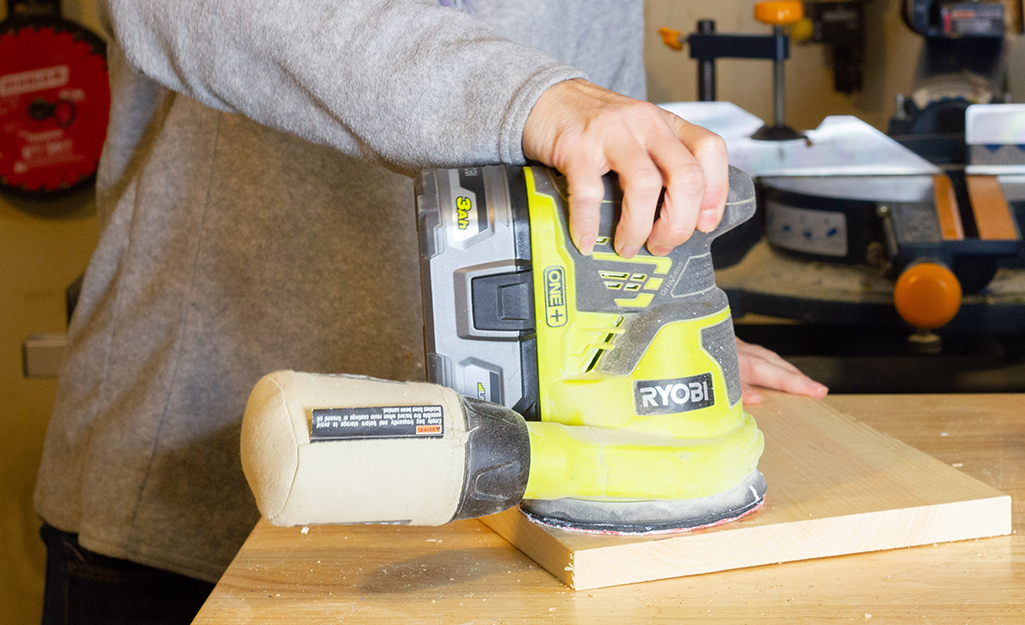
Give everything a good sanding to smooth out rough edges.
Drill Pocket Holes
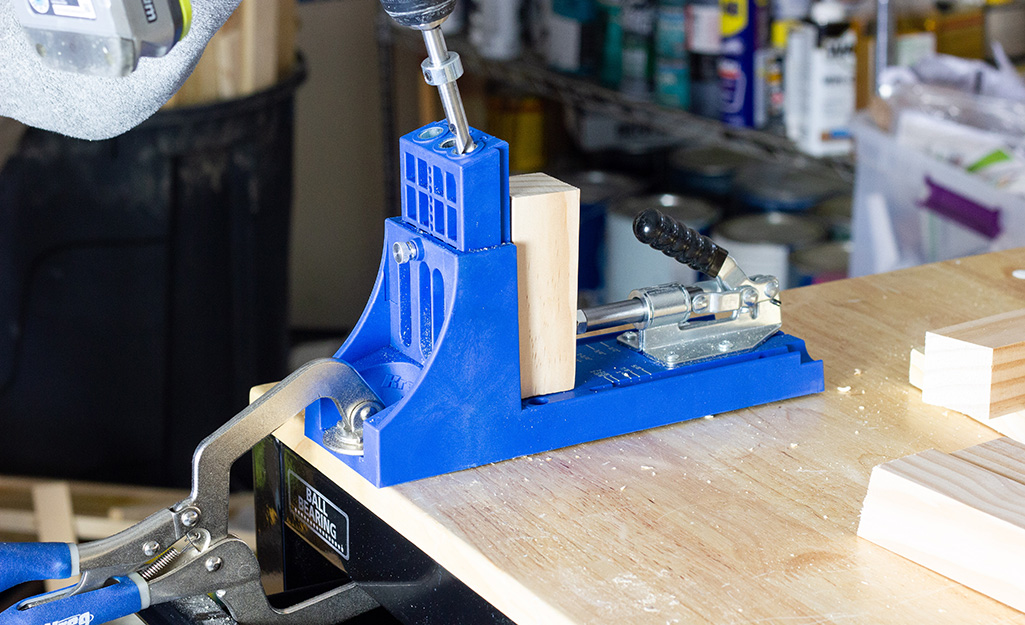
Drill pocket holes as follows:
- Two in each end of the 8-inch pieces.
- One in each end of the 4-inch piece.
- Be sure to stagger these so they don’t run into each other.
Assemble the Base
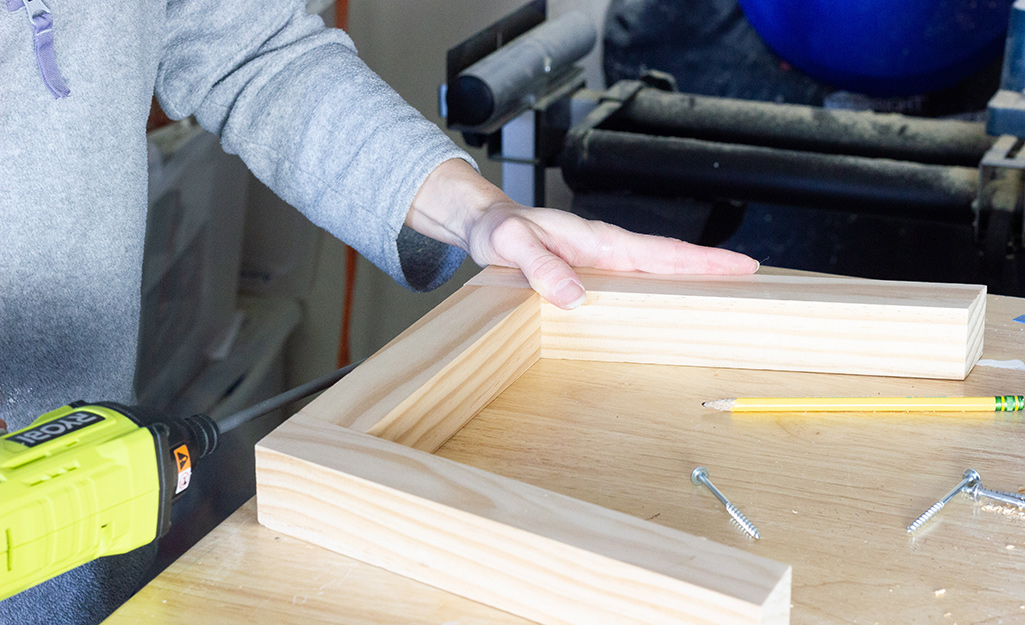
- Use 2-inch pocket hole screws to assemble the aprons to the legs.
- Attach the middle support perpendicular to the center point of each set of legs, connecting them, with pocket hole screws also.
- When assembling the angled legs to the apron support, keep a firm grip while you drive the screws in so they don’t shift.
Attach the Top
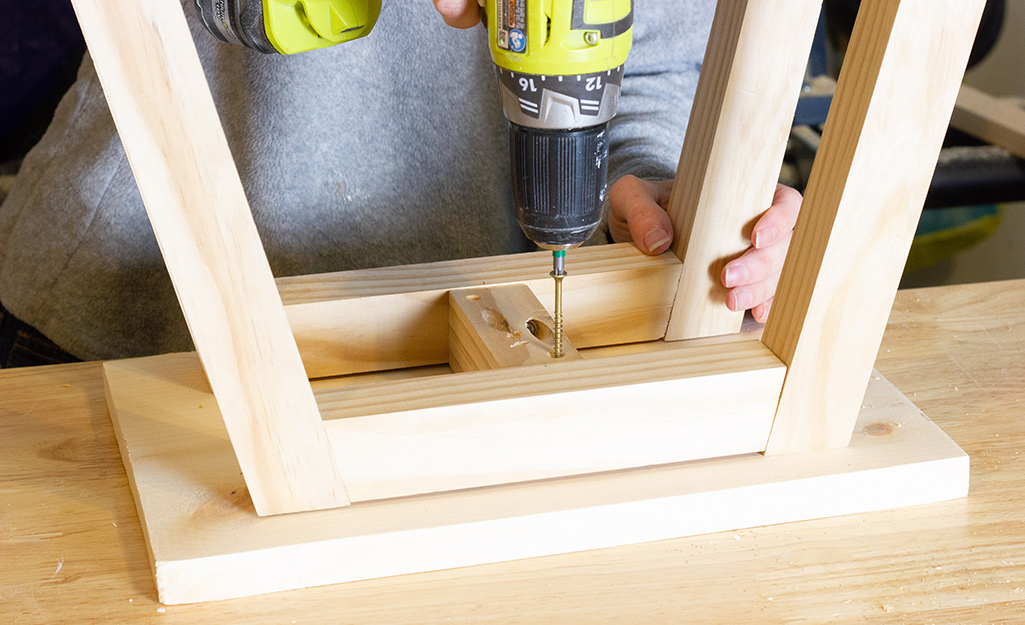
- Center the base and attach it to the stool top (working upside down) using 2-inch wood screws, pre-drilling holes with a countersinking drill bit first.
- Be careful to place these screws where they won’t run into the pocket hole screws underneath.
Paint or Stain
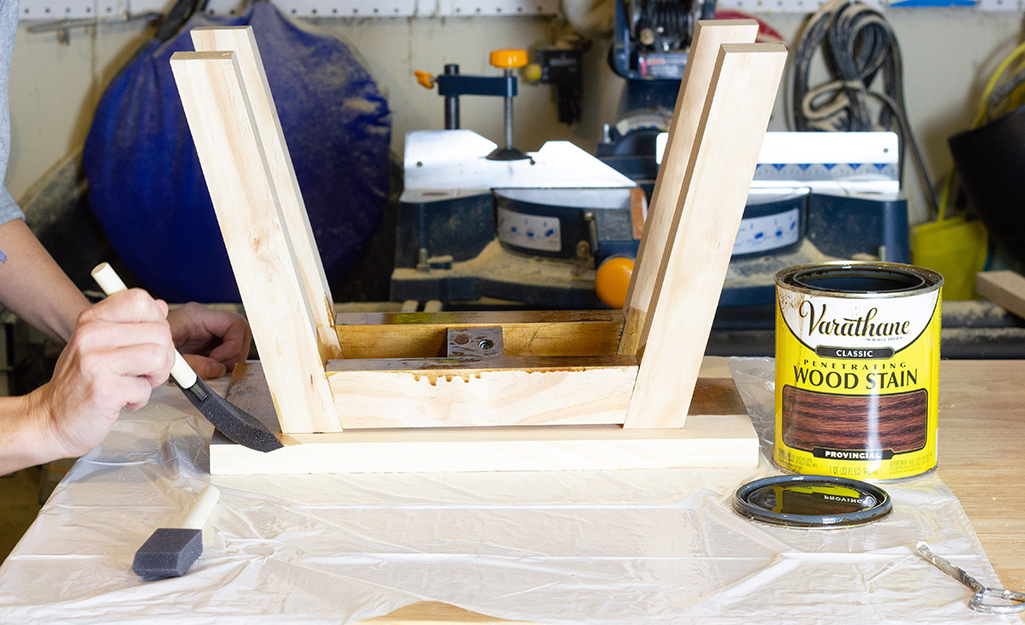
- Stain the stool using a foam brush.
- Wipe off the excess with a cotton cloth.
Add Paint Dipped Legs (Optional)
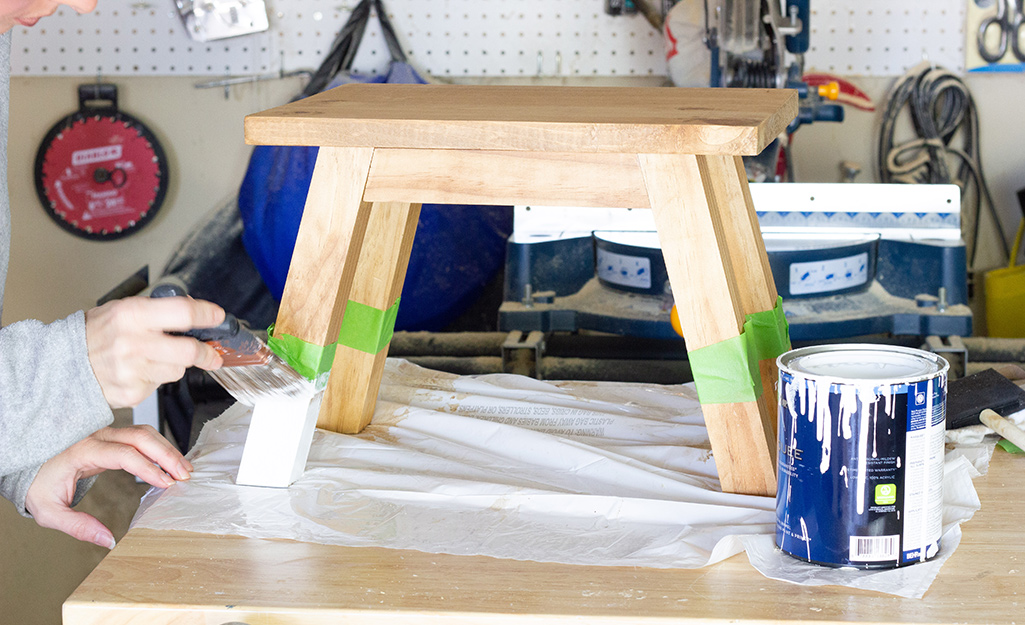
- Use painter’s tape to tape around each leg, about 3 inches up from the bottom.
- Apply two coats of white paint, allowing it to dry between coats.
- Remove the tape when the second coat is still damp.
Seal
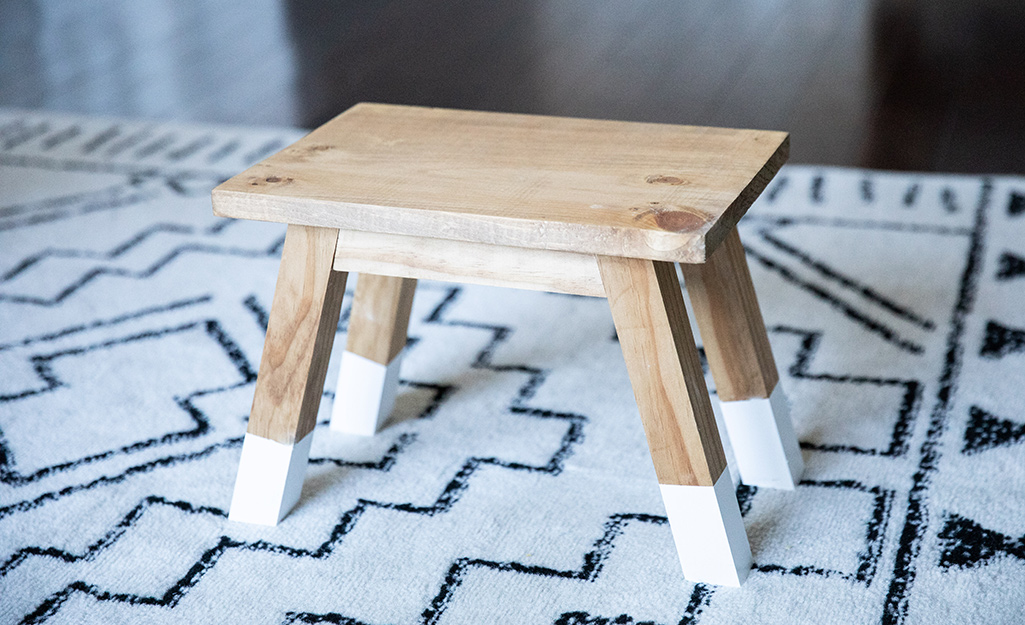
- Seal with a topcoat of your choice. Water-based polyurethane or furniture paste wax would work well.
- Enjoy!
Shop our selection for all the tools and materials required for this project. The Home Depot delivers online orders when and where you need them.

