How to Change a Dryer Cord

Last updated September 7, 2023
When you install a new dryer in an older home or an old dryer in a newer home, you may find that the dryer plug type on your appliance does not fit the outlet on the wall. Older homes typically have 3-prong outlets, while 4-prong outlets are used in newer construction. Electrical codes place restrictions on changing the outlet, but codes permit changing dryer plug types to match the existing outlets.
This guide will teach you how to change a dryer cord and how to meet the proper electrical regulations related to the appliance.
Difficulty:
Beginner
Duration:
Under 2 hours
Table of Contents
Reusing an Old Dryer Cord
3-Prong Dryer Cord vs. 4-Prong Dryer Cord
Helpful Tips on How to Change a Dryer Cord
Open the Access Panel
Remove the Old Cord
Attach the New Cord
Reusing an Old Dryer Cord
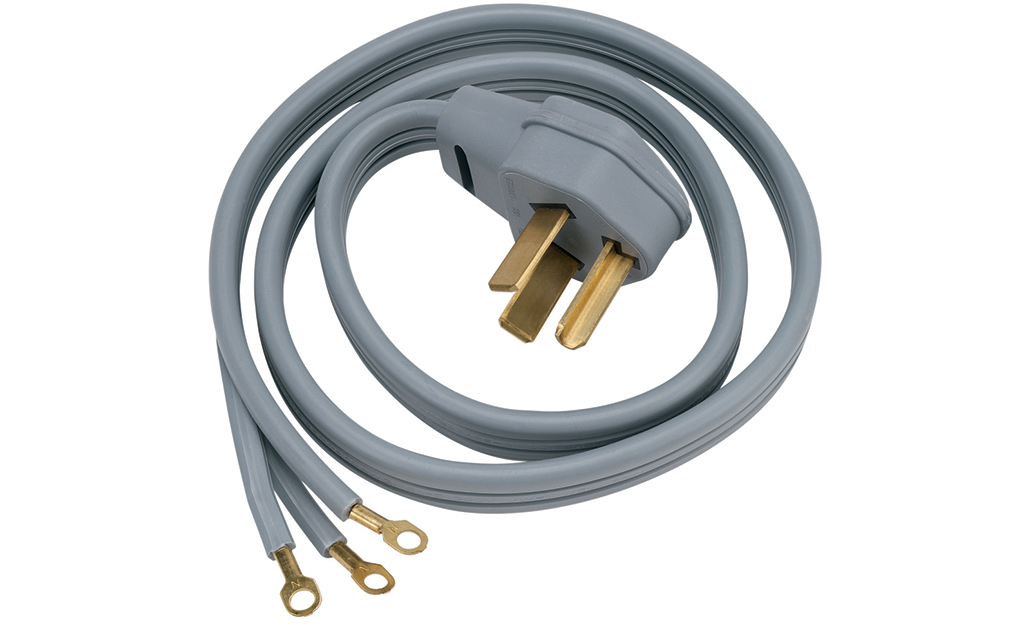
When replacing the existing dryer in your home, you can reuse its electric power supply cord if the old cord conforms to current safety codes and there is nothing wrong with the cord itself. However, you must replace the cord if it shows any signs of wear, so check it carefully for any fraying, kinks or other signs of damage. If in doubt, purchase a new cord.
If you move to a new home, you may find that the outlet for your dryer does not match the dryer plug type on your appliance. In this case, you will need to purchase a new power supply and follow instructions for how to replace a dryer cord.
3-Prong Dryer Cord vs. 4-Prong Dryer Cord
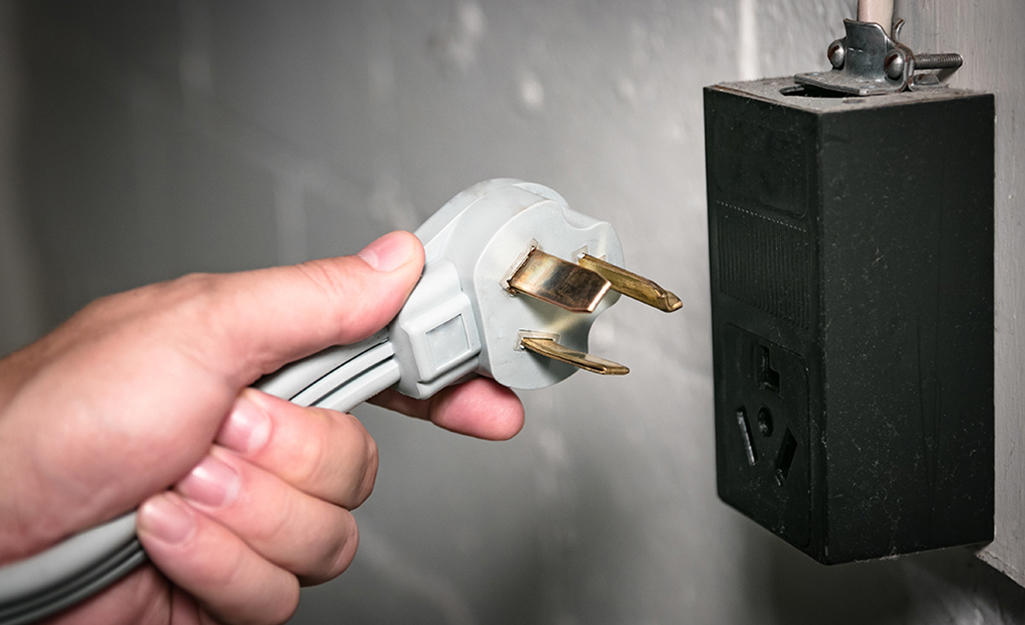
A 3-prong dryer cord was the standard for dryers prior to 2000. The National Electrical Code currently requires 4-prong dryer outlets in all new home construction. Existing homes may still use 3-prong outlets.
The switch to a 4-prong outlet was due to a flaw in the 3-prong outlet design. In a 3-prong outlet, the ground and neutral wires are contained in the same prong. This has the potential to allow a current to find its way onto the ground wire.
The 4-prong dryer cord is comprised of two hot wires, a neutral wire and a ground wire. This creates a separate return path for unused current. Dryer cords are usually a maximum of six-feet-long as the code requires that an outlet be close to the connected appliance.
Check to see if you need a 3-prong vs. 4-prong dryer cord and take that into consideration when shopping for new appliances. In general:
- 3-prong plugs are used for homes built before the year 2000.
- 4-prong plugs are used for homes built after the year 2000.
Whether you choose to add professional installation to your new dryer purchase or install it yourself, you must purchase a power cord appropriate for your outlet.
Helpful Tips on How to Change a Dryer Cord
Changing a dryer cord is simple but the project isn’t done frequently by most homeowners. Some tips might be new advice for beginners and others are worth repeating even to seasoned DIY-ers. Use common sense when learning how to change a dryer cord.
- Unplug the dryer cord before working on the appliance.
- Do not plug a dryer cord into a receptacle unless it is properly and completely connected to the dryer.
- Almost all manufacturers sell dryers without a cord attached, allowing you to select 3-prong vs. 4-prong dryer cord to match your outlet. Be sure to check which type you will need before purchasing your appliance and power cord.
- When removing the access panel or connection screws, using magnetic nut drivers and Phillips-head screwdrivers can save you time by preventing screws from falling inside the machine. You may use hand tools or a power drill fitted with appropriate drivers.
- Always follow the manufacturer’s instructions for how to replace a dryer cord that are included with the appliance parts.
Need help identifying a tool or material for changing a dryer cord? Find products fast with image search in The Home Depot app. Snap a picture of an item you like and we'll show you similar products.
Open the Access Panel
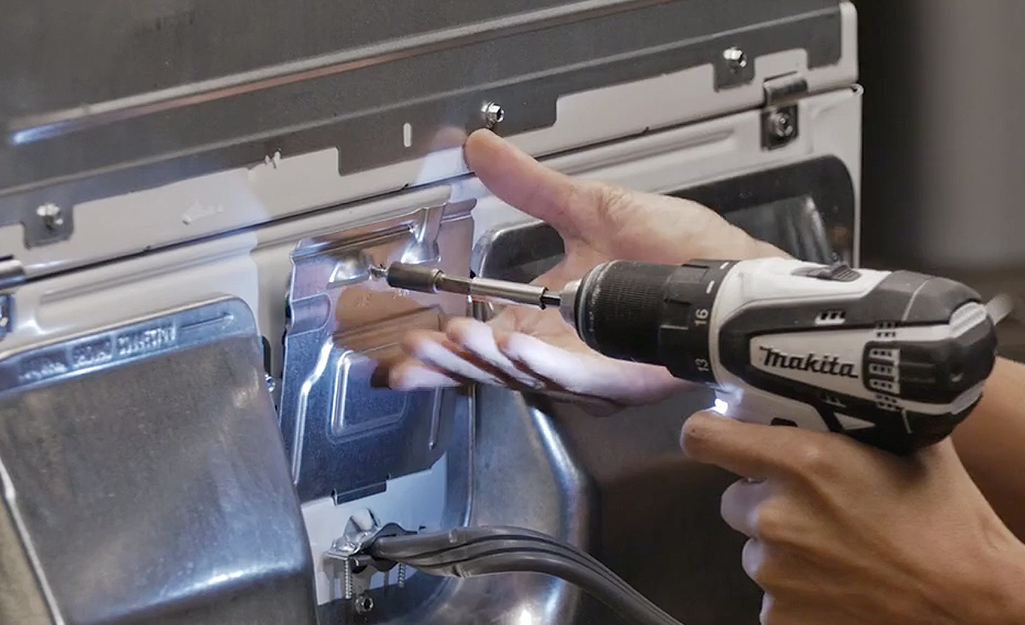
You must make certain that the appliance is disconnected from its power source before beginning to work on changing a dryer cord.
- Turn the dryer into its “Off” position and unplug the unit.
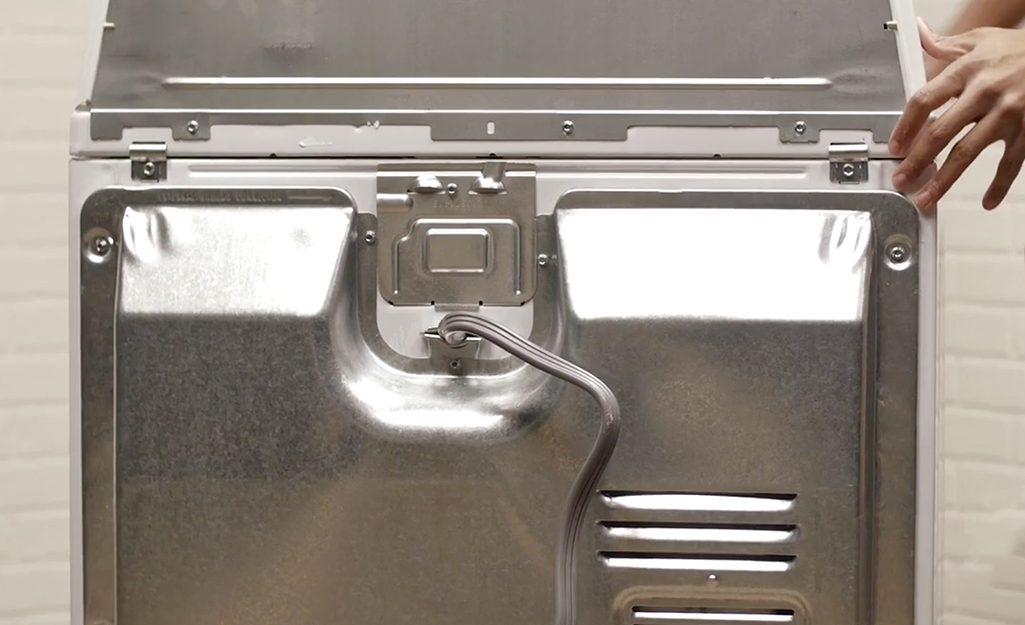
- Open the access panel where the cord enters the back of the dryer. Keep the screws in a safe place until securing the access panel when the project is complete.
- Use pieces of masking tape to label which colored wire attaches to each terminal inside the access panel. The wires are typically color-coded with a black wire on one side, a white wire in the middle, and a red wire on the other side.
Remove the Old Cord
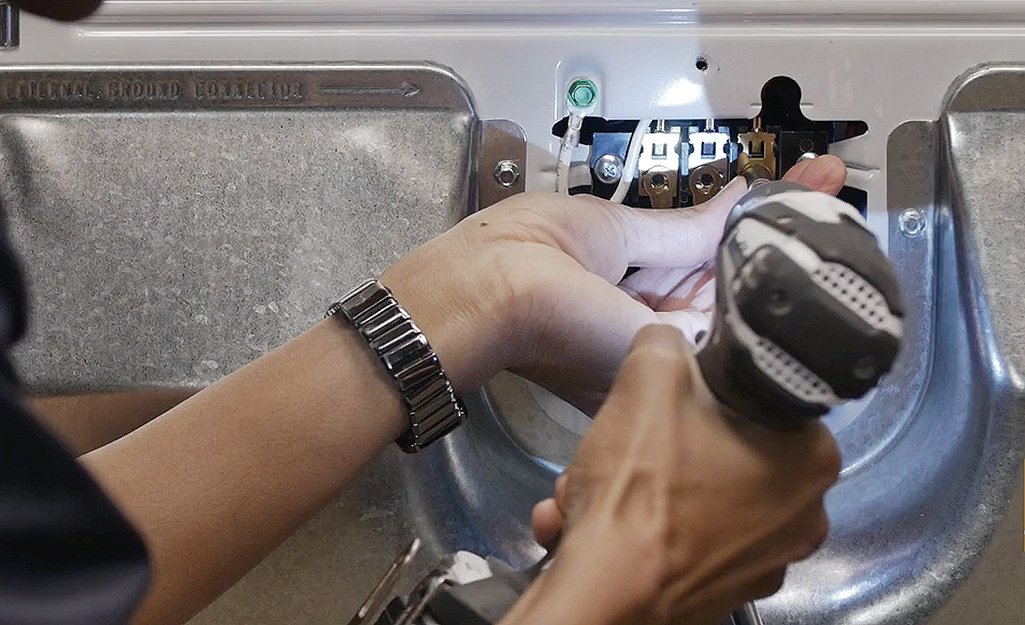
After the terminals are labeled for easier installation of the new dryer cord, you can begin to remove the old cord.
- Loosen the connection screws holding the wires in place on the terminal block.
- Disconnect the ground wire or strap that connects the center terminal to the case.
- Use pliers to hold the strain relief bracket in place while loosening the bracket's screws.
- Remove the old cord.
Attach the New Cord

Feed the loose wires of the new dryer cord through the hole in the back of the unit. Then you can attach the new cord.
Tip: When replacement cord wires are color-coded, simply match the colors of the new cord’s wires to those on the terminal block. Consult the dryer wiring diagram in the user manual.
3-prong cord
- Attach the middle or ground wire to the center terminal, one of the outer wires to the right terminal, and the other outer wire to the left terminal.
- Attach the grounding strap or wire that runs from the center terminal to the dryer case.
- Remove the masking tape labels.
4-prong cord
- Attach the white wire to the center neutral terminal.
- Connect the red wire to the right hot terminal
- Attach the black wire to the left hot terminal.
- Attach the green wire to the green grounding screw or dryer case.
- Remove the masking tape labels.
Replace the Access Panel
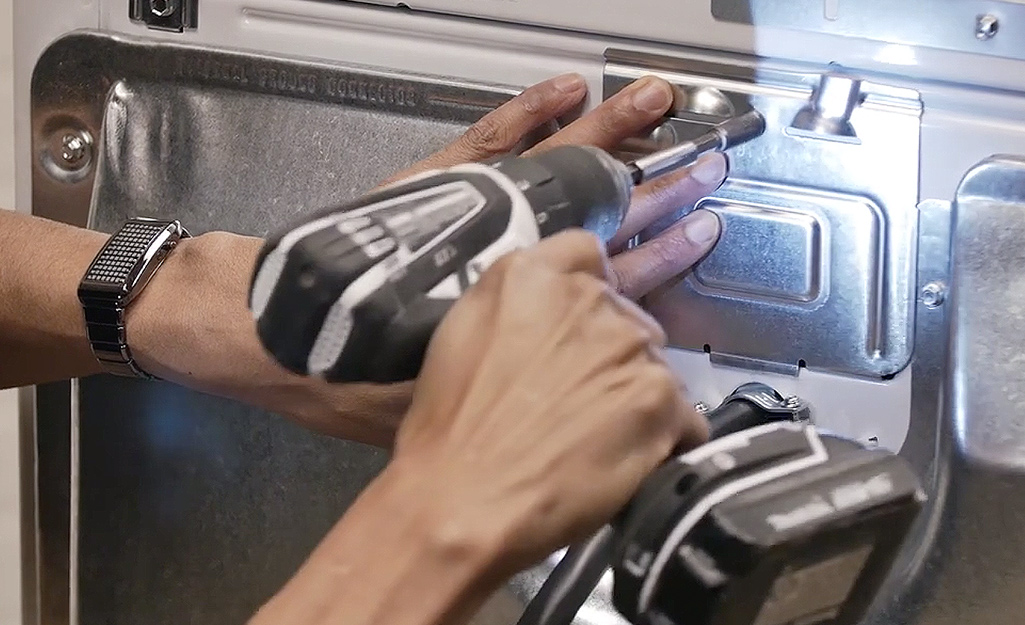
Double check that you have firmly tightened the terminal screws that connect the new wires. Now install the strain relief bracket to protect
the connections and help avoid a possible short if the cord is yanked.
- Fit the strain relief bracket into the cord access hole.
- Use pliers to hold the bracket in place and evenly tighten both bracket screws firmly to secure the cord.
- Replace the access panel on the back of the dryer.
Test the Dryer
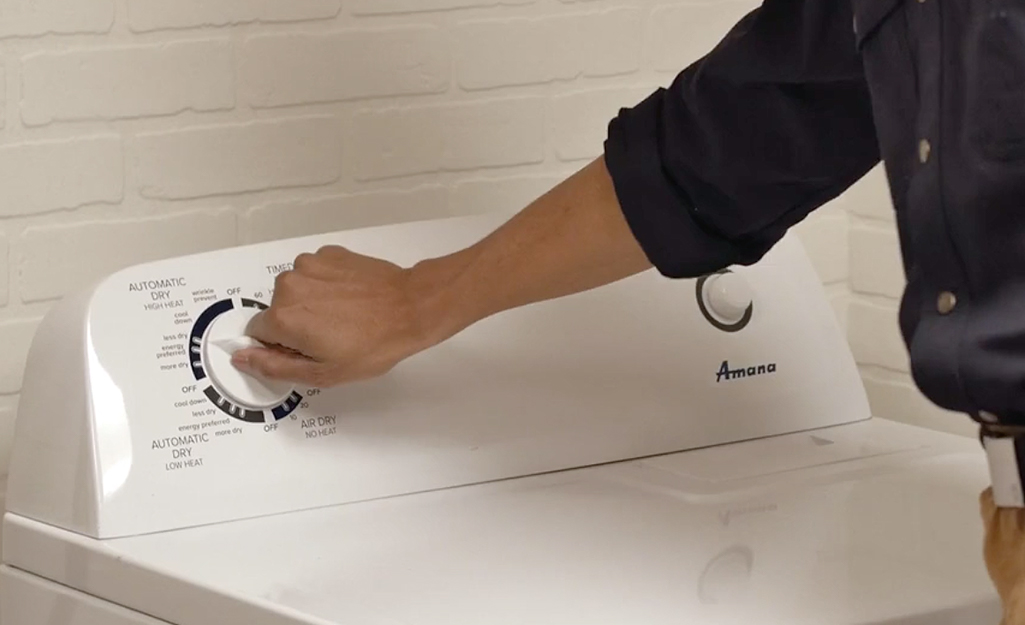
Before cleaning up and putting away your tools, test the dryer to check your work.
- Double-check that the dryer is in the “Off” position.
- Plug the new dryer cord into the outlet.
- Turn the dryer to the “On” position to test operation.
When satisfied, make sure that your tools are removed from behind the dryer. Then, move the dryer into place.
Learning how to change a dryer cord is a simple project many homeowners can tackle. Be sure that you have the correct dryer plug type, match the color-coded wires on the cord to the dryer’s terminal block and use caution whenever you are working with electricity. Once the cord is attached and the dryer is in its final location, ensure that the unit is level for proper operation. Use an adjustable wrench to turn the legs until the dryer is level.
We carry all of the dryer parts and other supplies you need for changing a dryer cord. Ready to find the supplies you need in your local store? Use The Home Depot app to locate products and check inventory. We'll take you to the exact aisle and bay.


