How to Create a Container Garden
Last updated August 26, 2025
A container garden is a great way to exercise your green thumb while keeping any gardening project manageable. Container gardening is highly adaptable to different plants, perfect for small spaces and a great choice for garden lovers with limited mobility. You can create a fresh decorative statement and enjoy gardening almost anywhere with a selection of planters and an abundance of garden plants and flowers.
Difficulty:
Beginner
Duration:
Under 2 hours
Table of Contents
Design Your Container Garden
Prepare the Plant Pots
Add Soil to the Plant Pots
Plant Your Garden
Maintain Your Container Garden
Design Your Container Garden

Decide on a plan for your container garden. Figure out where you'll be placing the containers and note the amount of sun and the path of the sun during the day to help you select the right plants for the environment.
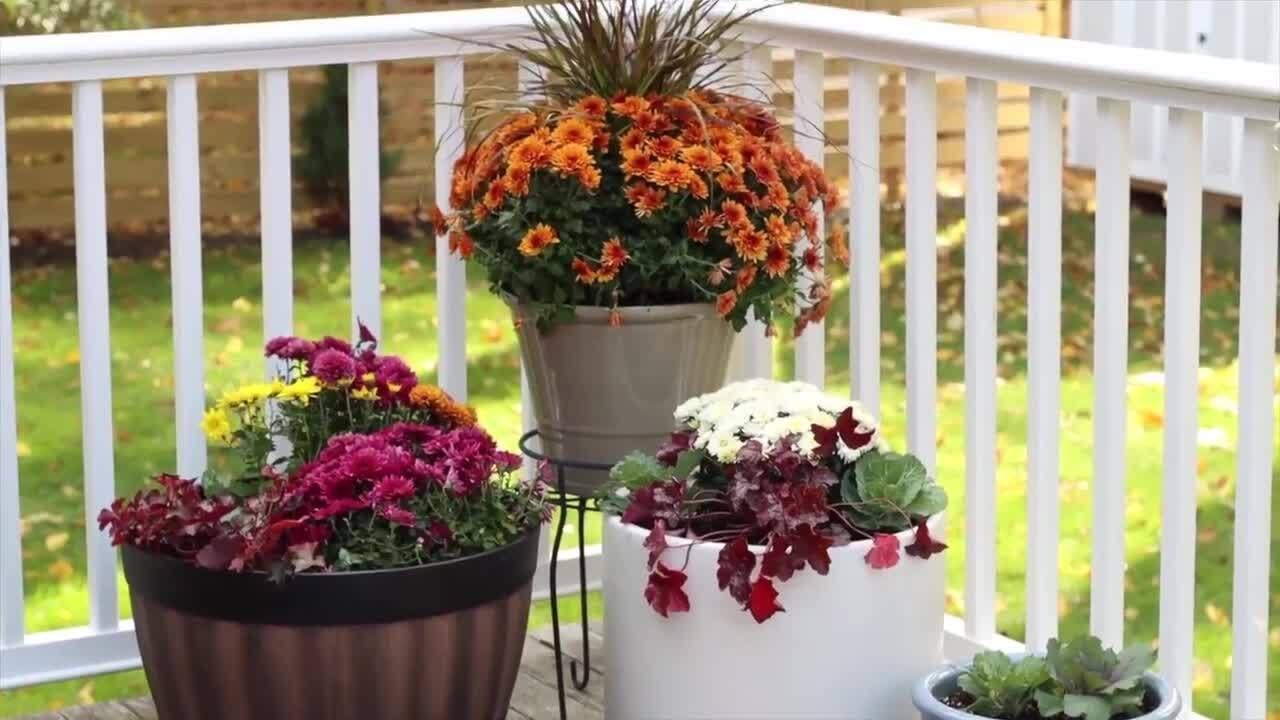
Next, consider what kinds of plants you'll purchase. As a guide, consider the basics of container garden design and choose plant groupings that will give your container three levels of visual appeal, otherwise known as thrillers, fillers and spillers.
- Thrillers: Plants that grow taller and draw the eye vertically. Look for options that offer a pop of color or some kind of visual interest in the shape of the flower or grasses. Plant thrillers in the center of the pot or, if the container will be placed against a wall, plant them in the back.
- Fillers: Plants that anchor the container and provide fullness at mid-height of the arrangement. Fillers are meant to surround the thriller; flowers that can grow closer together, such as begonias, petunias or gerbera daisies, are a good choice. Fillers should be planted in the middle of the container.
- Spillers: Plants that provide depth to the arrangement. Spillers are typically low-growing and flow over the side of the container. Spillers are often white or green, but there are a number of varieties of trailing flowers that can provide color. Vines, ivy and calibrachoa are all good choices for spiller plants. Plant close to the edges of the container.
Prepare the Plant Pots

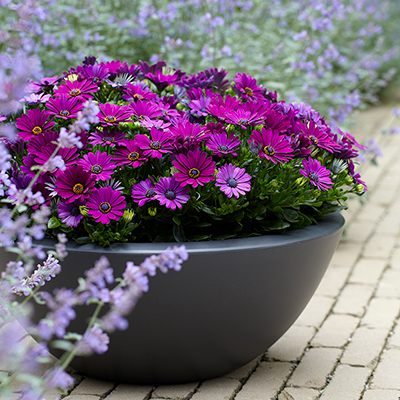
The material you select for your planter matters.
Wood and plastic pots retain water more effectively than clay and might be a better choice for areas where the climate in the growing season is extremely hot. Wood containers should be made of cedar or redwood to help the container resist rot. Beware of using wood treated with preservatives when growing edible plants, or metal containers which can rust; these types of planters may leach into your soil which could affect your plant viability. If you like the look of a metal planter you can always use it as an outer decorative cover for a plastic one or other type of plant container.
For small plants, such as succulents, a 2-gallon pot can be sufficient. Tall or spreader plants could mandate a planter up to 5 gallons or more depending on the number of plants and the arrangement you want. Keep the depth of the container in mind as well, particularly if you plan to grow fruits or vegetables. Read up on the plants you intend to grow and find out how much root space they require, then purchase containers accordingly.
- Clean the pot you want to use thoroughly with plain warm water and a microfiber cloth. Do not use soap or bleach on the inside of the container or on any part of an unglazed clay pot.
- Optional: add an inch of gravel in the bottom of the container.
- If the finished planter is large, consider placing it on a wheeled platform to allow you to move it around more easily.ed platform to allow you to move it around more easily.
Add Soil to the Plant Pots

- Using a well-draining potting mix, fill the planter with soil until the level reaches about 2 to 3 inches below the rim of the container.
- If you choose to mix your own potting soil, you can use a one-to-one ratio of potting soil and compost. For some types of plants, you can also mix in shredded pine bark or other soil amendments.
Plant Your Garden

- With the plants still in the pots, arrange them according to your original plan over the surface of the soil. Be sure that you like the look of the arrangement and that the plants have the required spacing. Make adjustments as necessary.
- Carefully remove the first plant from the pot. Gently loosen the root ball if it is compacted.
- Using a trowel, dig a hole to the plant’s original depth, then insert the plant into the depression.
- Repeat with the remaining plants in the design.
- Fill in around the plant as needed, but do not mound potting over the level of the plant’s depth nor up to the base of the plant.
- Once all the plants are in place, water the container slowly but deeply, until water is draining from the bottom drainage holes of the container. If the planter and plants are small, consider watering from the bottom. Place the container in a larger bin with two to three inches of water and allow the water to draw from the bottom until the surface of the soil is lightly damp.
Maintain Your Container Garden

- To promote drainage and prevent water settling, consider elevating your planter with planter feet or a saucer with an inner rim.
- Once your plants are established, begin regular feeding with a plant food formulated for the type of plants in your container garden.
- Fill in with additional potting soil as needed.
- As the sun angle shifts during the season, be sure to move your containers around to ensure they get the optimal sun for their needs.
Whether you need the right planters, seedlings or potting soil, The Home Depot delivers
online orders
when and where you need them.