How to Finish Inside Drywall Corners

Last updated September 7, 2023
Hanging drywall is only one part of the job. Knowing how to finish inside drywall corners is what separates an amateur DIYer from a pro. This guide explains everything you need to know about taping drywall seams and applying drywall compound so that your inside drywall corners have a professional, polished look.
Difficulty:
Beginner
Duration:
Over 1 day
Table of Contents
Gather Tools and Supplies
Cut and Crease the Drywall Tape
Coat the Corners with Drywall Compound
Place the Tape in the Corner
Apply Additional Drywall Compound to One Side of the Corner
Apply Drywall Compound to the Other Side
Gather Tools and Supplies
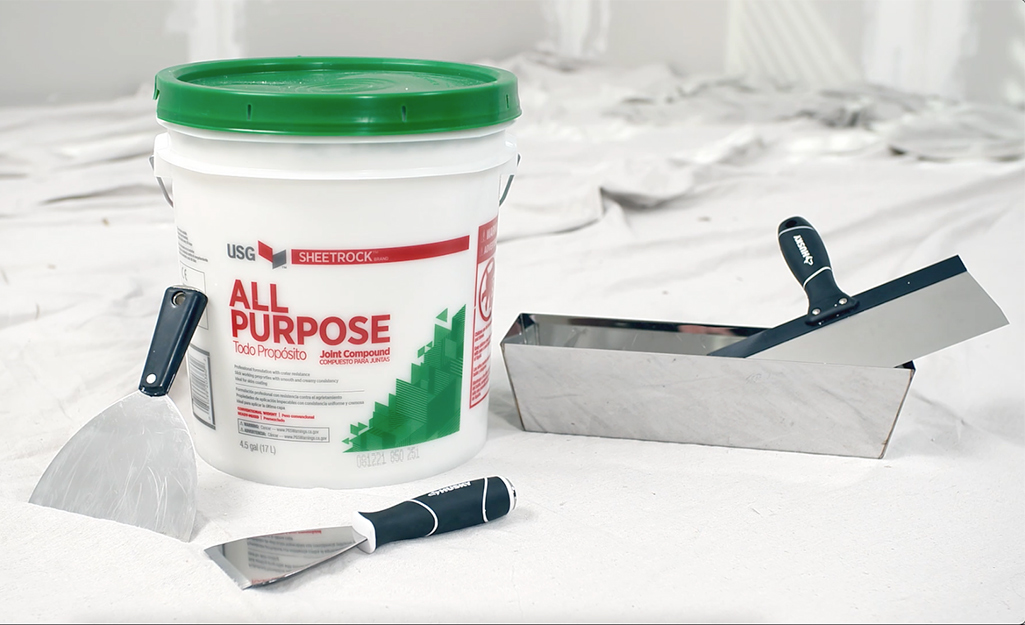
For this project, you will need the following drywall tools:
- All-purpose djoint compound, thinned
- Paper drywall tape
- 4-inch drywall knife
- Mud pans for the drywall compound
- Coveralls
- Gloves
- Drop cloths
- Ladder or step stool
- Drywall sander
- Mask
Drywall compound is also known as mud. The process of applying the compound to the wall is called mudding.
If you have been hanging drywall, you may have all-purpose drywall compound already mixed up. Mix in some water to thin the compound. You can put some of the compound in a mud pan and then add the water to the pan. Trying to finish inside corners with compound that is too thick will make the job more difficult.
Though there are several kinds of drywall tape, use paper tape when finishing inside drywall corners. It is non-adhesive. To stick to the surface of the drywall, the paper tape needs to be set in a layer of drywall compound. Because the tape has no stretch, it can form stronger joints in the weakest parts of the drywall. Two-inch paper drywall tape works well.
As you work with drywall mud, wear coveralls so your clothes don’t get messy. Protect your hands with gloves. Cover the area where you’re working with plastic or canvas drop cloths to protect it from spills. You may need a ladder or step stool to reach the corners where the walls meet the ceiling.
Cut and Crease the Drywall Tape
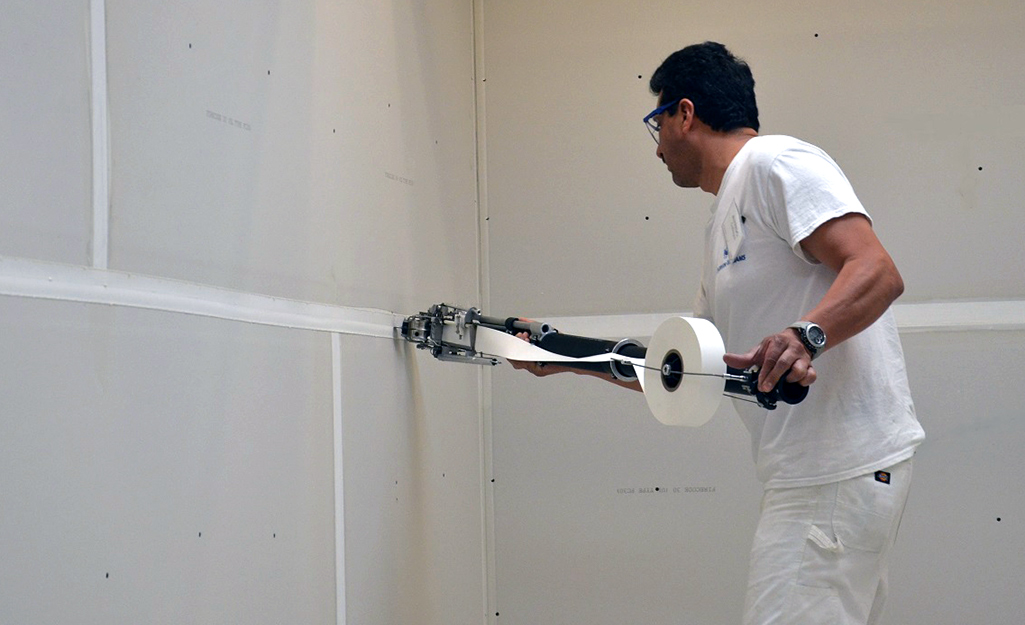
One technique to finish inside drywall corners is to coat drywall corners with compound and apply tape.
Paper drywall tape has a crease in it. Before you apply the tape to the drywall, you will fold it in half, using the crease as a guide. This fold allows the tape to connect the two sides of the corner.
Unroll the paper drywall tape from the roll. Cut the tape so that it matches the length of the corner you are working on. Make sure the edges of the tape are square and not uneven. After you cut the tape to length, crease it. Put the tape aside and begin applying the drywall compound.
Coat the Corners with Drywall Compound
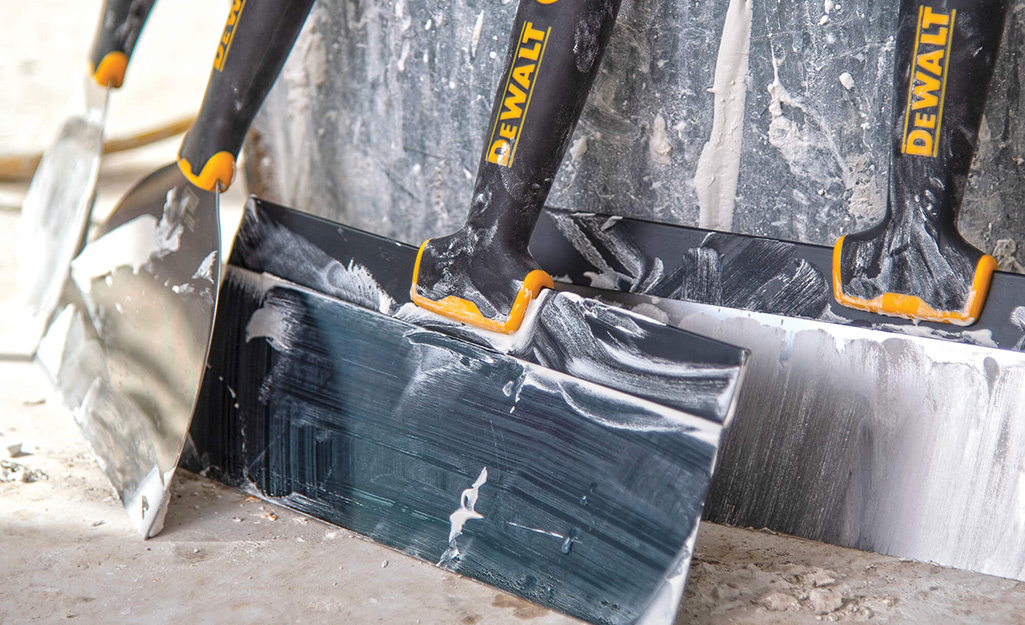
Dip your 4-inch mud knife into the mud pan. Scoop up a small amount of drywall compound. Place the knife broad side down to apply the compound to the corner of the drywall. Use broad strokes to apply a layer of the mud to one side of the corner. The mud layer can be between 1/8-inch and 1/4-inch thick. Fill in all the spaces between the pieces of drywall that form the corner.
If there’s extra compound on the drywall, you can remove it with the edge of the knife.
Repeat the process for the other side of the corner. Angle the mud knife so that it doesn’t drag into the mud on the other side of the corner. If you hold your knife the wrong way, you can pull off a good bit of the compound you applied to the other side. Once you have compound on both sides of the corner, run the knife along each side to make a nice even layer. The thickness should be as consistent as possible.
Place the Tape in the Corner
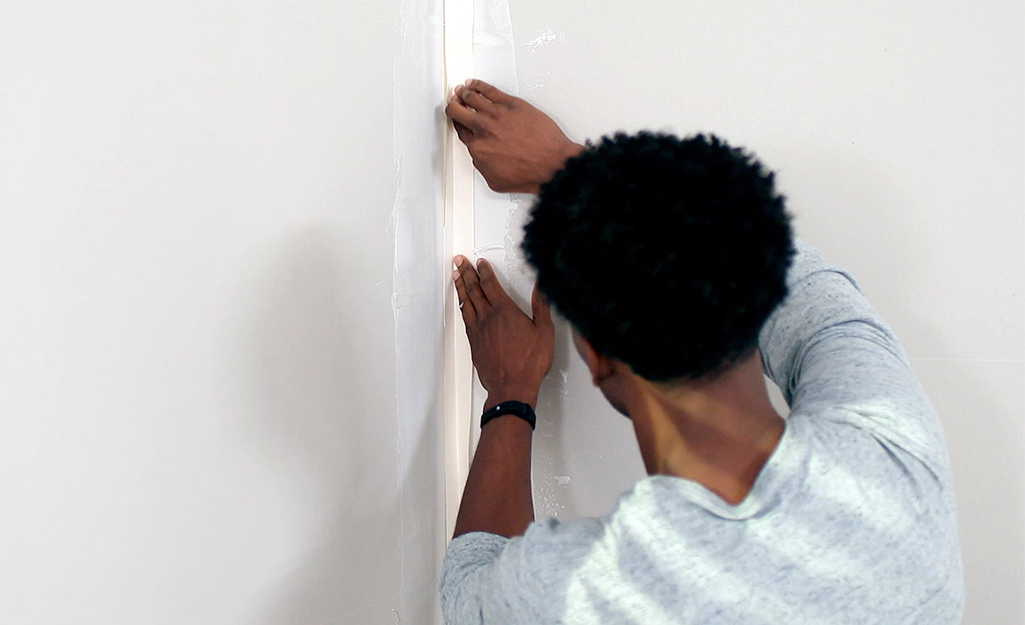
Get the piece of creased tape you set aside. Start at one end of the corner and press the tape into the drywall compound. The crease in the tape should sit in the angle of the corner, with half the tape on one side and half on the other. Run the edge of the mud knife lightly along the crease center of the tape to press it into the drywall compound.
Next, use the mud knife on each side of the corner. You want to press any air bubbles out of the tape with the knife. Start in the middle of the piece of tape and move the knife to one edge. Then return the middle of the piece of tape and smooth it in the other direction. If you are working on the corner between the wall and the ceiling, work on the layer of tape that’s on bottom side of the corner first.
Wipe any extra compound off your mud knife as you work, but be sure there’s still mud under the tape.
There may be a line of mud left along the edge of where you worked with your knife. Pull the mud knife through the line at an angle to smooth it.
When you’re done, the tape should form a smooth line in the corner of the drywall without bumps of excess drywall compound.
Allow the drywall compound to dry overnight.
Apply Additional Drywall Compound to One Side of the Corner
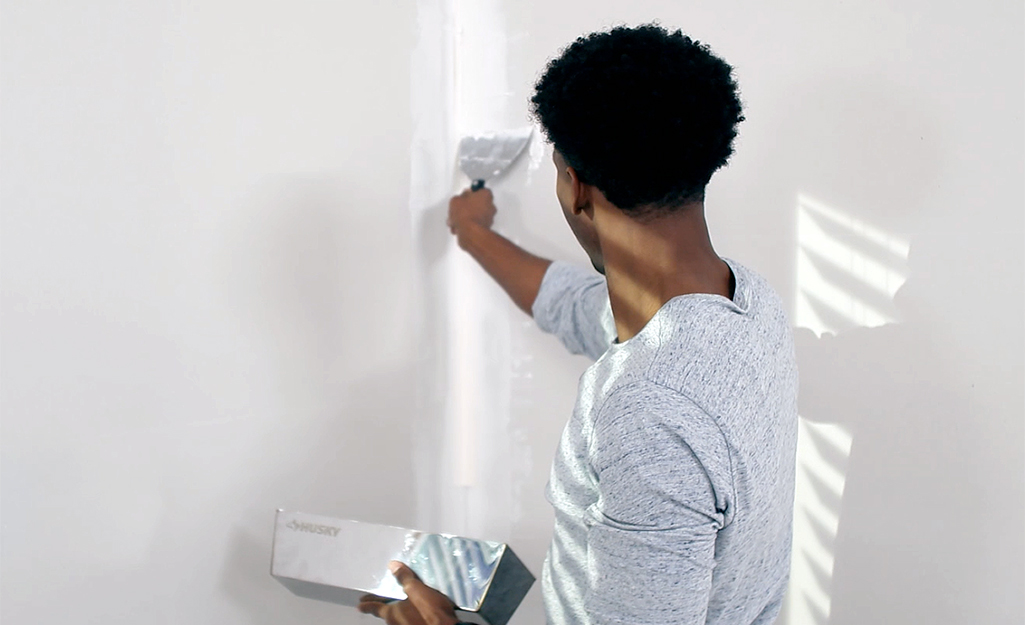
After allowing the taped area of compound to dry, you will use the mud knife to apply another layer. Start on one edge of the corner and apply the compound using smooth short strokes.
Use the edge of the knife to even out any excess compound. Run the mud knife across the entire length of the corner as you finish up. Feather the edges so they blend into the drywall.
If you're going to be working on many inside drywall corners, you may want to buy a special tool to make the job faster. A corner knife can help you apply tape and drywall compound more easily.
Apply Drywall Compound to the Other Side
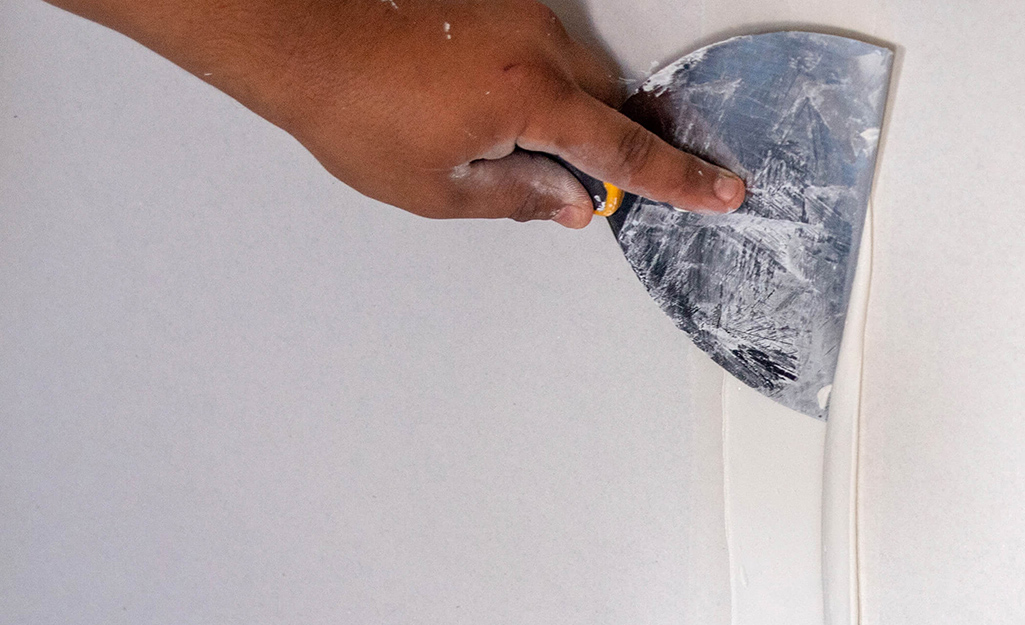
Once the first side is dry, you can work on the other side of the inside corner. Coat it with drywall compound in the same way to create a smooth layer with feathered edges.
Sand and Smooth
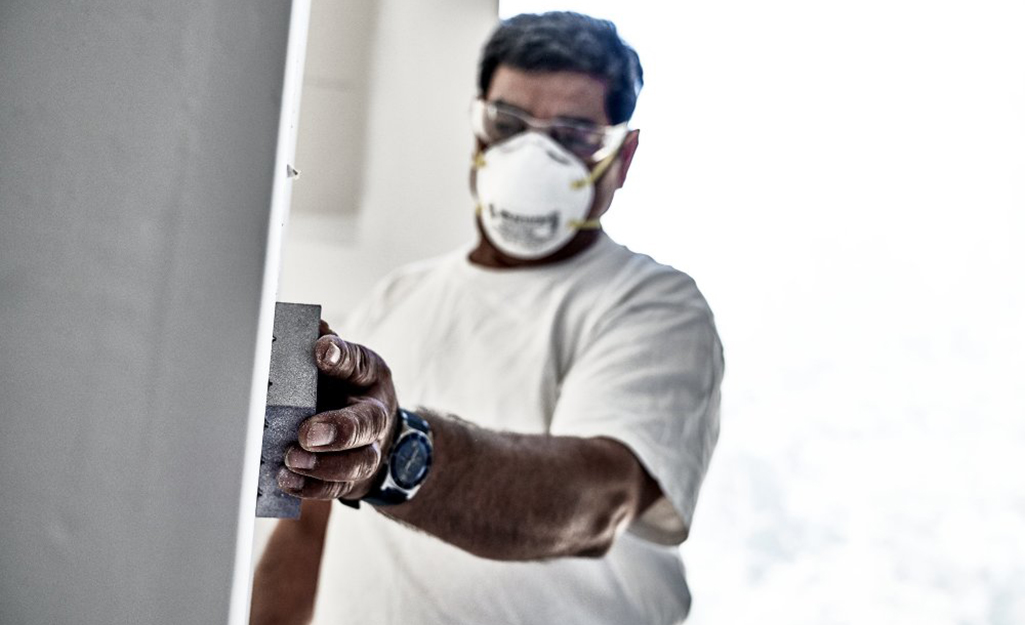
When the drywall compound is dry, use a sander to smooth out any remaining roughness.
When you’re sanding drywall, it will produce a fine dust. Wear a mask or respirator mask to keep from inhaling the dust. Drop cloths will also help keep the dust from spreading past your workspace. You may want to move any furniture or other items that may be in the room, however.
Learning how to finish inside drywall corners will allow you to give drywall installation an essential finishing touch. Working quickly and carefully will create quality results.
Ready to get the supplies to finish inside drywall corners? The Home Depot delivers online orders when and where you need them.


