How to Install a Roof Rack
Last updated September 7, 2023
A roof rack is a great way to expand your vehicle’s storage capabilities. Once you have one in place, you can carry a wide range of items and free up space in your trunk or cargo area. The best part is you can often install one yourself. This guide will review how to install a roof rack.
Difficulty:
Intermediate
Duration:
2-4 hours
Table of Contents
Look at Your Vehicle
Learn the Parts of a Roof Rack
Raised Rail Installation
Track System Installation
Bare Roof Installation - Clip System
Permanent Bare Roof Installation
Look at Your Vehicle

Before you can install a roof rack, you first need to know what’s in place on the roof of your vehicle. Take a look at yours to determine your roof type. There are three main styles:
- Raised rails: Raised rails look like bars that extend across the roof. SUVs and some sporty hatchbacks come with these rails for roof rack installation already in place. If your vehicle has them, mounting the rack will be simple.
- Hidden mounting hardware: Some roofs have small mounting points for attaching a roof rack. Normally, automakers cover them with rubber stops. The points give you an easy place to attach the parts of a roof rack.
- Bare roof: Many vehicles lack rails and mounting hardware. Starting with a bare roof adds a few extra steps to the installation process, but you can still add a rack.
Tip: While you can typically install a roof rack on a vehicle with a sunroof or moon roof, you likely won’t be able to open and close the glass once the rack is in place. Consult your owner’s manual for more information.
Learn the Parts of a Roof Rack
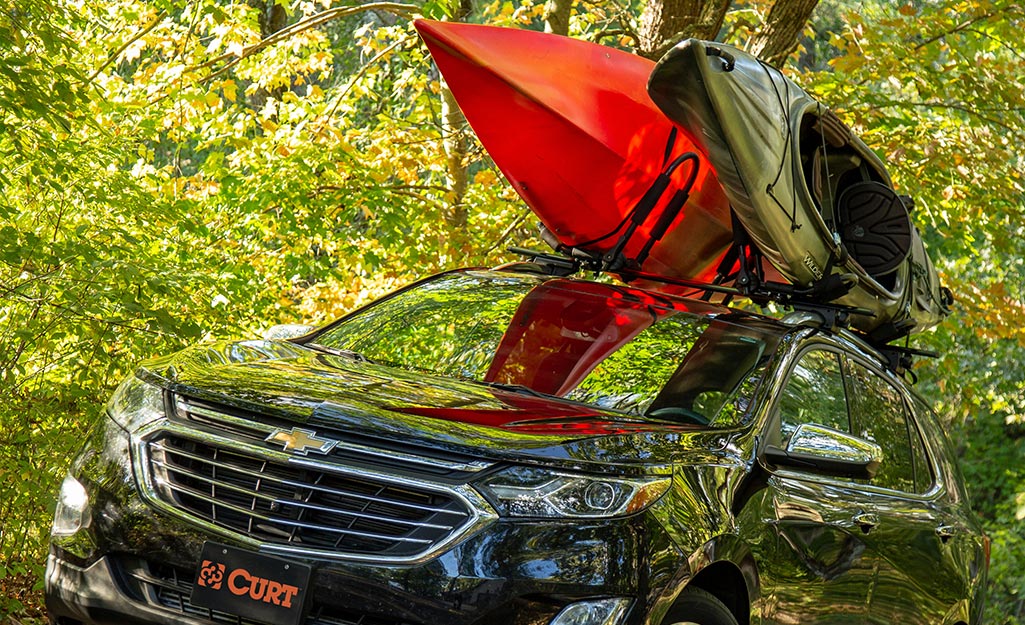
Installing a roof rack is easier when you know what parts make up the system. Here are some basic parts that you may find:
- Mount: This piece attaches the roof rack to the vehicle. While some universal kits do exist, most are for certain types or models of vehicles. Check the product information to get a rack that will work with your automobile.
- Cross bars: These bars run across the roof and hold mounting hardware
- Tower: Sometimes called the rack, the tower is the connection between the mount and the cross bars
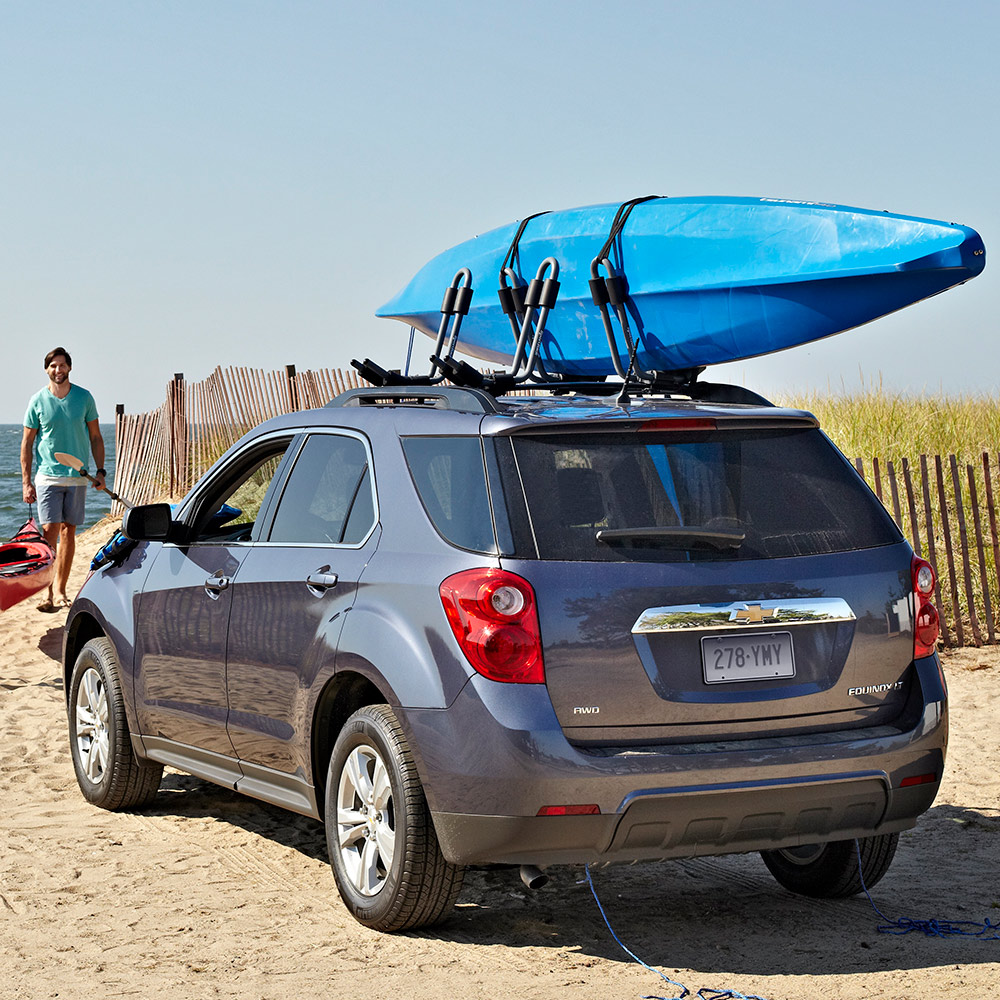
- Accessories: In addition to the mount, crossbars and tower, some racks come with additional accessories designed for specific types of items. Examples include kayak carriers and roof cargo baskets. With some racks, you can purchase accessories separately.
Keep in mind that parts vary based on the purpose of the roof rack. For example, a roof rack for bicycles will look different than one designed for a kayak.
Tip: Because racks can be so different from one another, read the installation instructions included with your rack. The steps in this guide are general and may not apply to all racks. Follow the manufacturer’s directions when in doubt.
Raised Rail Installation
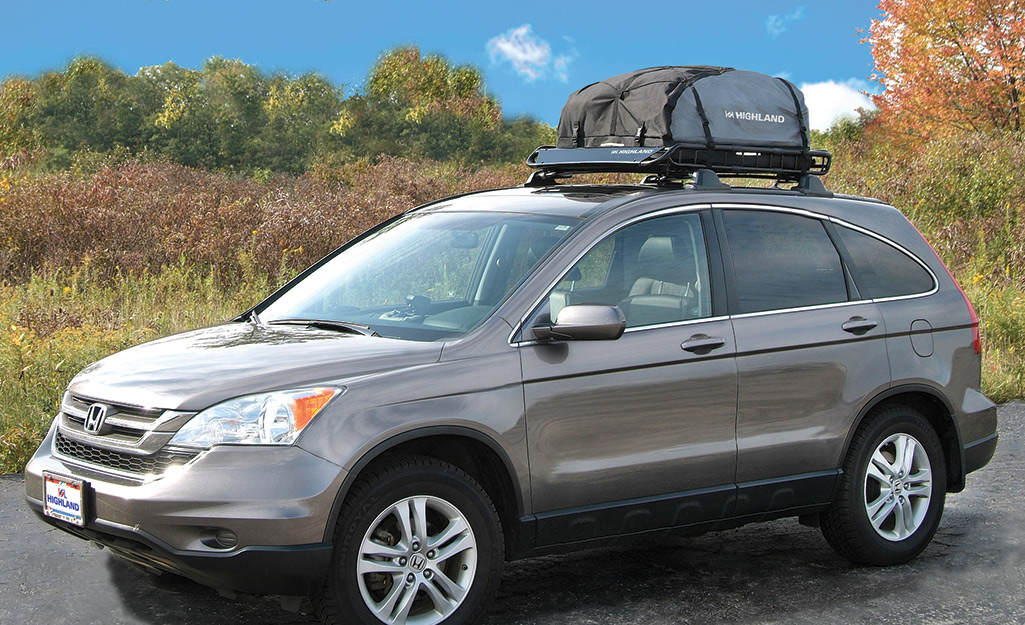
Vehicles with raised rails are the easiest to work with when installing a roof rack. To get the job done:
Put the base system together by connecting the mount and cross bars. You’ll likely need to use a screwdriver or hex key to fasten hardware.
Attach the clamps to your car’s raised rail system according to the manufacturer’s instructions. Where the clamps go depends on the type of rack. Mount the rack system using the clamps. Your vehicle’s owner’s manual will provide detailed instructions for how to mount clamps on the rails.
Add accessories to suit your needs. Consult the included instructions to get them in place properly.
After you install the rack, test it by adding cargo or equipment. Take a short trip to ensure that everything remains secure while you drive.
Track System Installation
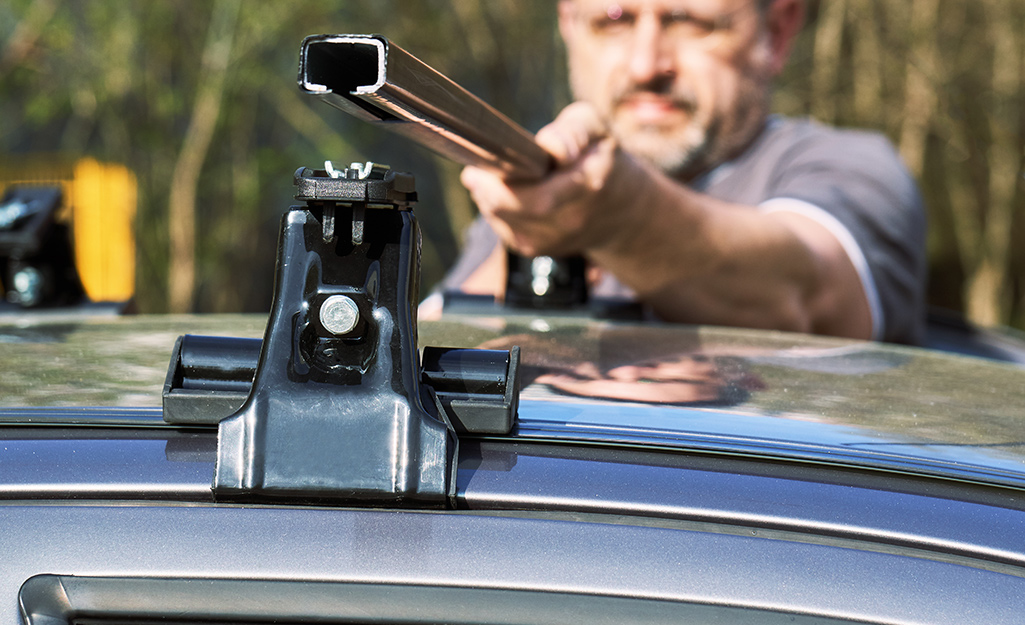
If you have hidden mounting hardware, purchase a roof rack designed for these mounting points. Usually, manufacturers call them track system roof racks and design them for specific makes and models.
To get the rack in place, install the mount with bolts or other hardware, following the manufacturer’s instructions. Then, assemble the pieces that work with your vehicle’s track system. In most cases, the parts fit together to make crossbars.
Attach the crossbars to the roof according to the directions. Then, add the accessories to finish the job.
Load up the rack and take a short drive to check if everything is secure.
Bare Roof Installation - Clip System
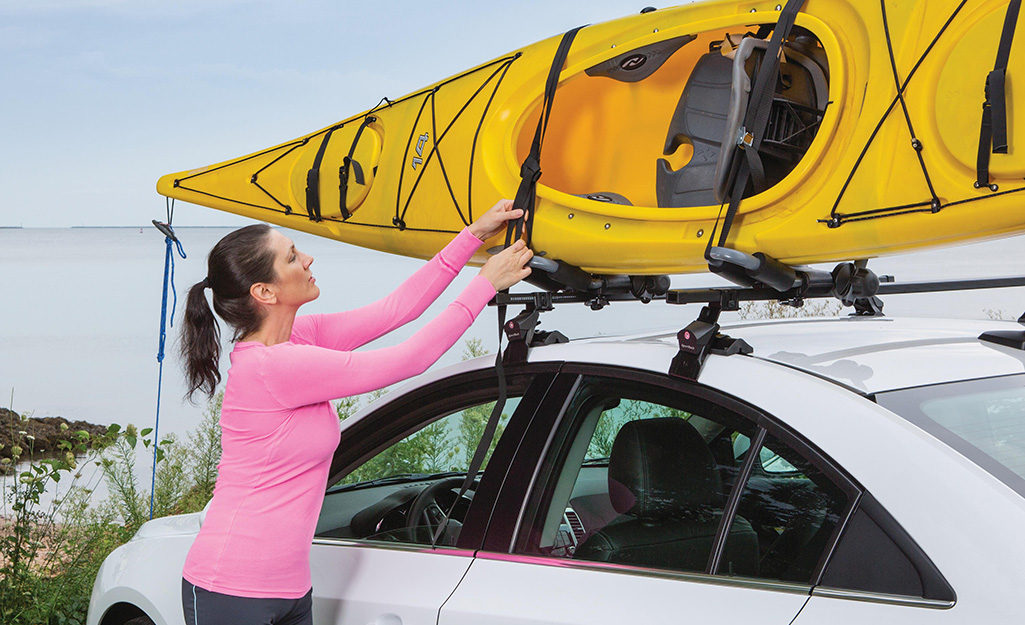
Clip-style roof racks mount to your car’s door jamb or directly onto the rubber rain gutters above your windows to make bare roof installation easier. To use one, install the supplied clips on the door jamb or the rain gutters. Most racks include at least four clips. Follow the manufacturer’s instructions to mount the cross bars into the clips. Then, add the tower and accessories. Load up the rack and drive a short distance to check for security.
Tip: Clip-style roof racks are for occasional use. After your trip, you typically remove them. For permanent installation, skip to the next step.
Permanent Bare Roof Installation

To permanently install a roof rack, you’ll need to drill holes in your vehicle. The rack will likely come with a template to help you get the holes in the proper positions.
Position the template on your vehicle and add holes in the correct locations using a power drill. Install the included hardware and then attach the rail system or cross bars that come in the kit.
Add accessories and then load up the rack. Go for a short drive to ensure that the rack is secure.
Safety: Wear eye protection
andhearing protection when working with power drills.
Know What to Carry
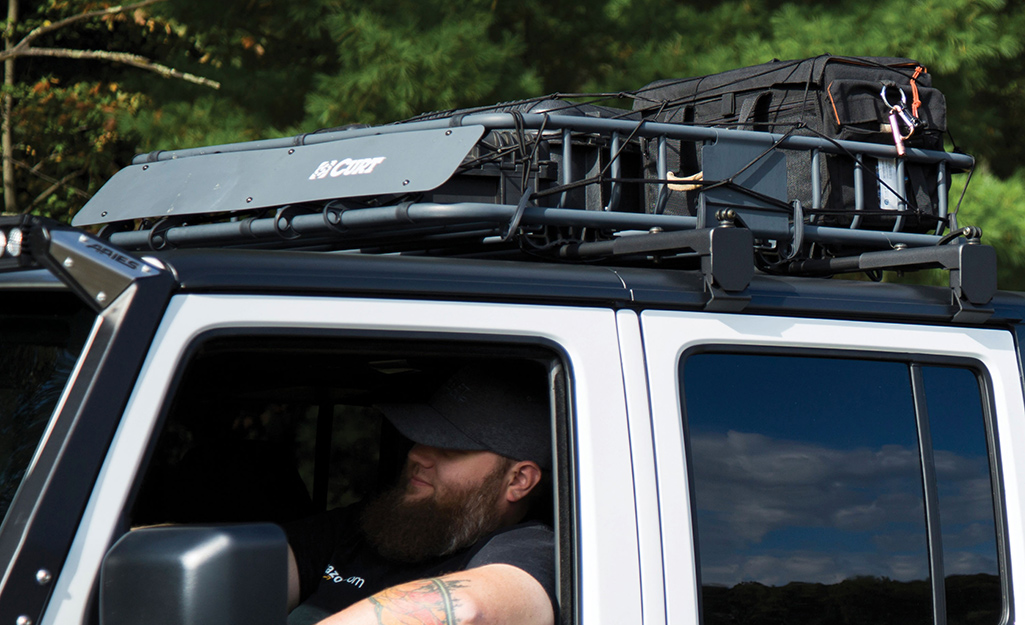
A roof rack can carry a wide range of items. You can find accessories kits designed for:
Water sports equipment like kayaks, canoes, surfboards and water skis
Outdoor sports equipment including skis, poles and snowboards
Bicycles, including mountain bikes, road bikes and racing bikes
Safety: All roof racks have a maximum weight capacity. Be careful not to overload your rack.
With this roof rack installation step-by-step guide, you can haul more with your car or SUV. To get the right roof rack for your needs, consider your roof type, vehicle make and model and what you’ll be loading onto it. The Home Depot can help you find the best roof rack for your vehicle with a wide range of options available online and in stores. The Home Depot delivers online orders
when and where you need them.
