How to Level a Floor

Last updated October 16, 2023
Getting your floor level is an important first step for any flooring installation process. A level subfloor will help your flooring last longer and keep the finish attractive. How best to get the subfloor ready depends on whether it’s too high or too low. What type of flooring will go on top also affects the process. In this guide, you’ll learn how to level a floor before installing laminate, tile, vinyl and hardwood flooring.
Difficulty:
Intermediate
Duration:
Over 1 day
Table of Contents
Remove the Existing Floor
Check the Level of the Subfloor
Repair High Spots in a Wood Subfloor and Clean It
Repair High Spots in a Concrete Subfloor and Clean It
Repair Low Spots in Wood or Concrete Floors and Clean Them
How to Level a Floor for Installing Laminate
Remove the Existing Floor

Before you can start leveling, you need to get to the subfloor. The subfloor is the material that goes underneath the flooring to support it. For most types of floor, you can use a mallet and a pry bar. However, consult a professional for advice about which technique to use. A pro can also tell you how best to dispose of the old flooring.
For most types of floor, you can use a mallet and a pry bar. However, consult a professional for advice about which technique to use. A pro can also tell you how best to dispose of the old flooring.
Safety Tip: Wear a respirator mask, eye protection and work gloves for each step of the process. Add hearing protection when you’re working with power tools.
Check the Level of the Subfloor

To check for small high or low spots that may not even be visible, place a long level or straight pipe on the subfloor. Move it around to different areas and mark any high or low spots you find with a pencil or marker. Most floors will have at least some slight variations.
Repair High Spots in a Wood Subfloor and Clean It

If the subfloor is plywood or particle board, start by screwing down any loose boards or plywood sheets. Add more wood screws, if needed, to secure them. Replace any nails with screws, since nails that popped up will loosen again. Make sure to remove stray nails or staples.
When leveling floors made of wood, you’ll need to sand down any high spots. If you expect to create a lot of sawdust, wear a dust mask and use painter’s tape to tape plastic sheeting over doors and air vents so the dust won’t spread.
Use a sander to sand the high spots. Keep checking the floor with a level as you sand it. When you’re finished, vacuum the floor thoroughly with a wet/dry vacuum or sweep it with a broom. Make a final check with the level to be sure all the high spots are gone.
Repair High Spots in a Concrete Subfloor and Clean It

If your floor is concrete, use a concrete grinder for large, open areas or a 4-inch or 8-inch angle grinder with a cup-wheel attachment made for use on concrete. Grinding and repairing a concrete floor can create concrete dust, so be safe and wear a respirator. A dust mask will not give you enough protection.
Keep checking the floor with a level as you grind the concrete. When you’re finished, vacuum the floor thoroughly with a wet-dry vacuum or sweep it with a broom. Make a final check with the level to be sure all the high spots are gone.
Repair Low Spots in Wood or Concrete Floors and Clean Them

Use an underlayment, floor leveler or floor patch product to fix low spots in a wood or concrete subfloor.
An underlayment is a thin layer of material sandwiched between two other materials. It's used to help insulate, absorb sound and reduce wear on your floor. It can also serve as a vapor barrier.
Floor levelers are cement-based products that come premixed or as dry substances to mix with water. Choose a product recommended for your application and mix it, if needed, following the manufacturer’s directions.
Floor patches are products that help repair holes, cracks, small dips and other imperfections. Follow the directions on your product for how to apply it.
If the manufacturer recommends it, go over the subfloor with a damp sponge before you apply a floor leveler. This will help keep it from drying too fast, so you’ll have time to spread it around.
Pour the liquid-like floor leveler onto the subfloor and smooth it out with a trowel. Gravity will help it settle into the low areas. Remove any excess floor leveler and feather it around the edges so it blends with the rest of the floor. Let the floor leveler dry overnight or as indicated by the manufacturer.
After the floor leveler dries, sand down any high spots to make them flush with the rest of the floor.
Use a wet-vac to vacuum up dust and debris. Make a final check with a carpenter's level or straight pipe to be sure all the low spots are gone.
How to Level a Floor for Installing Laminate

Laminate is a budget-friendly, attractive alternative to hardwood flooring. Laminate planks snap together and “float” above a subfloor, which means tiny subfloor imperfections are okay, although, a level subfloor will help prevent damage.
To level a subfloor for installing laminate, follow the directions above to remove high and low spots. After vacuuming or sweeping the subfloor to clean it, add a plywood layer if the subfloor is in very bad shape, but do not overlap the sheets. A plywood layer is not necessary if you are putting down wood laminate.
Finish by installing the laminate according to the manufacturer’s instructions.
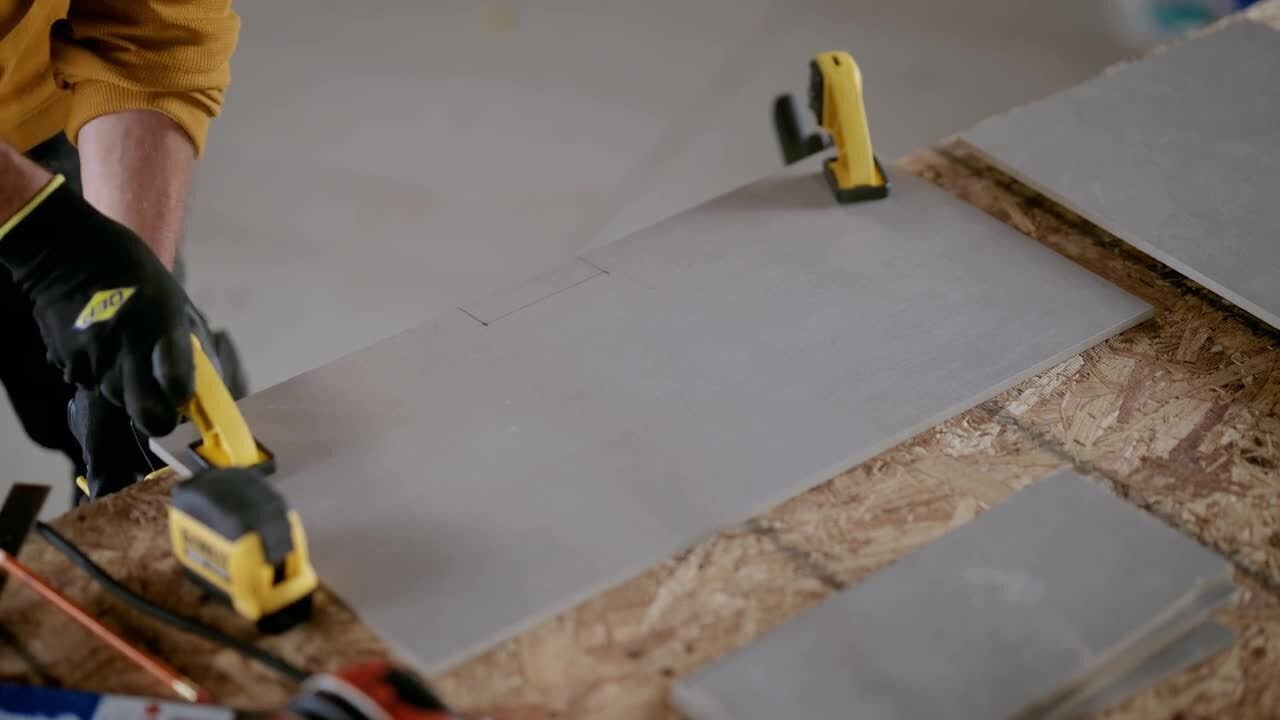
How to Level a Floor for Installing Tile

Before you install tile flooring, follow the directions above for fixing high spots and low spots in a wood or concrete subfloor. Then vacuum the floor with a wet-dry vac or sweep it with a broom. Make a final check with the level to be sure all the high and low spots are gone.
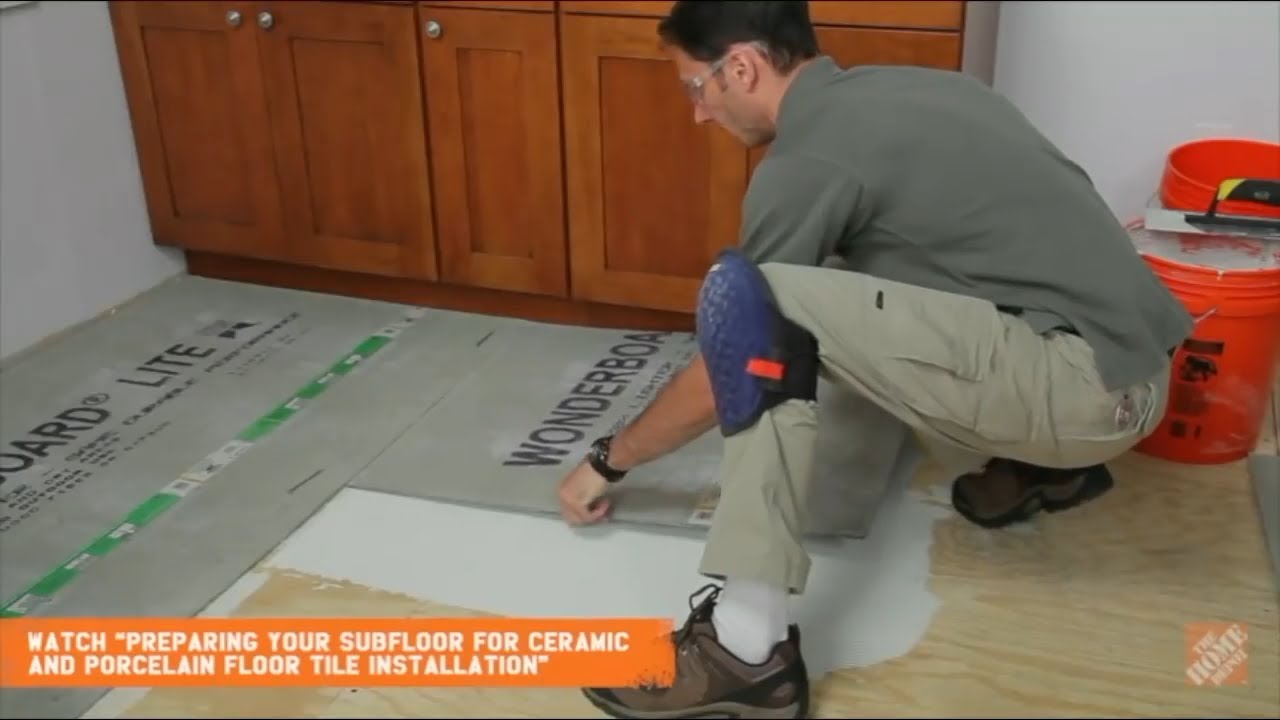
To prepare a wood subfloor for installing tile, install a cement-based backerboard following the manufacturer’s instructions.
To prepare a concrete subfloor for installing tile, you’ll need to do a different kind of preparation. Tile leveling systems can help keep your tiles level, aligned, properly spaced and held in place while the tile mortar cures. Used correctly, tile leveling systems can make the process of installing tiles go faster and improve your result.
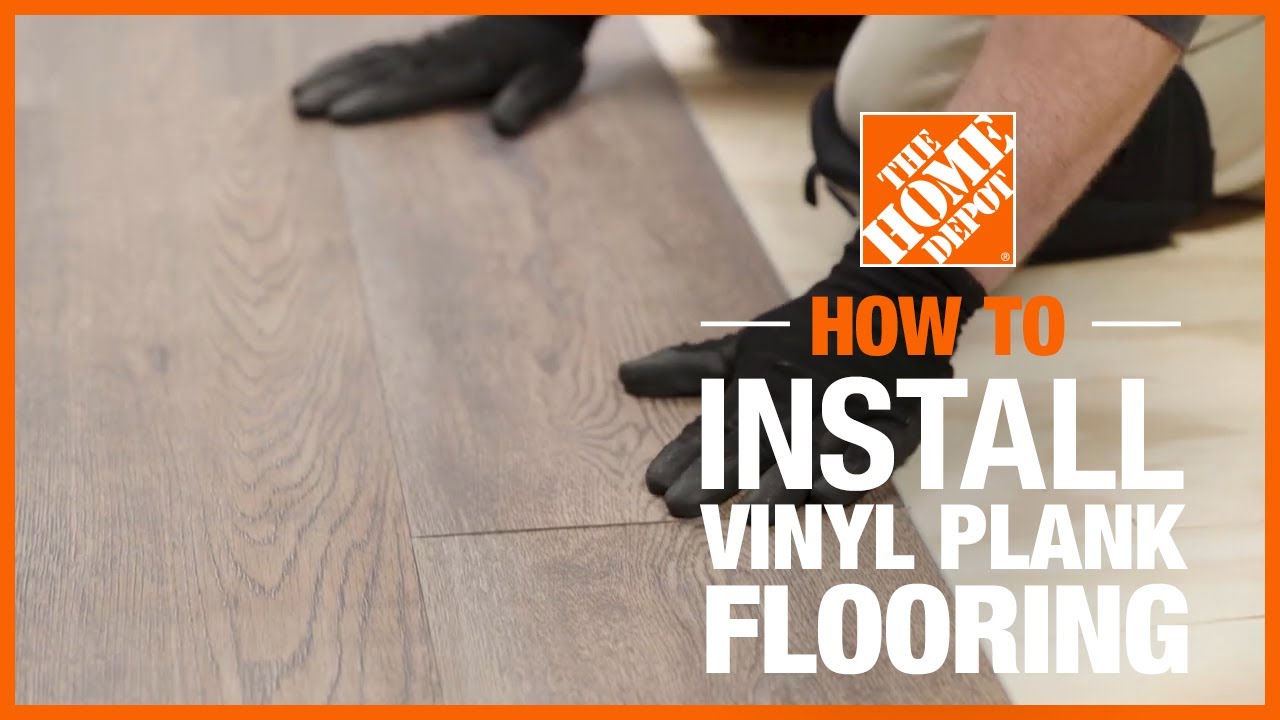
How to Level a Floor for Installing Vinyl

Before you install vinyl flooring, follow the directions above for fixing high and low spots in a wood or concrete subfloor. You do not need to add a layer of plywood unless your subfloor is in very bad shape. Finally, follow the vinyl manufacturer’s installation instructions.
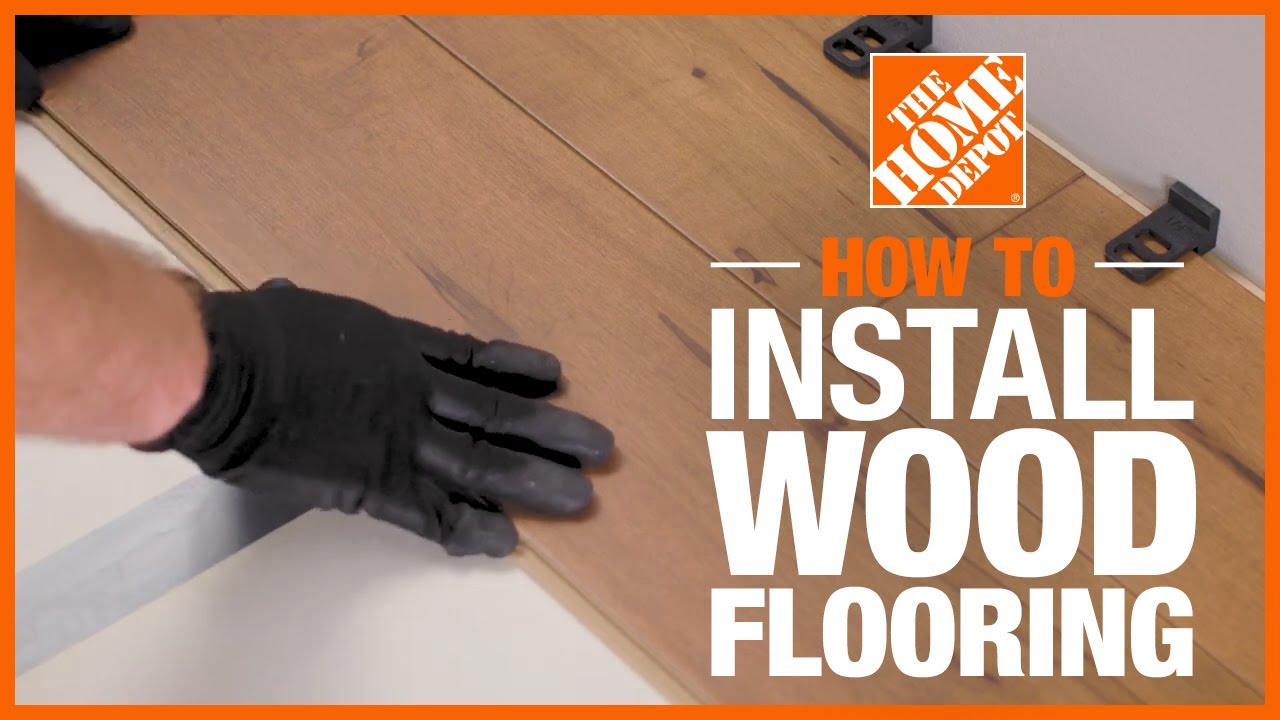
How to Level a Floor for Installing Hardwood

Before you install hardwood flooring, follow the directions above for fixing high and low spots in a wood or concrete subfloor. Make sure you apply a cementitious flooring leveler you can nail through later.
Plus, check the hardwood flooring manufacturer’s installation for specific instructions.
Leveling a floor yourself is a project you can do. The secret is to take your time and make sure to use the right tools for the job. Got a small flooring project? Consider flooring tools rental to get your project done. Use once, then bring it back - no maintenance required and you won’t need to store it either.