How to Maintain Garage Door Openers

Last updated September 7, 2023
Garage door openers have a lot of moving parts and are expected to provide years of use during their lifetime. Although they’re sturdy, they can use some maintenance and care periodically.
If your garage door opener isn’t working, begin by checking the power supply. Check that it’s plugged in and make sure no wires are loose or disconnected. Many household repairs can be fixed by checking the electrical components.
This guide details how to adjust a sagging chain, how to fix a door that fails to open, plus sensor and drive chain maintenance.
Difficulty:
Beginner
Duration:
Under 2 hours
Table of Contents
Fix a Sagging Drive Chain
Adjust the Limit Screws
Realign the Safety Reverse Sensors
Clean and Lubricate the Drive Chain
Fix a Sagging Drive Chain
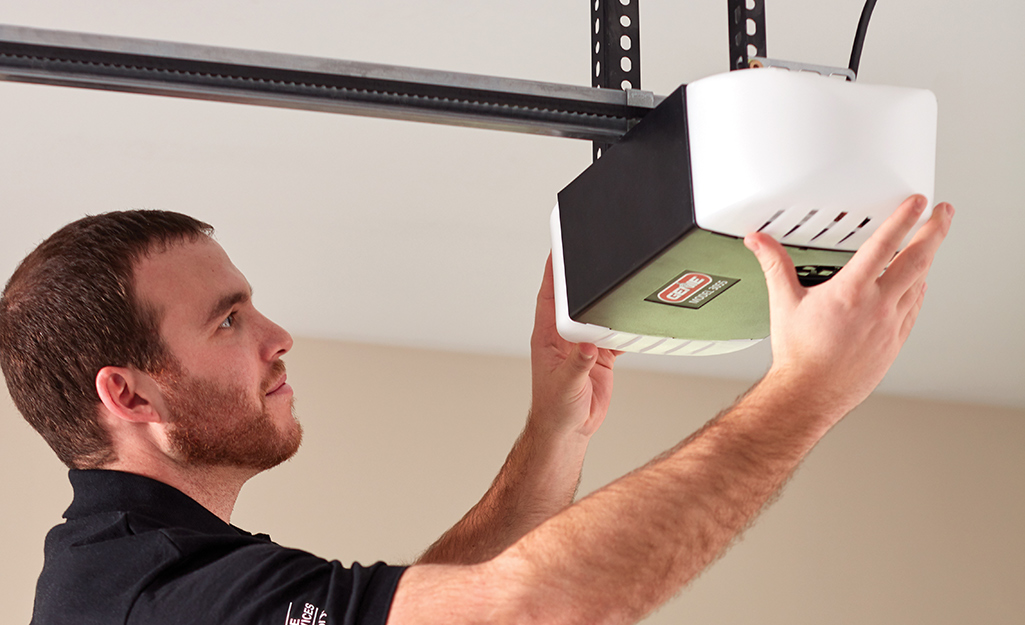
Chain drive garage door openers may have their drive chain loosen over time.
If the drive chain sags more than 1/2-inch below the rail, it may bang against the rail and wear out the drive sprocket. To fix a sagging chain, adjust the chain’s tension.
- Close the garage door.
- Disconnect the garage door opener by pulling the release handle
in the direction away from the door. (This handle is usually a red cord hanging from the opener.) - Locate the adjustment bolt on the opener’s turnbuckle. This bolt will have nuts on either side of it.
- Using two wrenches, loosen the chain nut closest to the opener and tighten the other chain nut. This will tighten the chain.
- Tighten the chain until it rests 1/4-inch to a 1/2-inch above the base of the rail. Be careful not to over-tighten, since this could cause the chain to break. The chain should be tight but still flexible.
- Pull the opener’s release handle toward the garage door to reconnect it.
- Manually open the door until you hear a click. This is the carriage reconnecting to the turnbuckle.
- Test the door by closing it with the opener.
- The method of adjusting the chain may vary depending on the manufacturer of your opener.
Adjust the Limit Screws
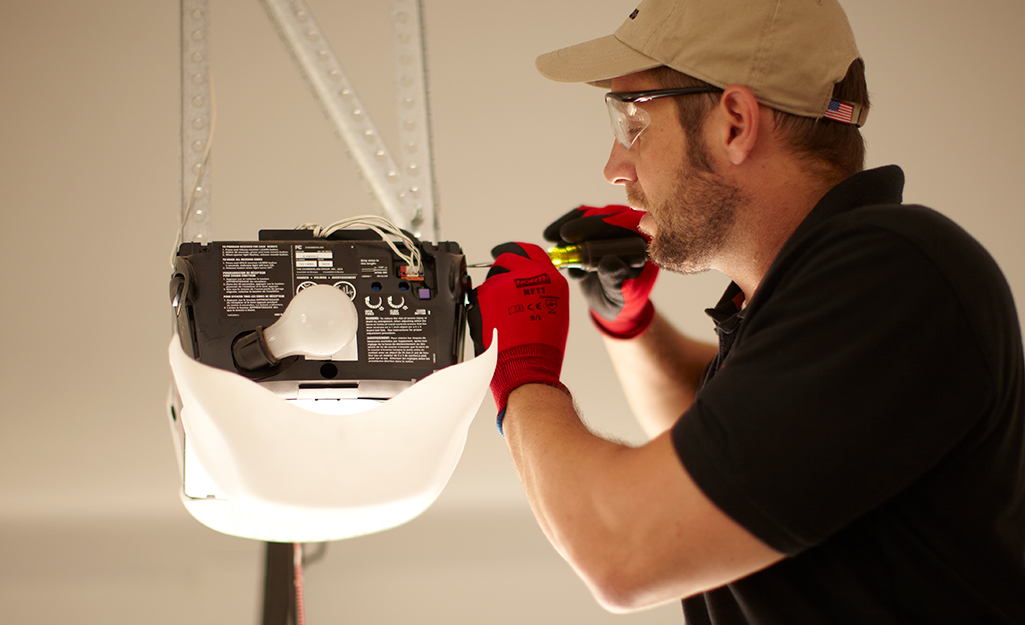
If your garage
door won’t open or close
fully, try
adjusting the limit screws.
- Close the garage door and unplug the garage door
opener. - To adjust how far up the garage door opens, locate the up-limit adjustment screw on the power unit. Use a screwdriver to turn the screw clockwise.
- To adjust how far down the garage door closes, locate the down-limit adjustment screw. Turn the screw clockwise.
- Plug in the opener, run it through a cycle, and see if you need to adjust the screws more. To undo what you’ve changed, simply turn the screws counterclockwise.
- Test the safety reversal system after making adjustments.
Realign the Safety Reverse Sensors
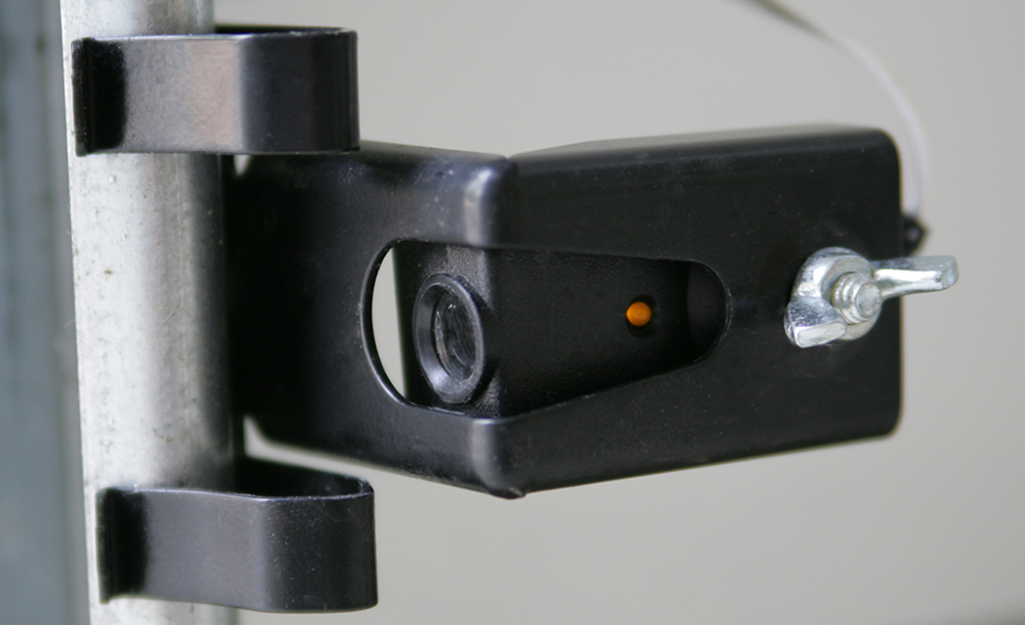
Safety reverse sensors are the two
light-beam devices near the bottom of the door. If something breaks the beam while the door is closing, the sensor reverses the door. Sometimes, the beams can get out of alignment.
- Typically, the sensors will have lights that indicate they’re in alignment with one another.
- Make sure the sensors face each other across the garage door opening so they function properly.
- Test the sensors by closing the garage door and passing a broom in
and out of the door’s path. If the sensors are aligned correctly, the door should reverse.
Tip: If your garage door opener doesn’t have a safety reversal system, whether mechanical or light-beam sensors, then it’s time to replace the opener with a newer model.
Clean and Lubricate the Drive Chain
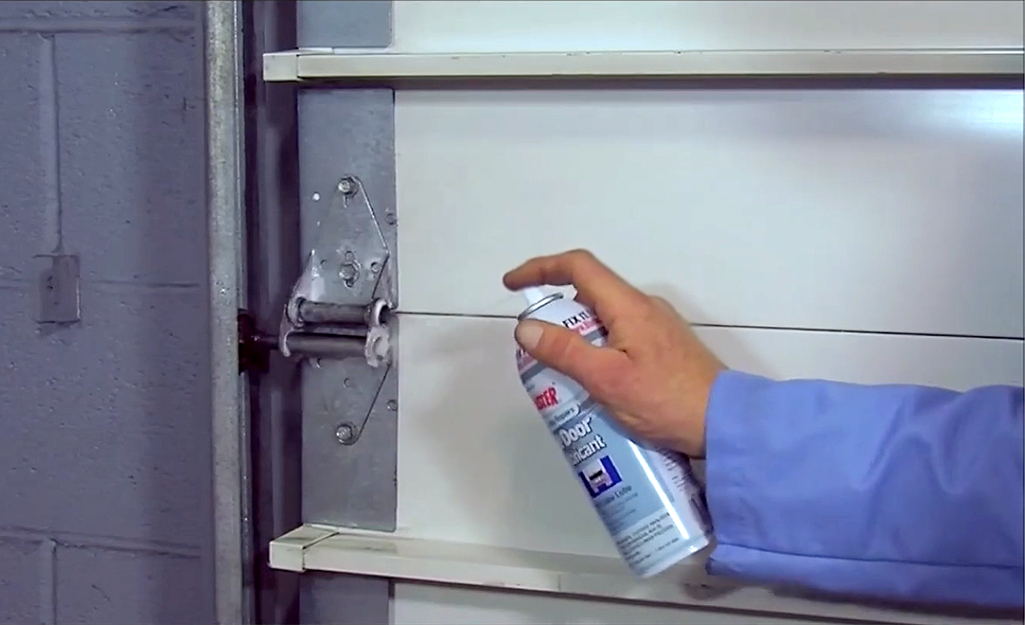
Clean and lubricate the drive chain of the opener once or twice a year.
- Use a
light penetrating oil
lubricant instead of grease to keep from collecting dirt and grit. - While you’re cleaning the drive chain, also clean any debris from the garage door tracks.
If the tracks are dirty, they can put undue stress on the opener. Use a carburetor or brake cleaner instead of a lubricant. A lubricant can cause the door to slip out of alignment.
Maintaining your garage door opener will help ensure it lasts as long as possible and you won’t need to replace it early.
While many garage door opener problems have DIY solutions, hire a professional if you’re ever uncertain. The Home Depot will connect you with expert garage door and opener repair
services in your area.


